#freezerfoods

Almond Cookie Butter and Jam Cups in a Dark Chocolate Shell

IMG_1029.jpg

Once, when diligently cleaning out my pantry, I stumbled upon a partial package of biscuits and the dried up remnants of a jar of almond butter (you know, the part left behind because I didn’t bother to evenly distribute the oils). And of course I had dark chocolate chips on hand. Determined to turn these scraps into something edible and pacify my junk candy craving, I whipped up confections suitable for a vacation-land ice cream shop, that can live in my freezer to be eaten on demand.

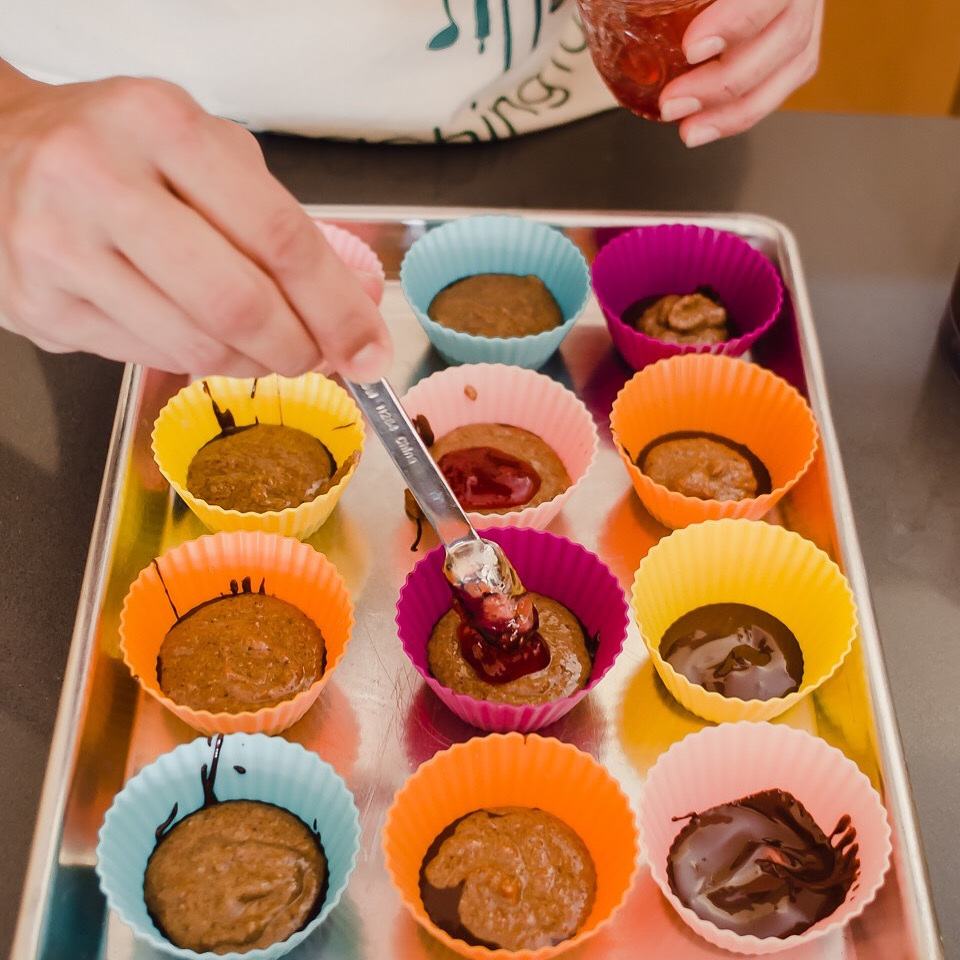
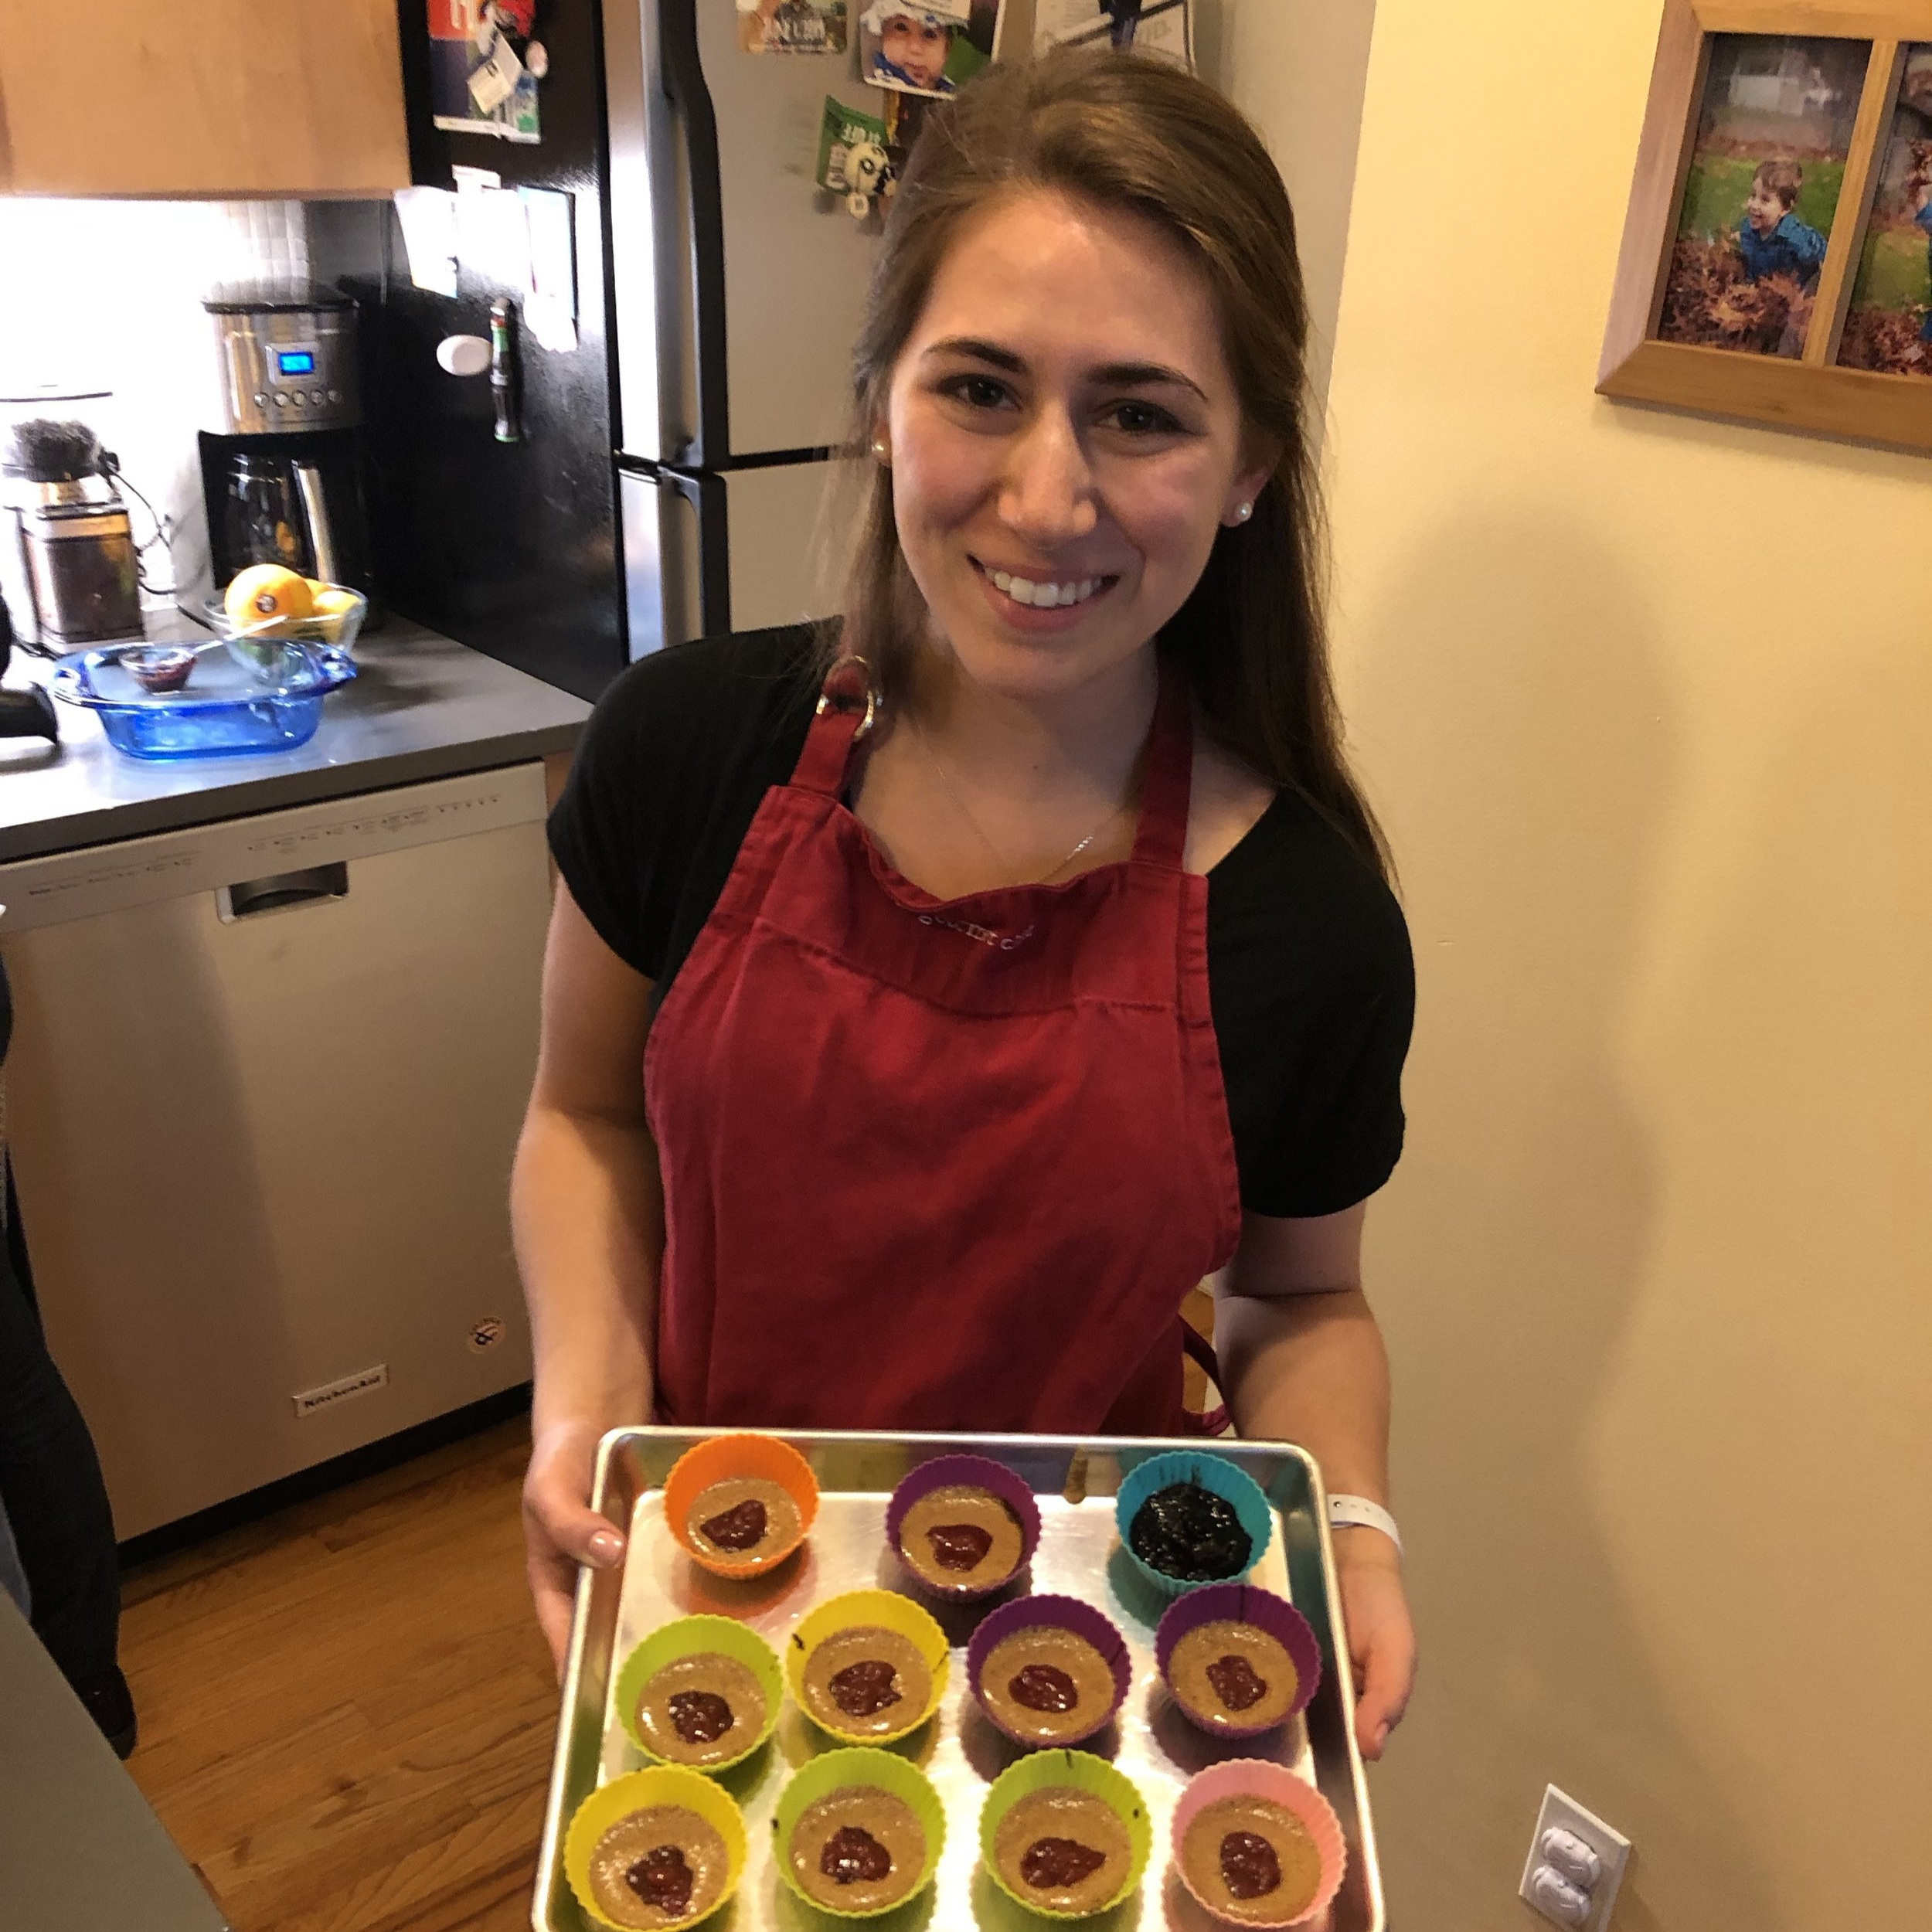
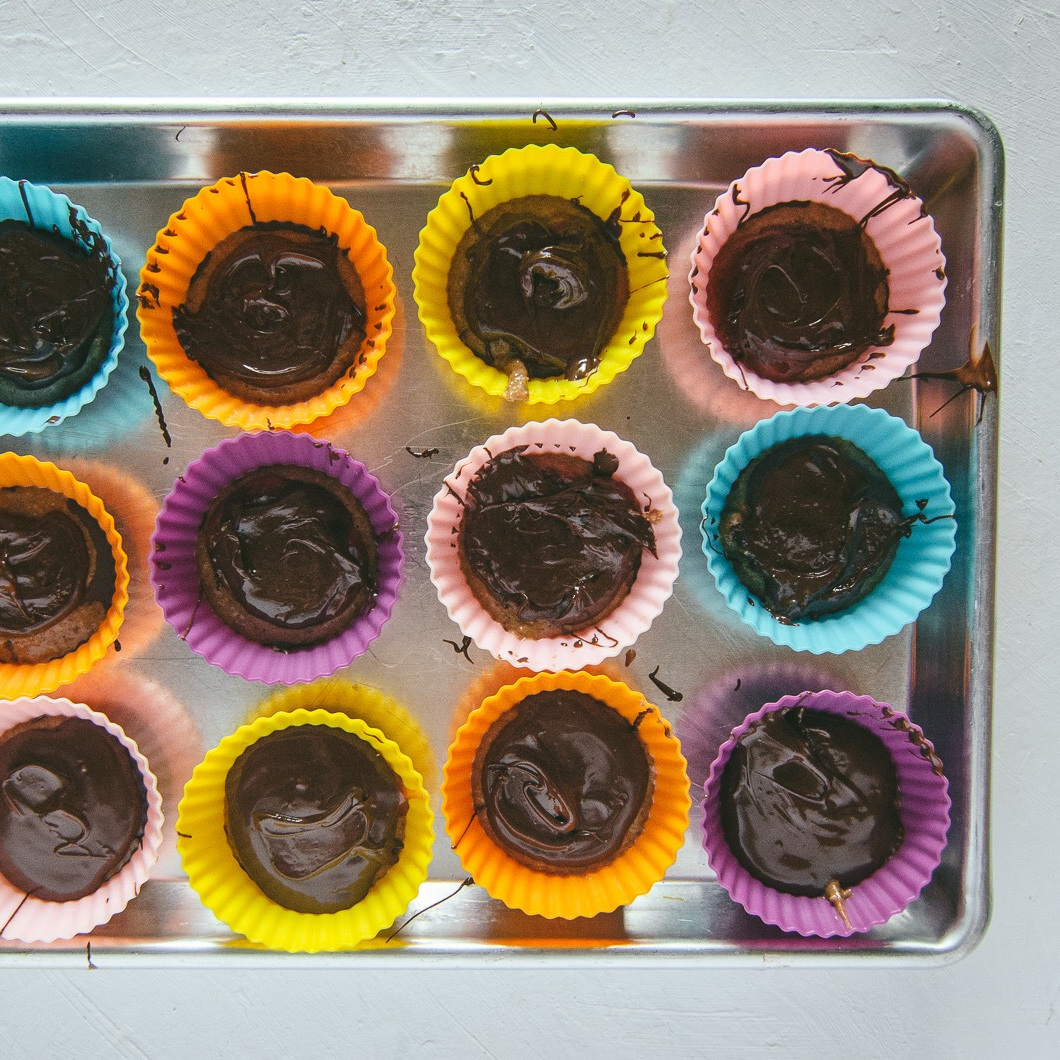
This recipe has gone through a few iterations to reach the perfect state it’s currently in. At first, I used mini tart shells and swirled the chocolate and almond butter filling together. While it created an artful design (see photo top right), it was much too large for one serving and too hard to cut into for sharing. My initial peanut butter cup inspiration did not include jam. But the richness of the almond butter and the bitterness of the chocolate called for something tart and sweet. Enter in: any type of jam you have on hand - my favorites for this are raspberry and strawberry. Finally, it was the students in my gluten free desserts class who suggested lining the sides of the muffin cup with a thin layer of chocolate to contain all of that almond butter gooeyness (see photo bottom right for earlier less refined yet photogenic version). Proof that even the best desserts can be made better.


Almond Cookie Butter and Jam Cups in a Dark Chocolate Shell

Makes: 9-12 candy pieces

What You Need:

  • 5 teaspoons coconut oil, divided

  • ½ cup plus 2 tablespoons finely crushed biscuit* crumbs

  • ½ cup creamy almond butter

  • Pinch sea salt

  • 8 oz dark chocolate

  • ¼ cup jam (raspberry or strawberry recommended)

What You Do:

  1. Line a small baking sheet with silicone muffin cups or mini tart shells (1½ - 2 inches in diameter).

  2. Over a double boiler (or in a glass bowl in the microwave), melt the coconut oil. Set aside 2 level teaspoons of coconut oil to be added to the chocolate later.

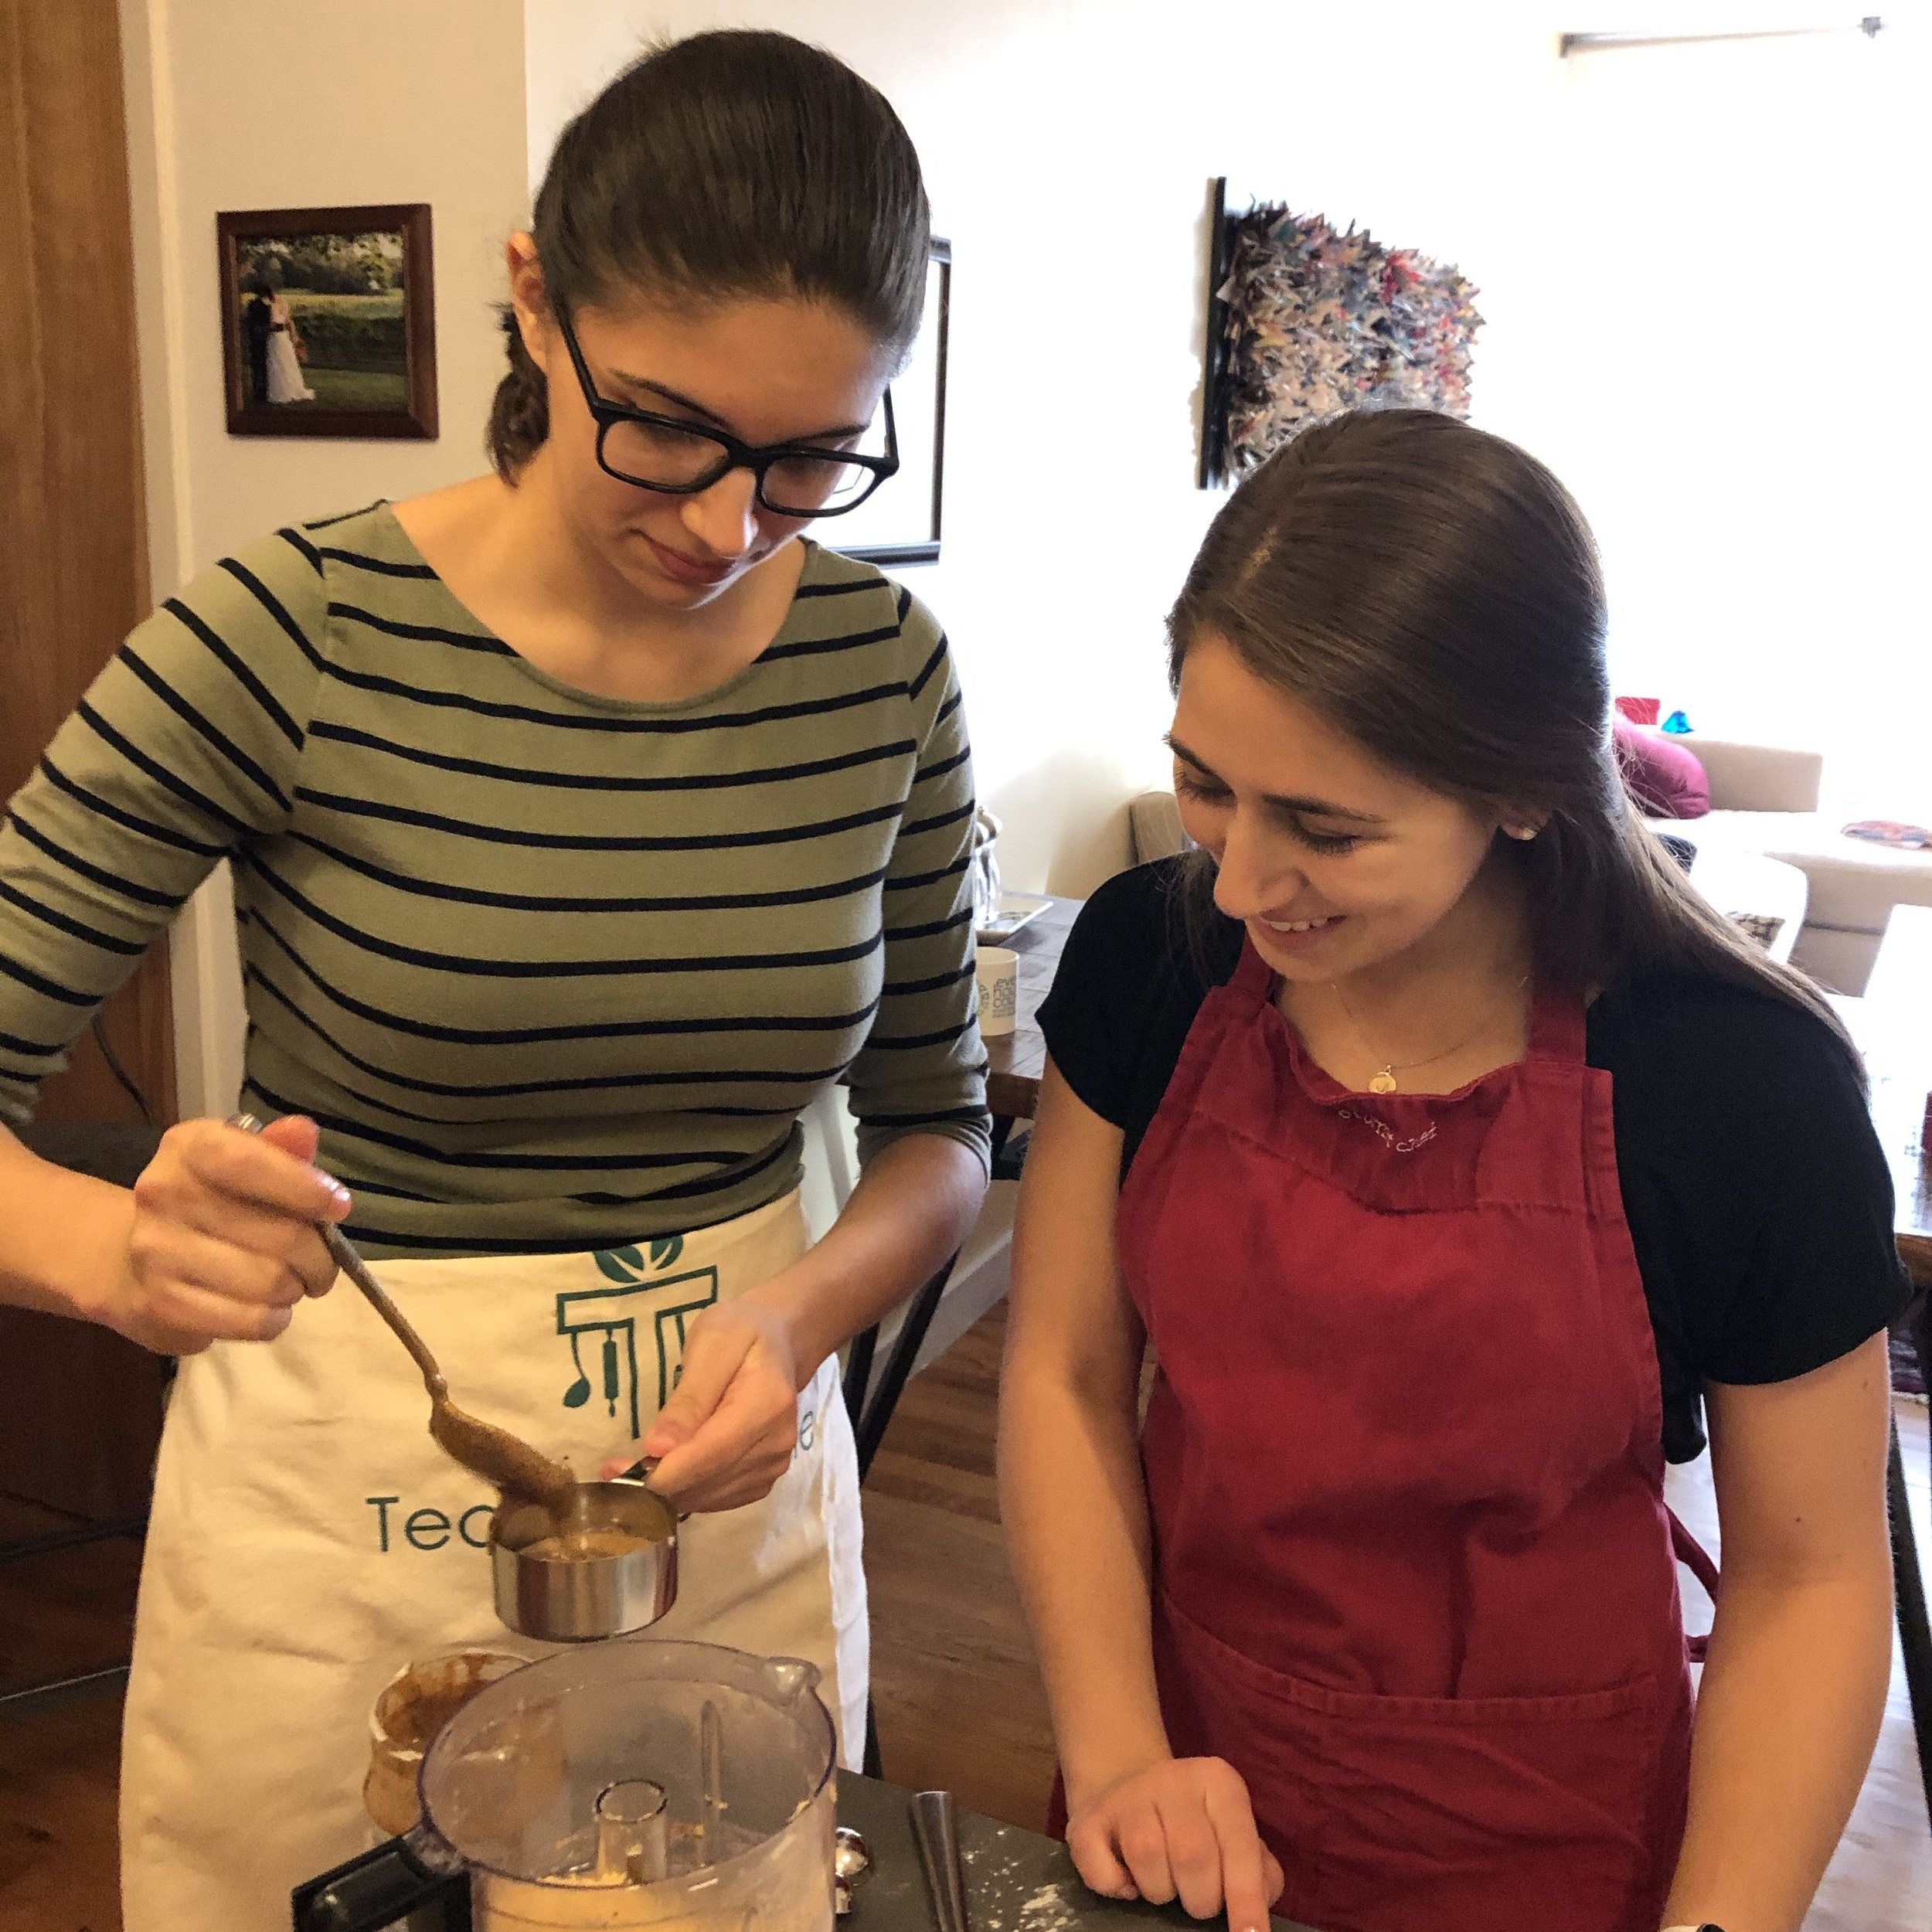
  3. Combine 2 teaspoons melted coconut oil, biscuit crumbs, almond butter and salt in the bowl of a food processor. Process until smooth. Add 1 teaspoon more coconut oil if needed to smooth out the mixture.

  4. In the same double boiler or bowl in which you melted the coconut oil, melt the chocolate with the reserved 2 teaspoons of coconut oil. Whisk until smooth.

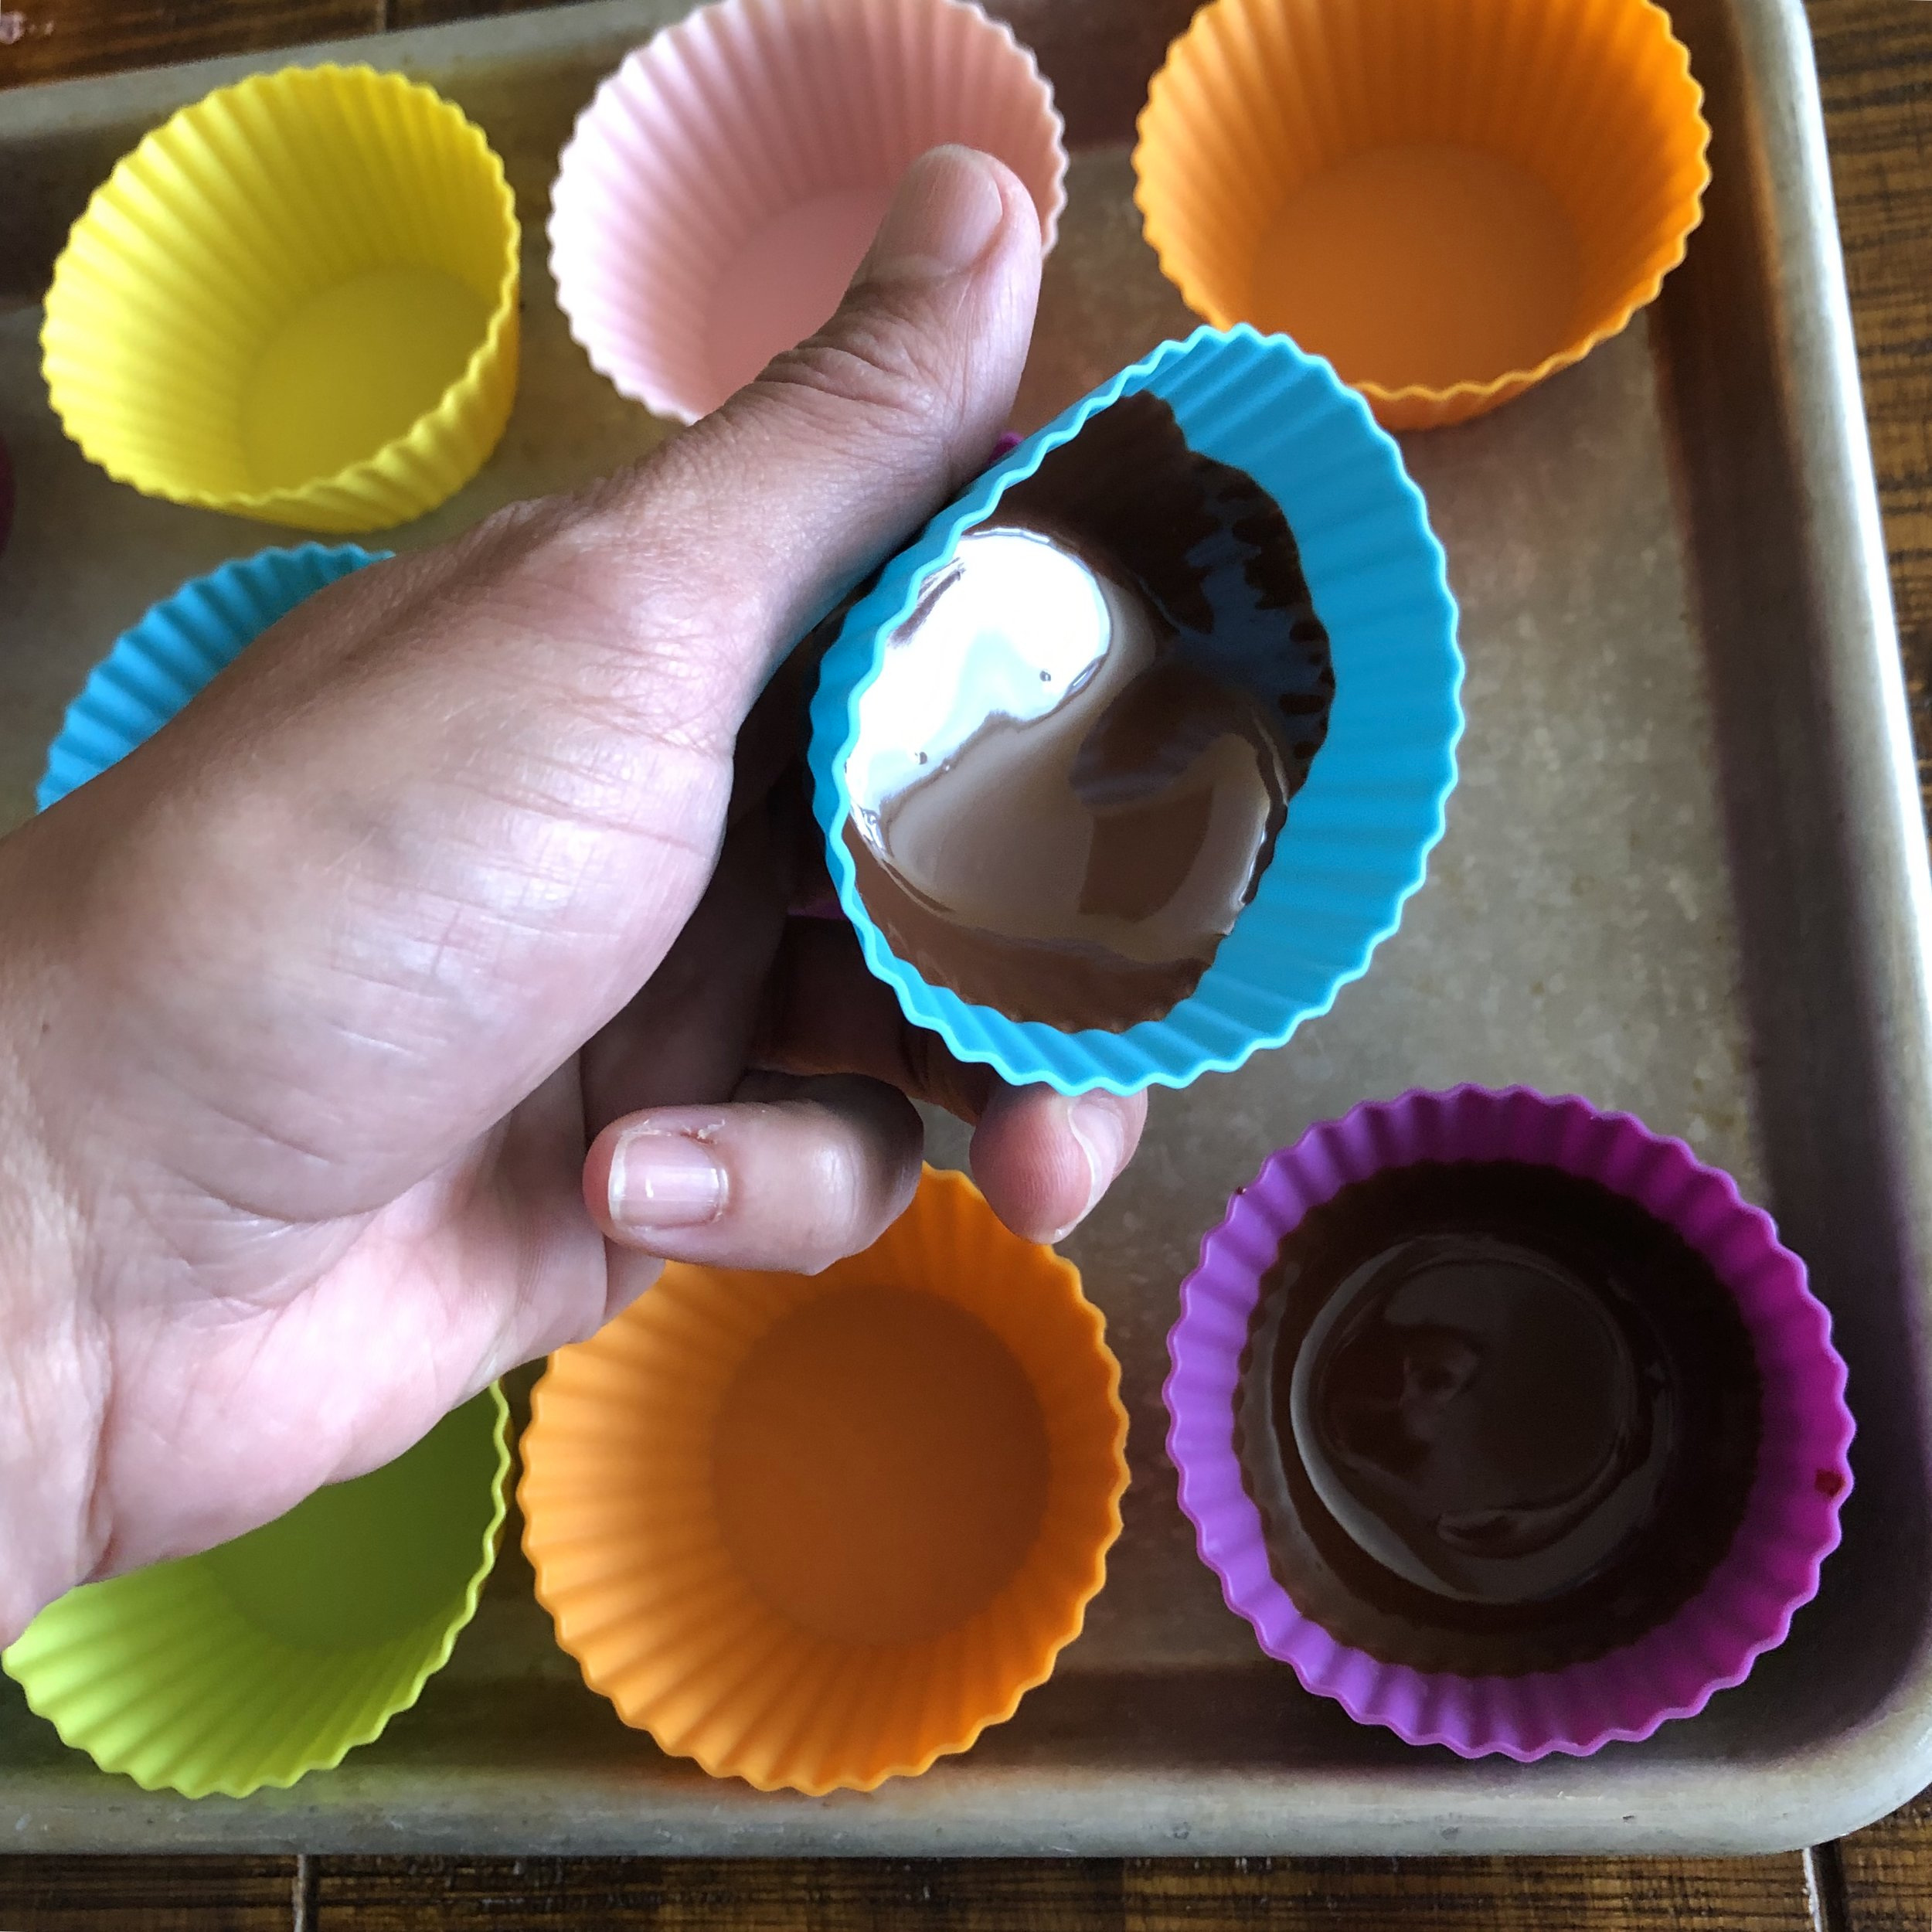
  5. Drop about 1 tablespoon of the melted chocolate into the bottom of each cup and spread out, turning and tilting the cup so that the chocolate evenly coats the bottom of the cup and runs up the sides about half an inch. Freeze for 3-5 minutes.

  6. Dollop approximately 1 tablespoon of the biscuit crumb and almond butter mixture on top of the chocolate base in each cup.

  7. Dollop ½ - 1 teaspoon of jam into the center of each cup.

  8. Freeze for 20-30 minutes or until jam is firm.

  9. Top the cup with another 2-3 teaspoons melted chocolate (Reheat it over the double boiler first if it firmed up). Spread chocolate evenly across the tops of the cups. Freeze for 30 minutes before enjoying.

To Freeze:

After the cups have completely hardened, remove from their liners and transfer to a freezer safe bag or container. Store up to 6 months. But they will not last this long.

To Defrost:

Remove from freezer and allow to sit at room temperature for about 10 minutes before serving. Promptly return any uneaten portions to the freezer.

QkTDNOpWQqWKjeit4O4YjQ.jpg

*Note about biscuits:

My favorite biscuits to use for these cups are the European graham cookies typically turned into speculoos. Biscoff works particularly well, but you can make these cups equally delicious with any sweetmeal or wholegrain biscuits that come in a cellophane tube (shown on the right), as well as gluten free graham cookies.

New England Corn Chowdah

I'm from New England. This IS how you say it and spell it.

Here’s a recipe for a New England classic made vegetarian and gluten free. Of course, you can still use bacon for the extra richness or add lobster for a decadent summertime delight. See variations below. A traditional chowder might use a roux -- equal parts butter and flour cooked to a paste -- for thickening, but I’ve found that a purée of fresh corn kernels plus potatoes cooked down into the broth create the exact same result and help the chowder maintain it’s fresh light consistency rather than becoming gelatinous. Note: this chowder will also work well with leftover previously cooked corn on the cob. Just remove kernels from cobs and use both as if they were fresh. You might not extract as much flavor from the previously cooked cobs and the kernels won’t be as crunchy in the chowder but it’s certainly a great use for leftover corn on the cob.

What you need:

  • 5 ears of corn

  • 1 bay leaf

  • 3 teaspoons sea salt, divided

  • 2 tablespoons olive oil or unsalted butter, plus more butter for serving if desired

  • 1 onion, medium dice

  • 4-5 medium red potatoes, small dice

  • ¼ teaspoon dried thyme (optional)

  • pinch cayenne pepper (optional)

  • 3 cups half-n-half, whole milk or combination

  • ¼ cup fresh thyme leaves (from about 6-7 sprigs)

  • 1 teaspoon minced parsley leaves

  • black pepper to taste

What you do:

1. Cut corn kernels from cobs. Using the back of your knife, scrape the remaining kernels and juices from the cob. Set aside.

2. Boil 3 cups water with 2 teaspoons sea salt and add cobs (with kernels removed) and bay leaf. Simmer for 10 minutes. Drain and reserve liquid. Discard the cobs and bay leaf.

3. In a soup pot, heat the olive oil on medium high heat until it shimmers. Add diced onion and a pinch of salt and sauté until soft, about 3 minutes.

4. Add potatoes, another pinch of salt, dried thyme, and cayenne if using, and reduce heat to medium. Cook for about 5 minutes or while you prepare the liquid.

Blend about 1/3 of the fresh corn kernels with stock (or water) before adding to chowder to create a sweet and creamy base. (see step 5)[yup, my dad's jar of corks in the background]

Blend about 1/3 of the fresh corn kernels with stock (or water) before adding to chowder to create a sweet and creamy base. (see step 5)

[yup, my dad's jar of corks in the background]

5. Put about a cup of the reserved corn stock and 1 cup of the corn kernels into a blender. Blend until smooth. Alternatively, you could just add the corn kernels to the liquid in a large measuring cup and purée with an immersion blender. Add this liquid to the pot and simmer for about 20 minutes or until potatoes are very tender. Season to taste with salt and black pepper.

6. Add remaining corn kernels and cook for about 4 minutes.

7. Add milk and thyme, and warm until liquid just begins to steam. Be careful not to boil the milk. Season to taste with salt and pepper. Serve with an additional pat of butter, if desired, and minced parsley leaves.

IMG_9868.JPG

Variations:

With Bacon: At step 3, render the bacon until crispy in the soup pot. Remove bacon strips and lay on paper towels. Drain excess grease so that you are left with about 2 tablespoons in bottom of pan. Sauté diced onion in the 2 tablespoons of bacon fat and continue with recipe. Add roughly chopped bacon bits to the chowder just before serving.

With Lobster: At step 7, add previously cooked and shelled lobster meat, cut into bite sized pieces, with the milk and thyme.

To freeze: After adding the corn in step 6, remove from heat and allow to cool. Freeze the partially finished chowder at this point. To reheat and finish, simply defrost in the fridge or in a pot over low heat. Bring to a simmer and ensure potatoes are heated through. Add milk and thyme and continue with step 7.

Shopping in your Freezer

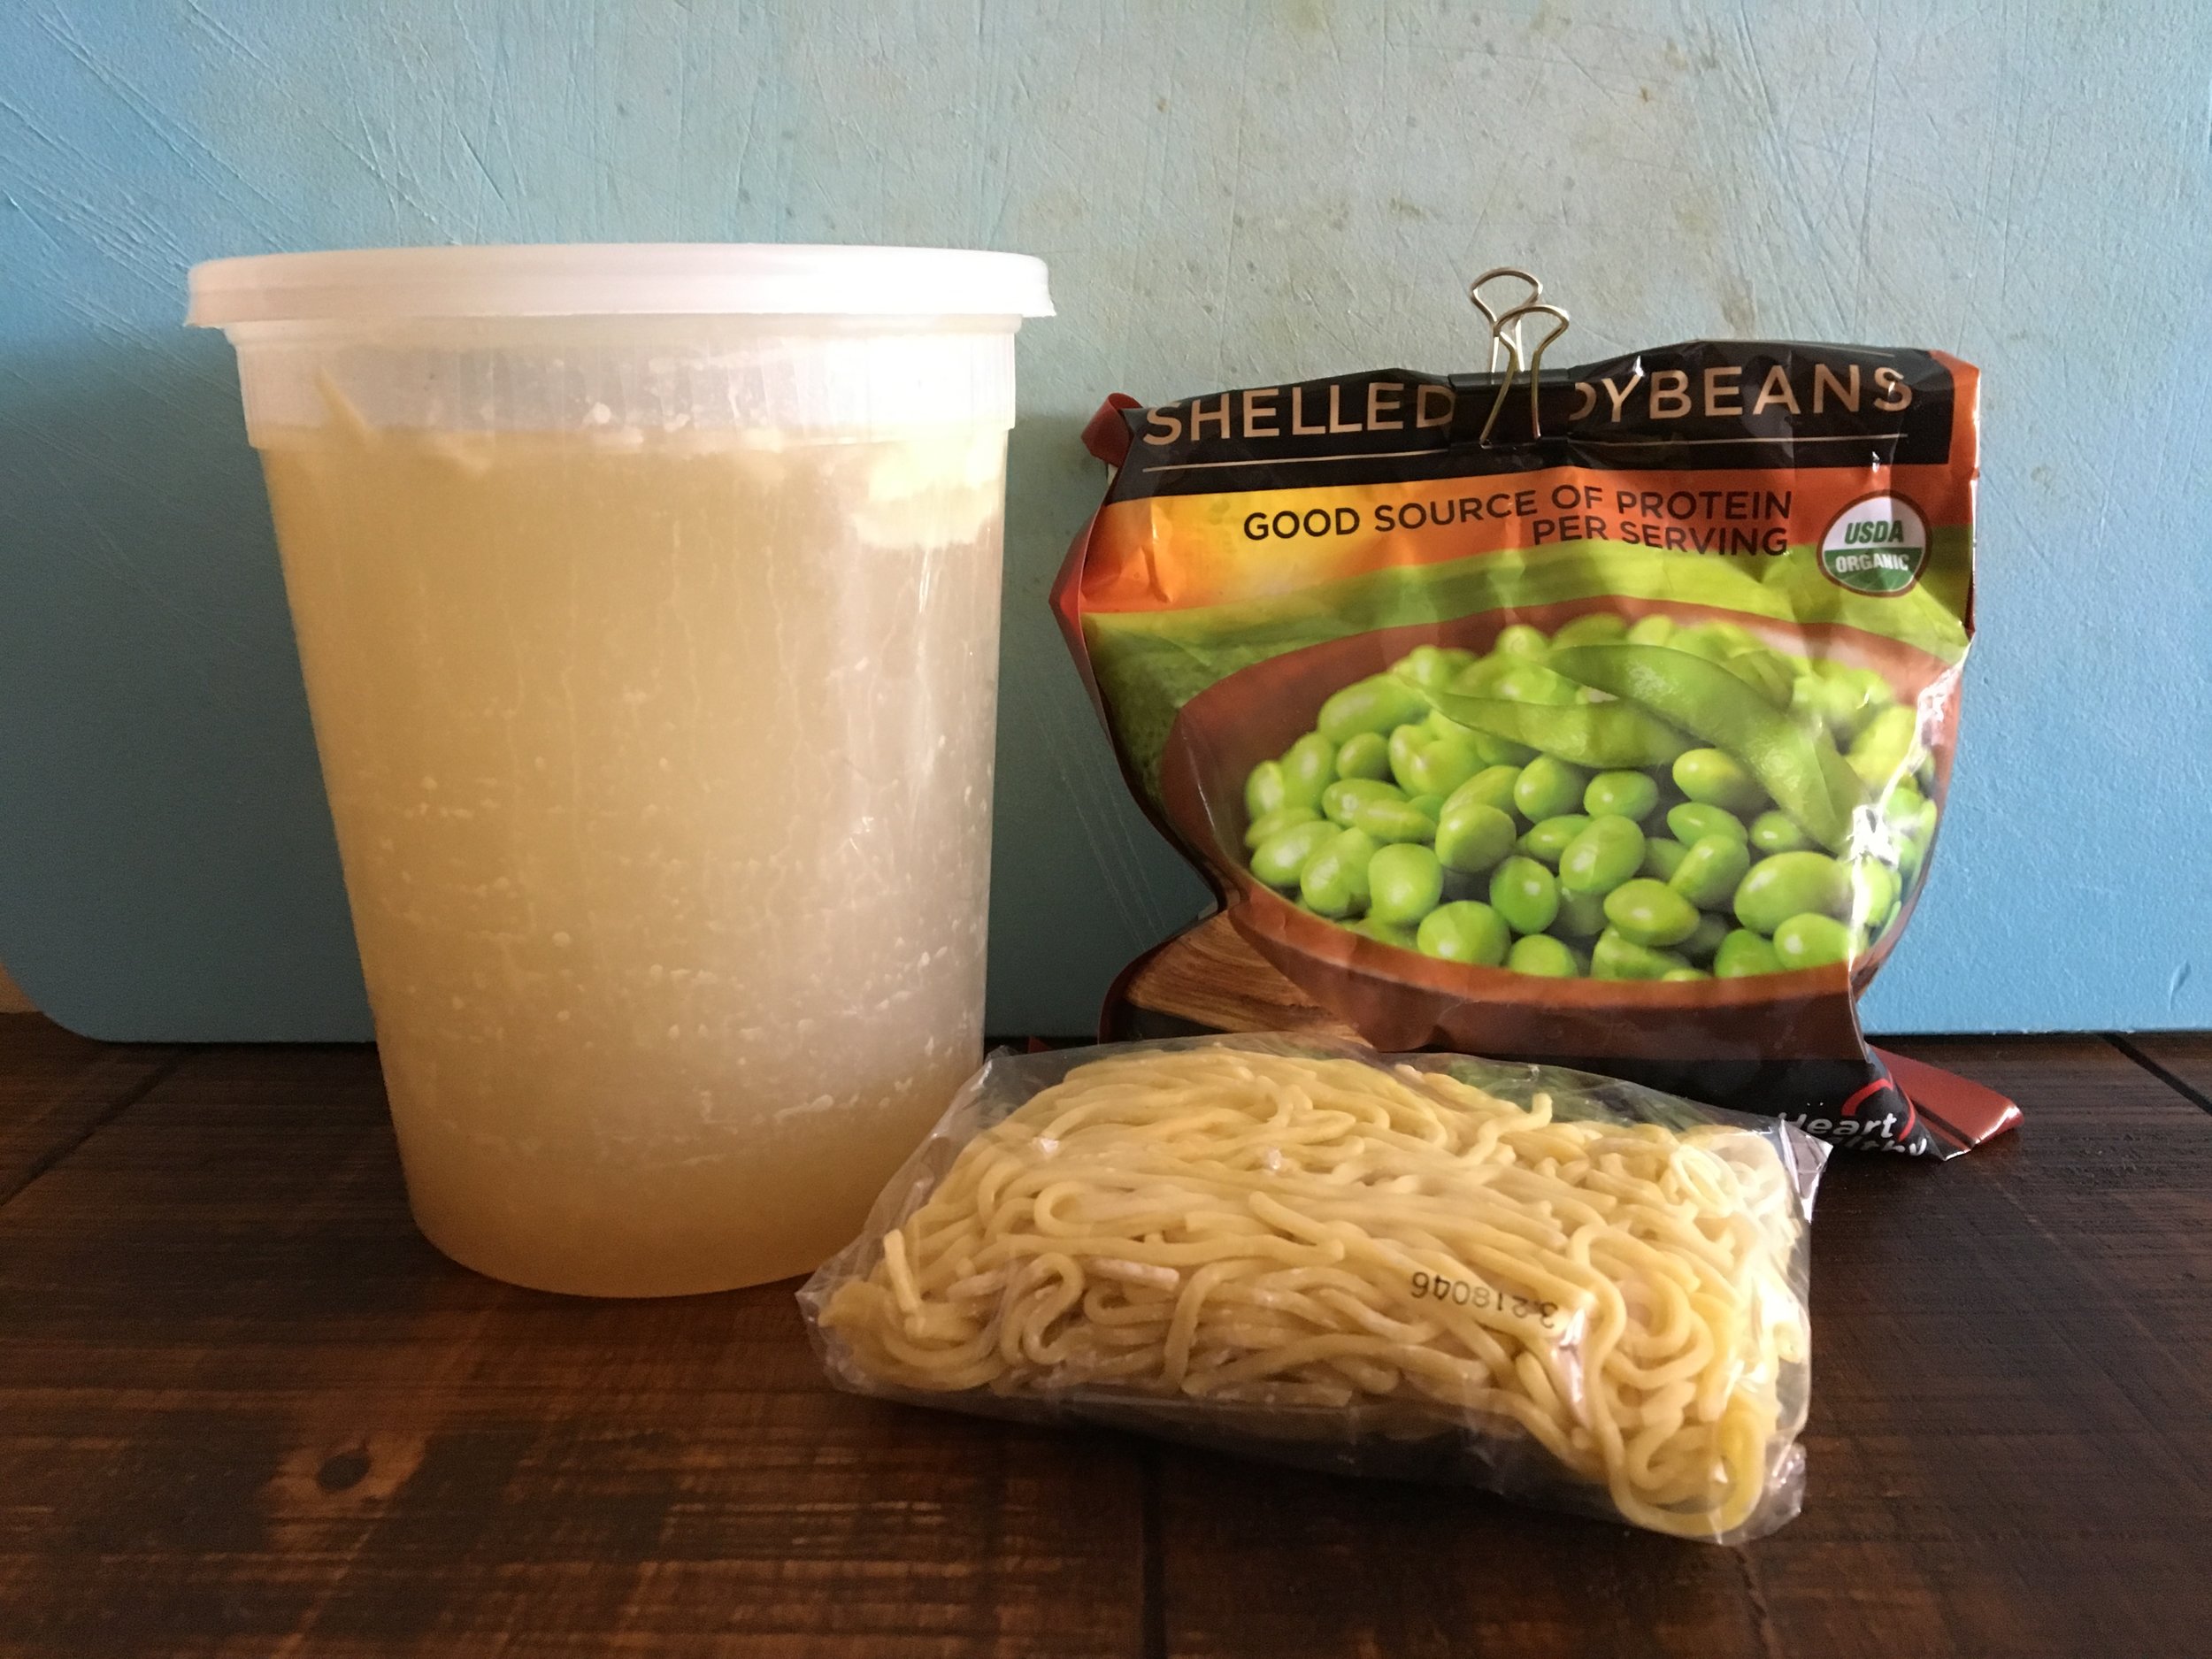
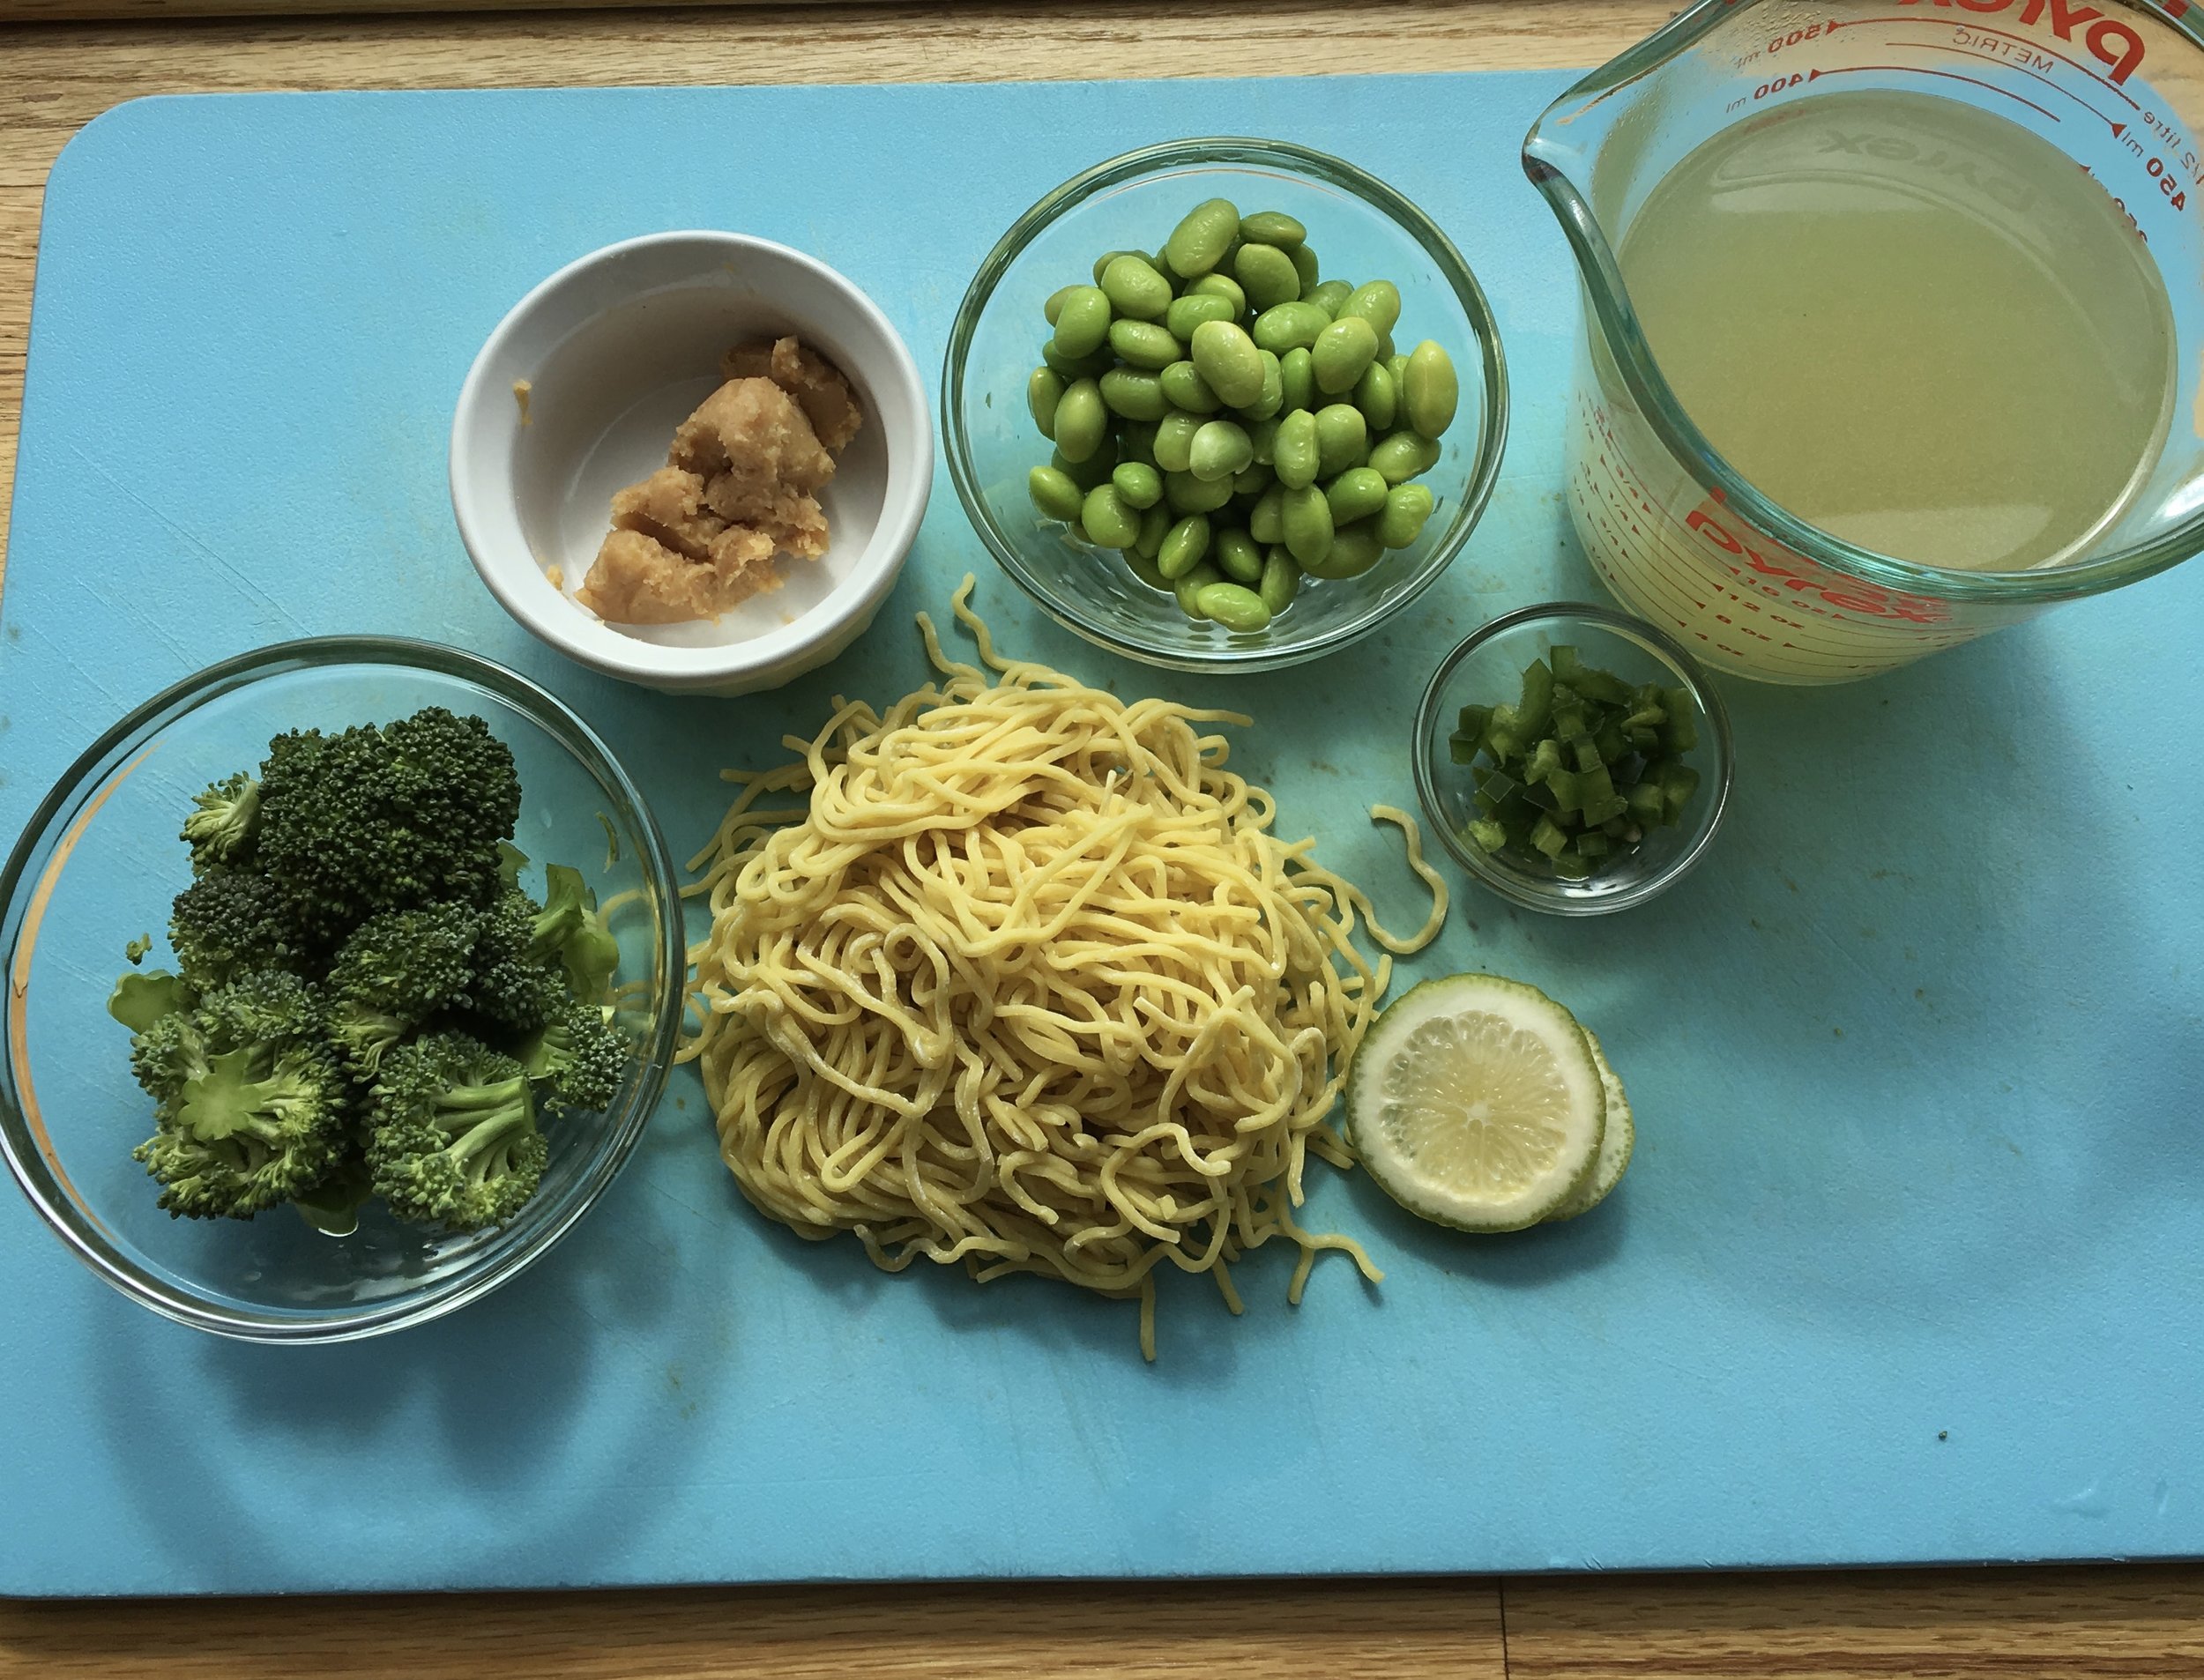
Miso Ramen Noodle Soup with Broccoli, Edamame and Jalapeno

Miso Ramen Noodle Soup with Broccoli, Edamame and Jalapeno

Every once in a while, I attempt to dig out my freezer and use up all of its contents, to save $ at the grocery store and free up space for new creations and the bounties I'm anticipating from local crops. It's my version of spring cleaning, aptly named using a term coined by my Grammie. She routinely bears gifts of clothing, fabric and housewares. When asked if she's been shopping, she says, "oh yes, shopping in my closet!" 

I've been sharing some of my recent mouth-watering creations out of goods I found stashed in my freezer, which prompted many of you to ask, how big is your freezer? How do I get that out of my freezer?

IMG_6176.JPG

So, in response...

...my freezer is pretty standard. I live in a Brooklyn apartment, after all.

...here's a list of my tips for finding ingredients and inspiration in your own freezer. Armed with these, you too can make a quick meal, prevent waste and avoid the grocery store, but you might also discover a new family favorite, test your culinary muscles and make something out of the ordinary.

  1. Organize it. Occasionally, take everything out of the freezer and sort it, consolidate similar items and return them to the freezer in an organized fashion. For example, put all animal proteins in one corner, vegetables in another, and stack ready-made meals, like soups and stews together. I also use a narrow bin for lining up my purées and sauces in their liquid storage bags (I use re-purposed breast milk storage bags I have in excess).

  2. Choose wisely. Either randomly select two items, such as one protein and one vegetable to give yourself a challenge or choose two to three items you know go together well (more on that later). Better yet, have your partner, child, roommate, or sister that you're texting, choose the items for you. Set those chosen items in the fridge or out to thaw. Now you're stuck with those, Chopped style. So make it work.

  3. Use formulas. Refer to a list of go-to recipe templates. The types of recipes I'm talking about are best described as "plug and play". Think of general recipes that have a base, a procedure you are familiar with, and a few interchangeable components. My templates include pasta dishes, soup, stew, muffins, quiche, pizza, risotto, grain bowls, pot pie, or stir fry.

  4. Brainstorm flavor combinations. Determine which ingredients and flavors go together. Did you just take peas and ground turkey from the freezer? So ask yourself, what else do I make with peas or what spices and vegetables were in that poultry dish from my favorite restaurant? Or conduct a quick internet search for recipes by ingredient. One resource I love for brainstorming flavor and ingredient combinations is the Flavor Bible. A dear friend gave me this book years ago and I still reference it weekly. Just learned that there is a Vegetarian Flavor Bible now too.

  5. Ignore measurements. It does not matter if the package is half full, or if you don't have as much sauce as you usually use. It's not an exact science. Just add more or less liquid or crunch as needed.

  6. Set a time limit. Again, Chopped style. If you limit how much time you have to either think about what you are going to make with the freezer finds or actually cook dinner or both, you will force your creative side without losing too much time.

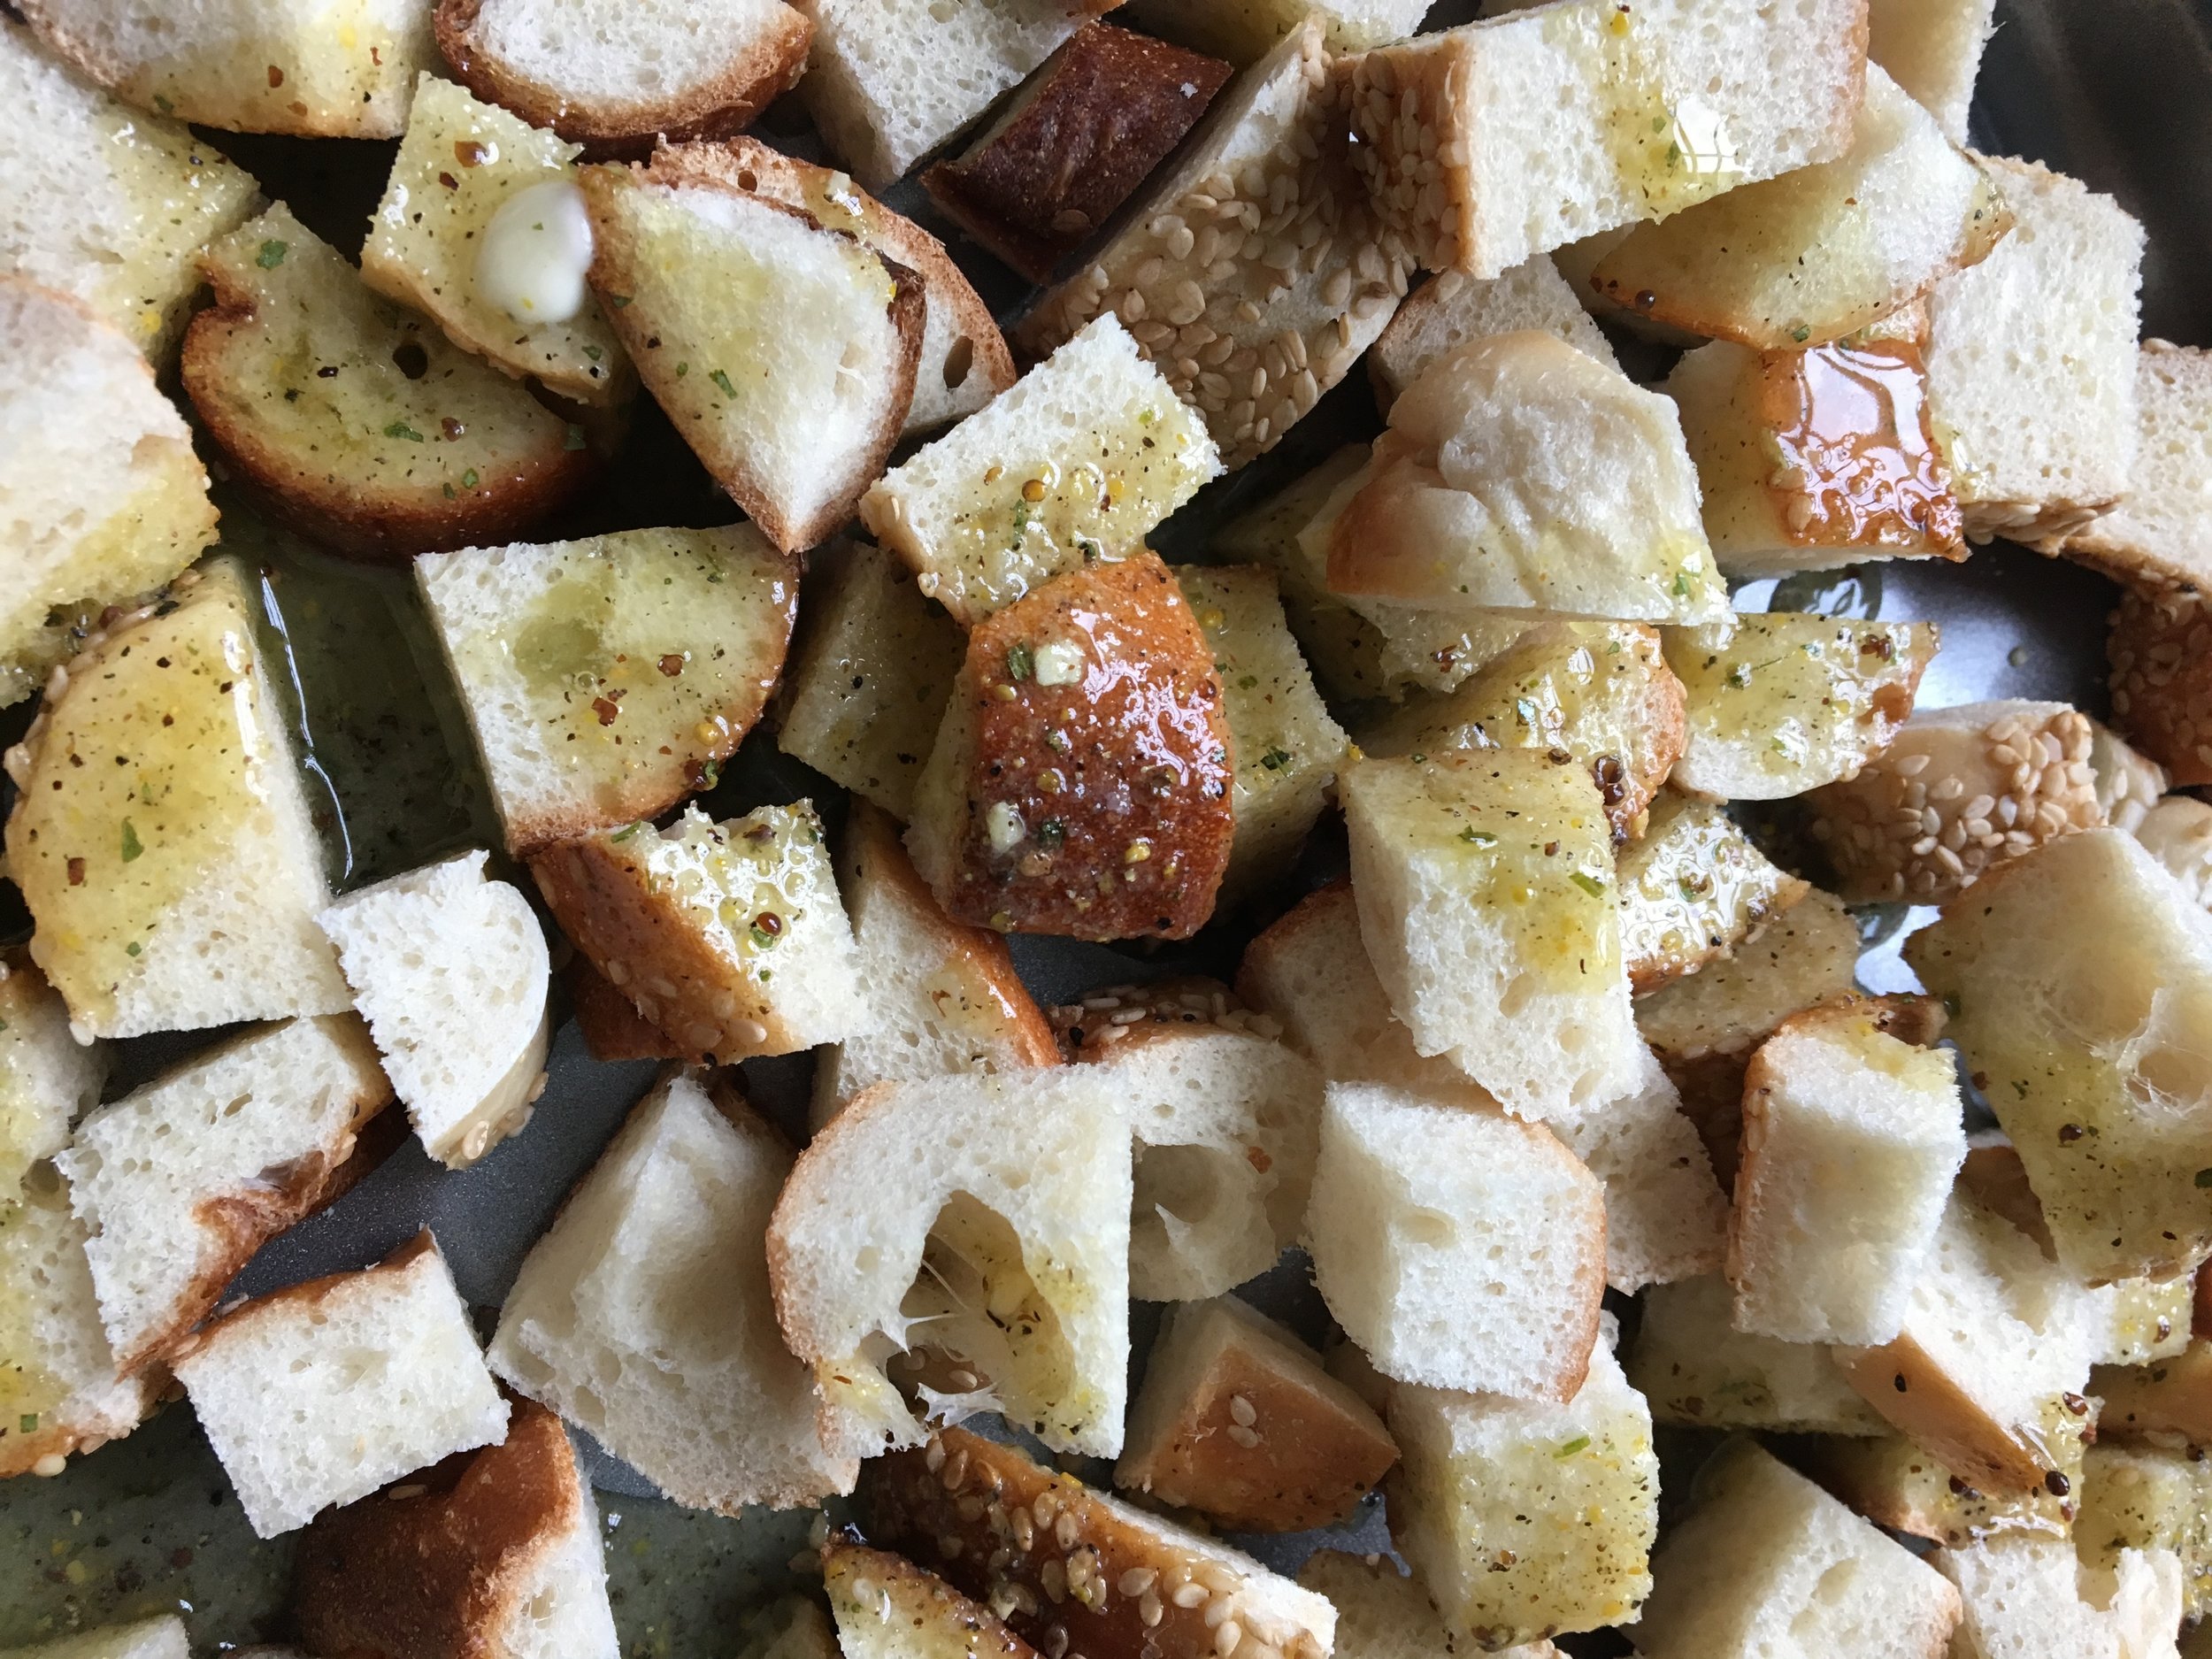
  7. Re-purpose freezer finds. Turn something you don't like into something you love or that the kids and picky eaters of the world will eat. Change the texture and overall structure of the ingredient. For example, I had a purée of steamed sweet potatoes, apples and carrots that the baby suddenly turned his nose up at (after liking it for a few months). That purée just became the star ingredient in my famous sweet potato waffles. And all the rejected old bread ends that will never qualify for a BLT or PB&J make beautiful garlicky croutons for a panzanella salad.

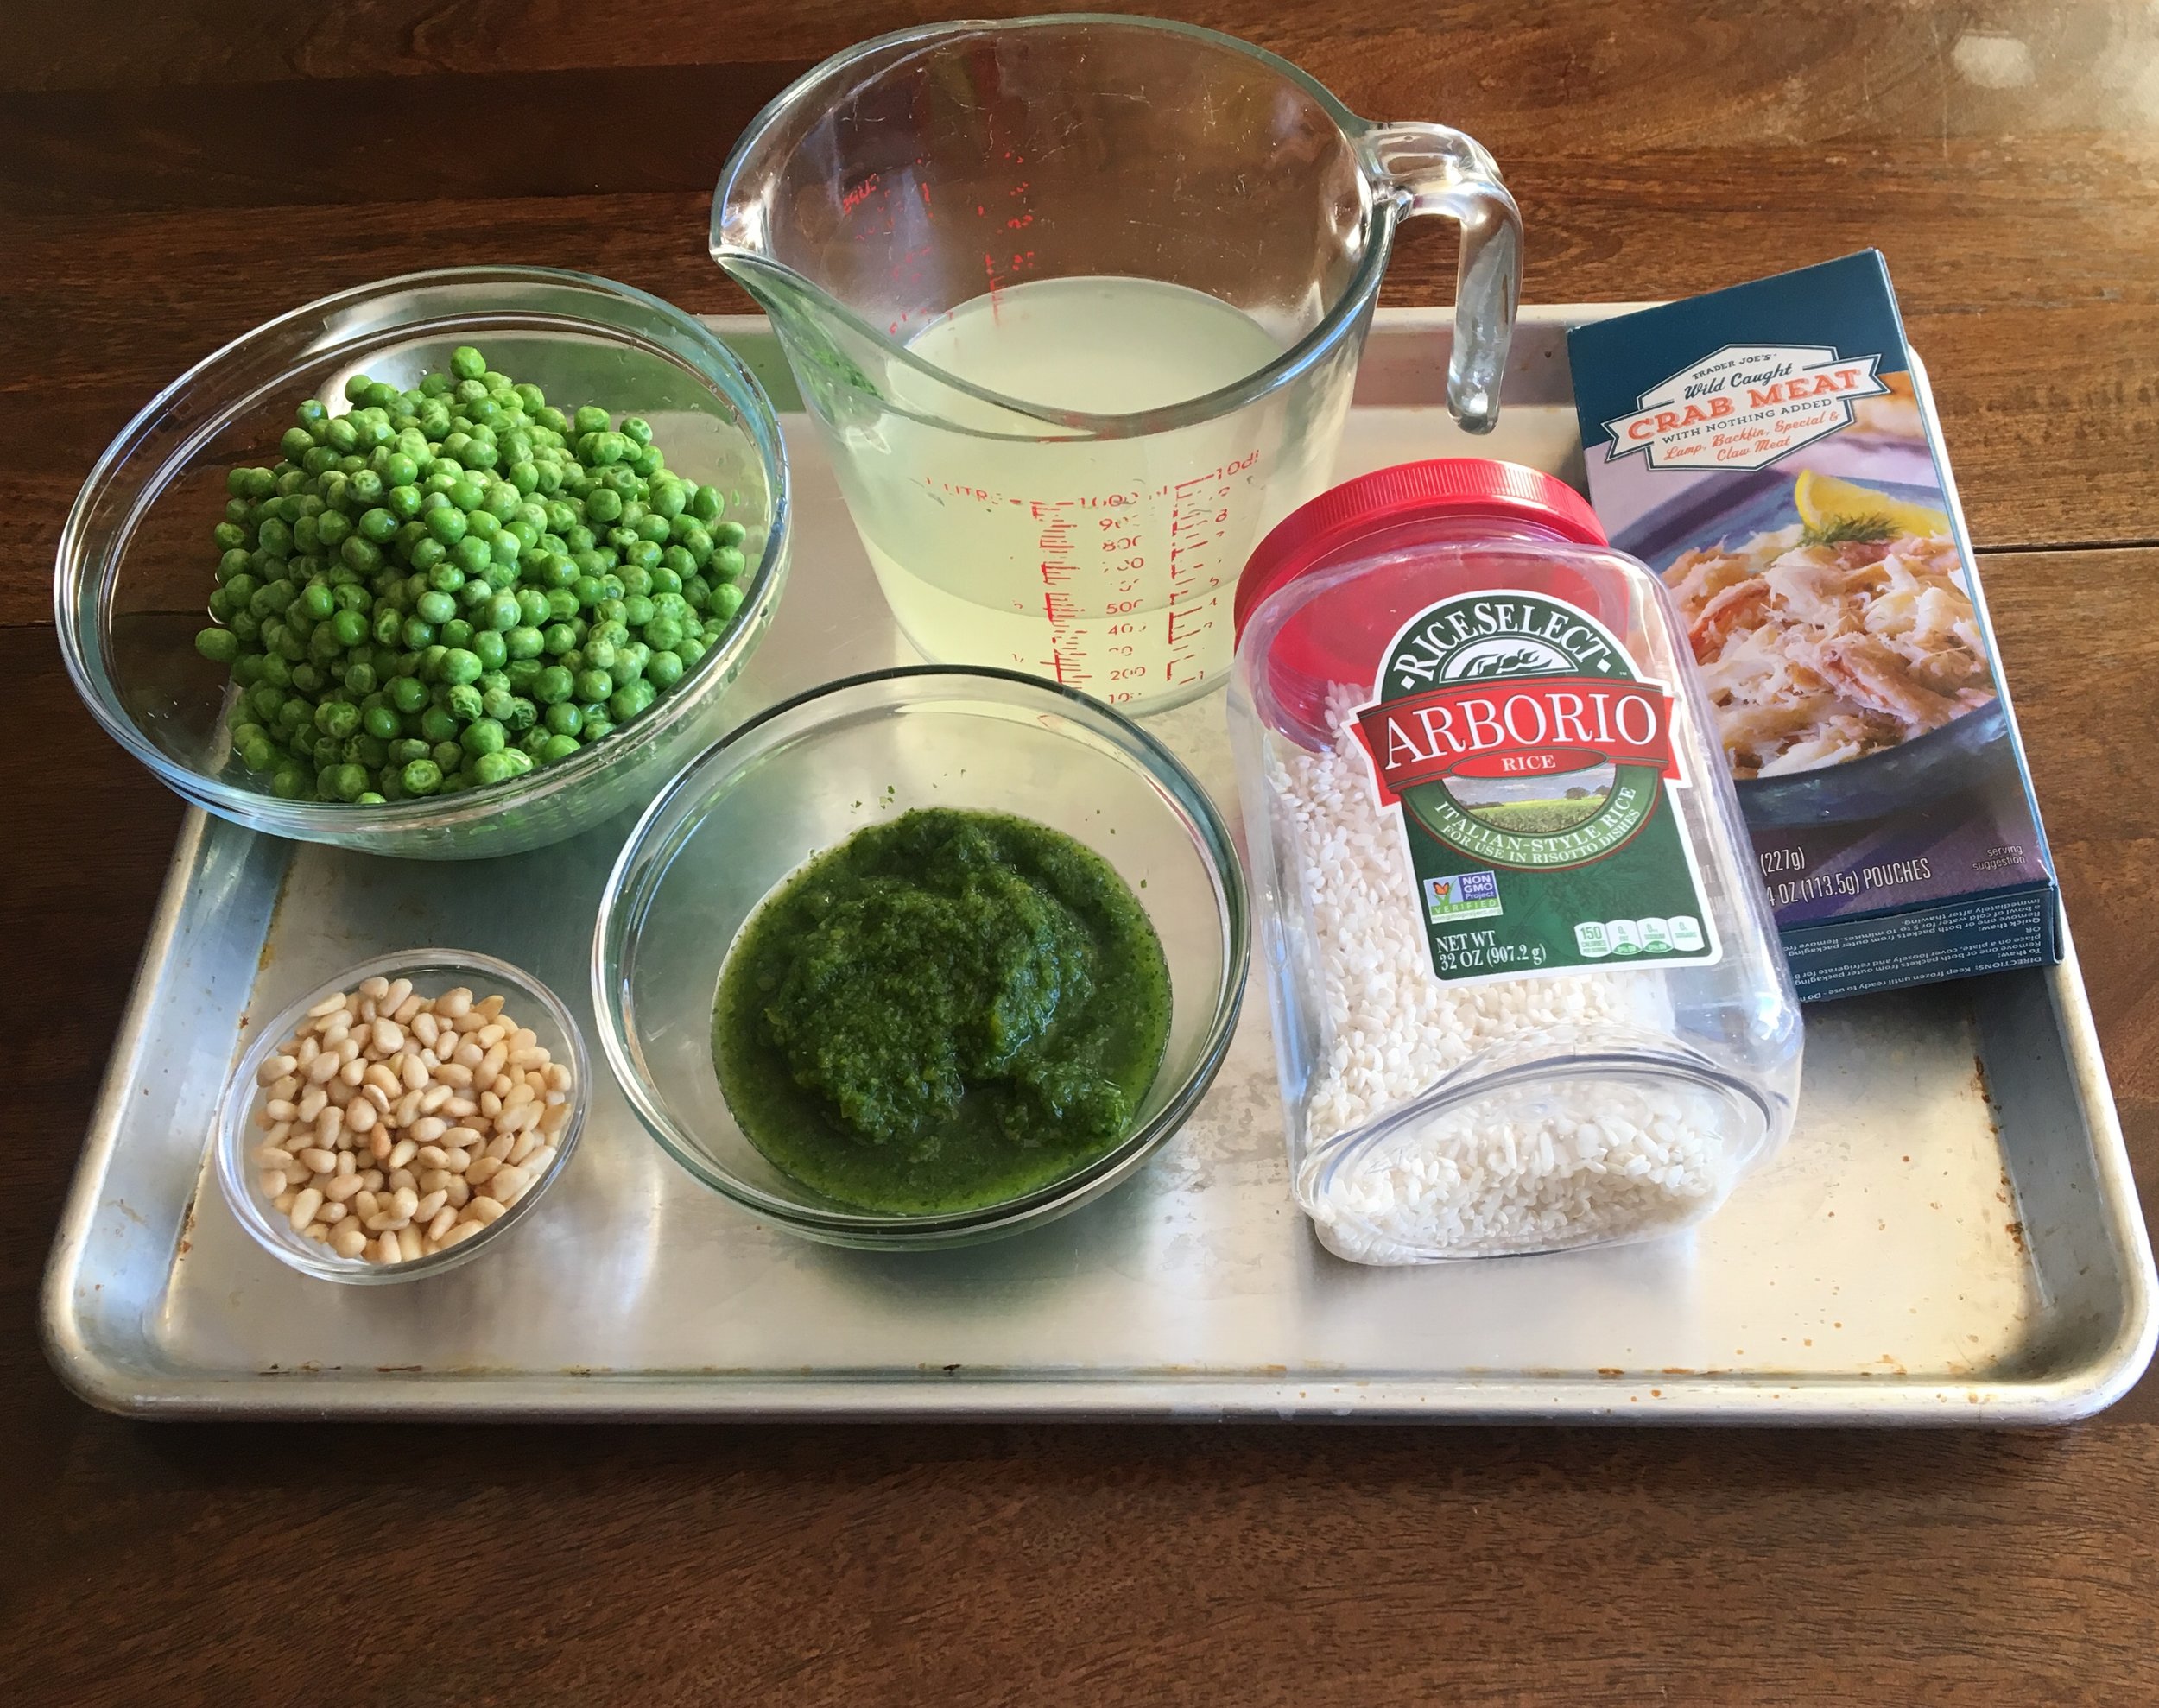
  8. Allow yourself an out. You do not have to eat your failures. If it is truly terrible, you can toss it, compost it or feed it to the dog. It's okay, you shopped in your freezer and you gave it a try. Or you might even re-purpose it to another step. We made a risotto out of crab meat, sofrito and peas. It was just okay, and there was a lot remaining, so rather than force ourselves to eat the leftovers, I thought, why not mix in some cheese, roll into balls and pan fry for arancini magic!

And many of you want to know, how do I get all of these things into my freezer to begin with? That's a topic for another day or series of posts. Stay tuned and in the meantime, see here for my chowder freezing tip.

Herb Garlic Butter

I attempted to grow a few things this summer. Overall it was a big flop. Between the lingering spring frost, weeds, rodents, and gnats, my garden was doomed. So I decided to focus on what I could control and invested some time and research into growing my herbs. For the first time, I actually re-planted my herb plants into spaces big enough to accommodate their sprawl. I took it to the gnats, inserting glue traps in all of my indoor pots, and re-potting them in clean fresh soil after shaking off the gnat infested soil. I spent hours one Sunday watching countless youtube videos about harvesting my herbs and then practiced, scissors in hand checking the computer screen over my shoulder. I'm so glad I did. This year, all of my herb plants inside and out, even those most difficult to grow for me, like cilantro and sage, flourished. So, now, per the instructions on all those youtube videos, I'm pruning my herb plants like crazy to encourage their continued growth. Since we can't really predict when this river of herbs might suddenly dry up, my plan is to preserve as much as I can in as many ways as possible for later.

Teaching-Table-0750-1.jpg

Here's that same sage plant just a few weeks later.

Here's that same sage plant just a few weeks later.

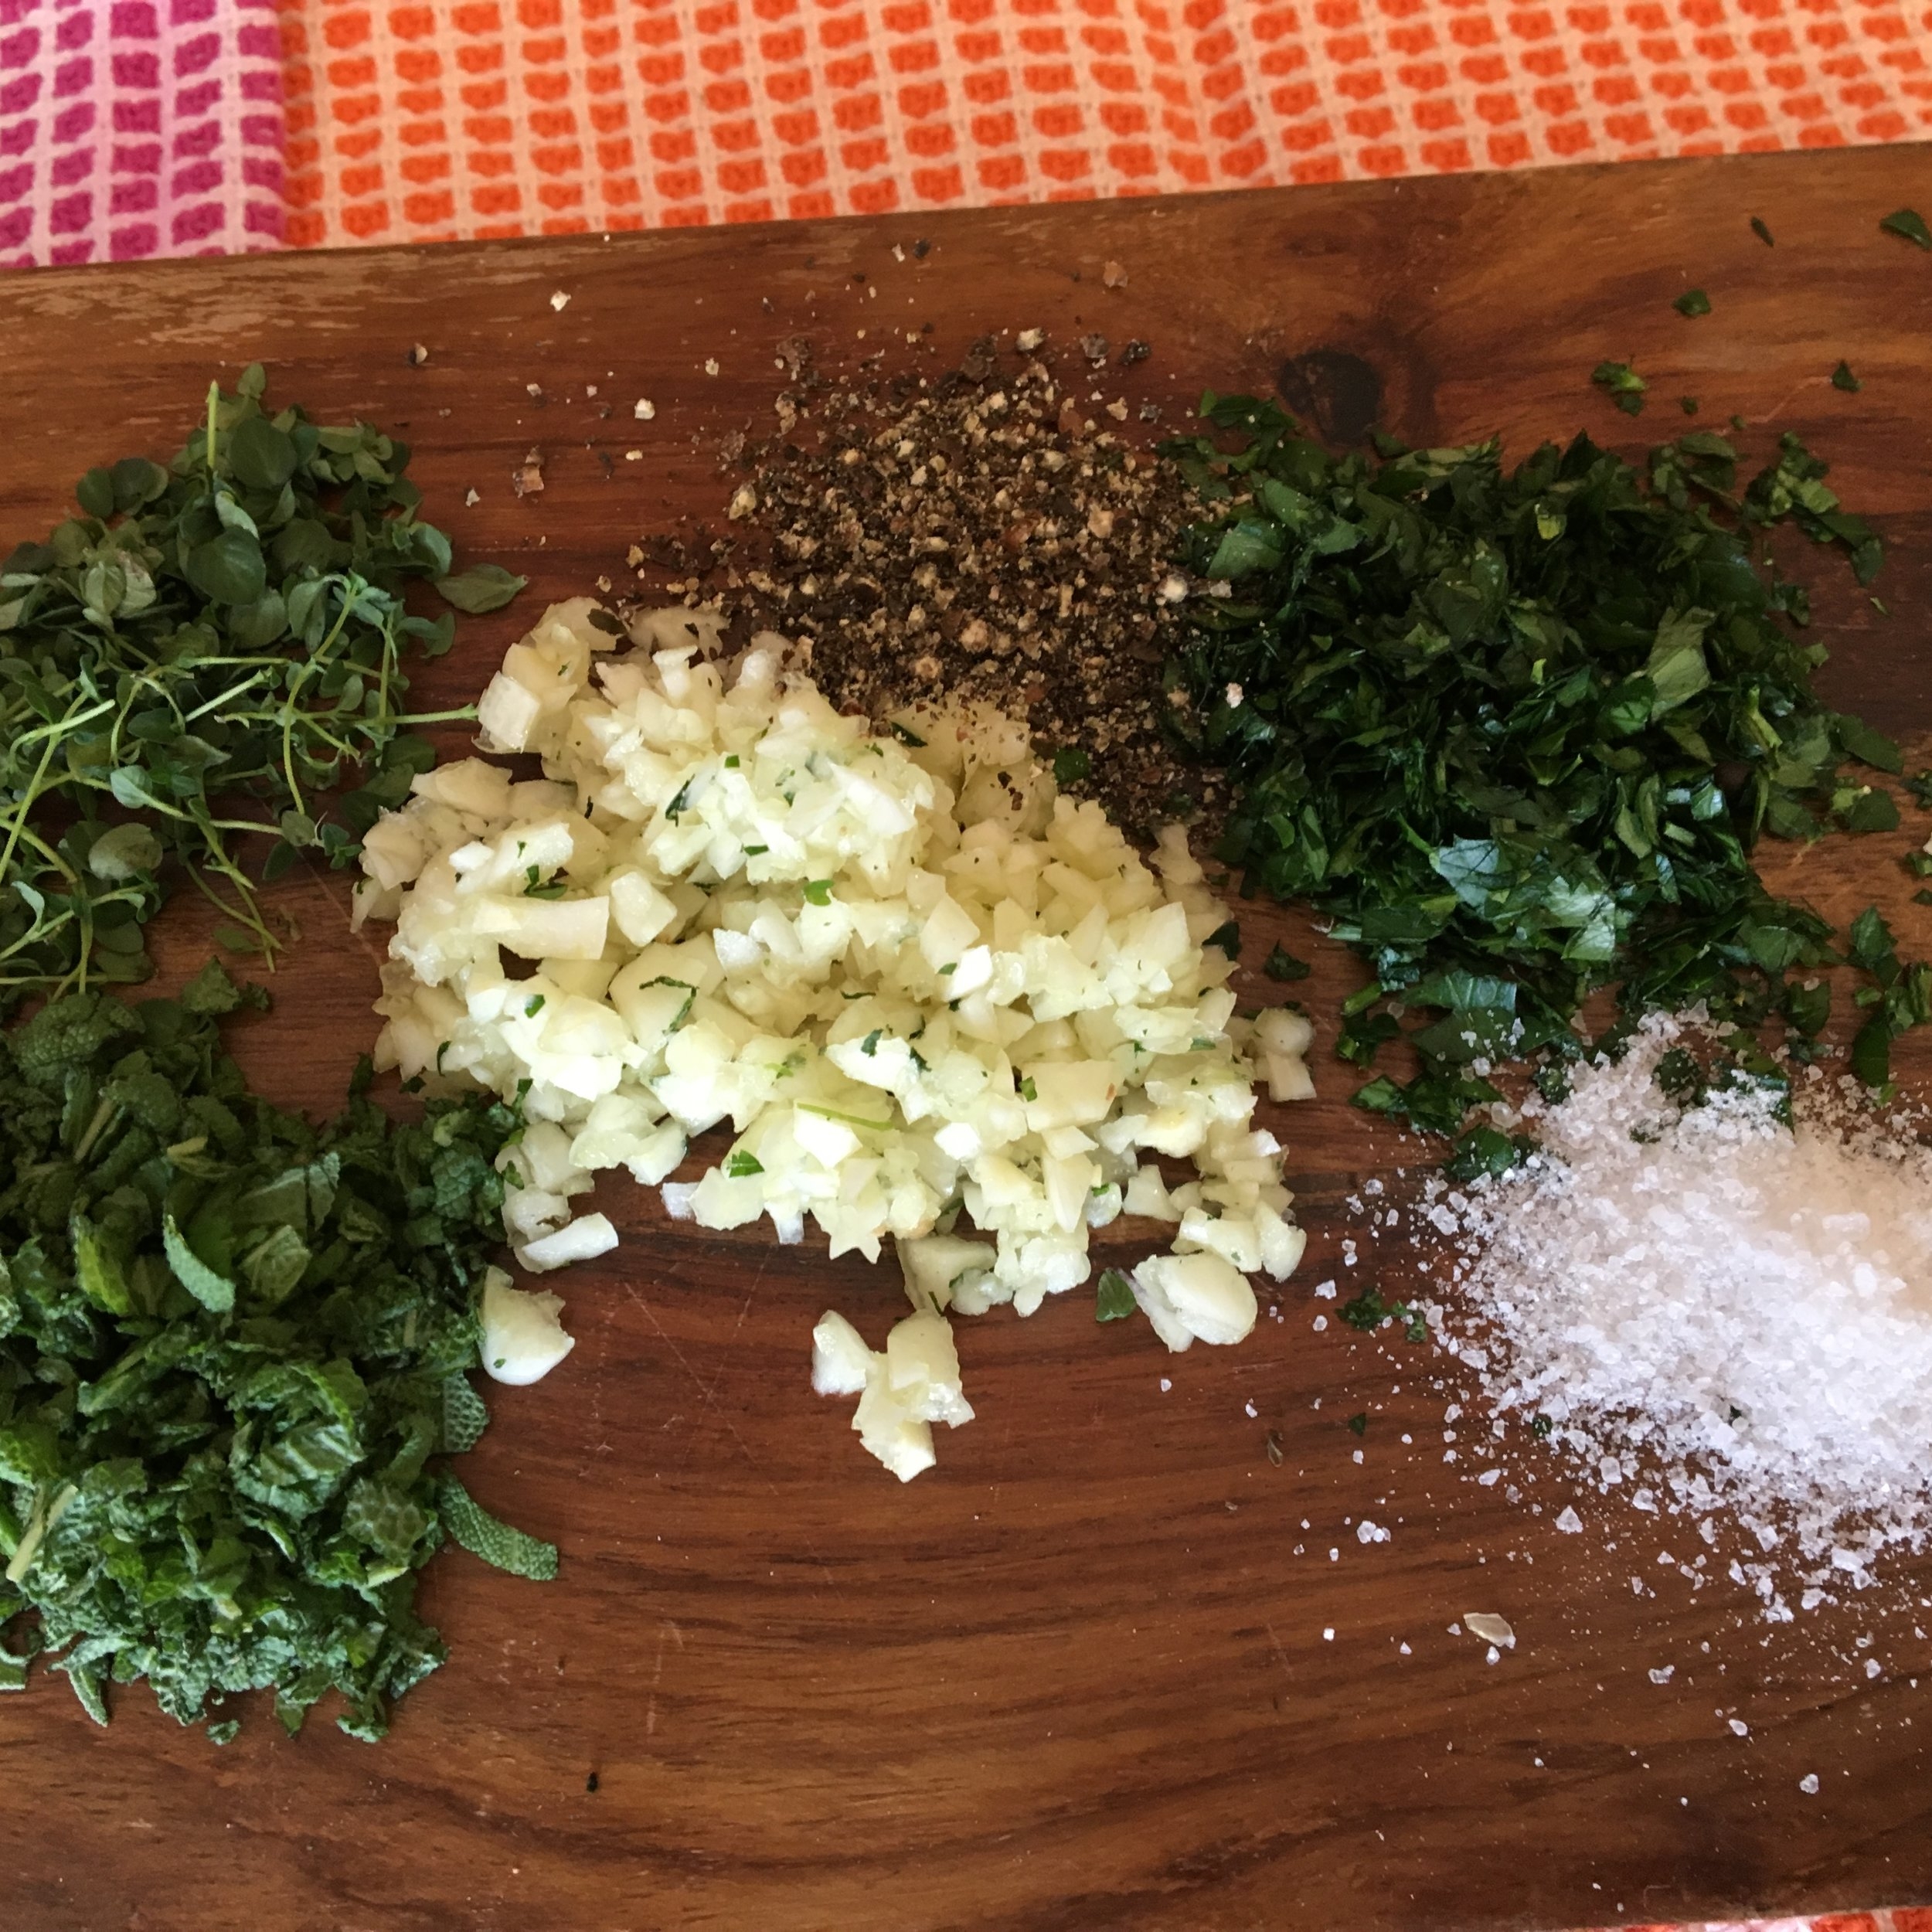
This recipe for herb butter is versatile and freezable. The measurements are just suggestions.

For best results, make sure your herb leaves are completely dry. In fact, if I'm using herbs cut from my own plants, I don't even wash them. If you must wash the herbs, be sure to shake off the excess water and dry them thoroughly on a clean kitchen towel before mincing.

This herb butter is perfect for making garlic bread, seasoning a whole chicken to roast, or topping some freshly steamed green beans. What will you use it for? Please share in the comments.

Ingredients:

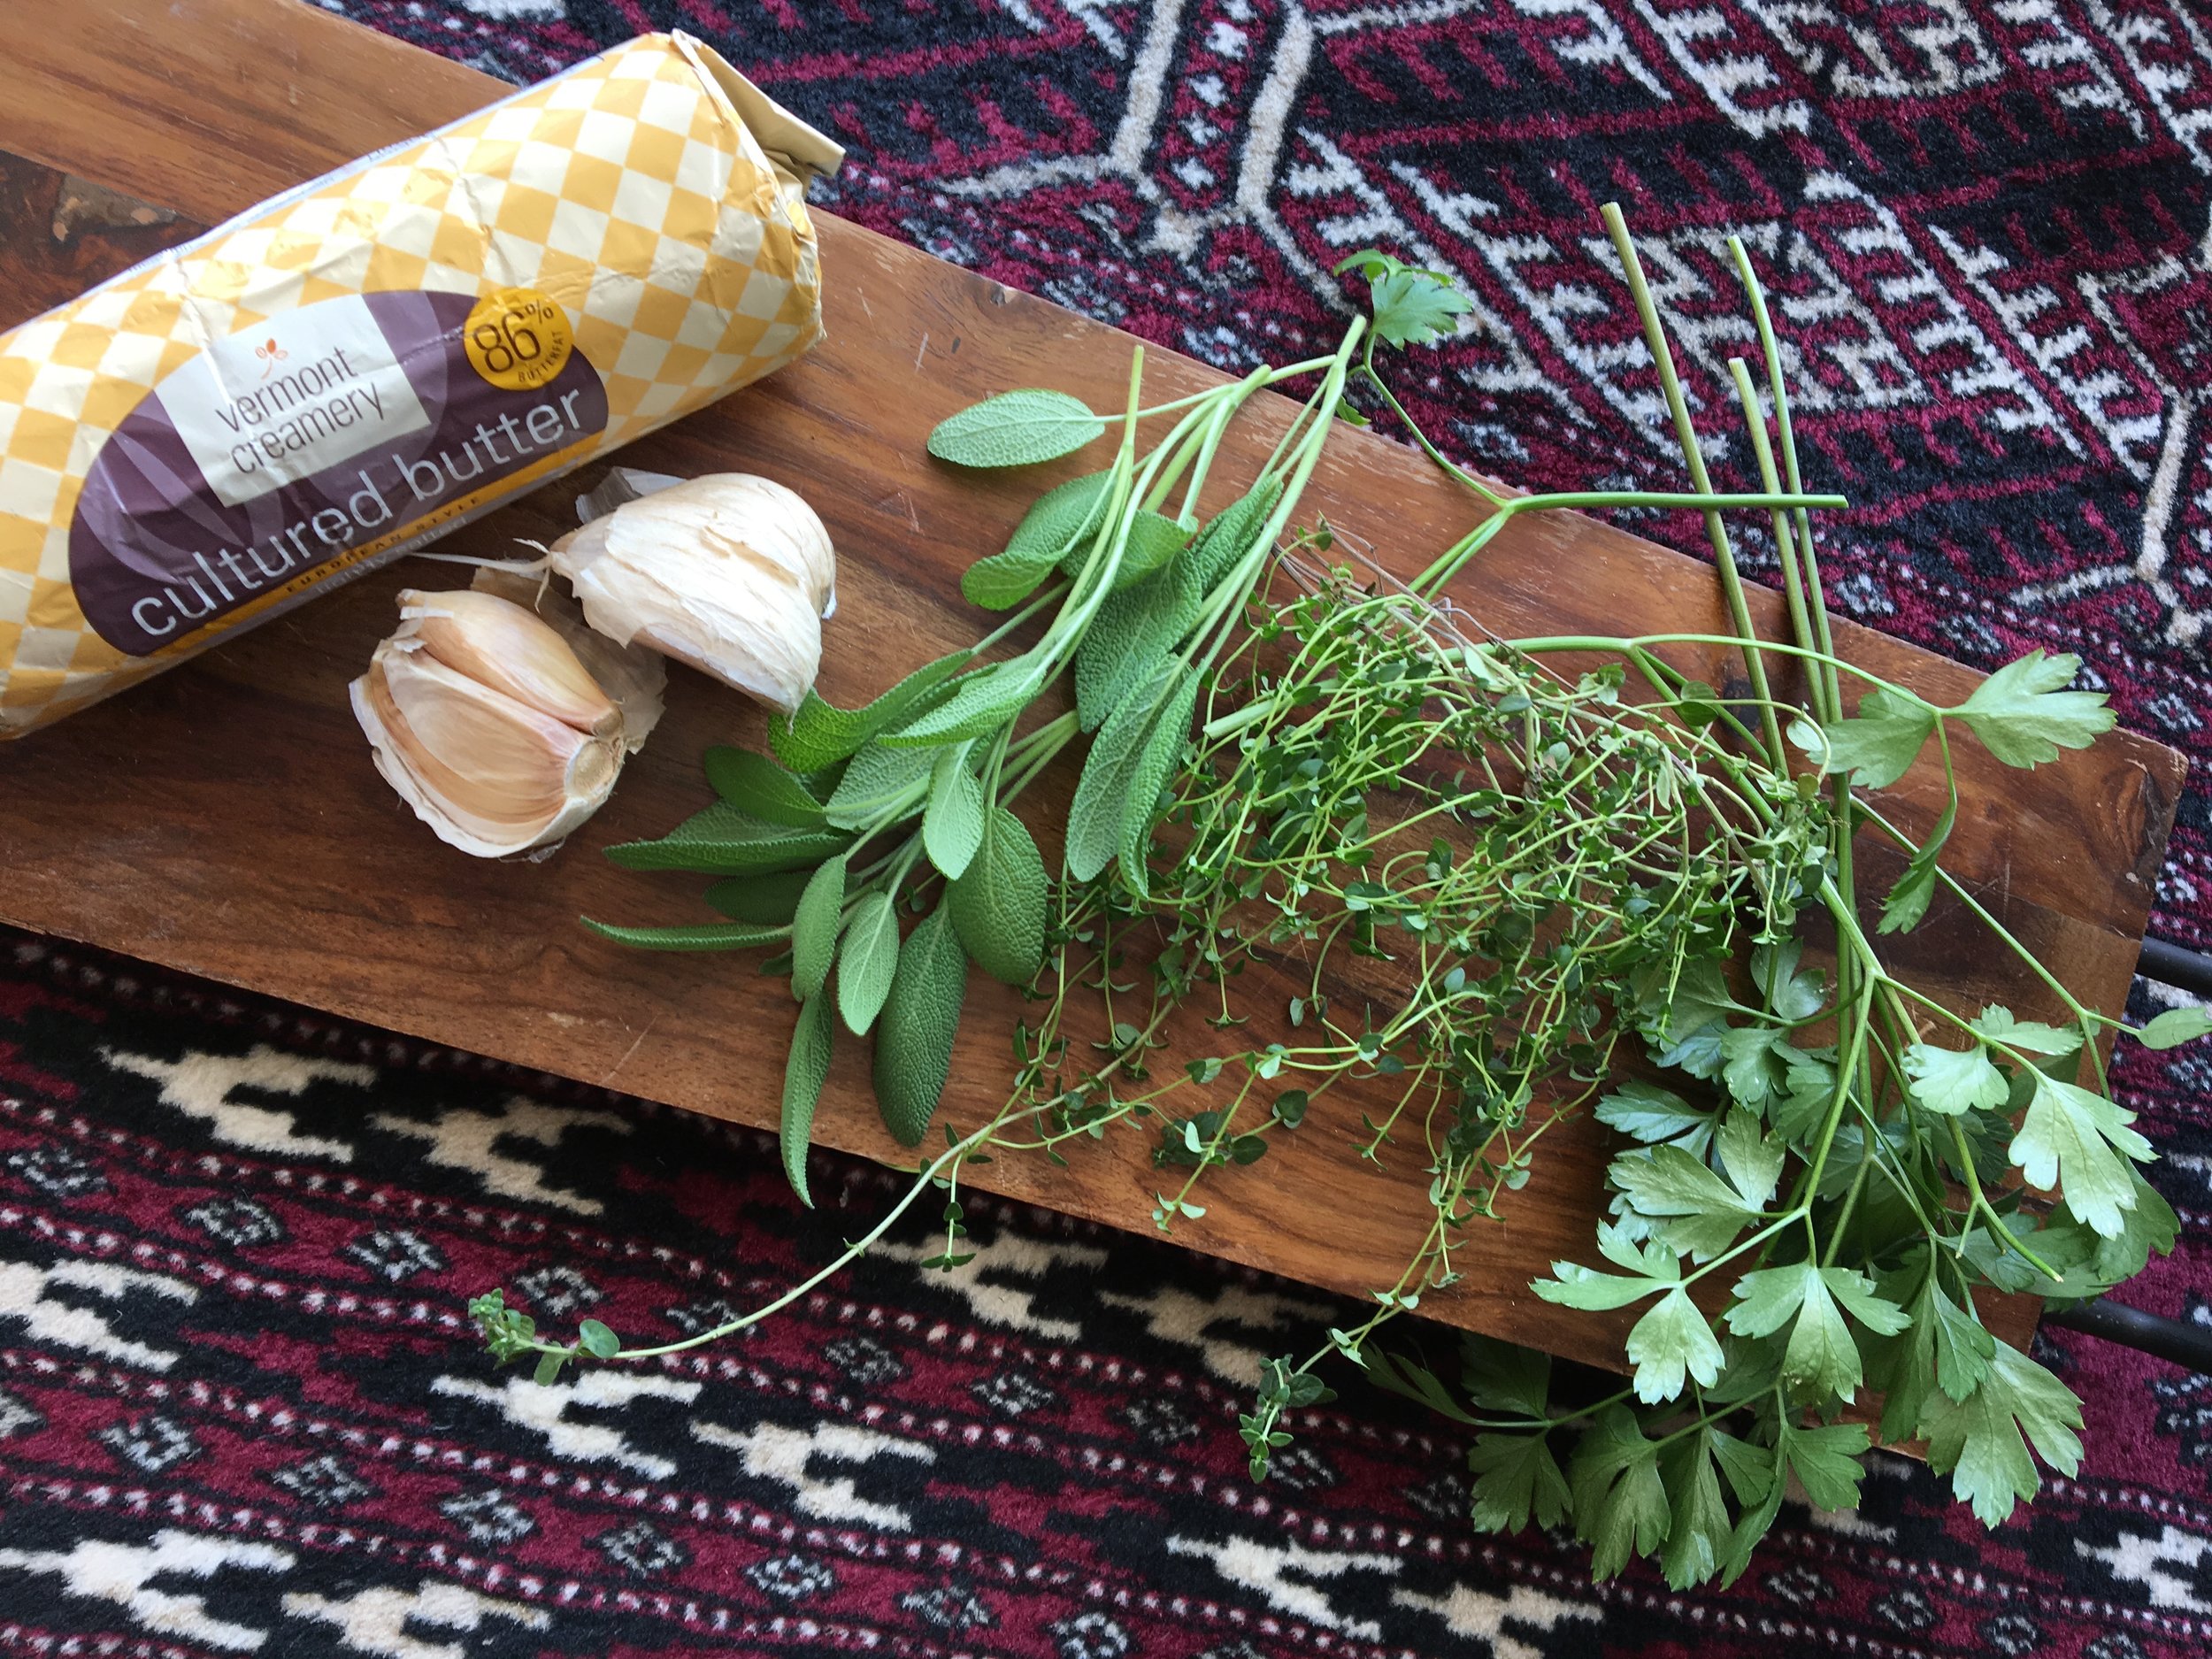
  • 4 ounces salted butter, at room temperature (I have a particular preference for Vermont Creamery's cultured butter for this recipe)

  • 2 tablespoons garlic, minced

  • 1 tablespoon parsley leaves, minced

  • 1 tablespoon fresh sage leaves, minced

  • 2 teaspoons thyme leaves

  • 1 teaspoon freshly ground black pepper

  • 1/2 teaspoon sea salt

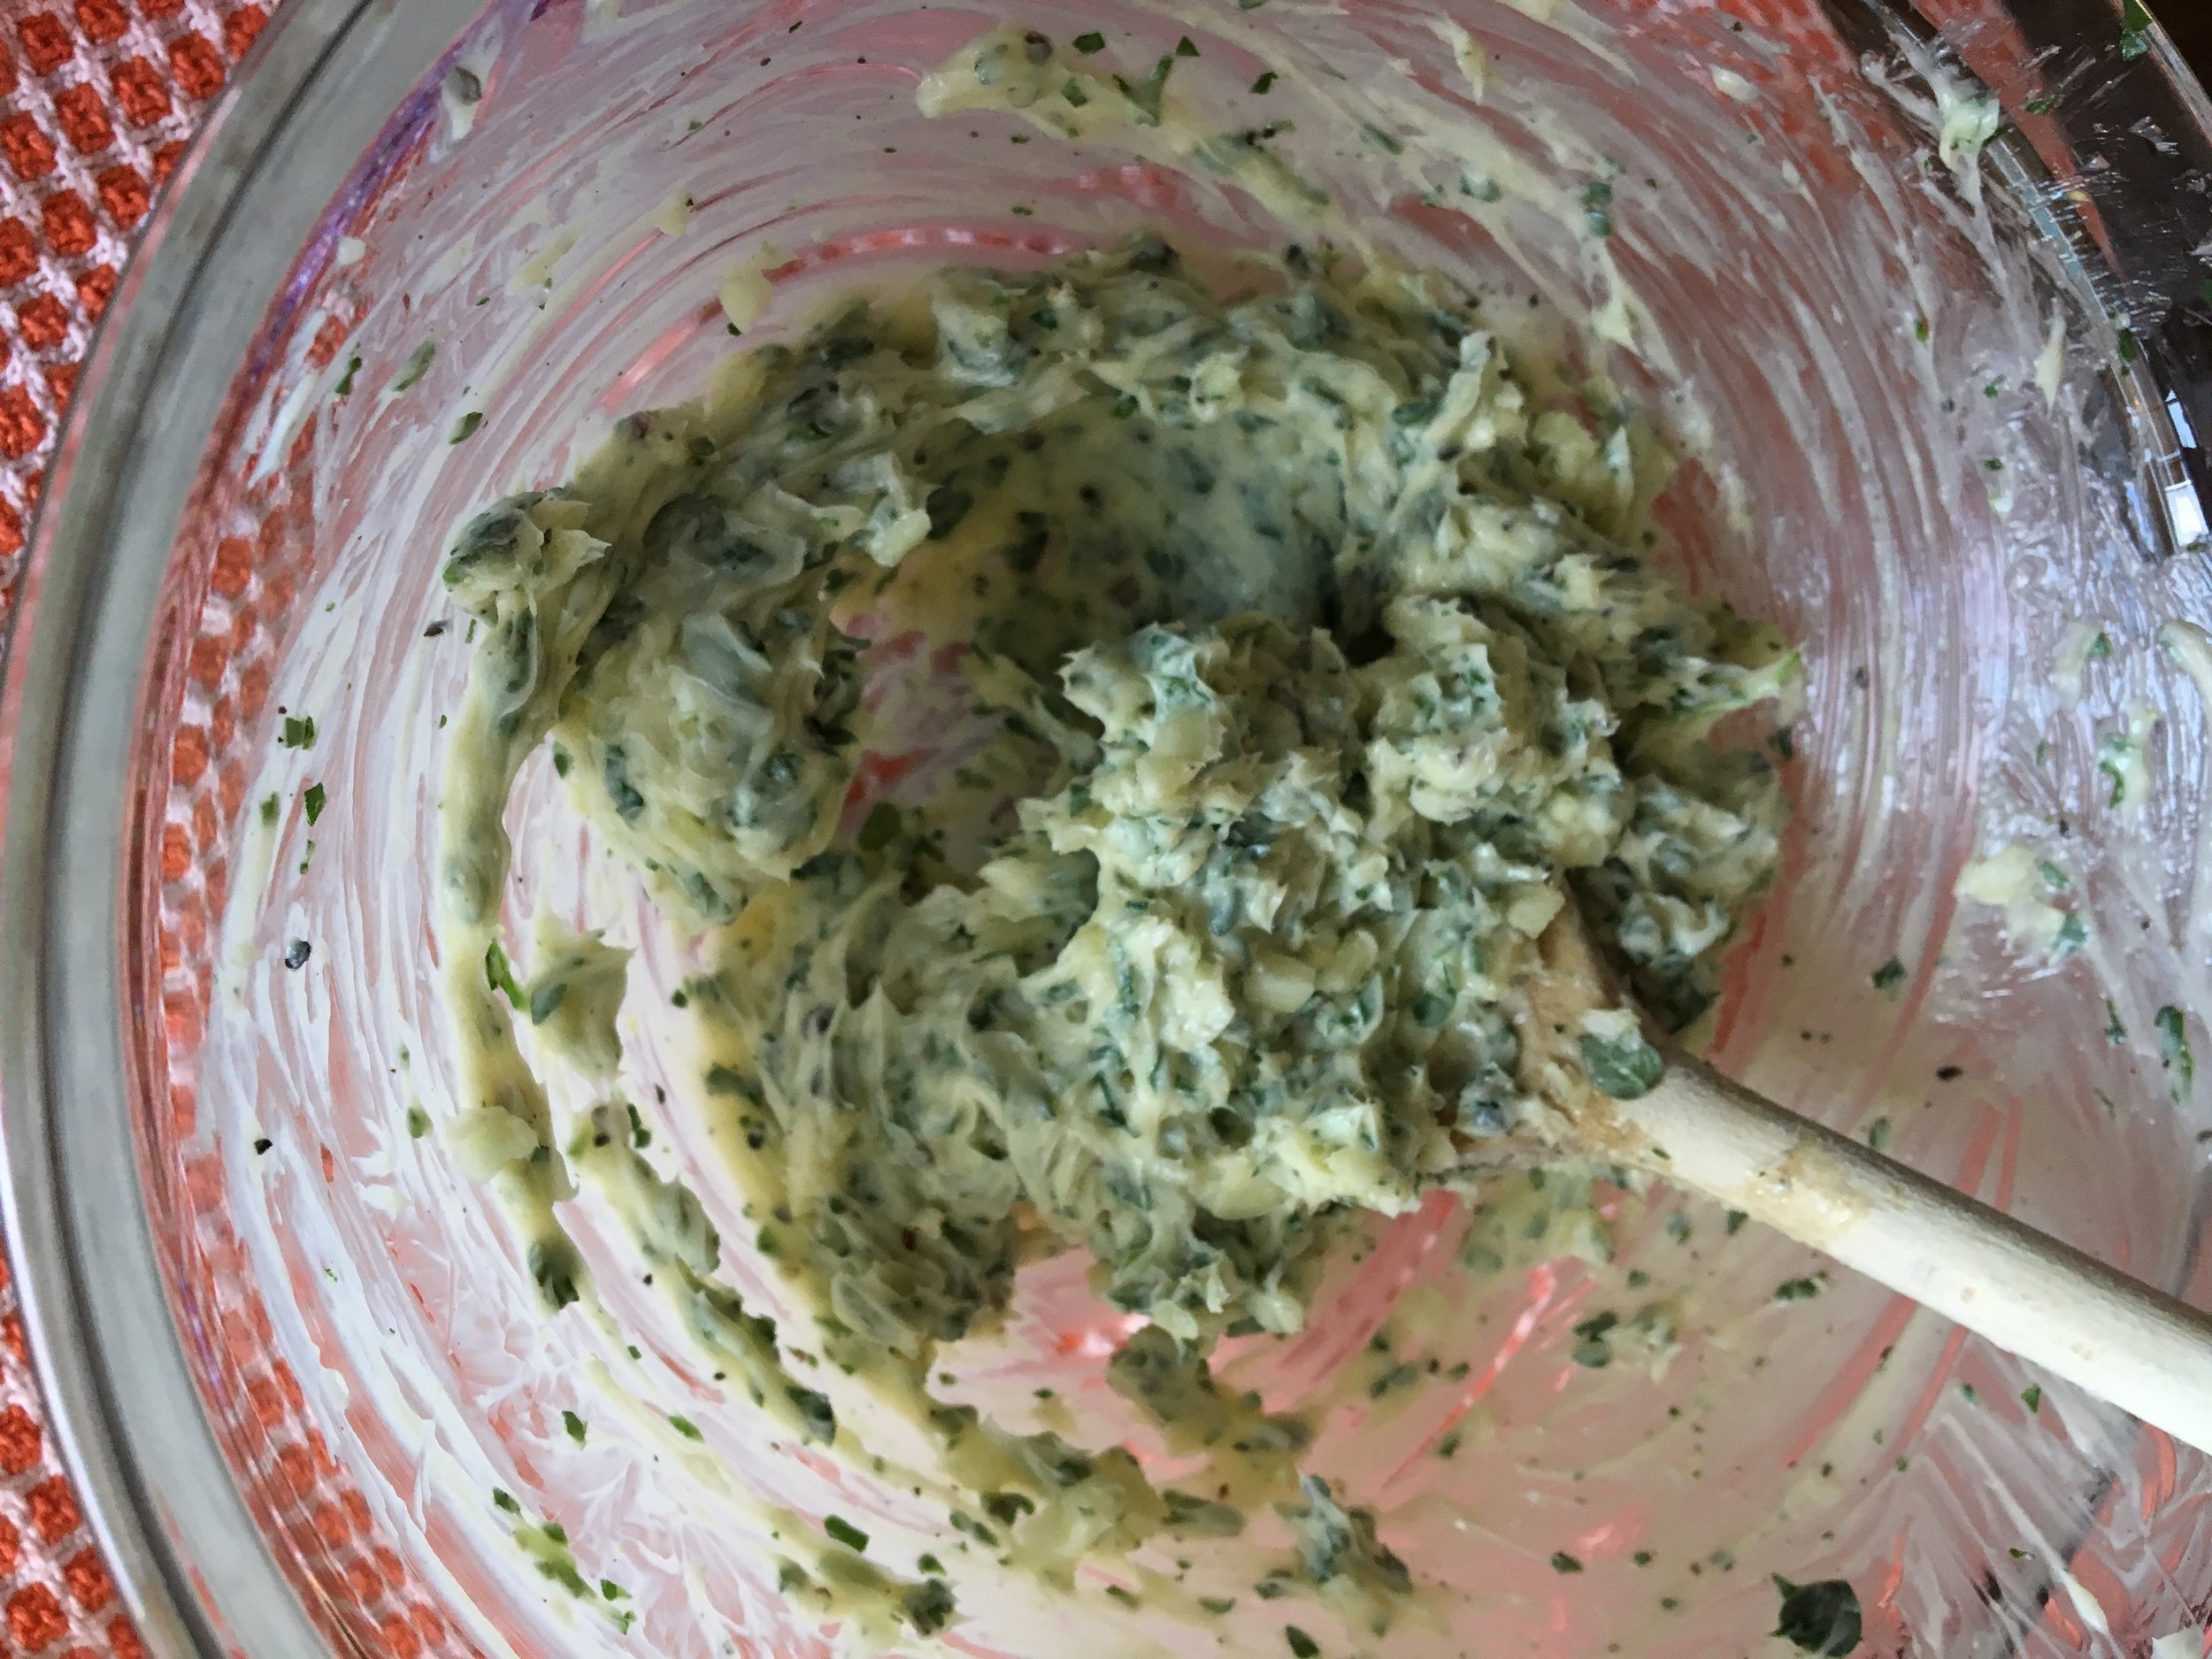
With a wooden spoon, thoroughly mix garlic, herbs, pepper and salt into the butter. Stir until evenly combined.

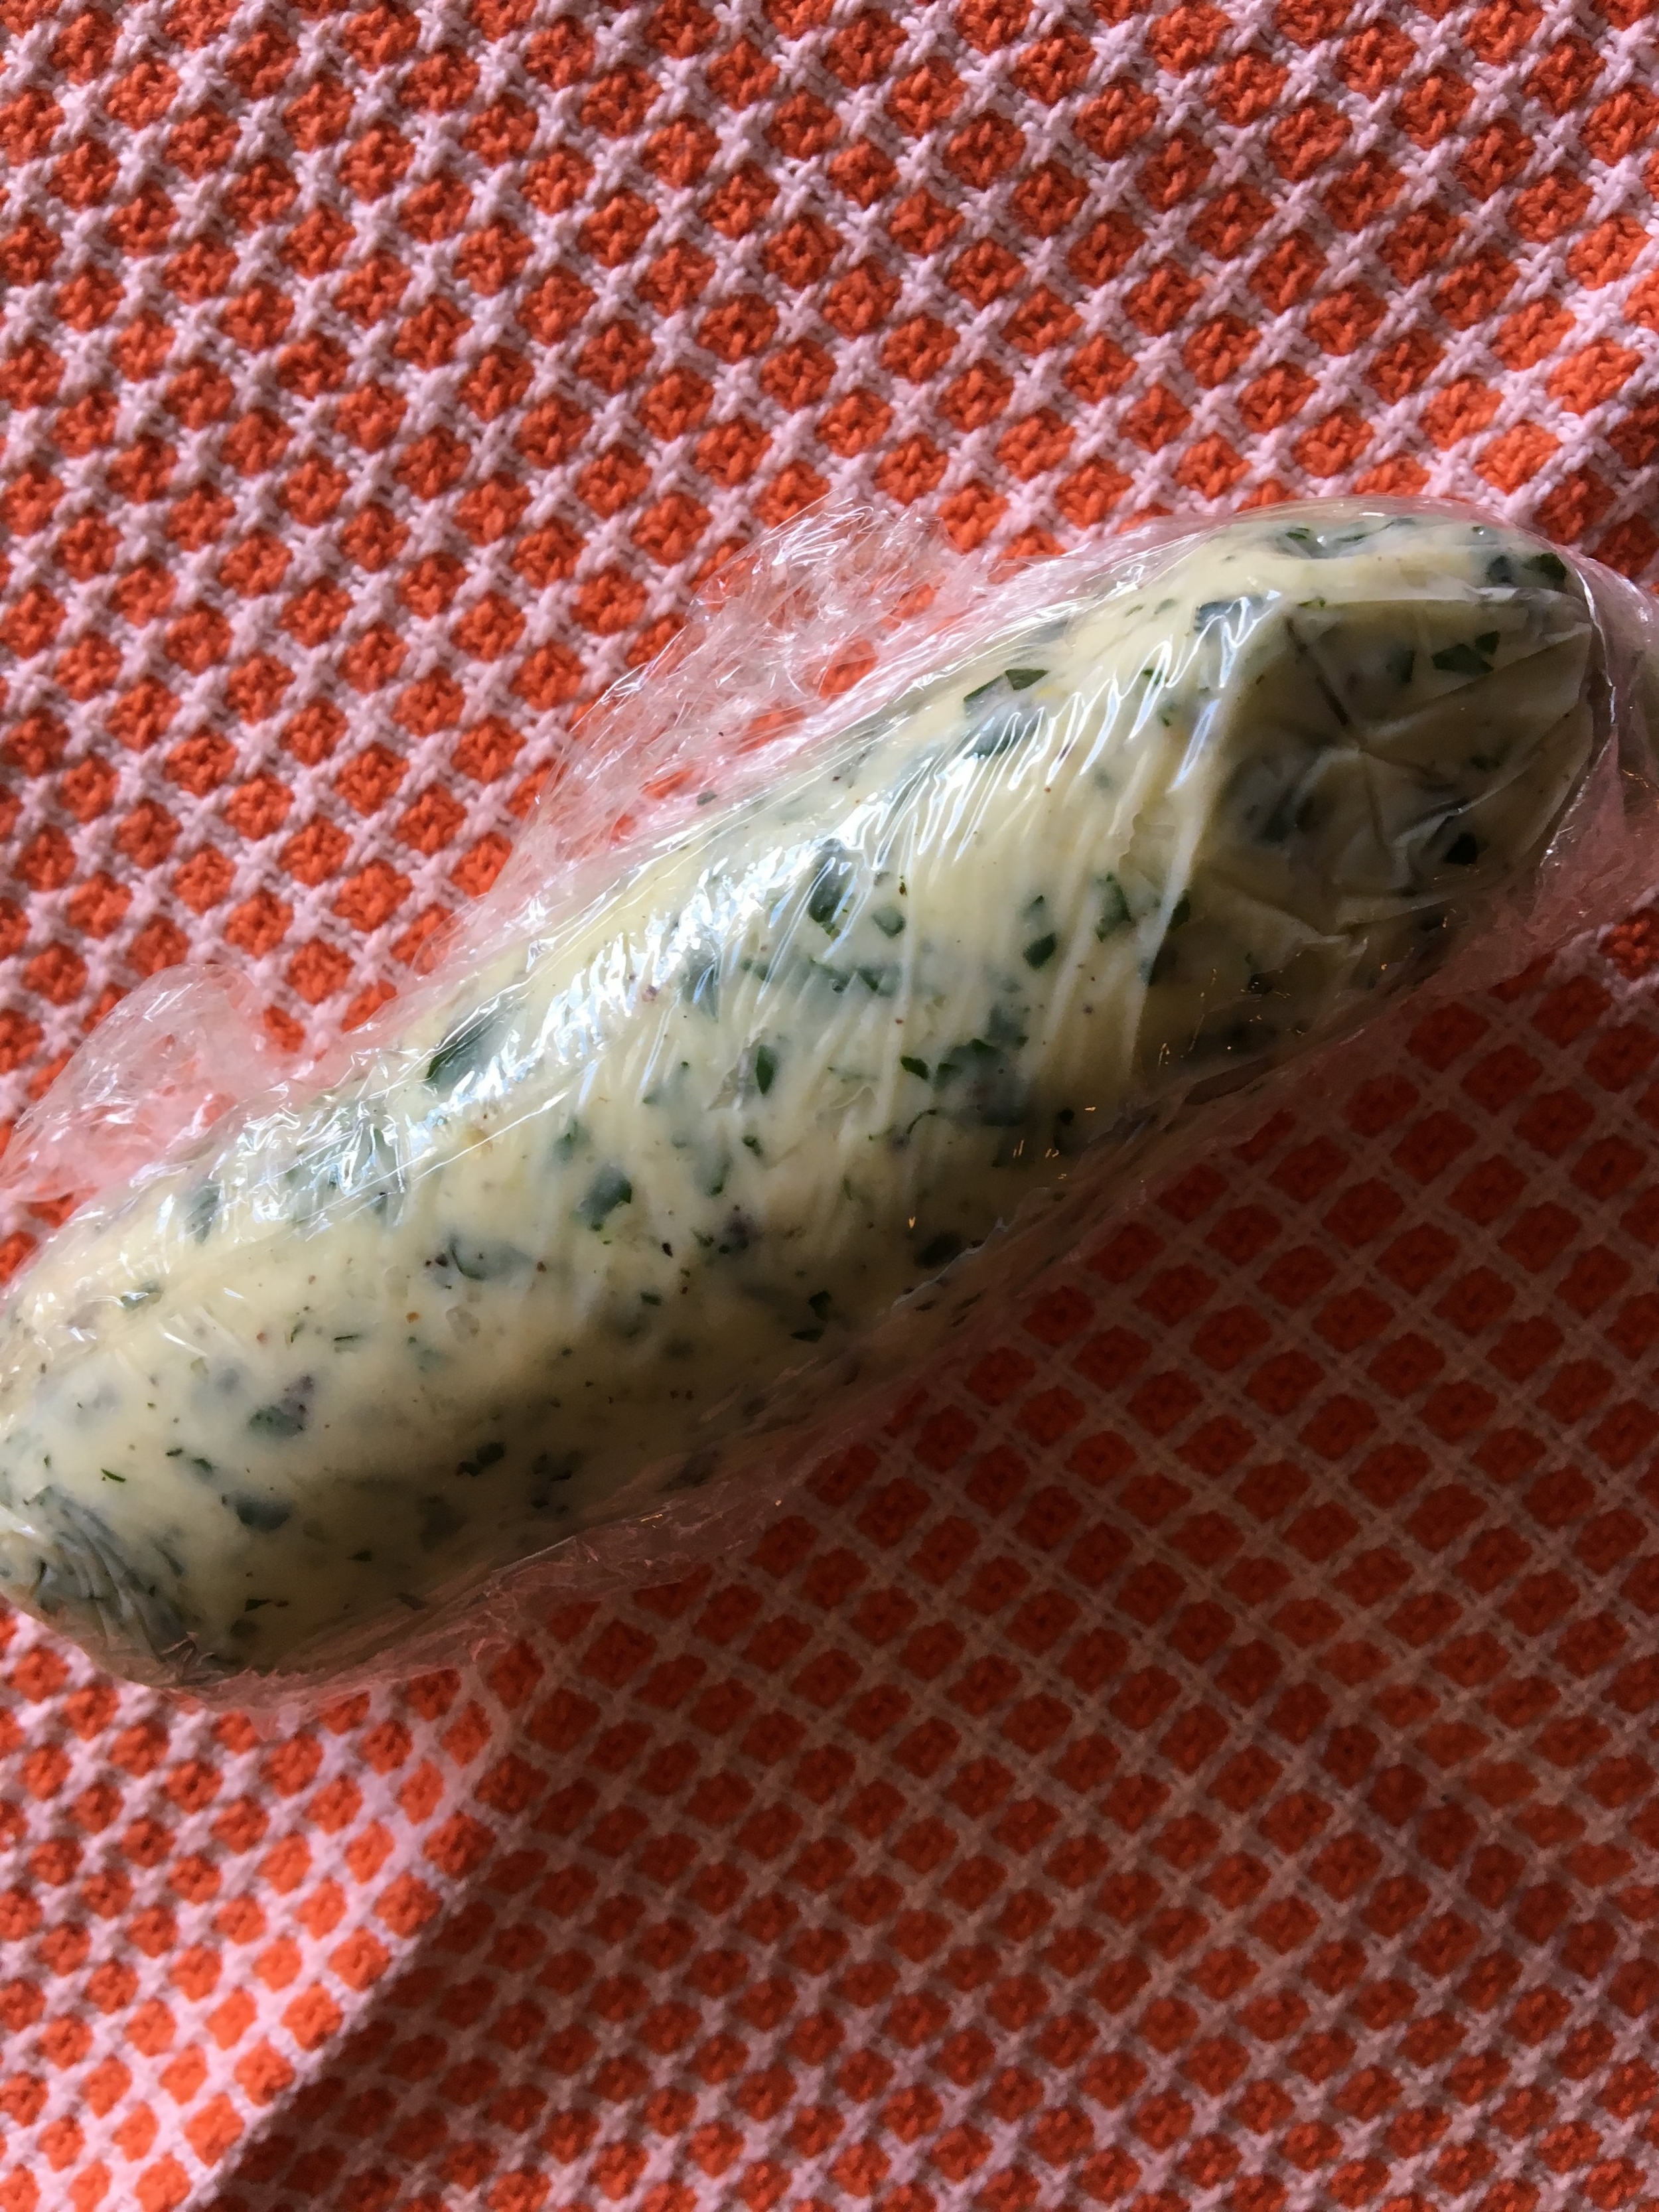
Transfer to a glass jar to store herb butter in your fridge for about 2 weeks or wrap tightly in plastic wrap and freeze for up to 6 months. I used to freeze this butter in small silicone or plastic containers, but learned the hard way that the garlic flavor never really washed out afterwards, so I've switched to storing in plastic wrap.