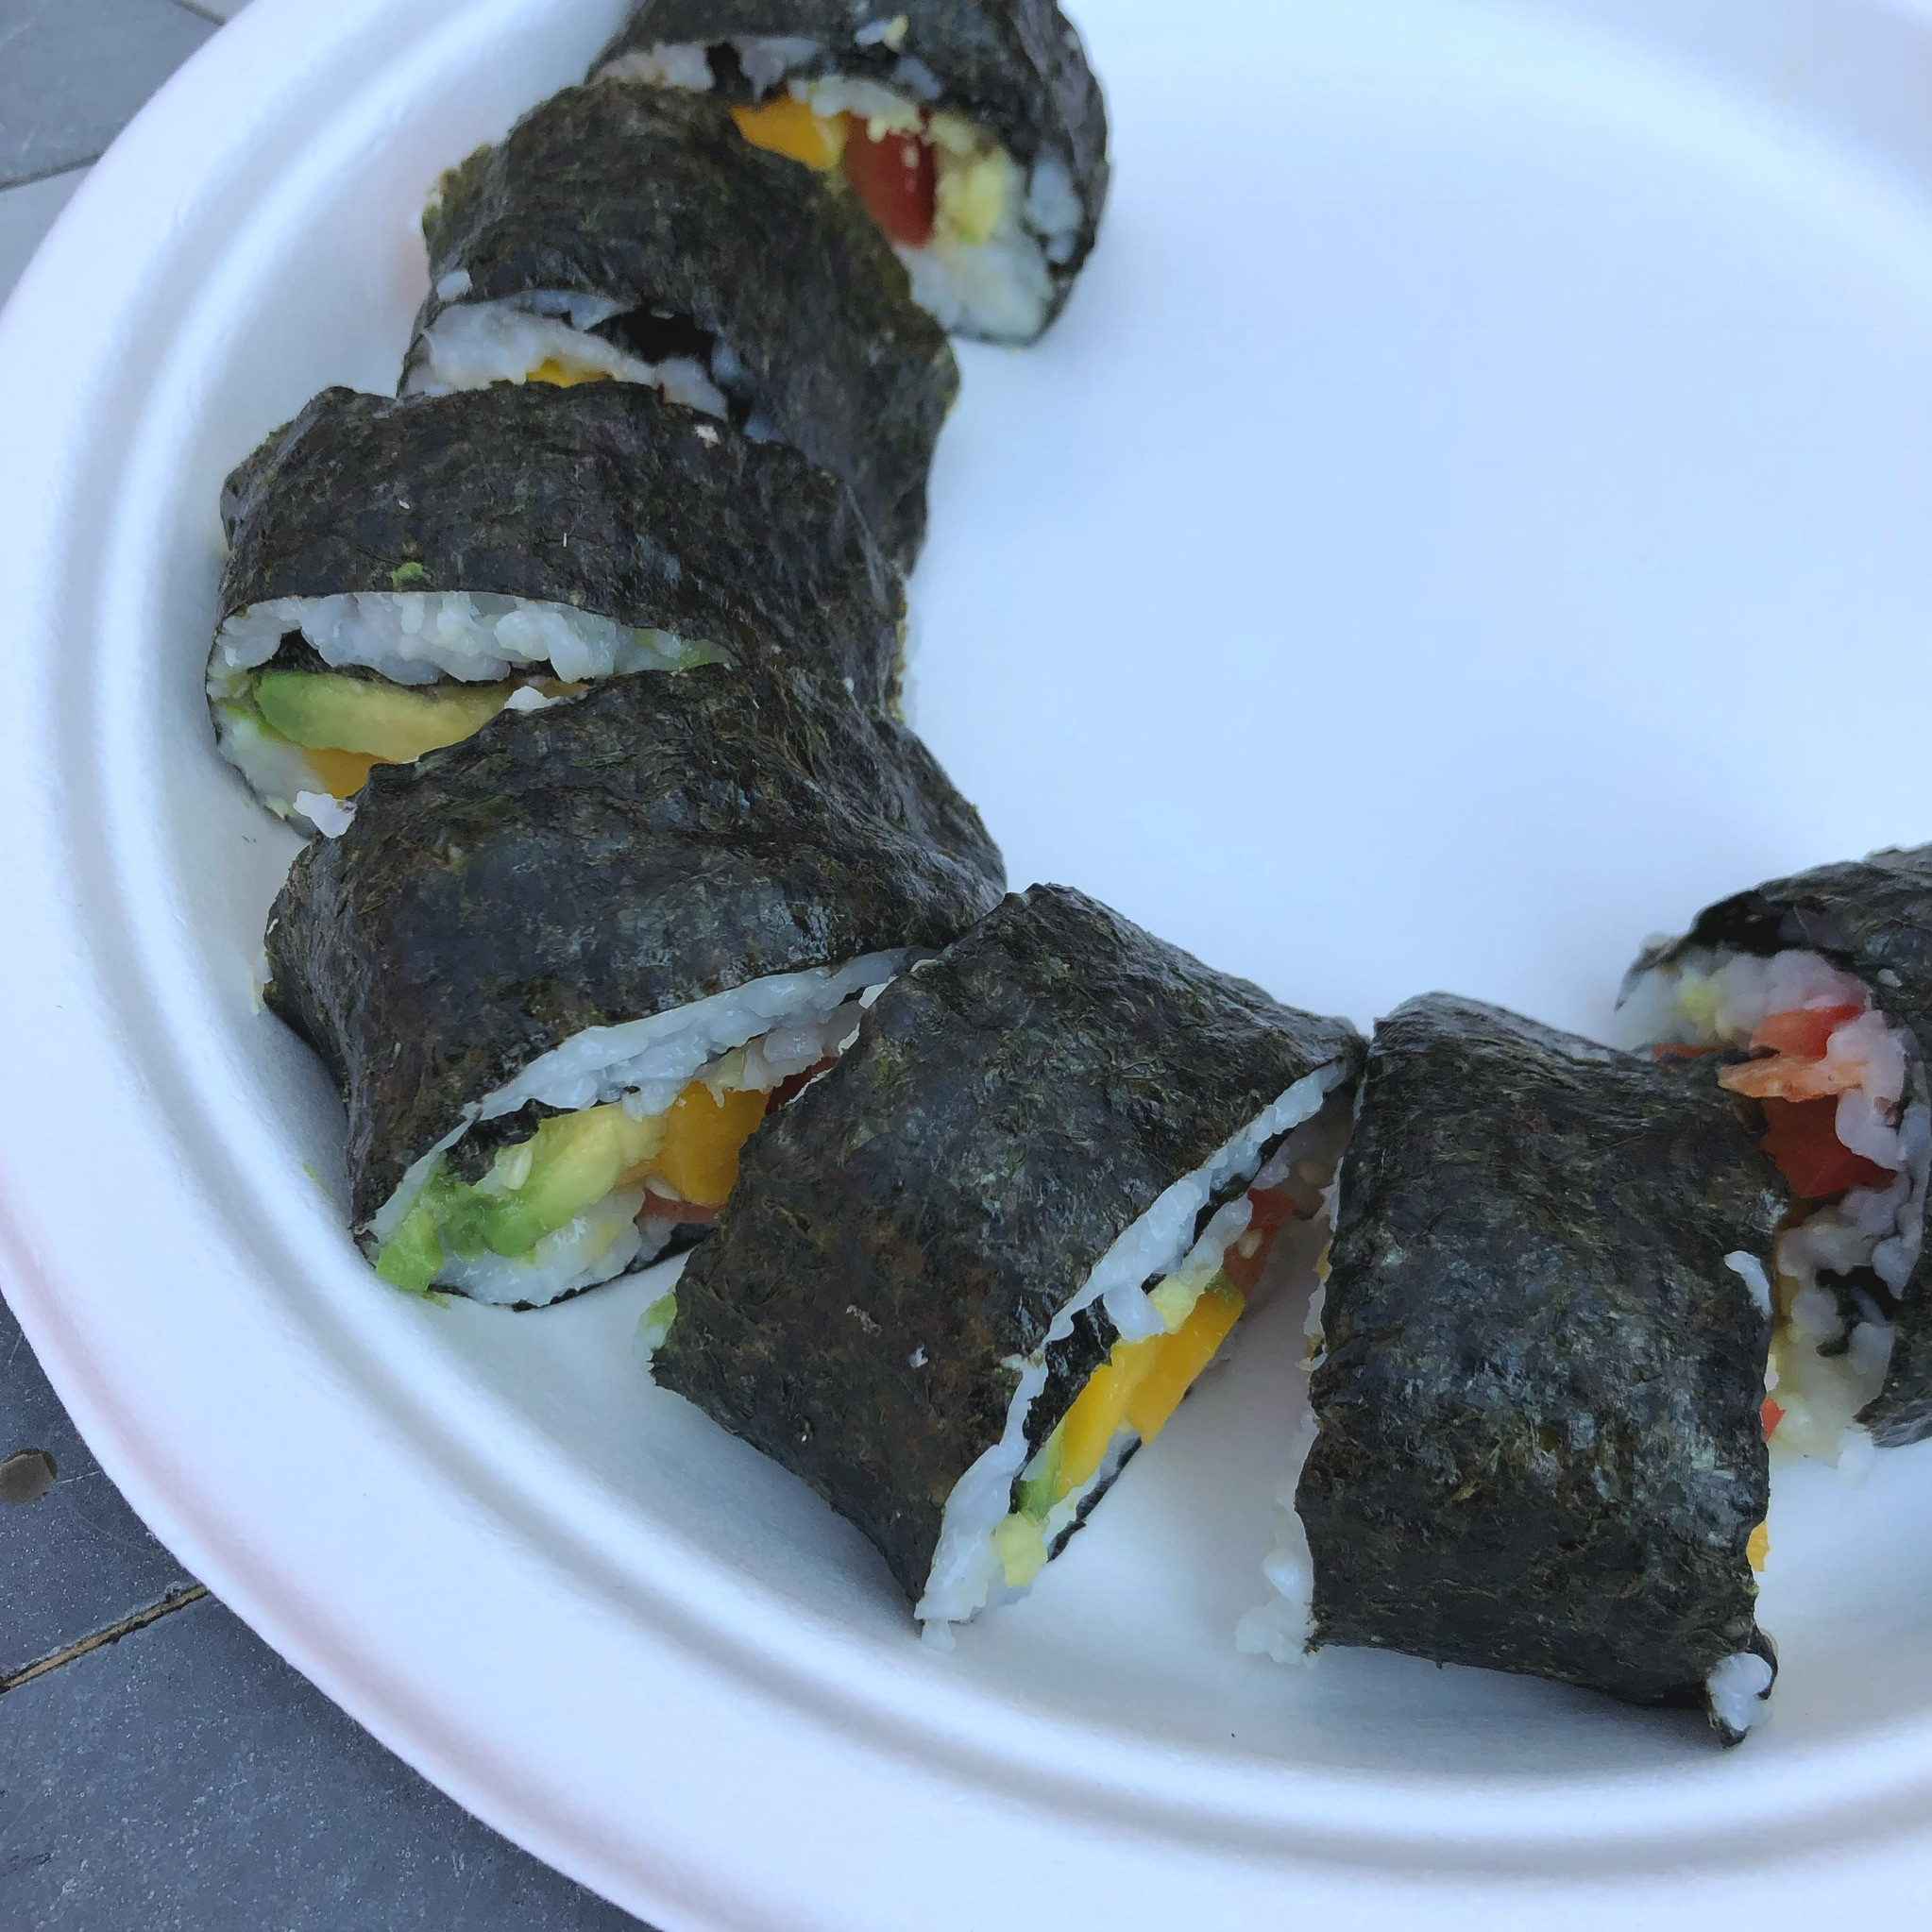
My Shiitake Mushroom “Bacon” Lettuce and Tomato with homemade Cashew Mayo on a Collard Green Wrap is the summer recipe for those who need alternatives to the traditional elements of the BLT but still want to celebrate the tomato. Of course you can mix and match these elements - try a vegan or vegetarian version on your favorite bread or work your usual bacon into a collard wrap to keep it gluten free. Bottom line is, you have options and don’t have to skip the BLT this summer. Just don’t replace the tomato.
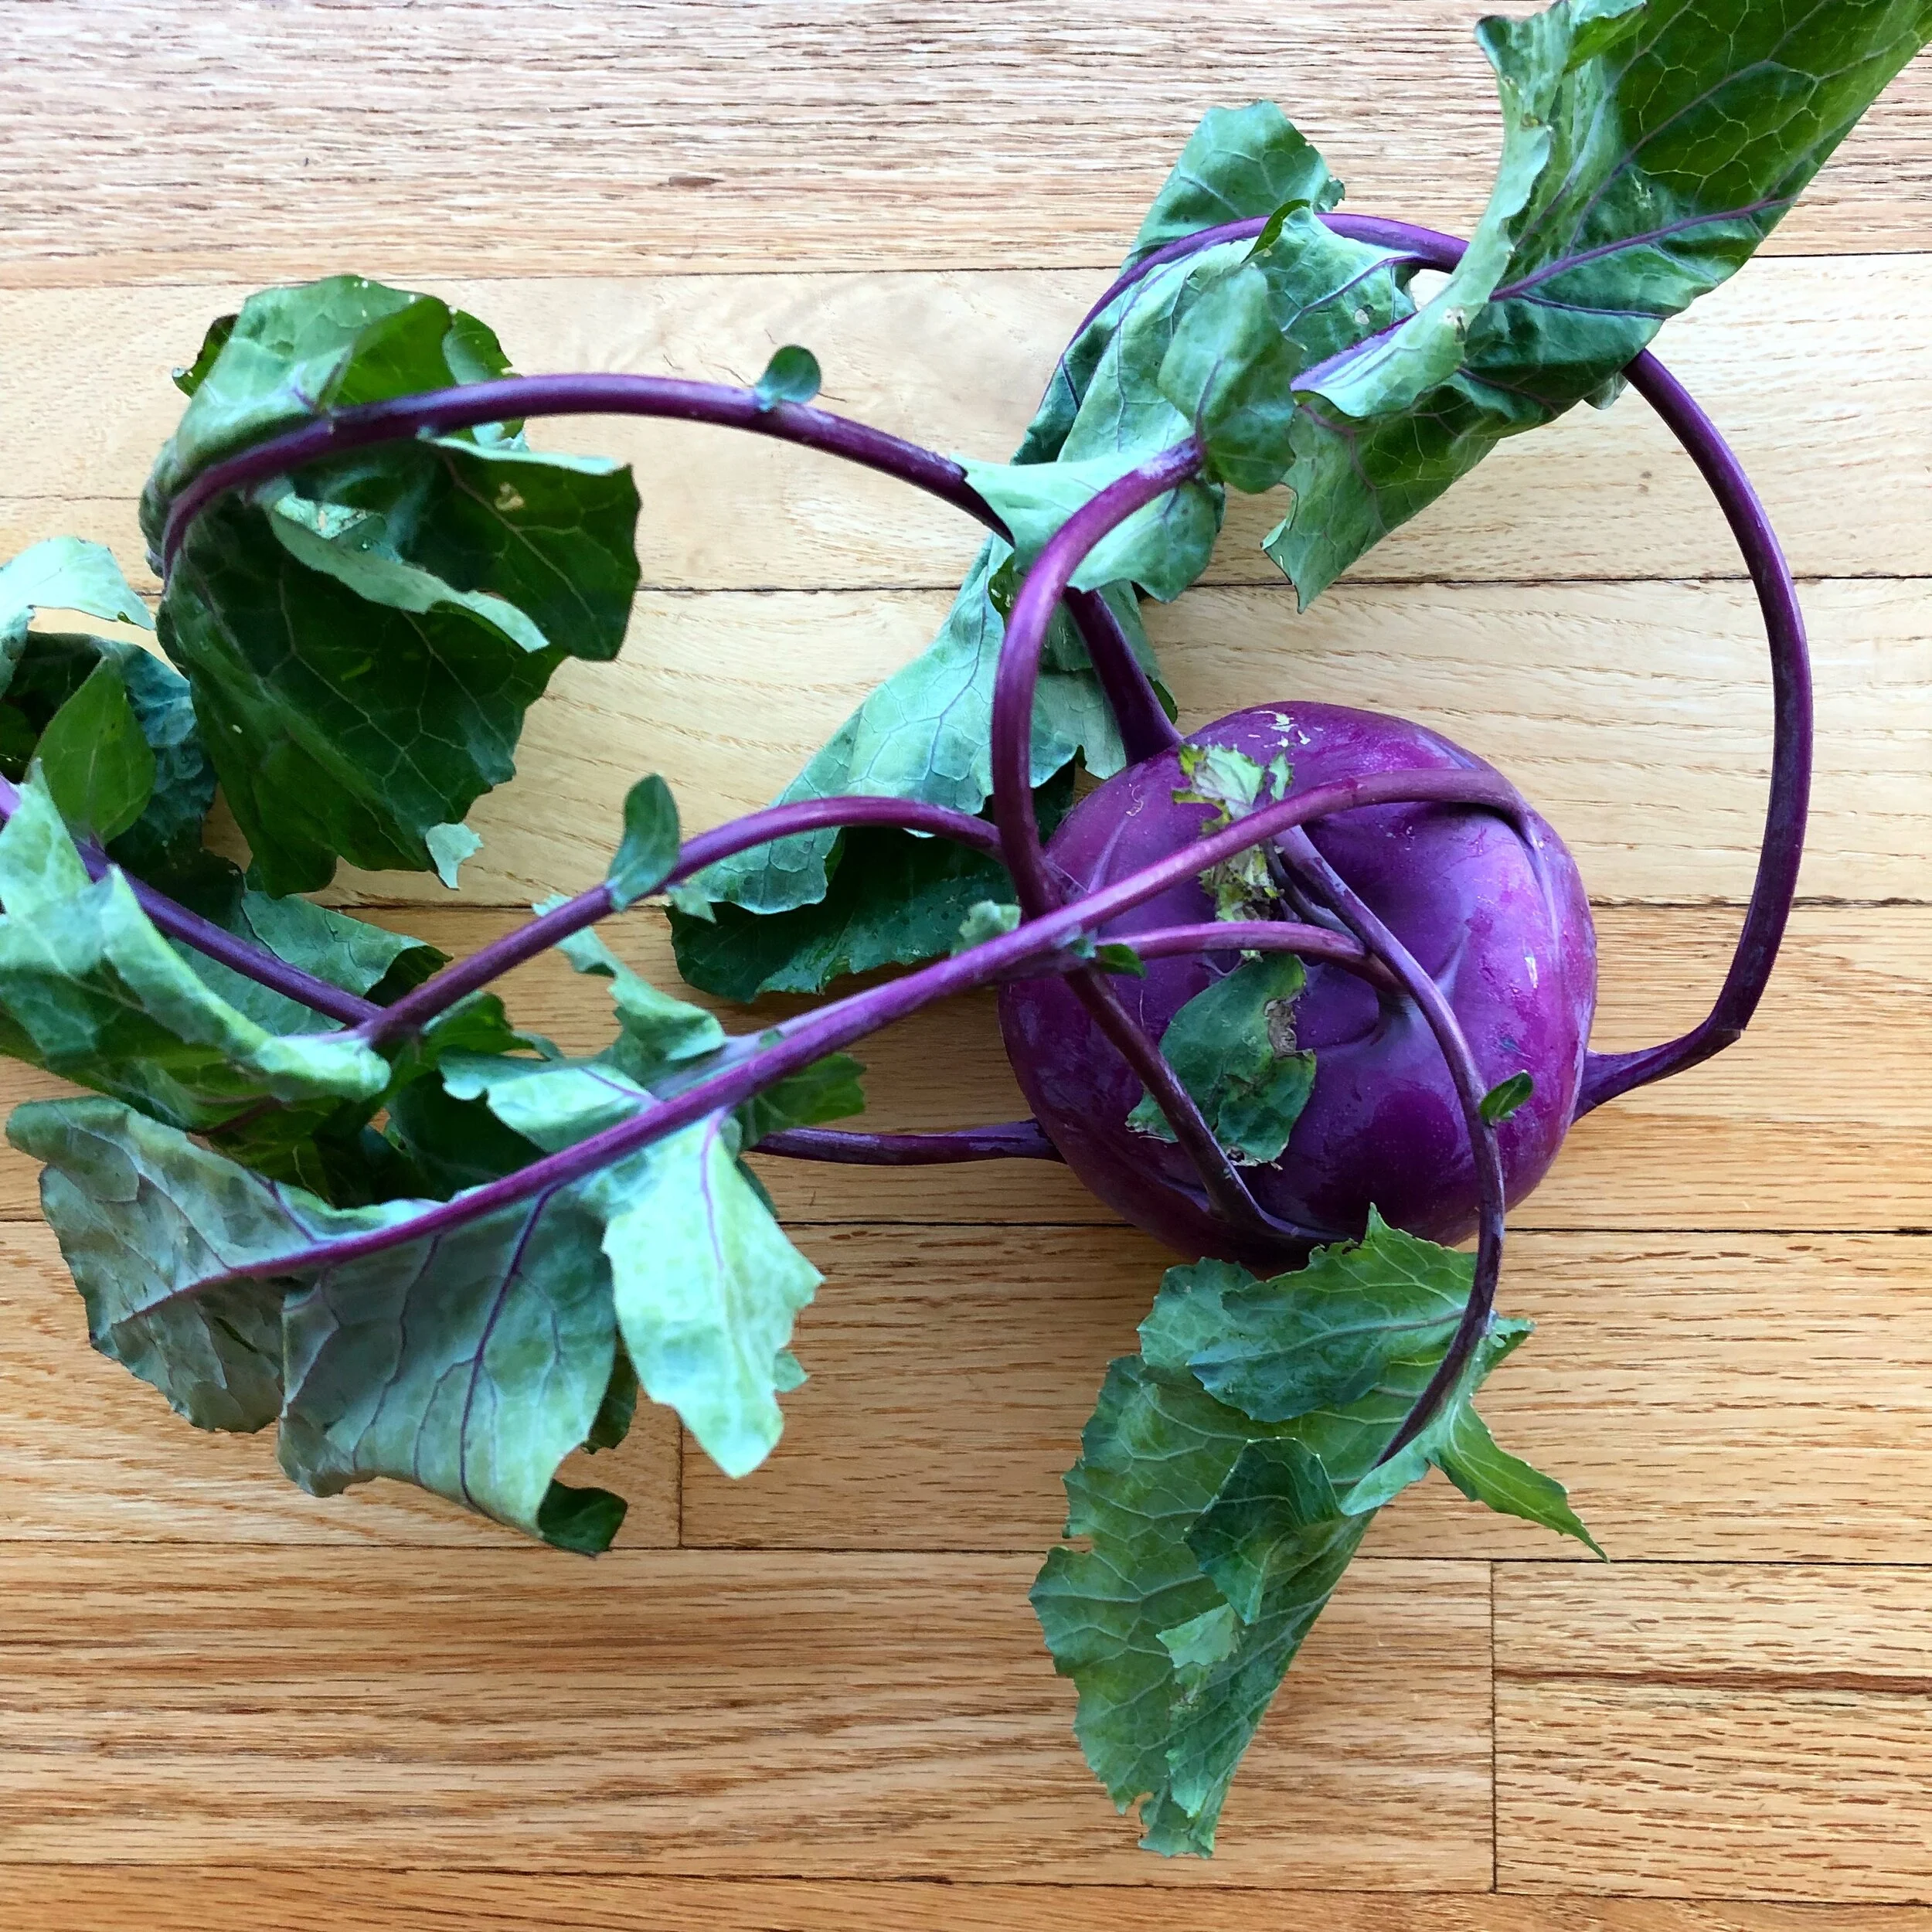
Kohlrabi Clarified
This space-like brassica bulb tends to baffle even the most adventurous vegetable eaters. Here’s a quick list of ideas for your bounty of bulbs, concluding with my recipe for Kohlrabi Latkes that will have you looking for kohlrabi at the grocery store (good luck with that).
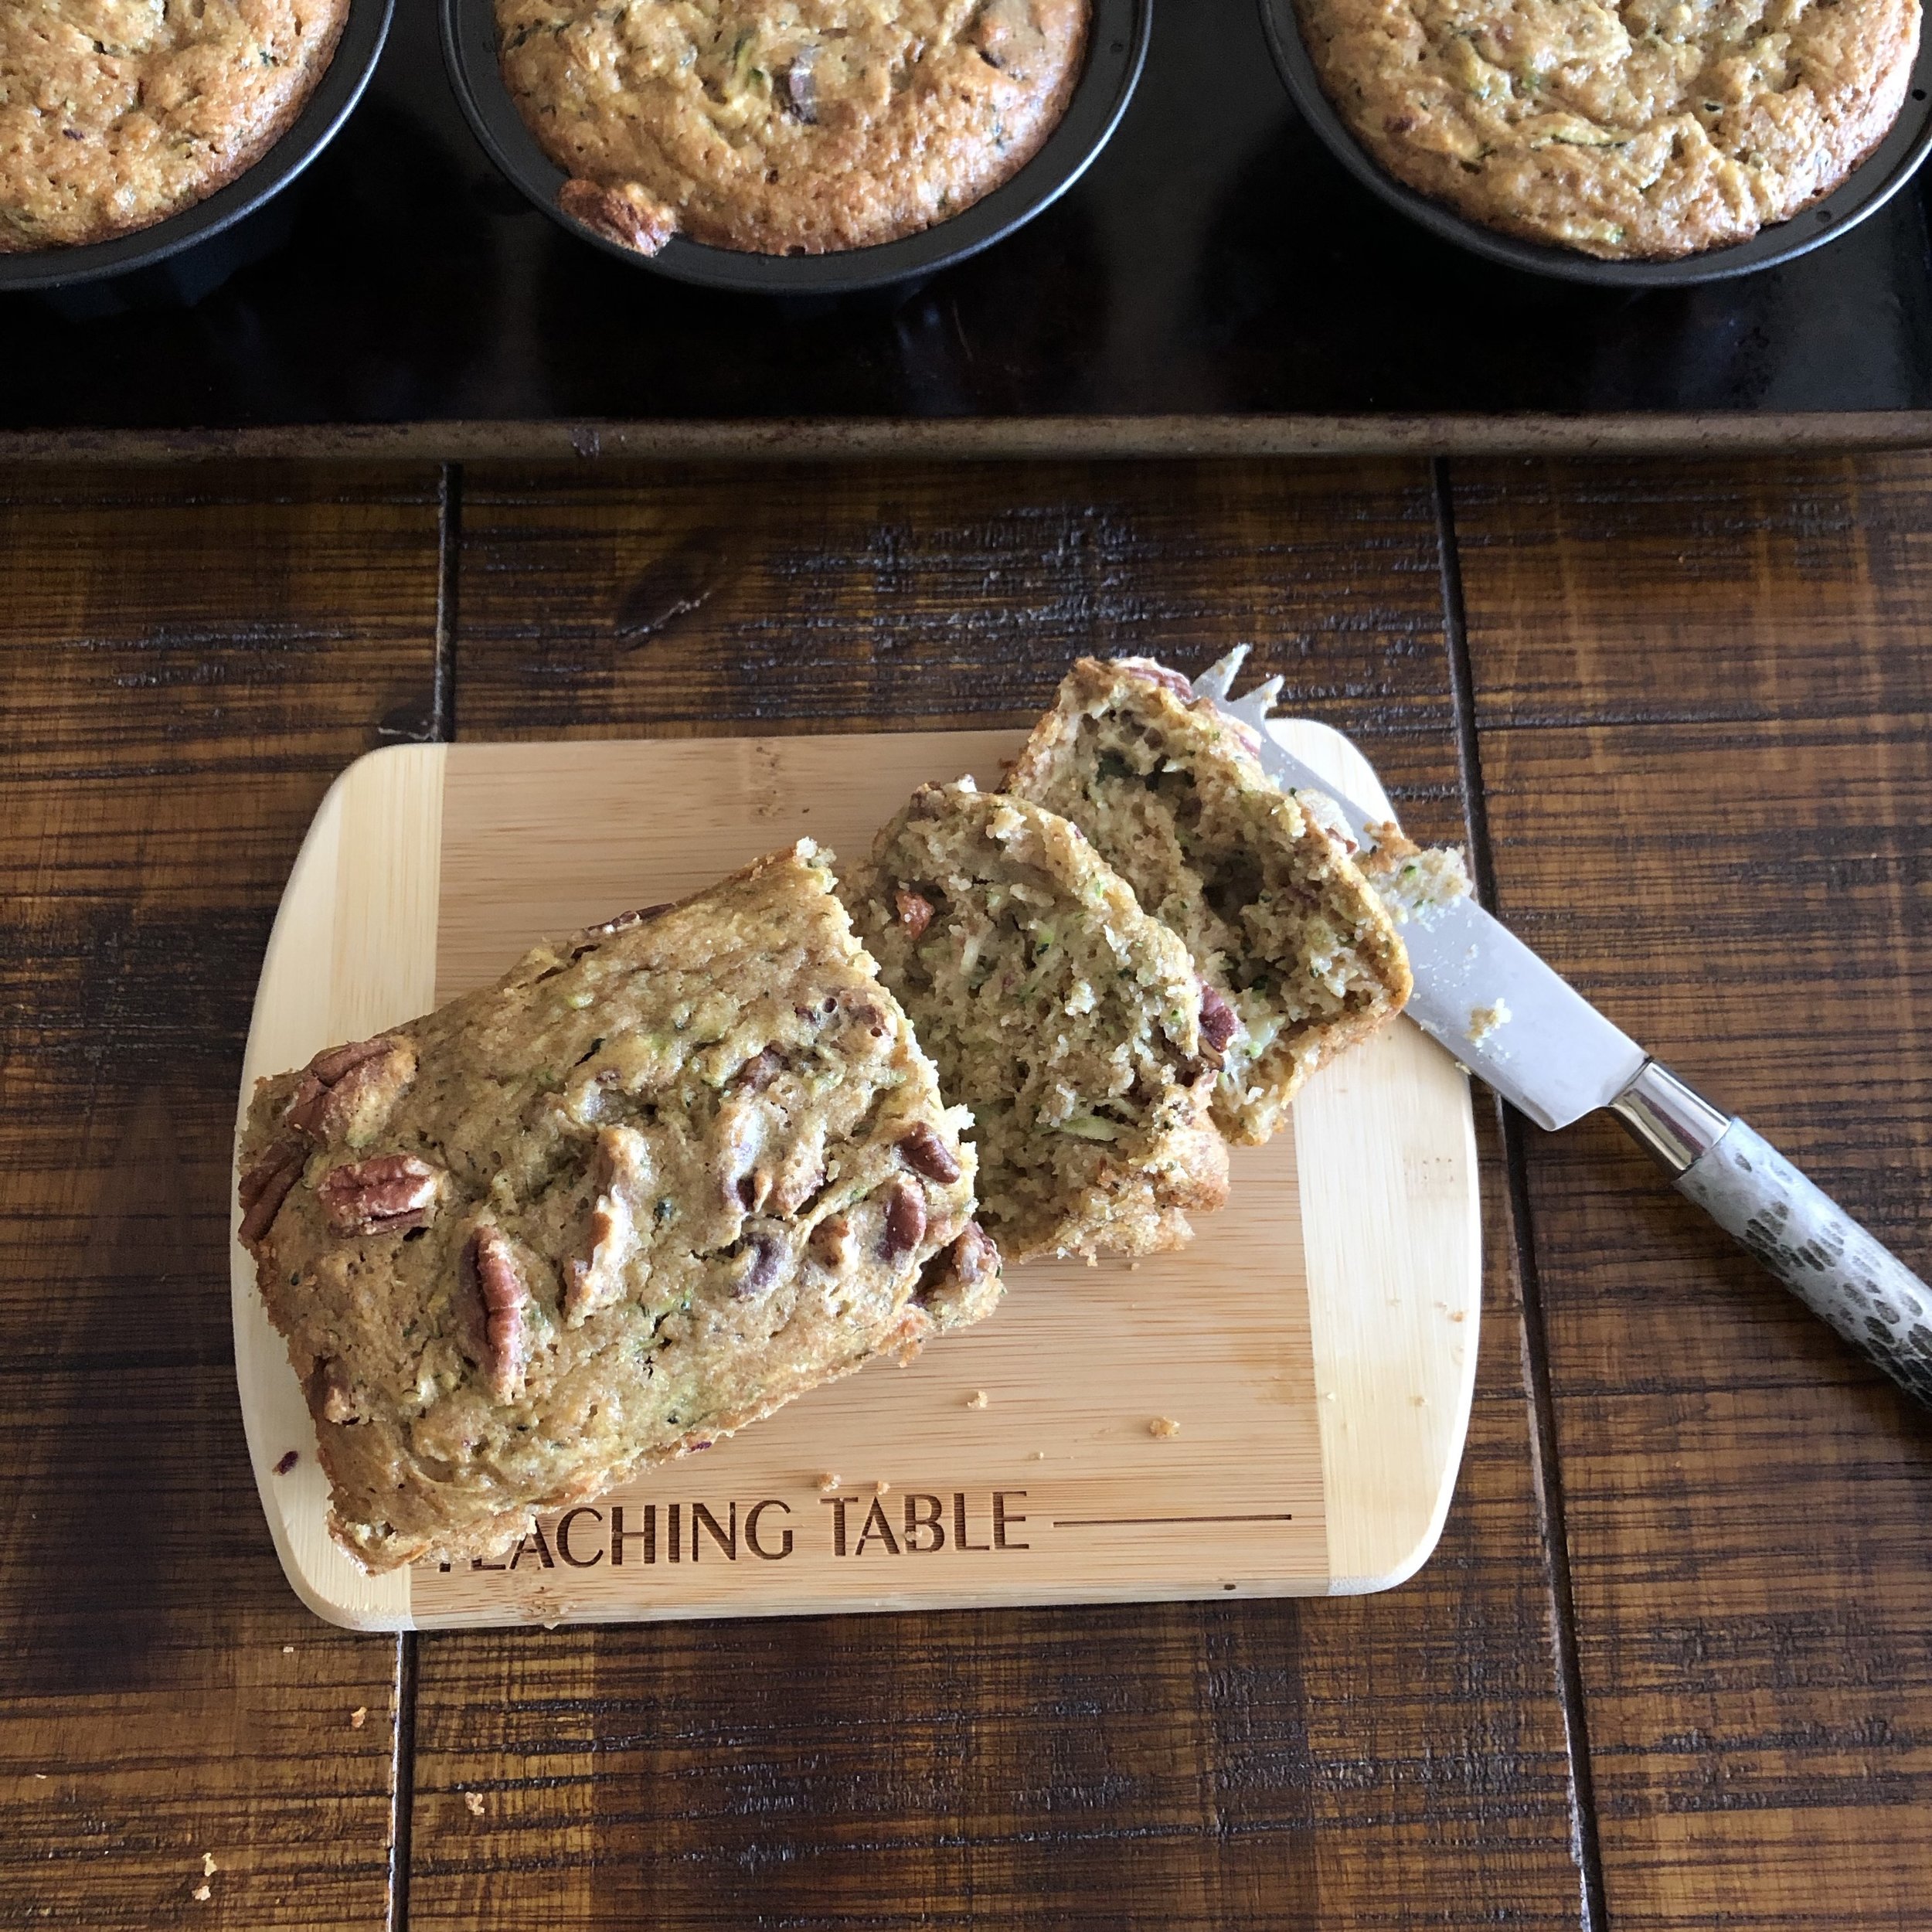
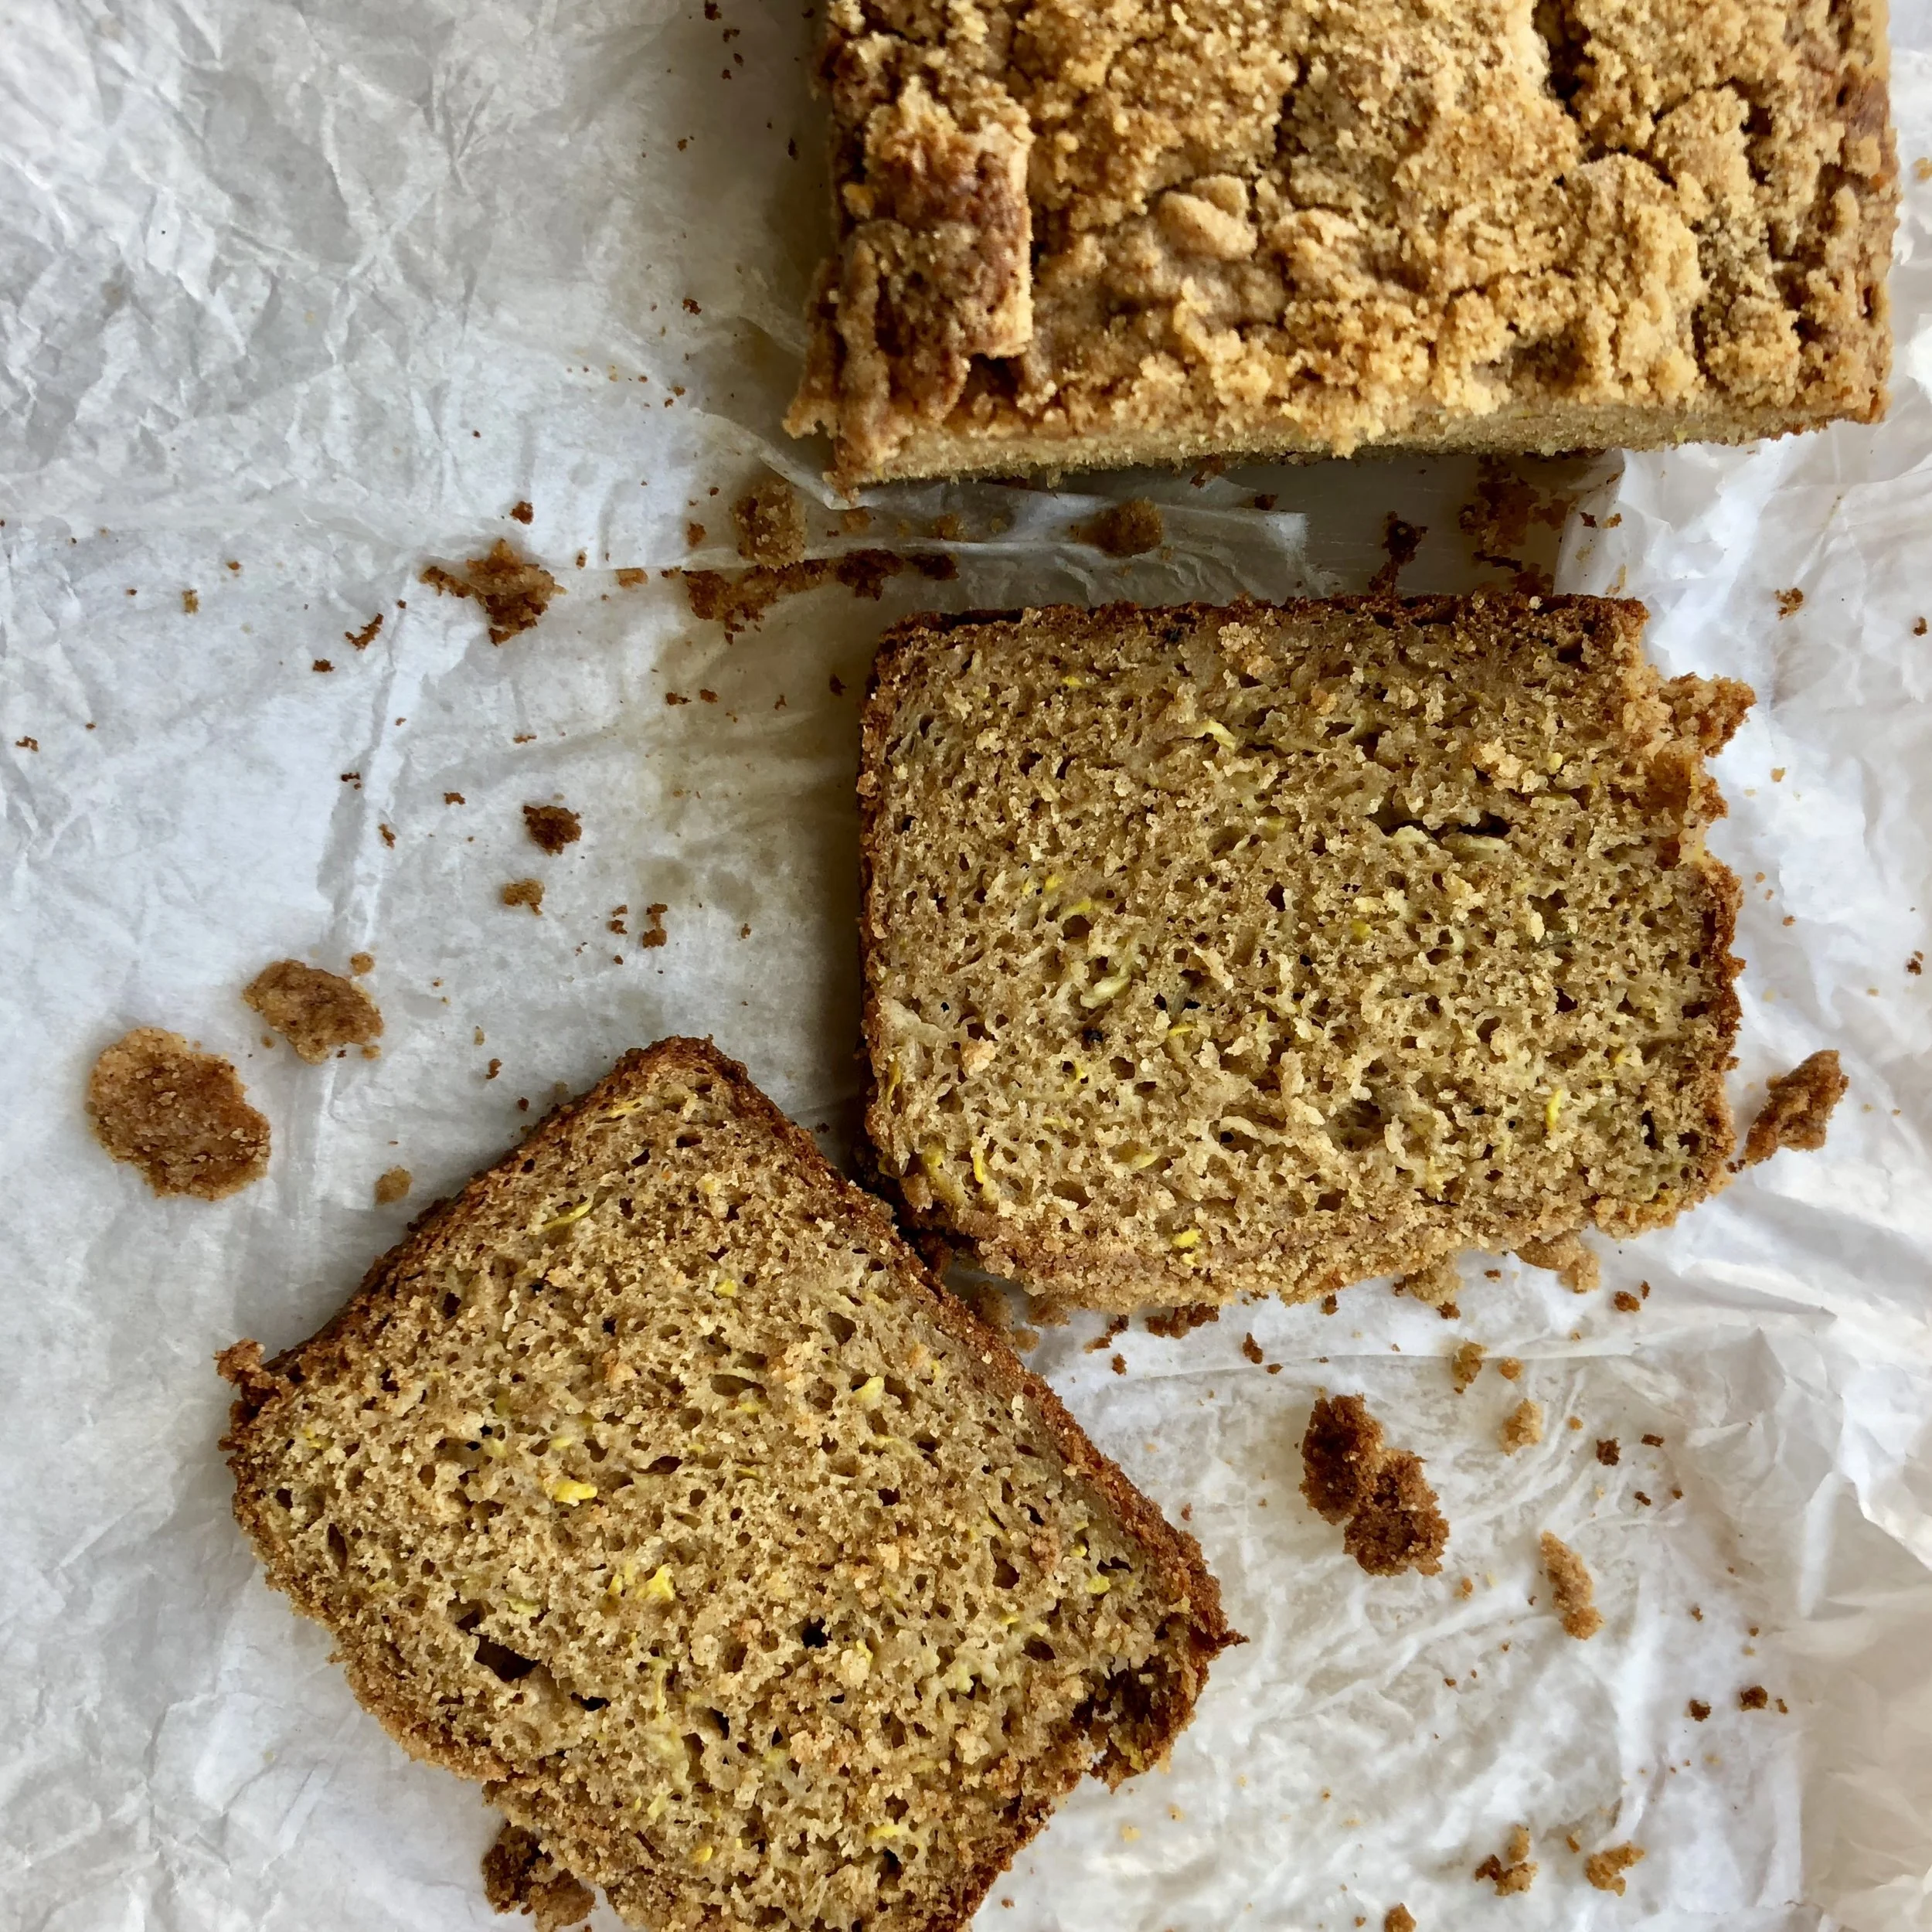
Spiced Summer Squash and Apple Bread with Crunchy Cinnamon Topping
When the yellow squash melts into the bread under cover of apple and spice, kids (and adults like me) don’t even realize they’re gobbling up the vegetable. This recipe combines the oddly matched produce of late September, as is to say, "hey, I know fall is right around the corner, but summer is not quite over yet." You don’t have to wait until October to spice this up like a decadent warming pumpkin loaf.
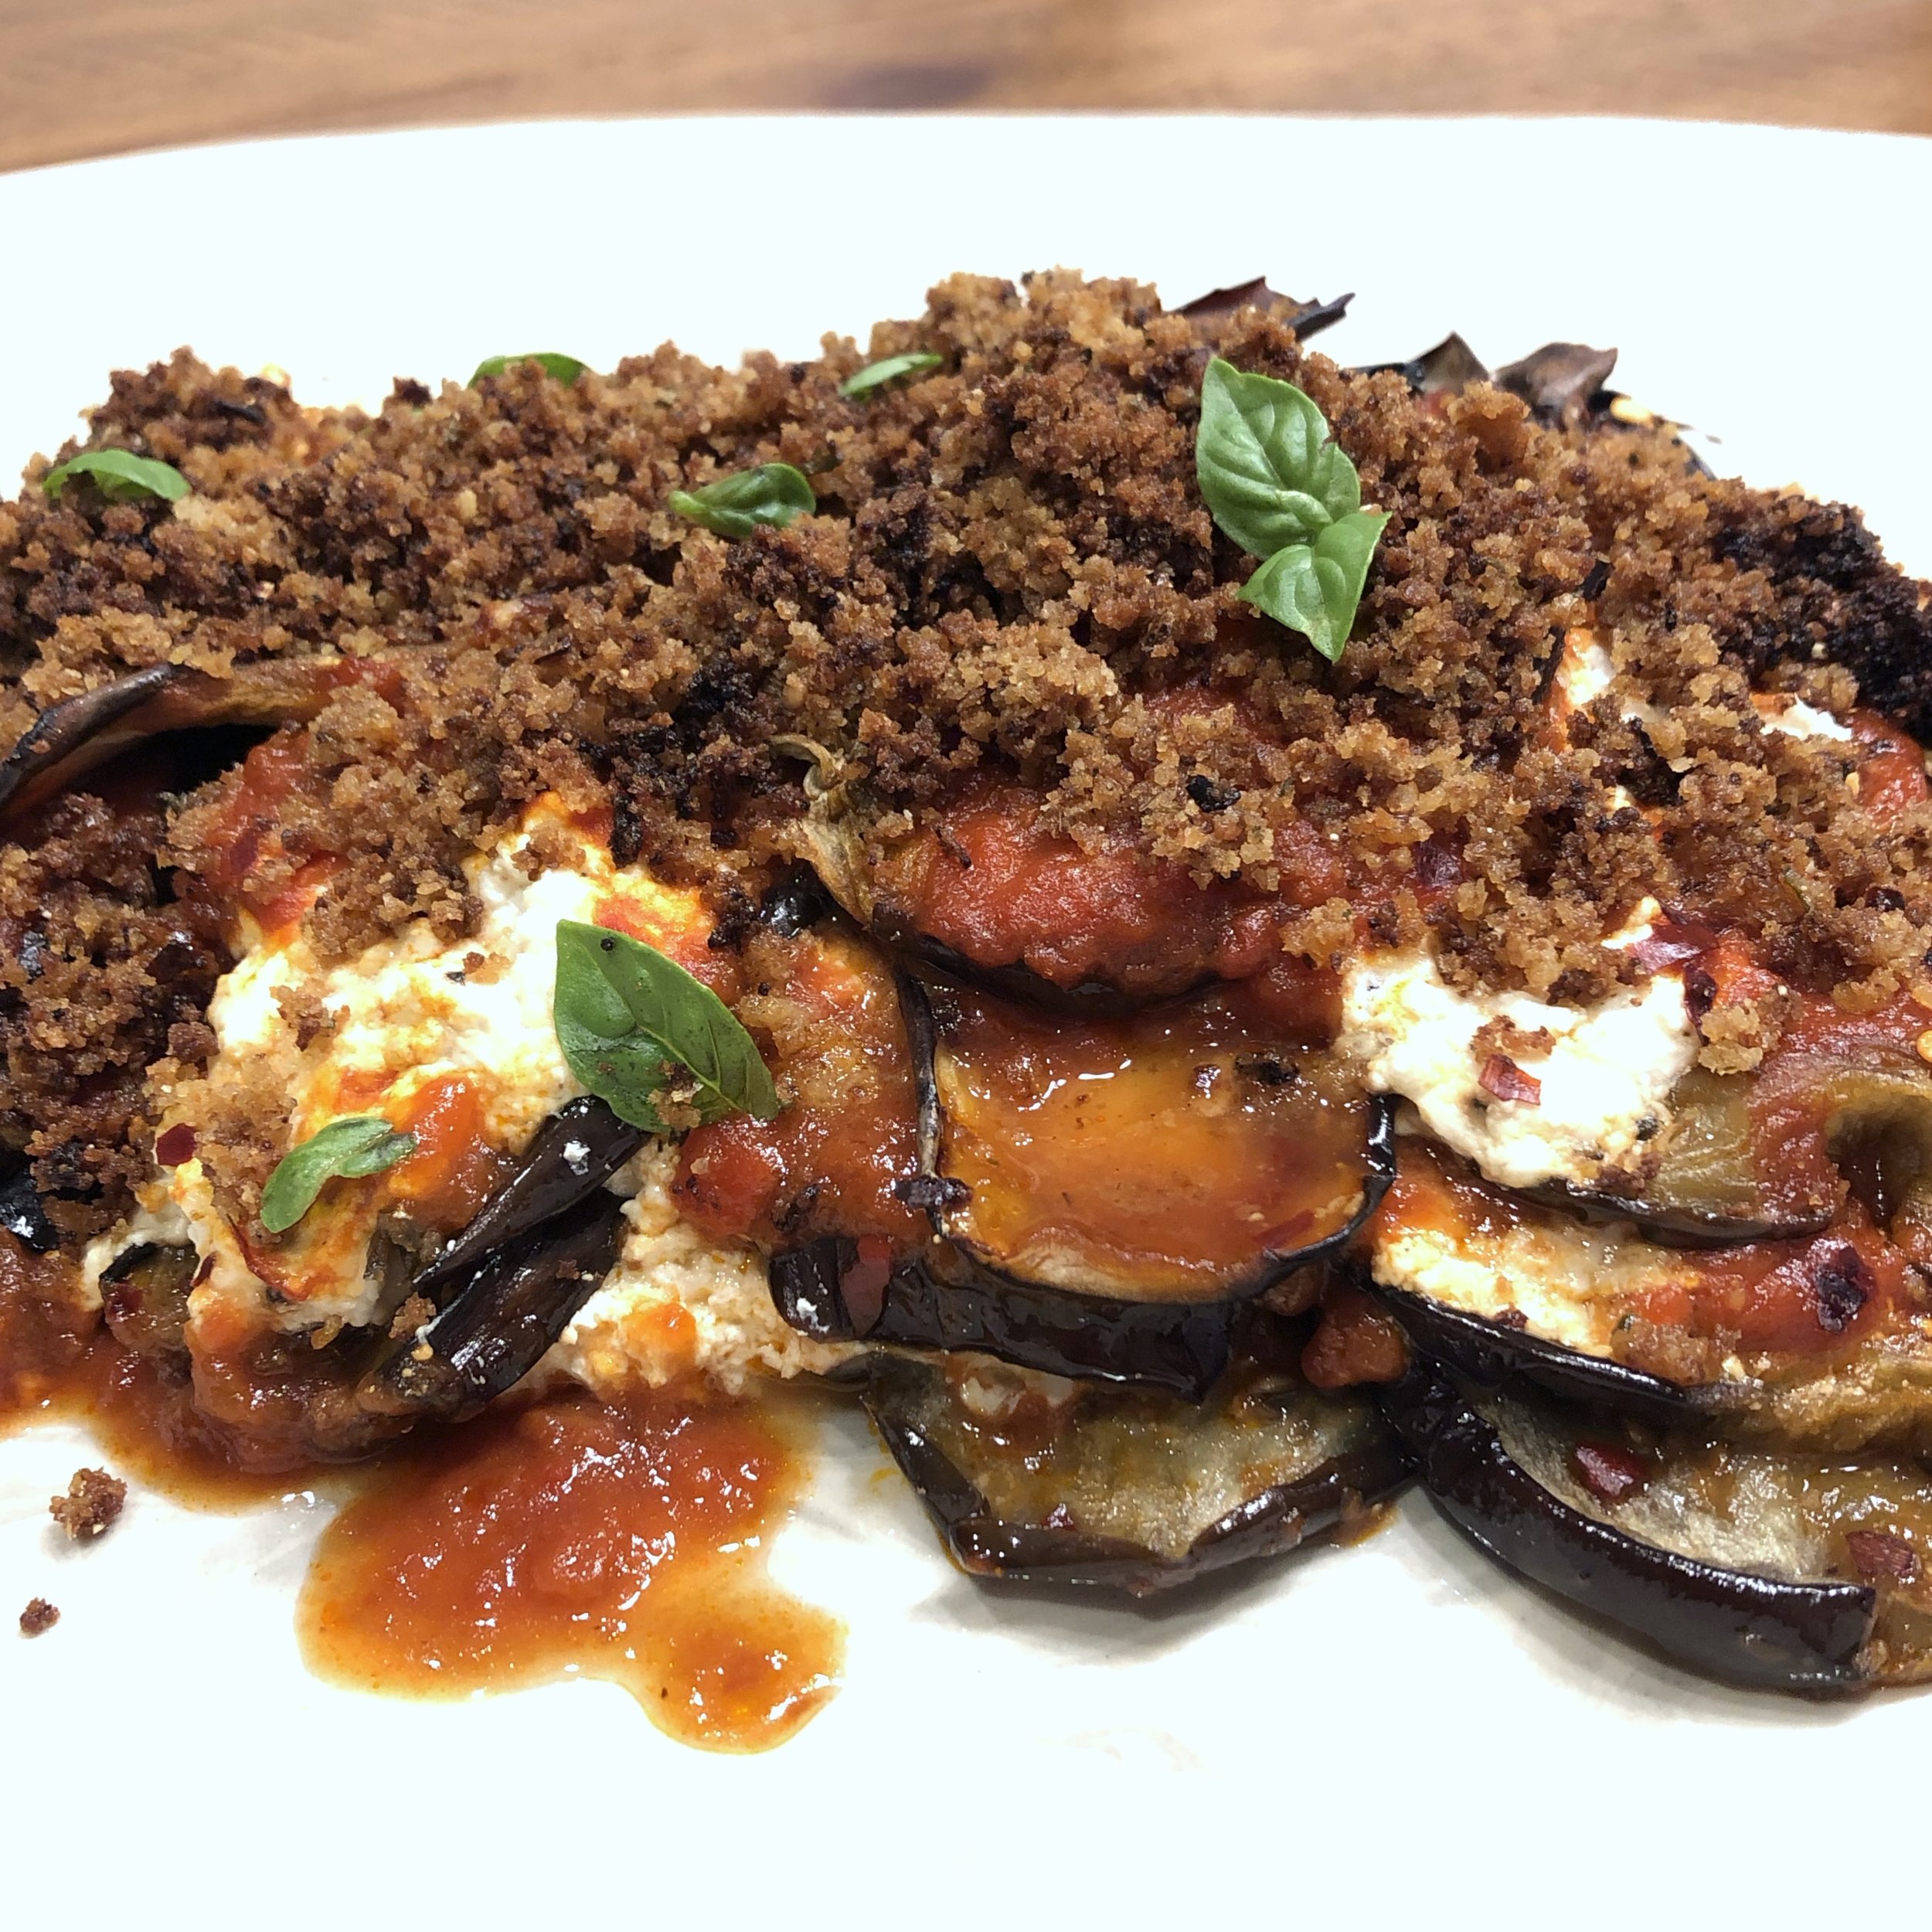
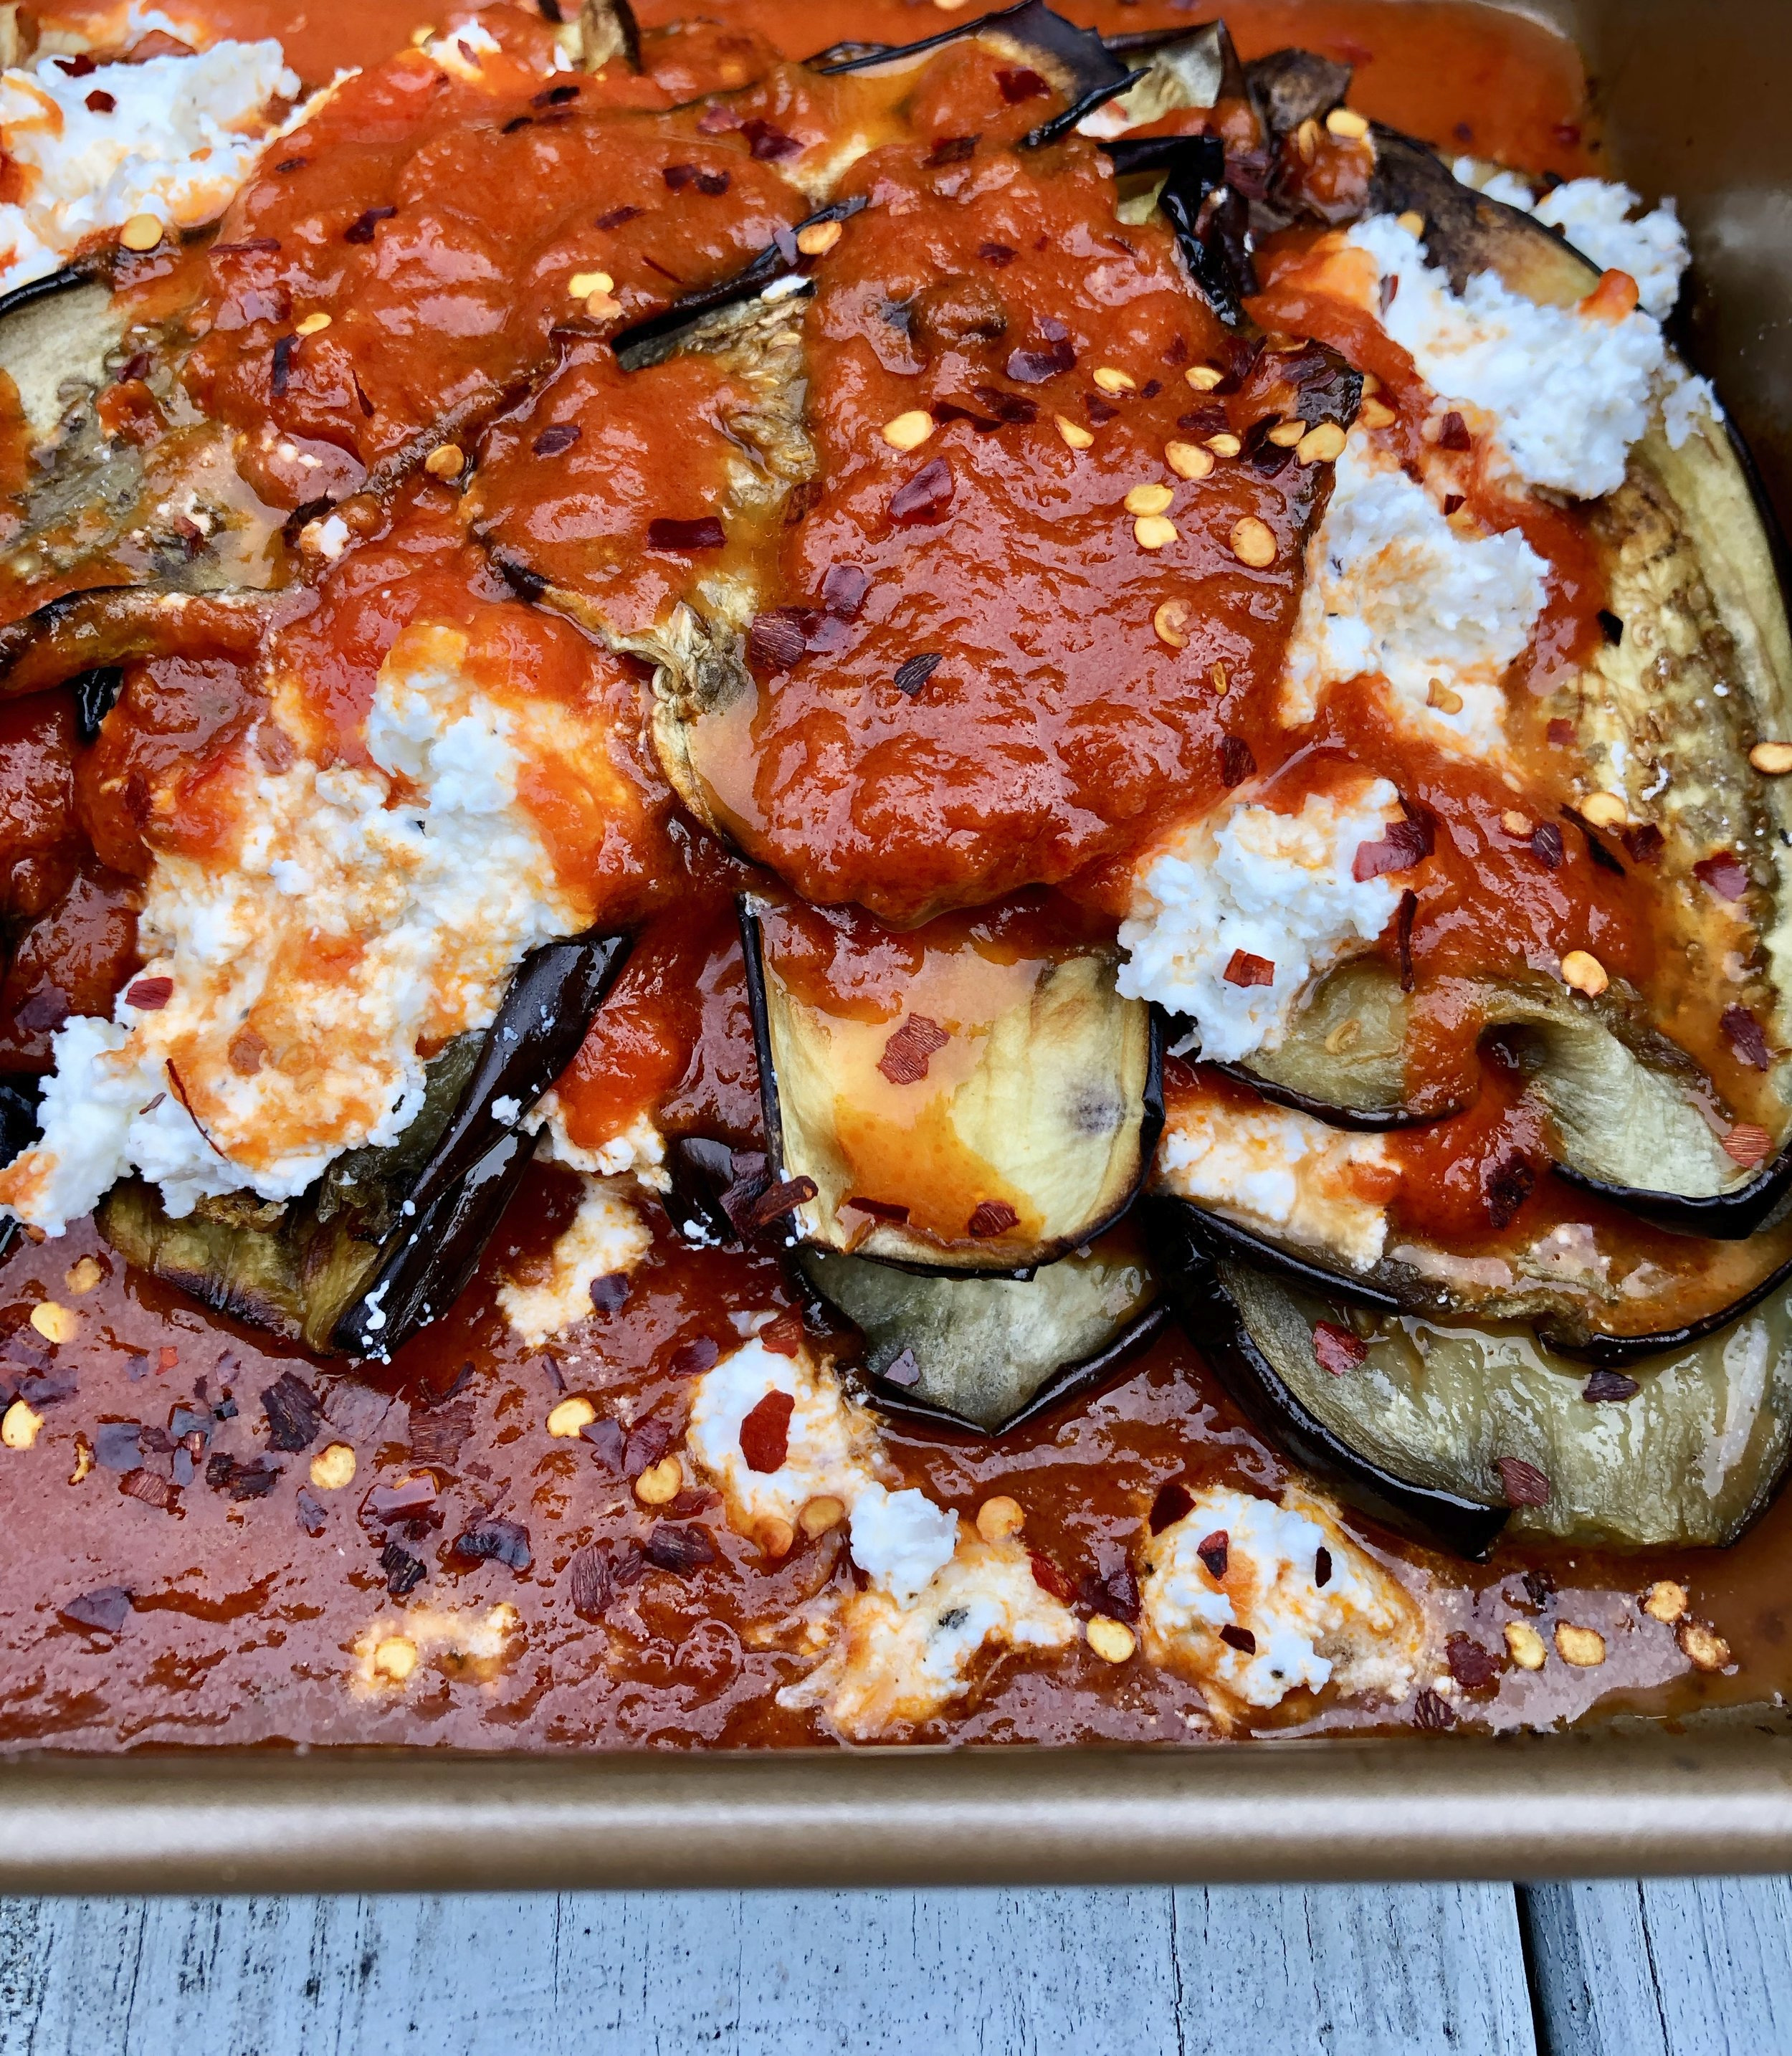
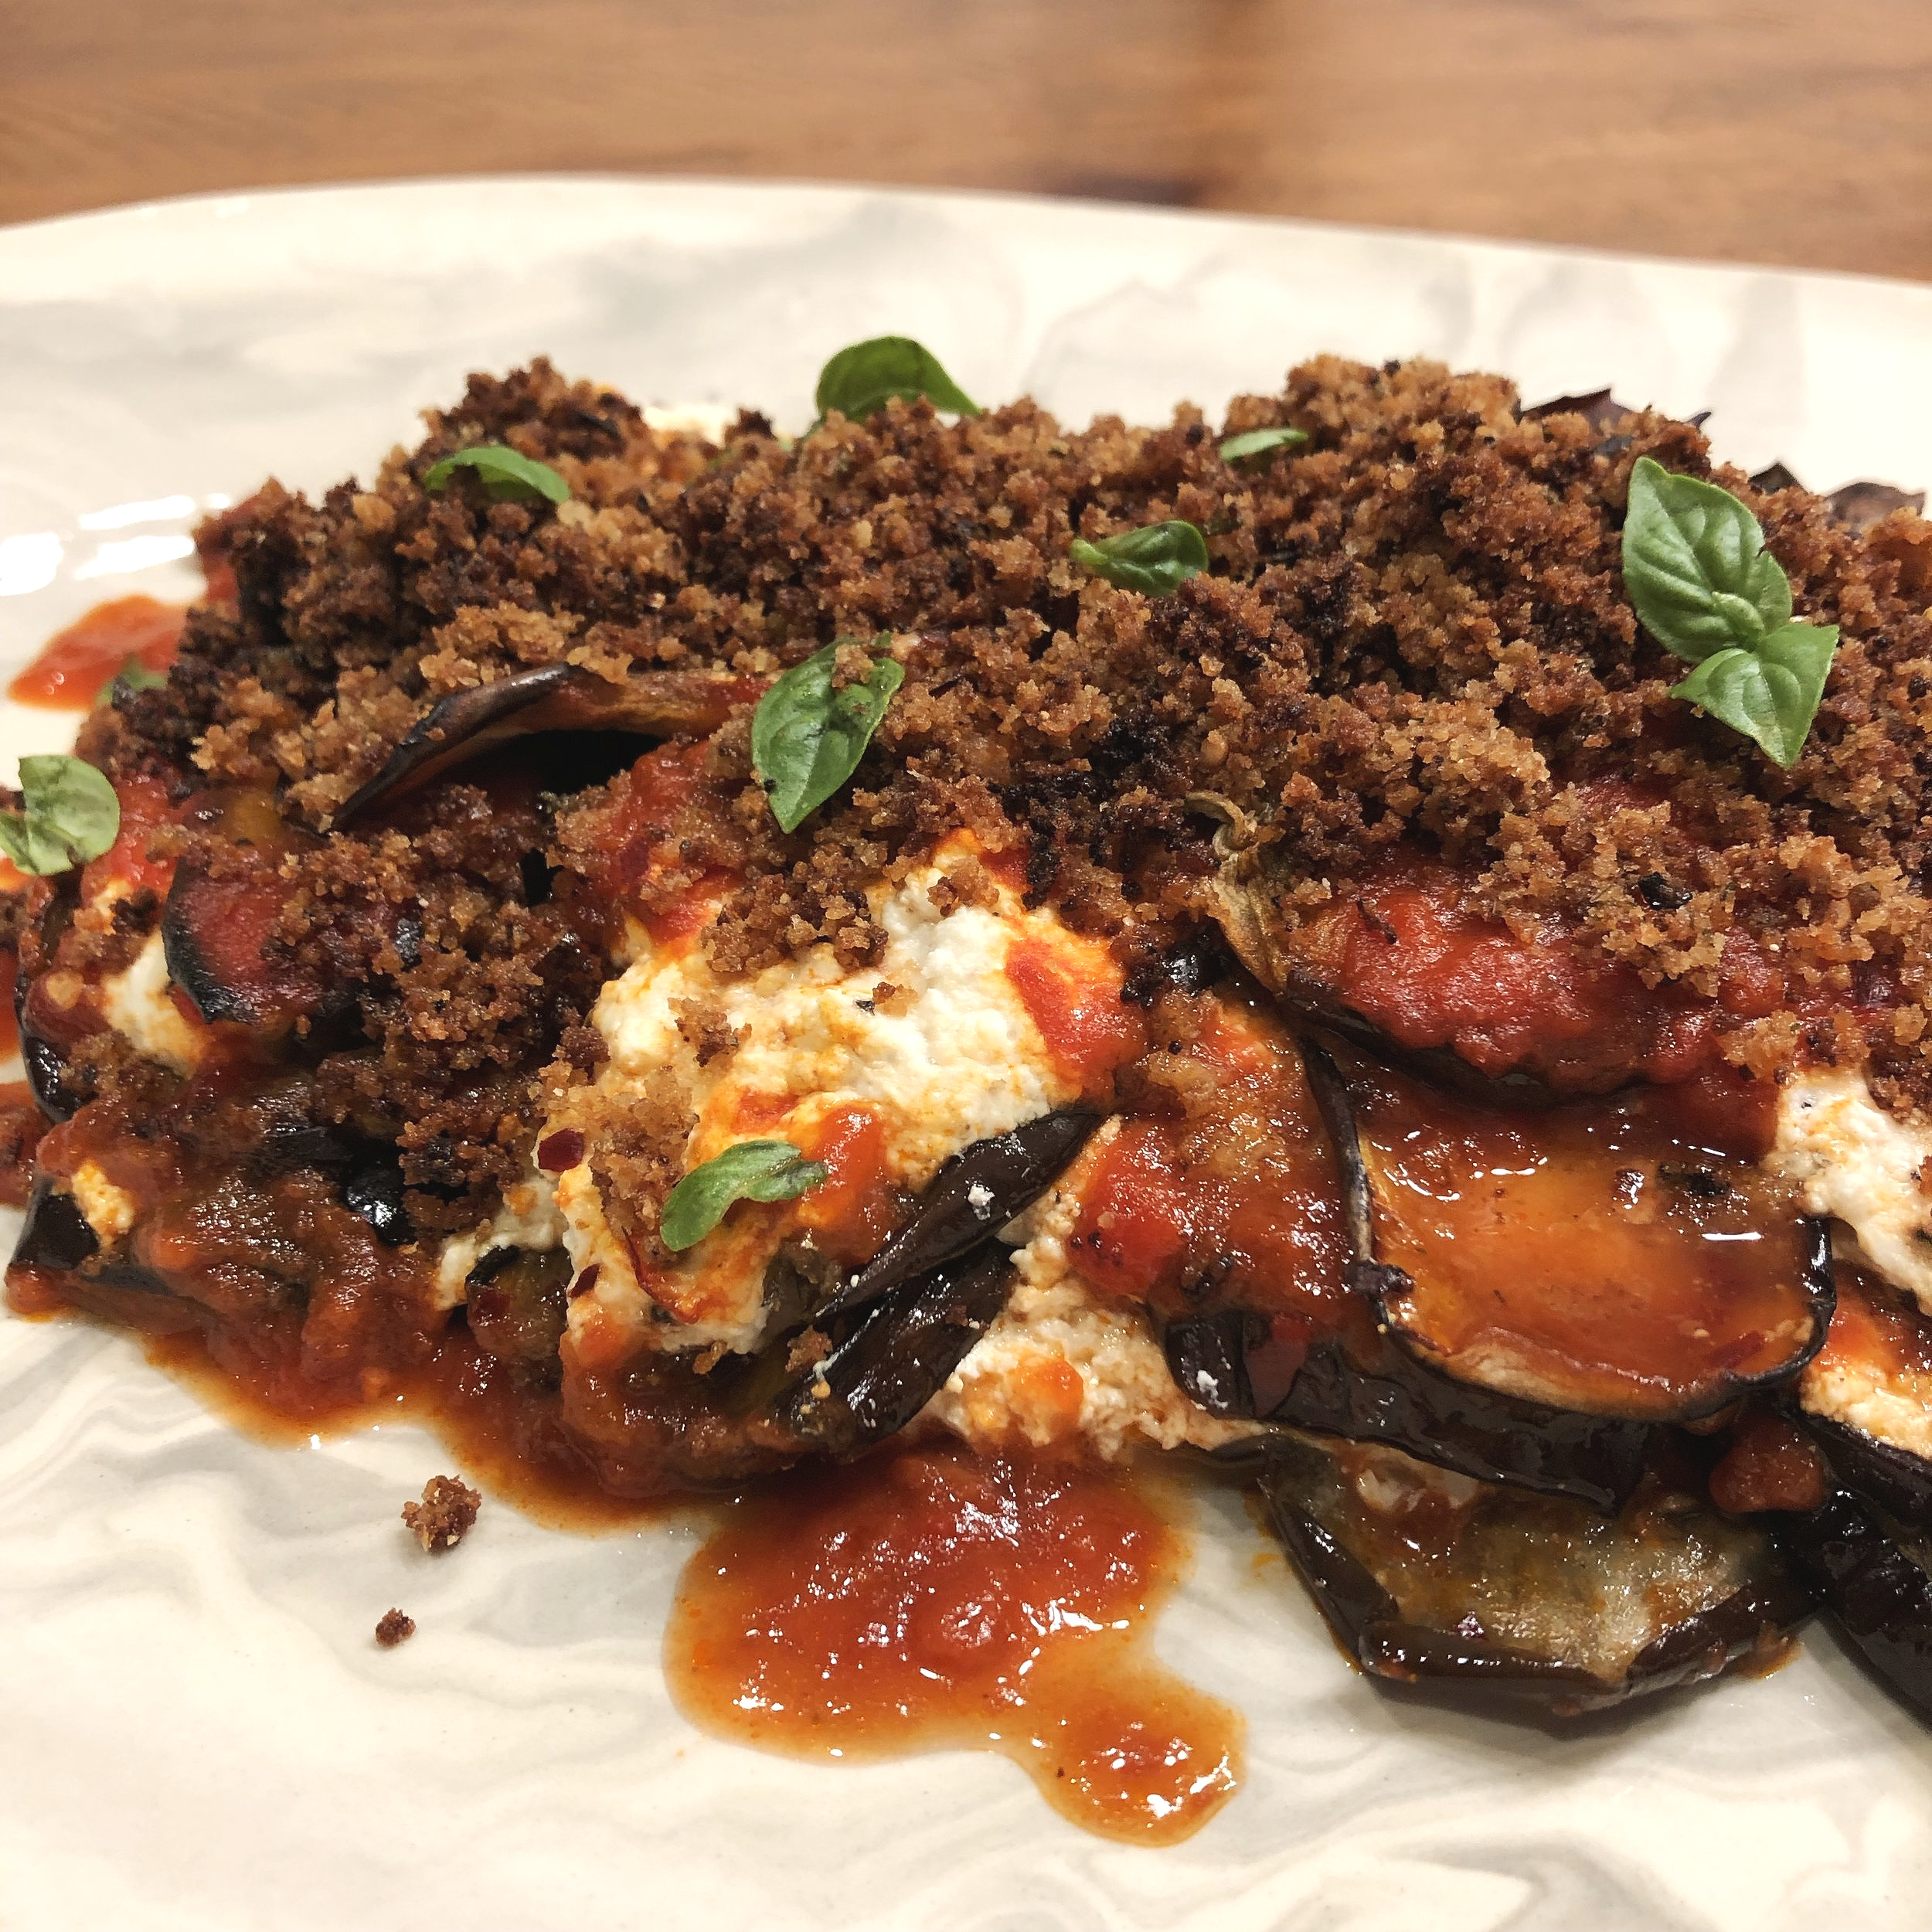
Rustic No Fuss Eggplant Arrabbiata
Arrabbiata is a spicy tomato sauce made with lots of garlic and chili peppers. Although it literally translates to “angry,” no one, unless perhaps Tom Brady, will be angry if you make this Rustic No Fuss Eggplant Arrabbiata for dinner tonight. This dish can be adjusted, with equally delicious results, to suit vegans, those who eat gluten free, and/or eaters who are allergic to eggs! Win-win-win.
The spicy kick is not the only thing setting this apart from your average eggplant parmesan or eggplant rollatini. Those traditional configurations of eggplant, sauce and cheese are much more particular, and I dare say, unnecessary. Admittedly, I appreciate an impeccable eggplant parmesan. And my mother’s meticulously rolled eggplant rollatini, held together by toothpicks before being baked in the oven might just be the inspiration for this dish. But here’s why this Rustic No Fuss Eggplant Arrabbiata should replace all of that…well…fuss:
No frying. No mess. No three step dredge resulting in a once-normal hand transformed into 5 breaded thumbs.
It can be made gluten free — easily. See #1. Toasted breadcrumb topping is 100% optional.
All plant. No egg. Since the eggplant is not breaded, we skip the egg dredge.
Mix and match or even omit (gasp!) the cheese. Fresh Mozzarella is a classic in eggplant parmesan and ricotta makes for a luscious rollatini, but here you can use either, both, add parmesan or pecorino romano, or leave out the cheese entirely. And thus (see #3), this dish can be made vegan without any of those questionable imitation vegan “cheeses”.
Any sized casserole or baking dish with high sides will work. This fuss free eggplant bake doesn’t require a perfect fit, normally forcing you to transfer the partially layered contents of your eggplant bake into another better fitting vessel, three times, creating a sink full of dishes before you’ve put anything in the oven.
No rolling. No toothpicks. Sorry to take away your fun, mom.
I’m sure there is a 7th reason and perhaps even an 8th, but I want to share this with you before eggplant season has passed.
Rustic No Fuss Eggplant Arrabbiata
Serves: 4-6
What You Need:
2 medium eggplant
1-2 teaspoons kosher salt, plus more to taste
4-5 tablespoons extra virgin olive oil, divided
red pepper flakes (crushed red pepper), to taste
1 cup ricotta cheese or 8 ounces fresh mozzarella, sliced or 3-4 tablespoons pecorino romano or combination
freshly ground black pepper, to taste
1-2 cups Quick Spicy Tomato Basil Marinara or your favorite version
1/2 cup bread crumbs (seasoned if you like), optional
What You Do:
Preheat the oven to 400 degrees.
If desired, peel the eggplant. (Note: I always leave the skin intact for color, flavor and nutrients but if you want your overall bite to have a more silky texture, peel the eggplant). Slice eggplant into 1/4 inch thick slabs (or rounds if that is your preference).
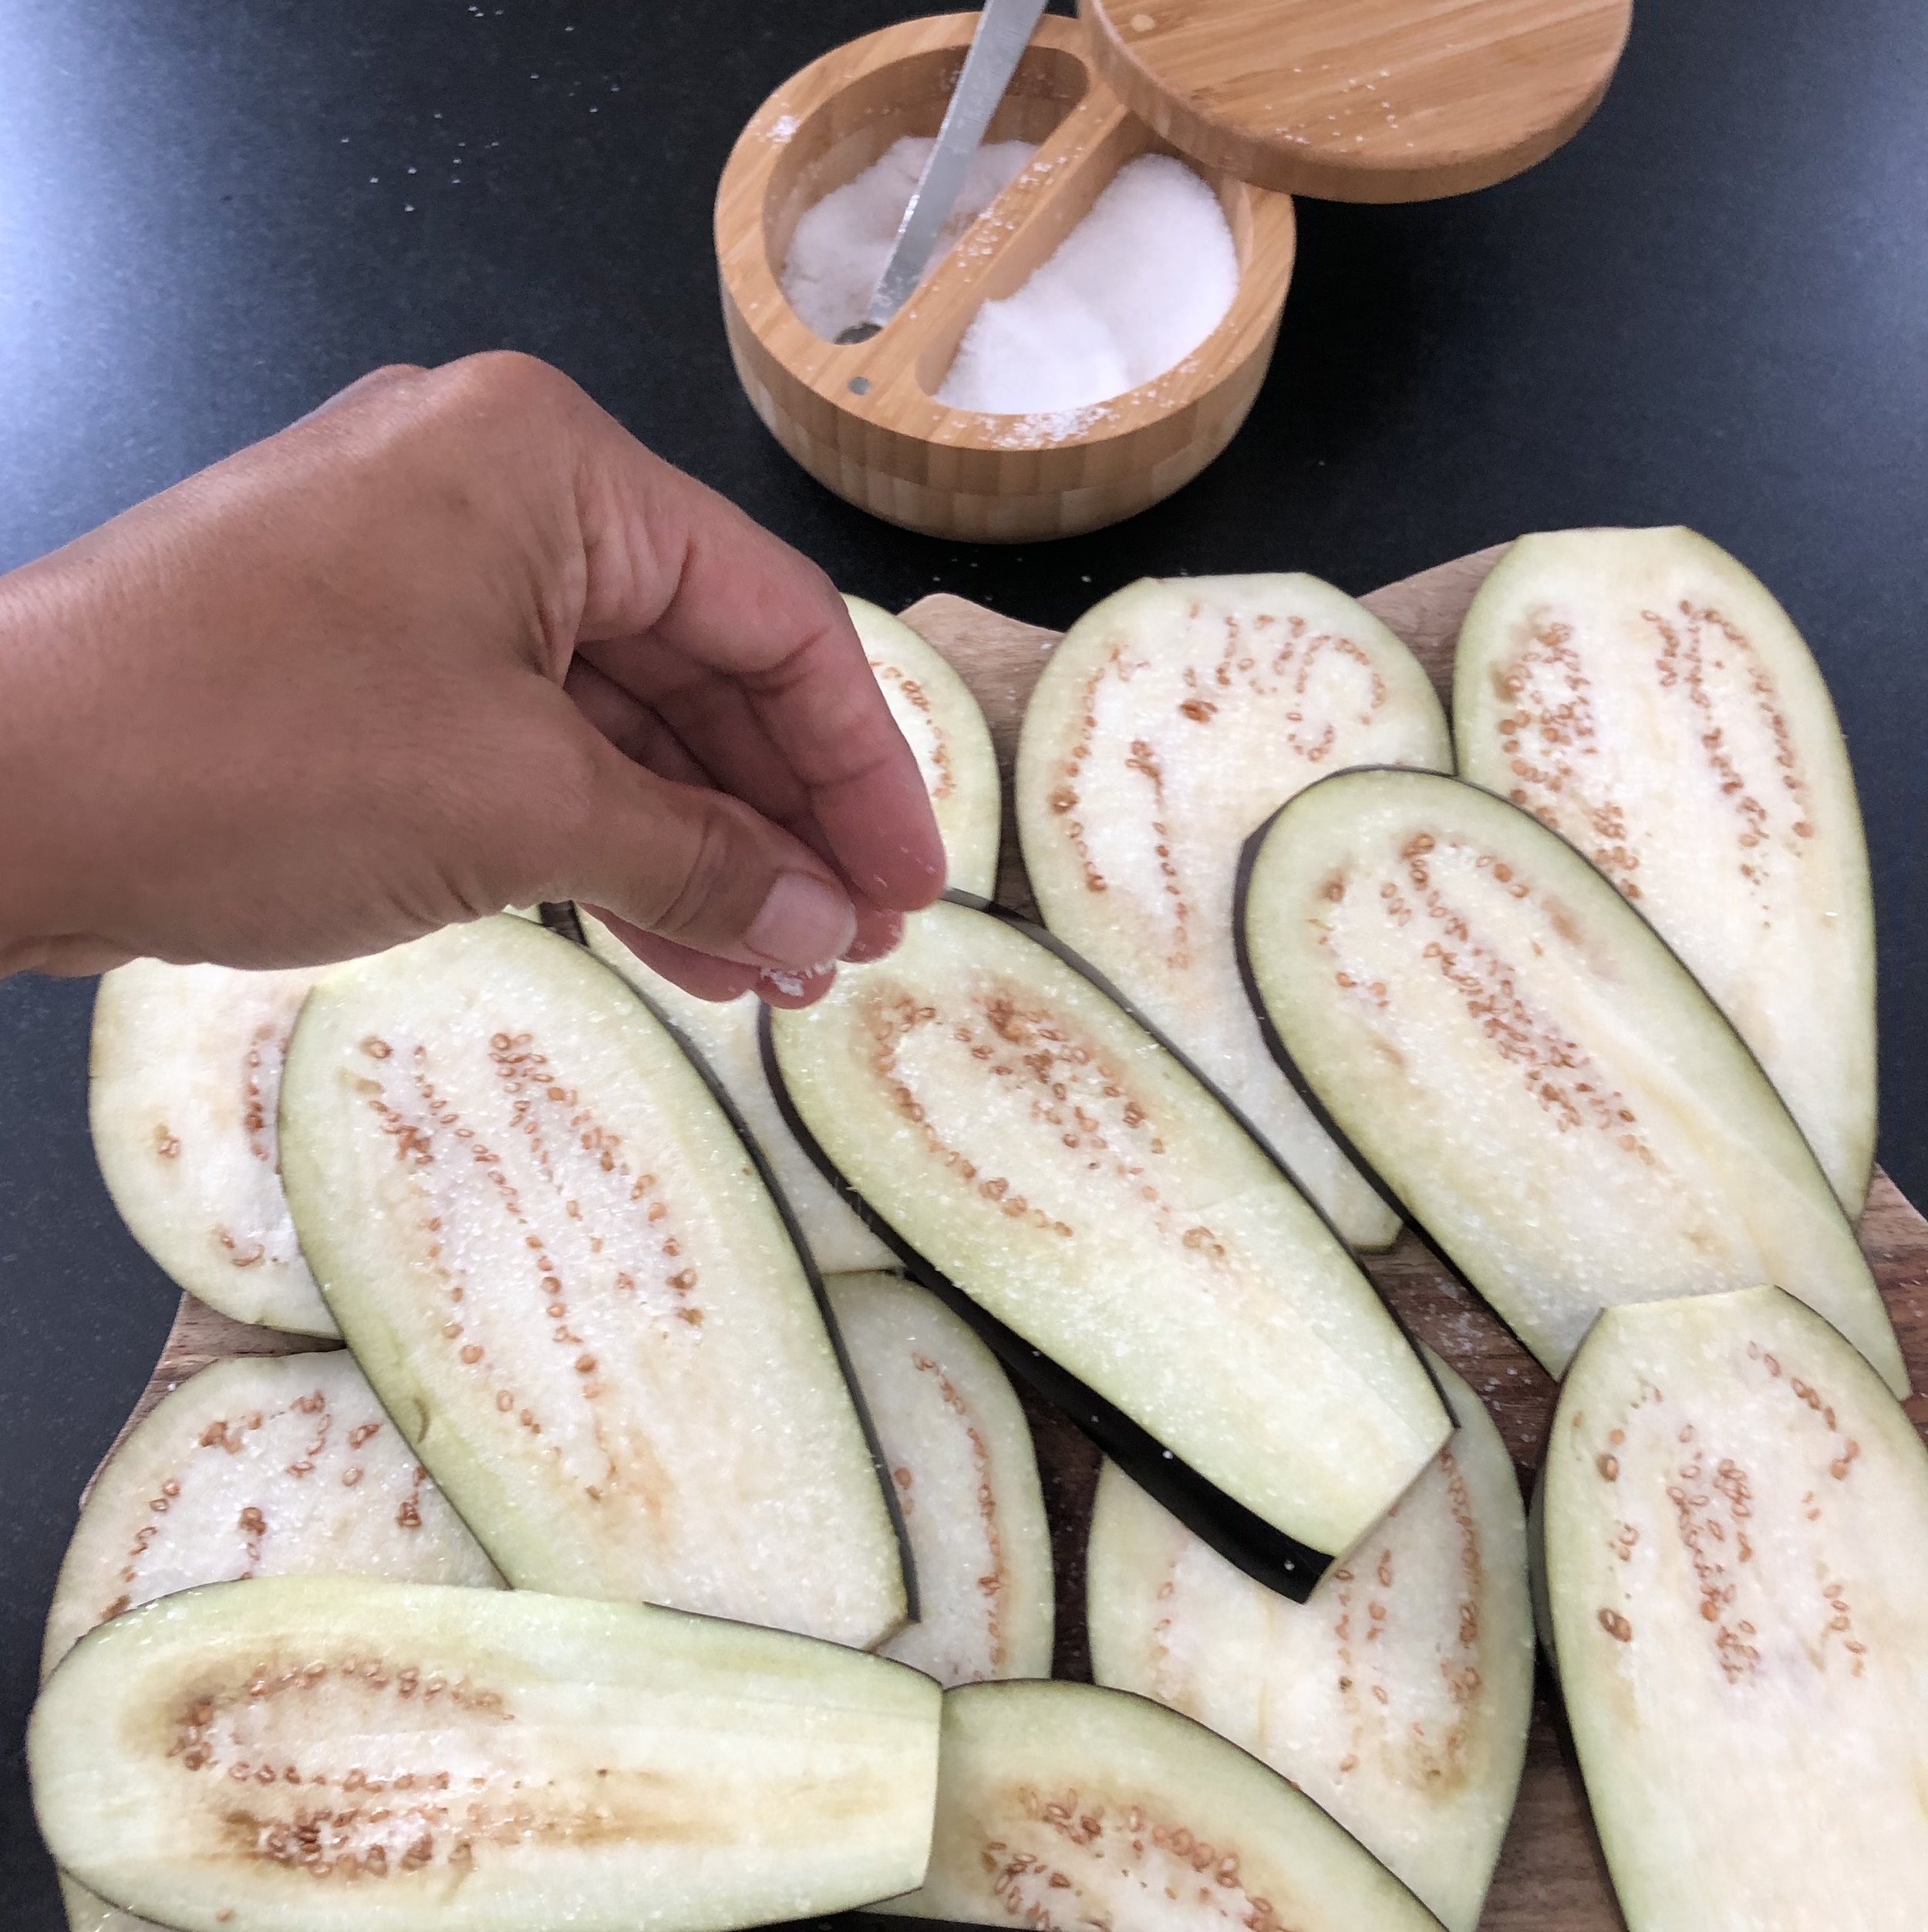
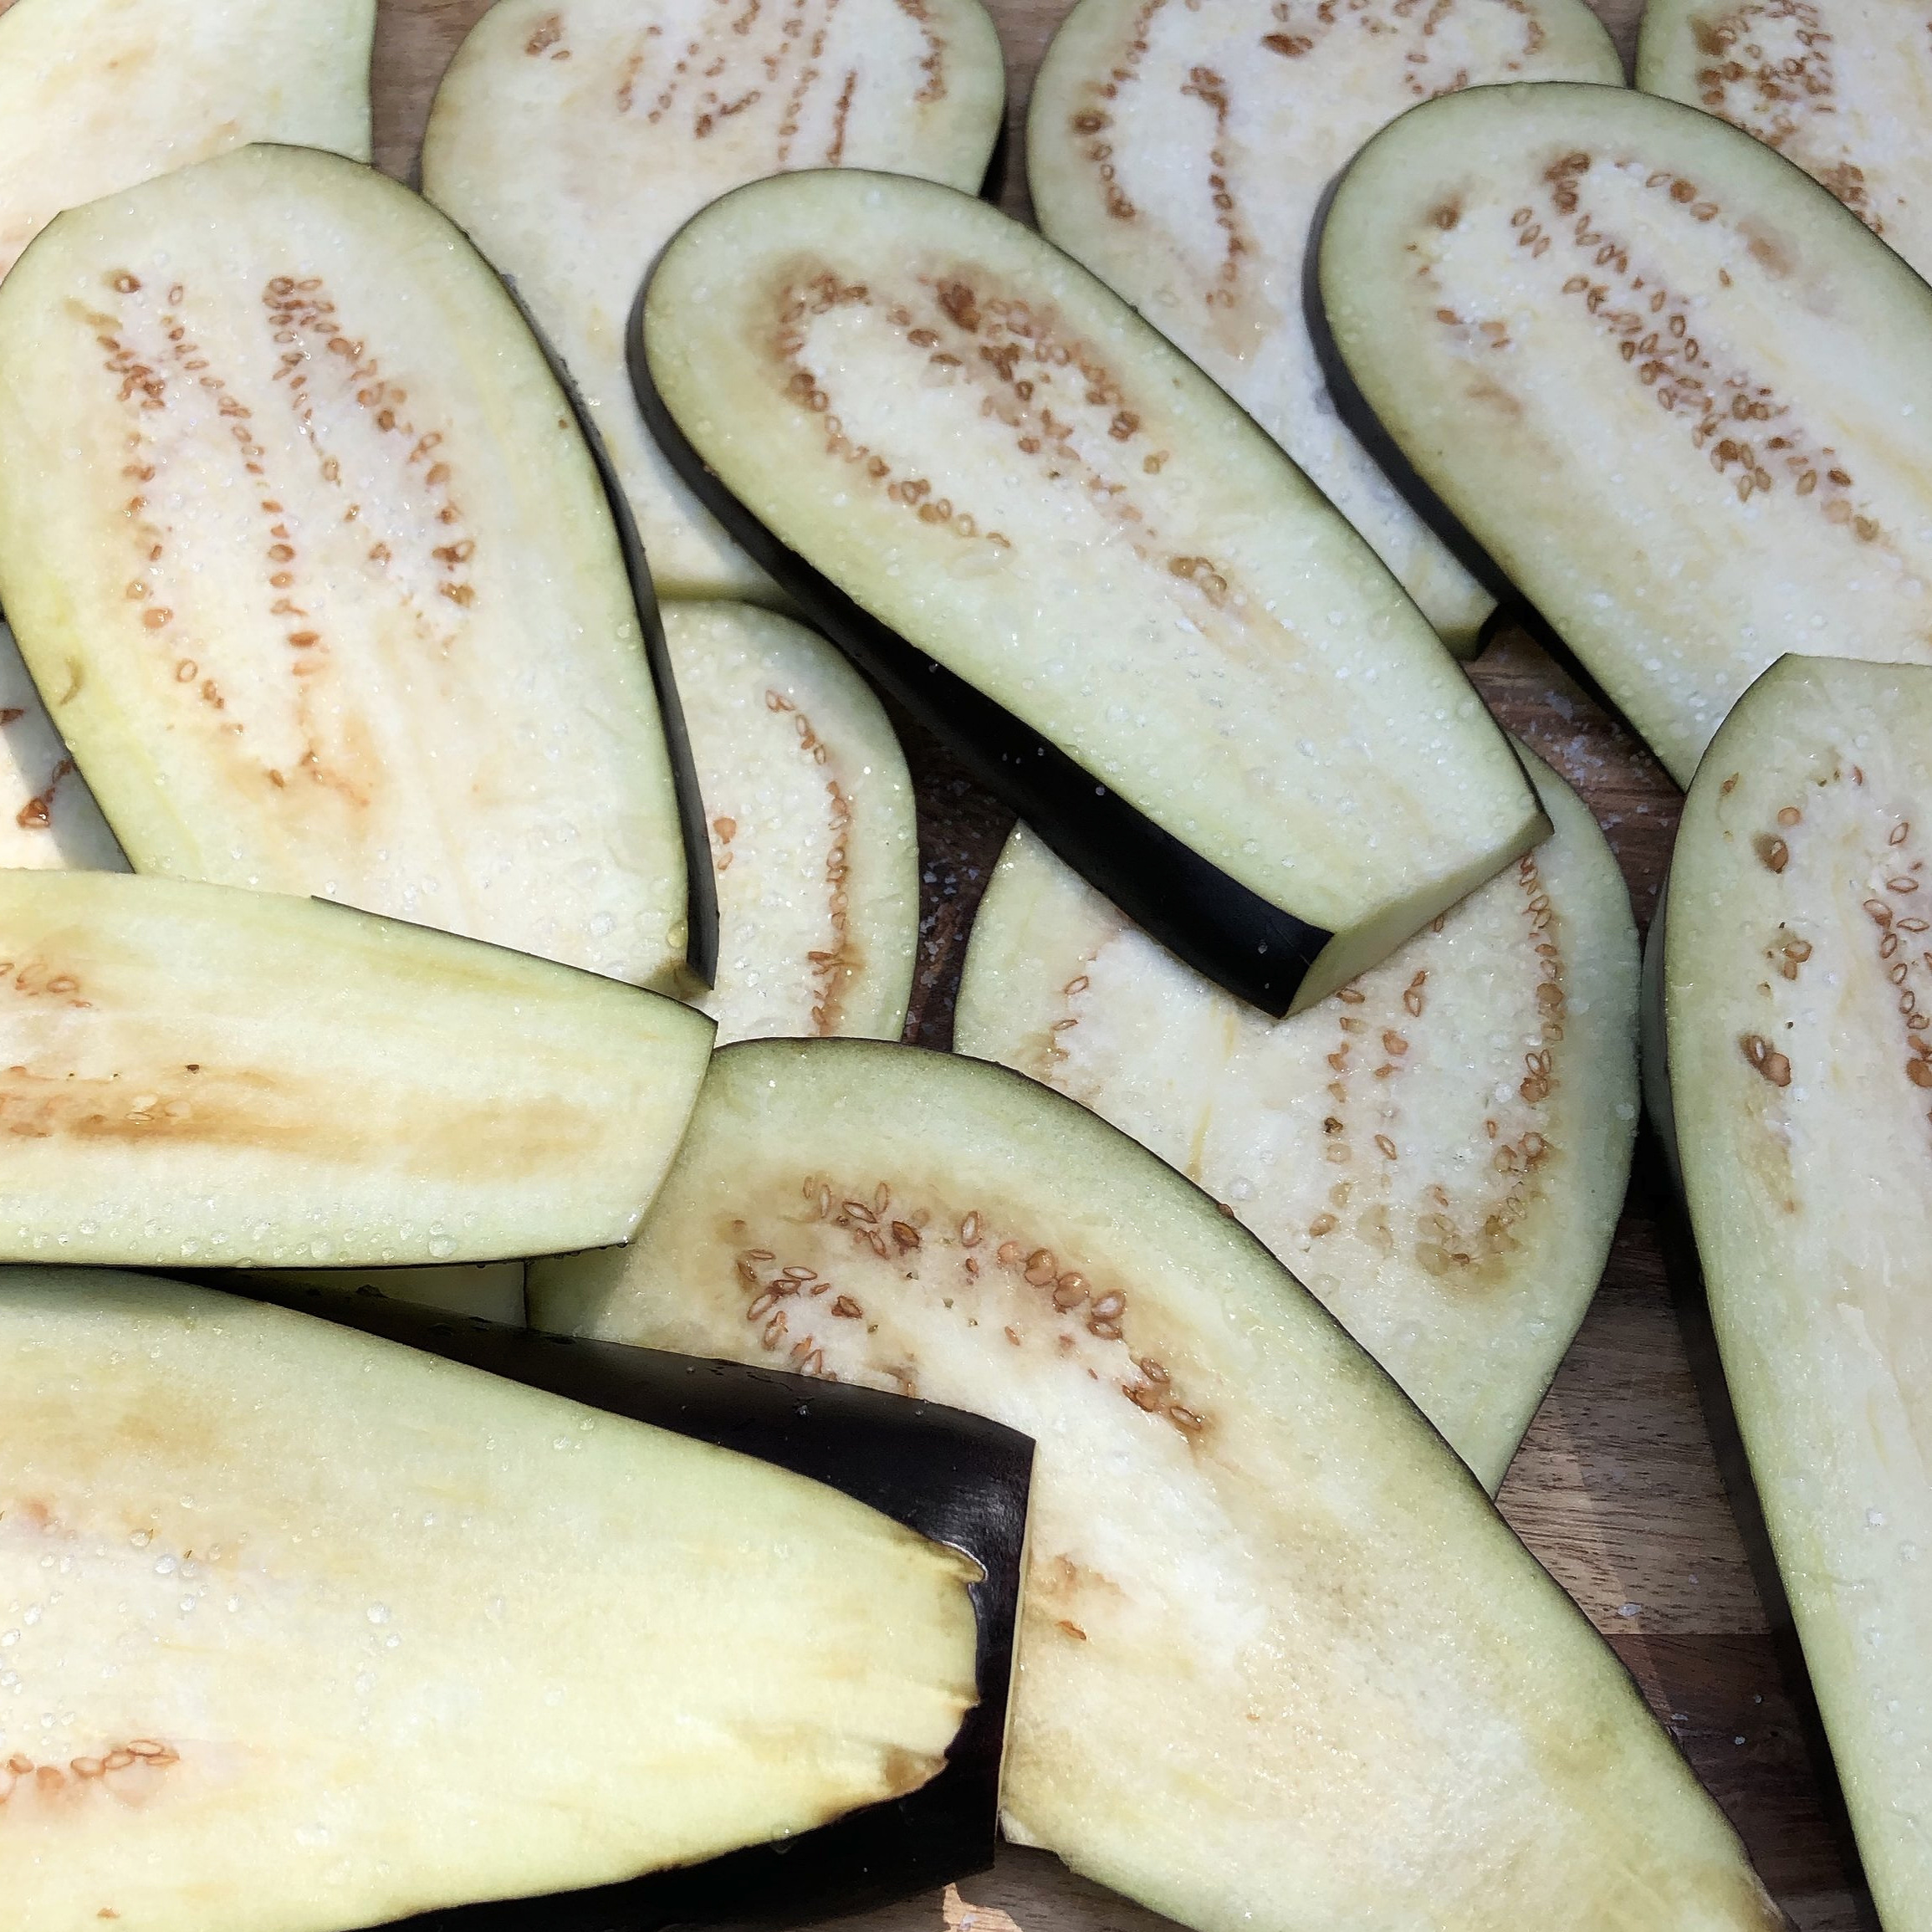
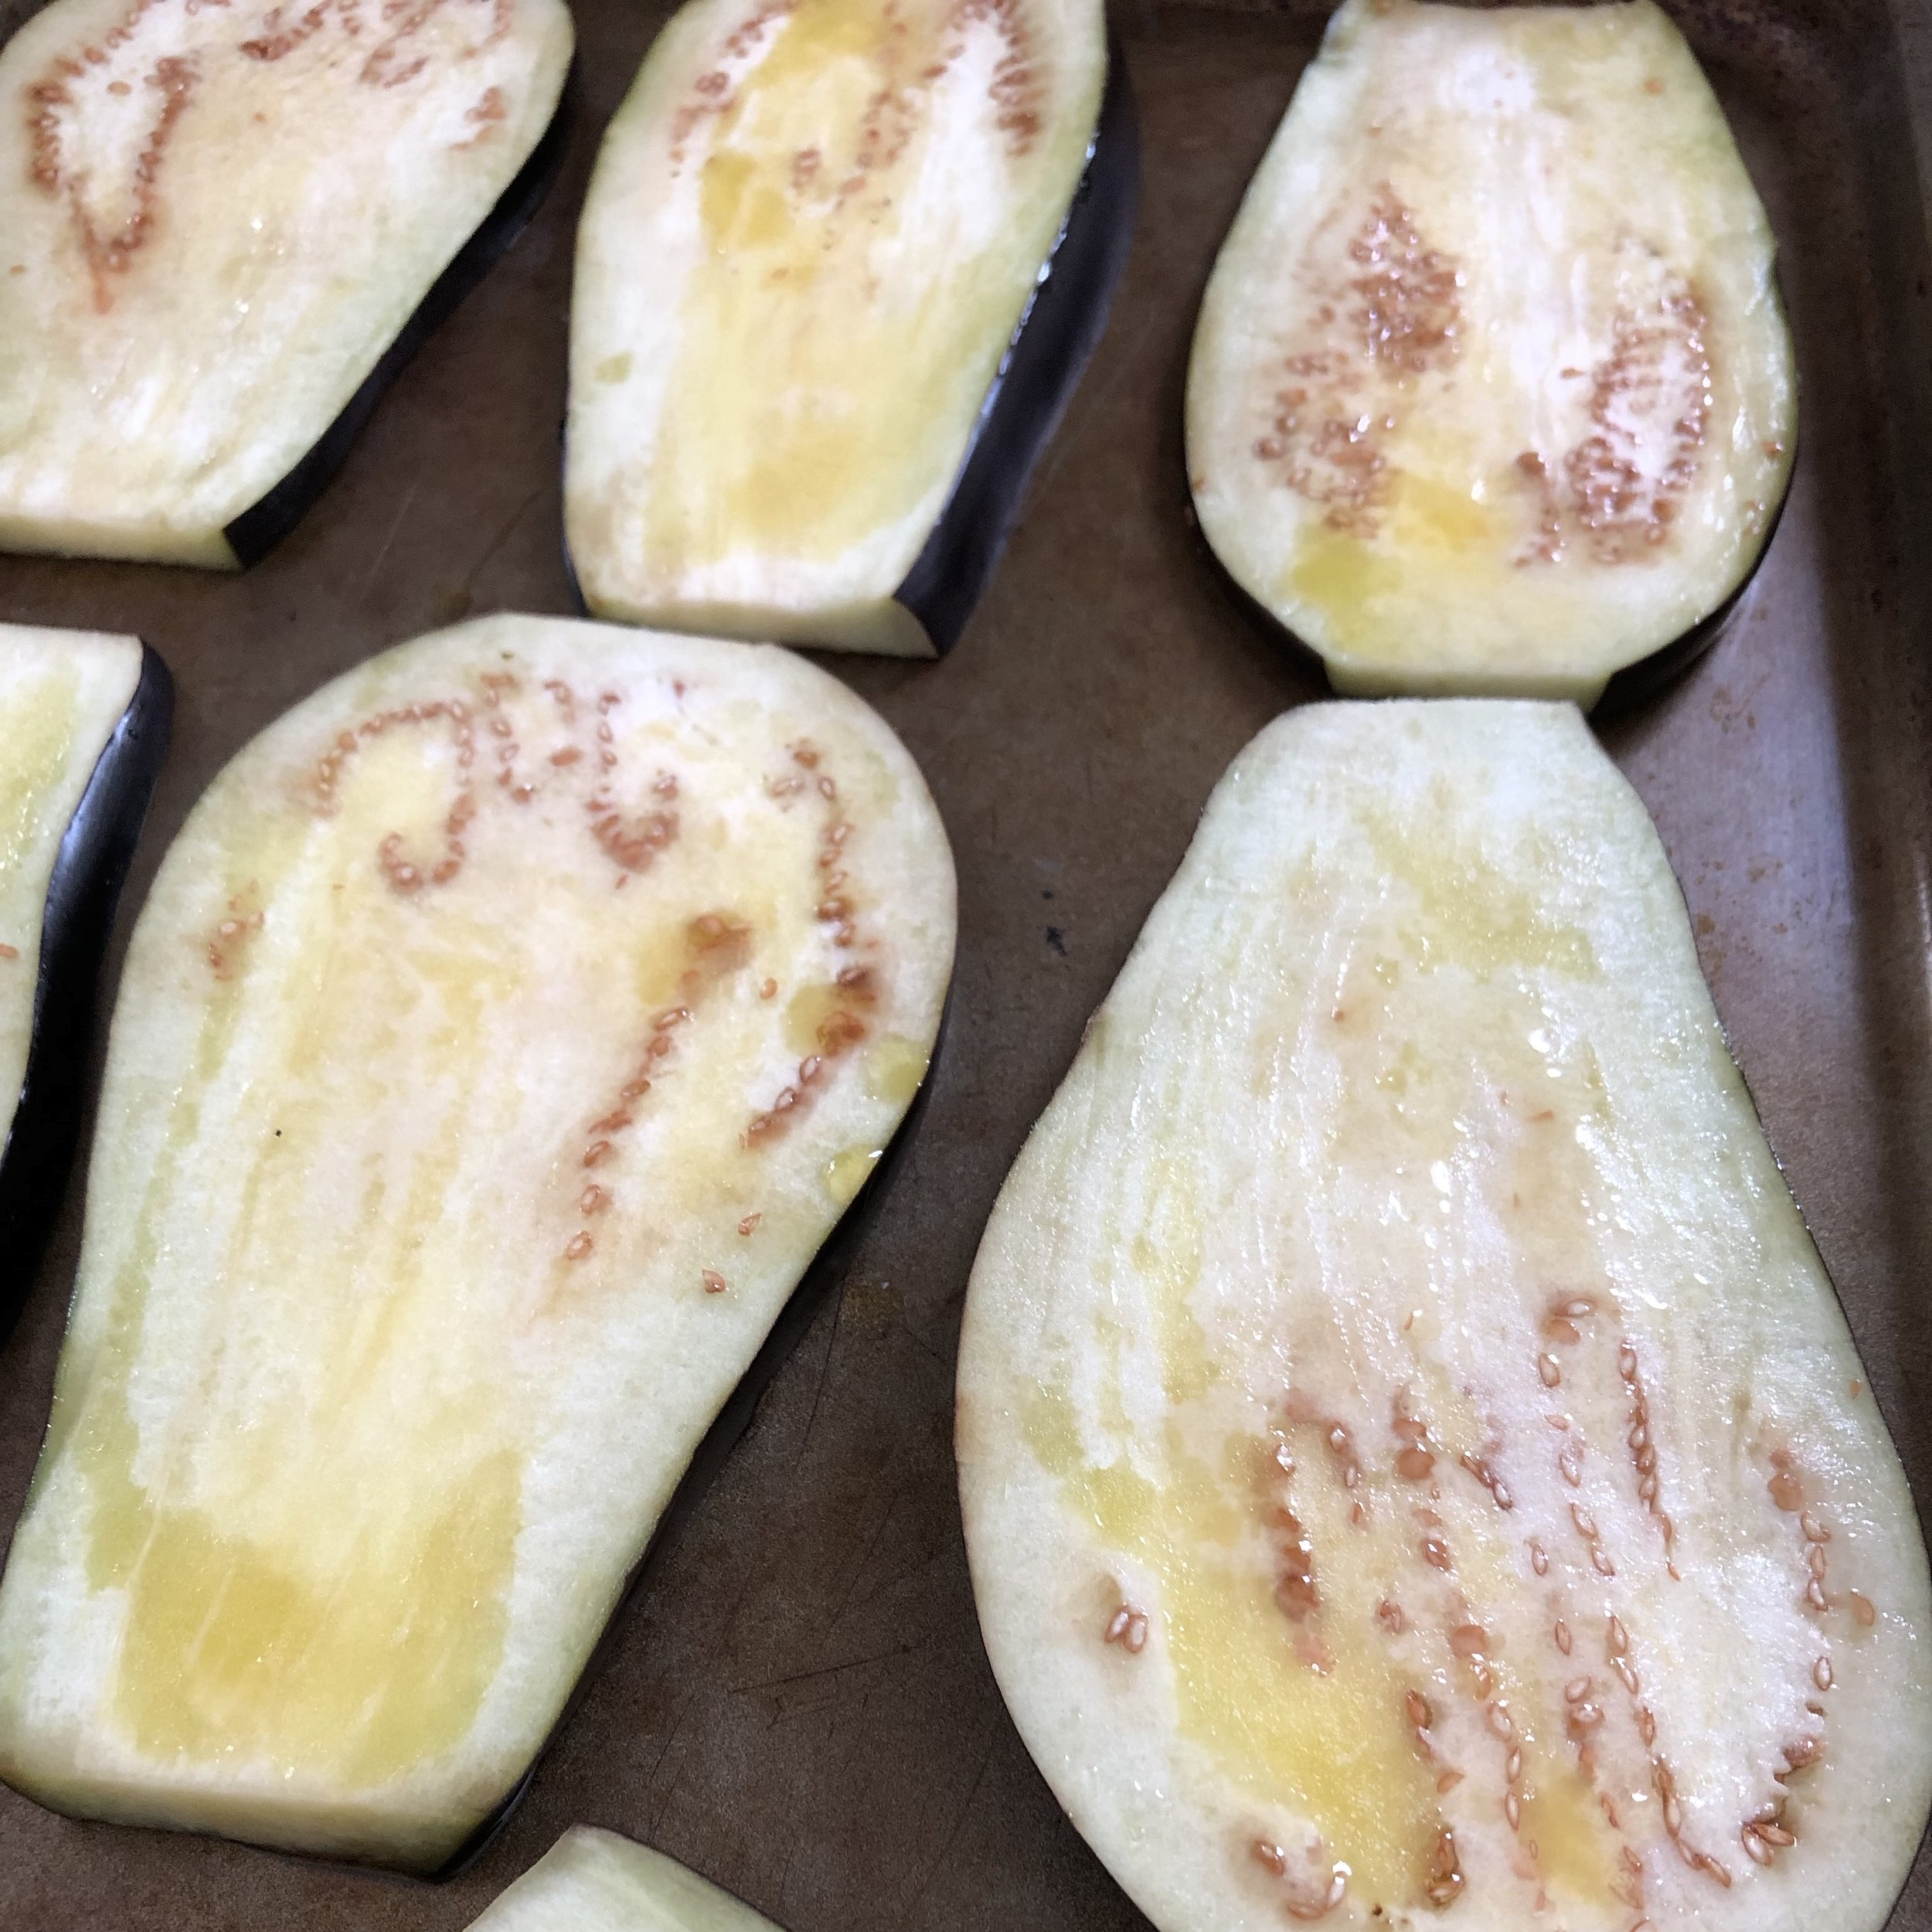
Lay the eggplant slices out in a single layer on the cutting board or baking sheets. Sprinkle liberally with kosher salt. Flip and sprinkle salt on the other side. Allow to sit for at least 10 minutes so that the moisture sweats out of the eggplant.
Using a clean kitchen towel, pat the eggplant dry. Flip and pat dry on the other side as well.
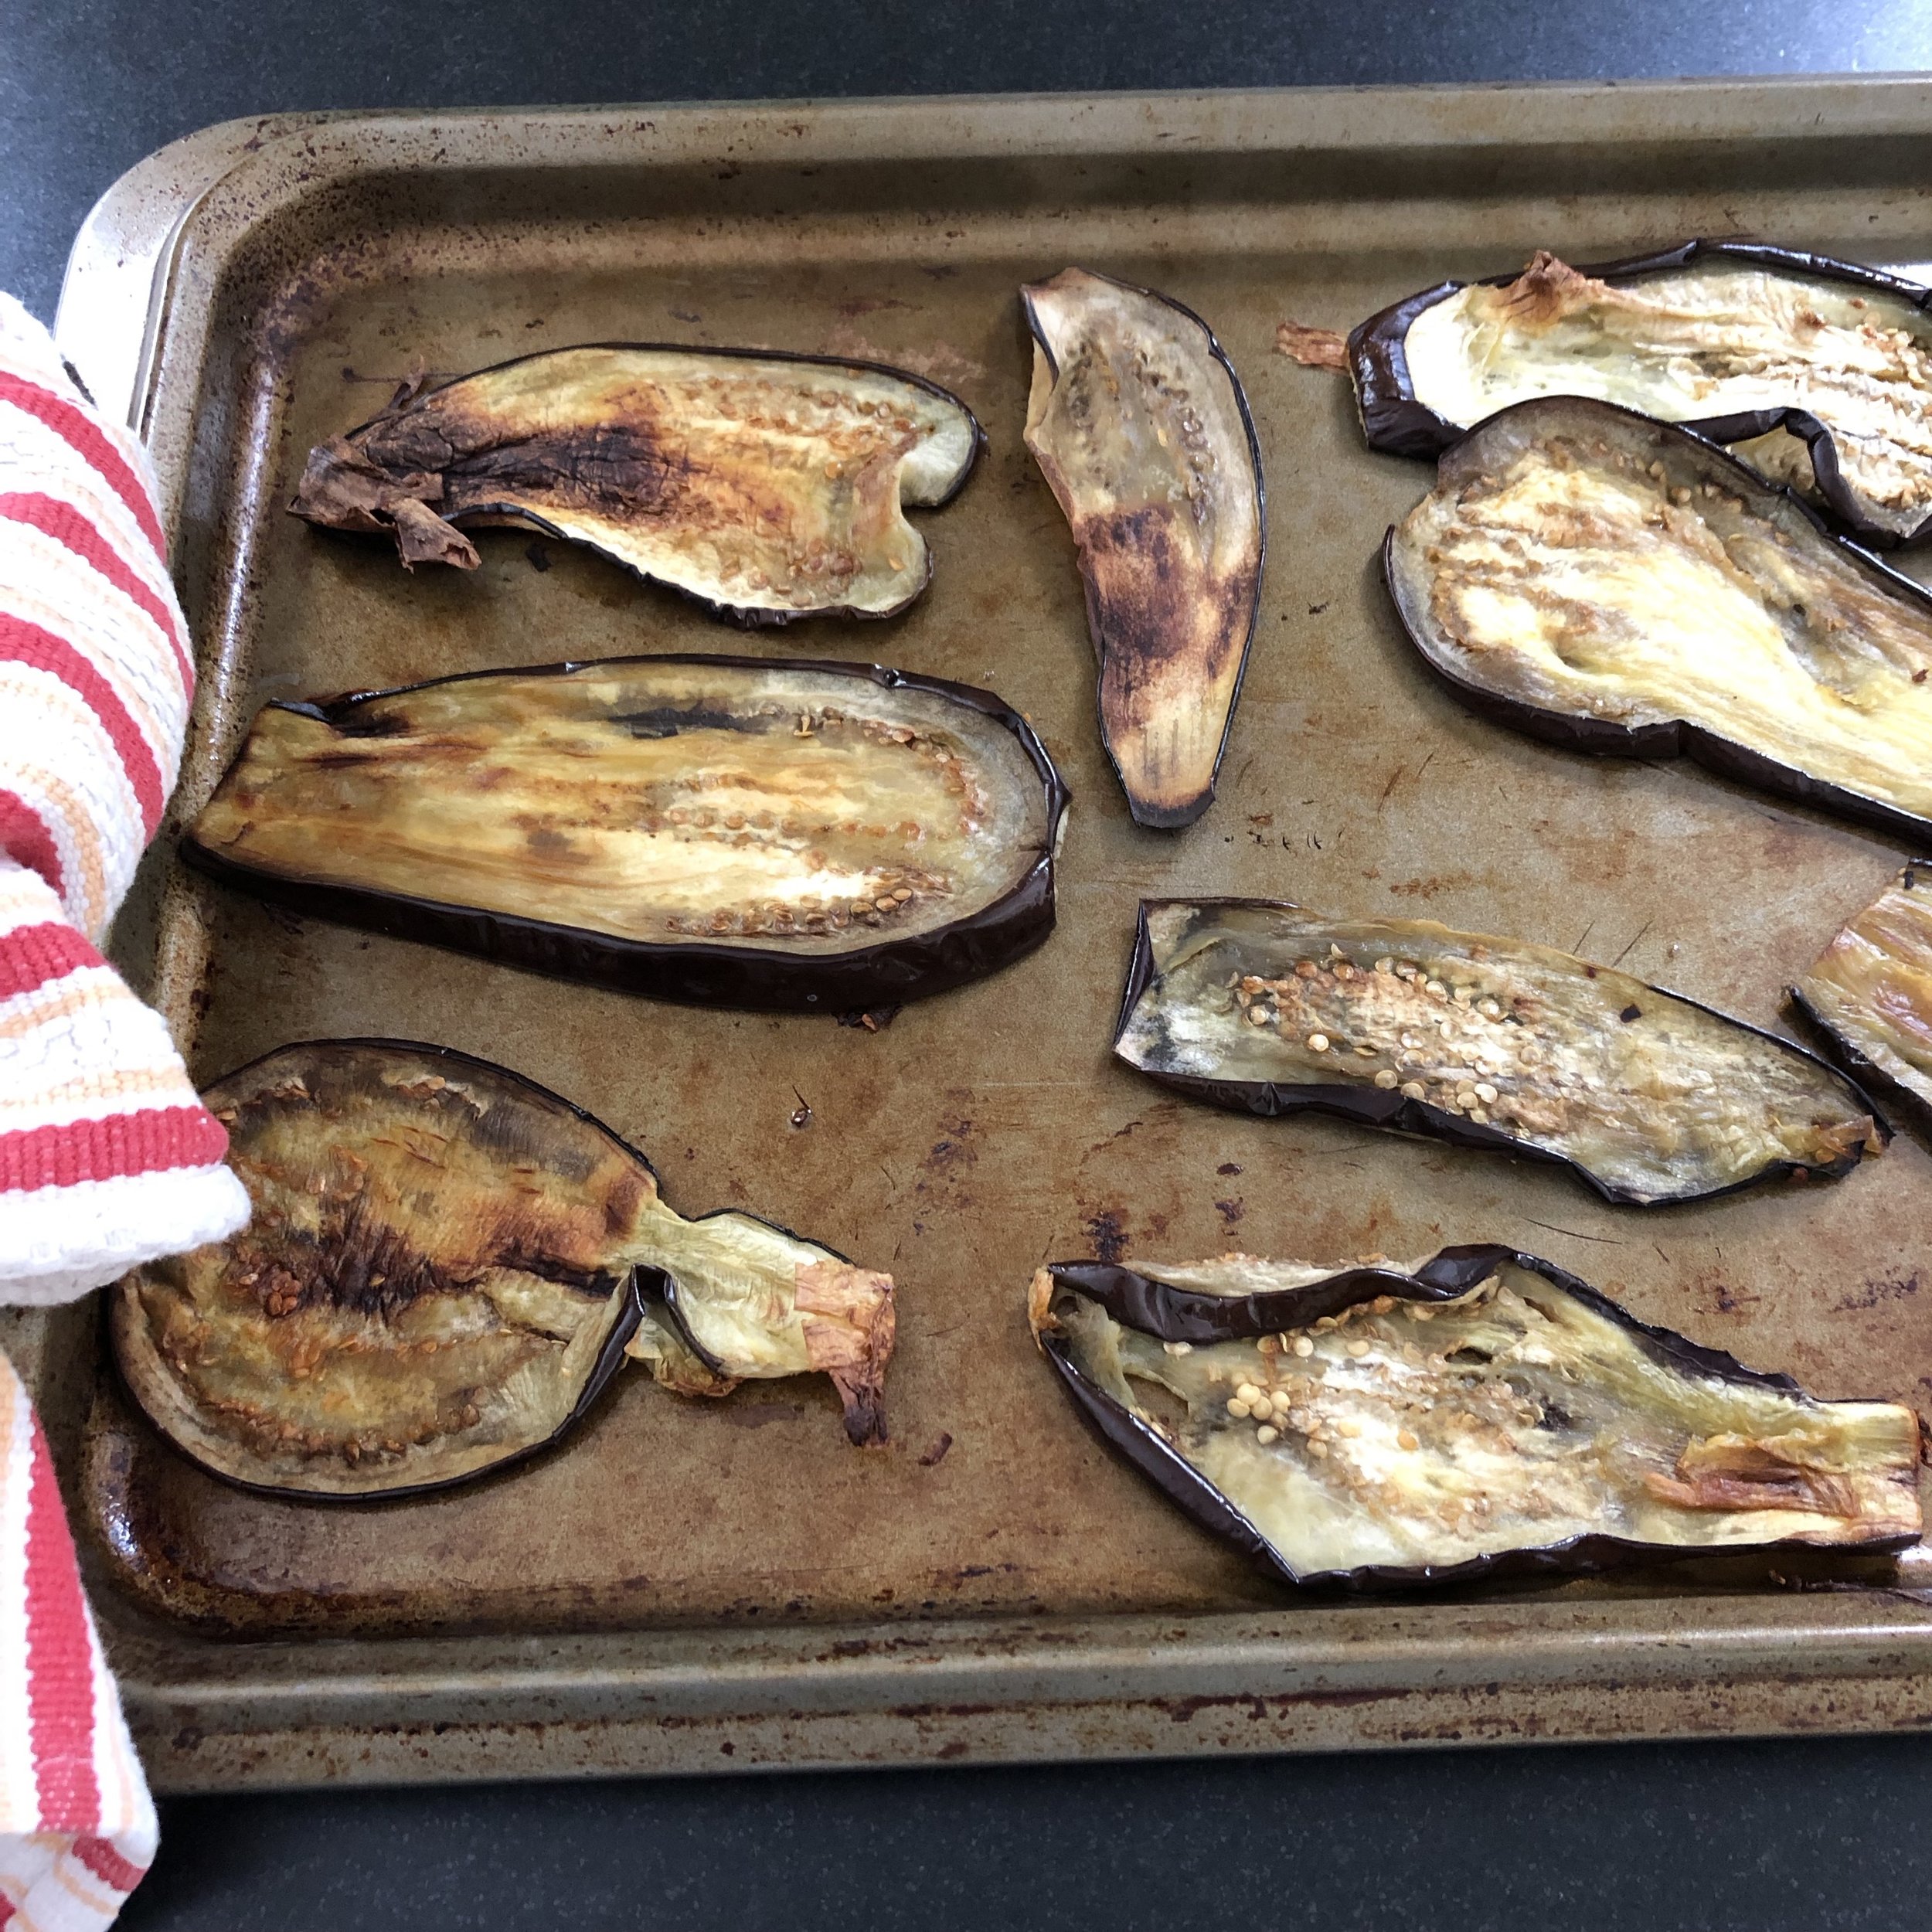
Transfer to a baking sheet and drizzle with about 2 tablespoons of extra virgin olive oil. Flip and drizzle olive oil on the other side. Sprinkle with red pepper flakes, if desired. Bake at 400 degrees for about 30 minutes or until eggplant is golden brown and crisp around the edges, flipping the eggplant slices and rotating the pan halfway through.
Meanwhile, in a small bowl, mix cheeses together with freshly ground black pepper.
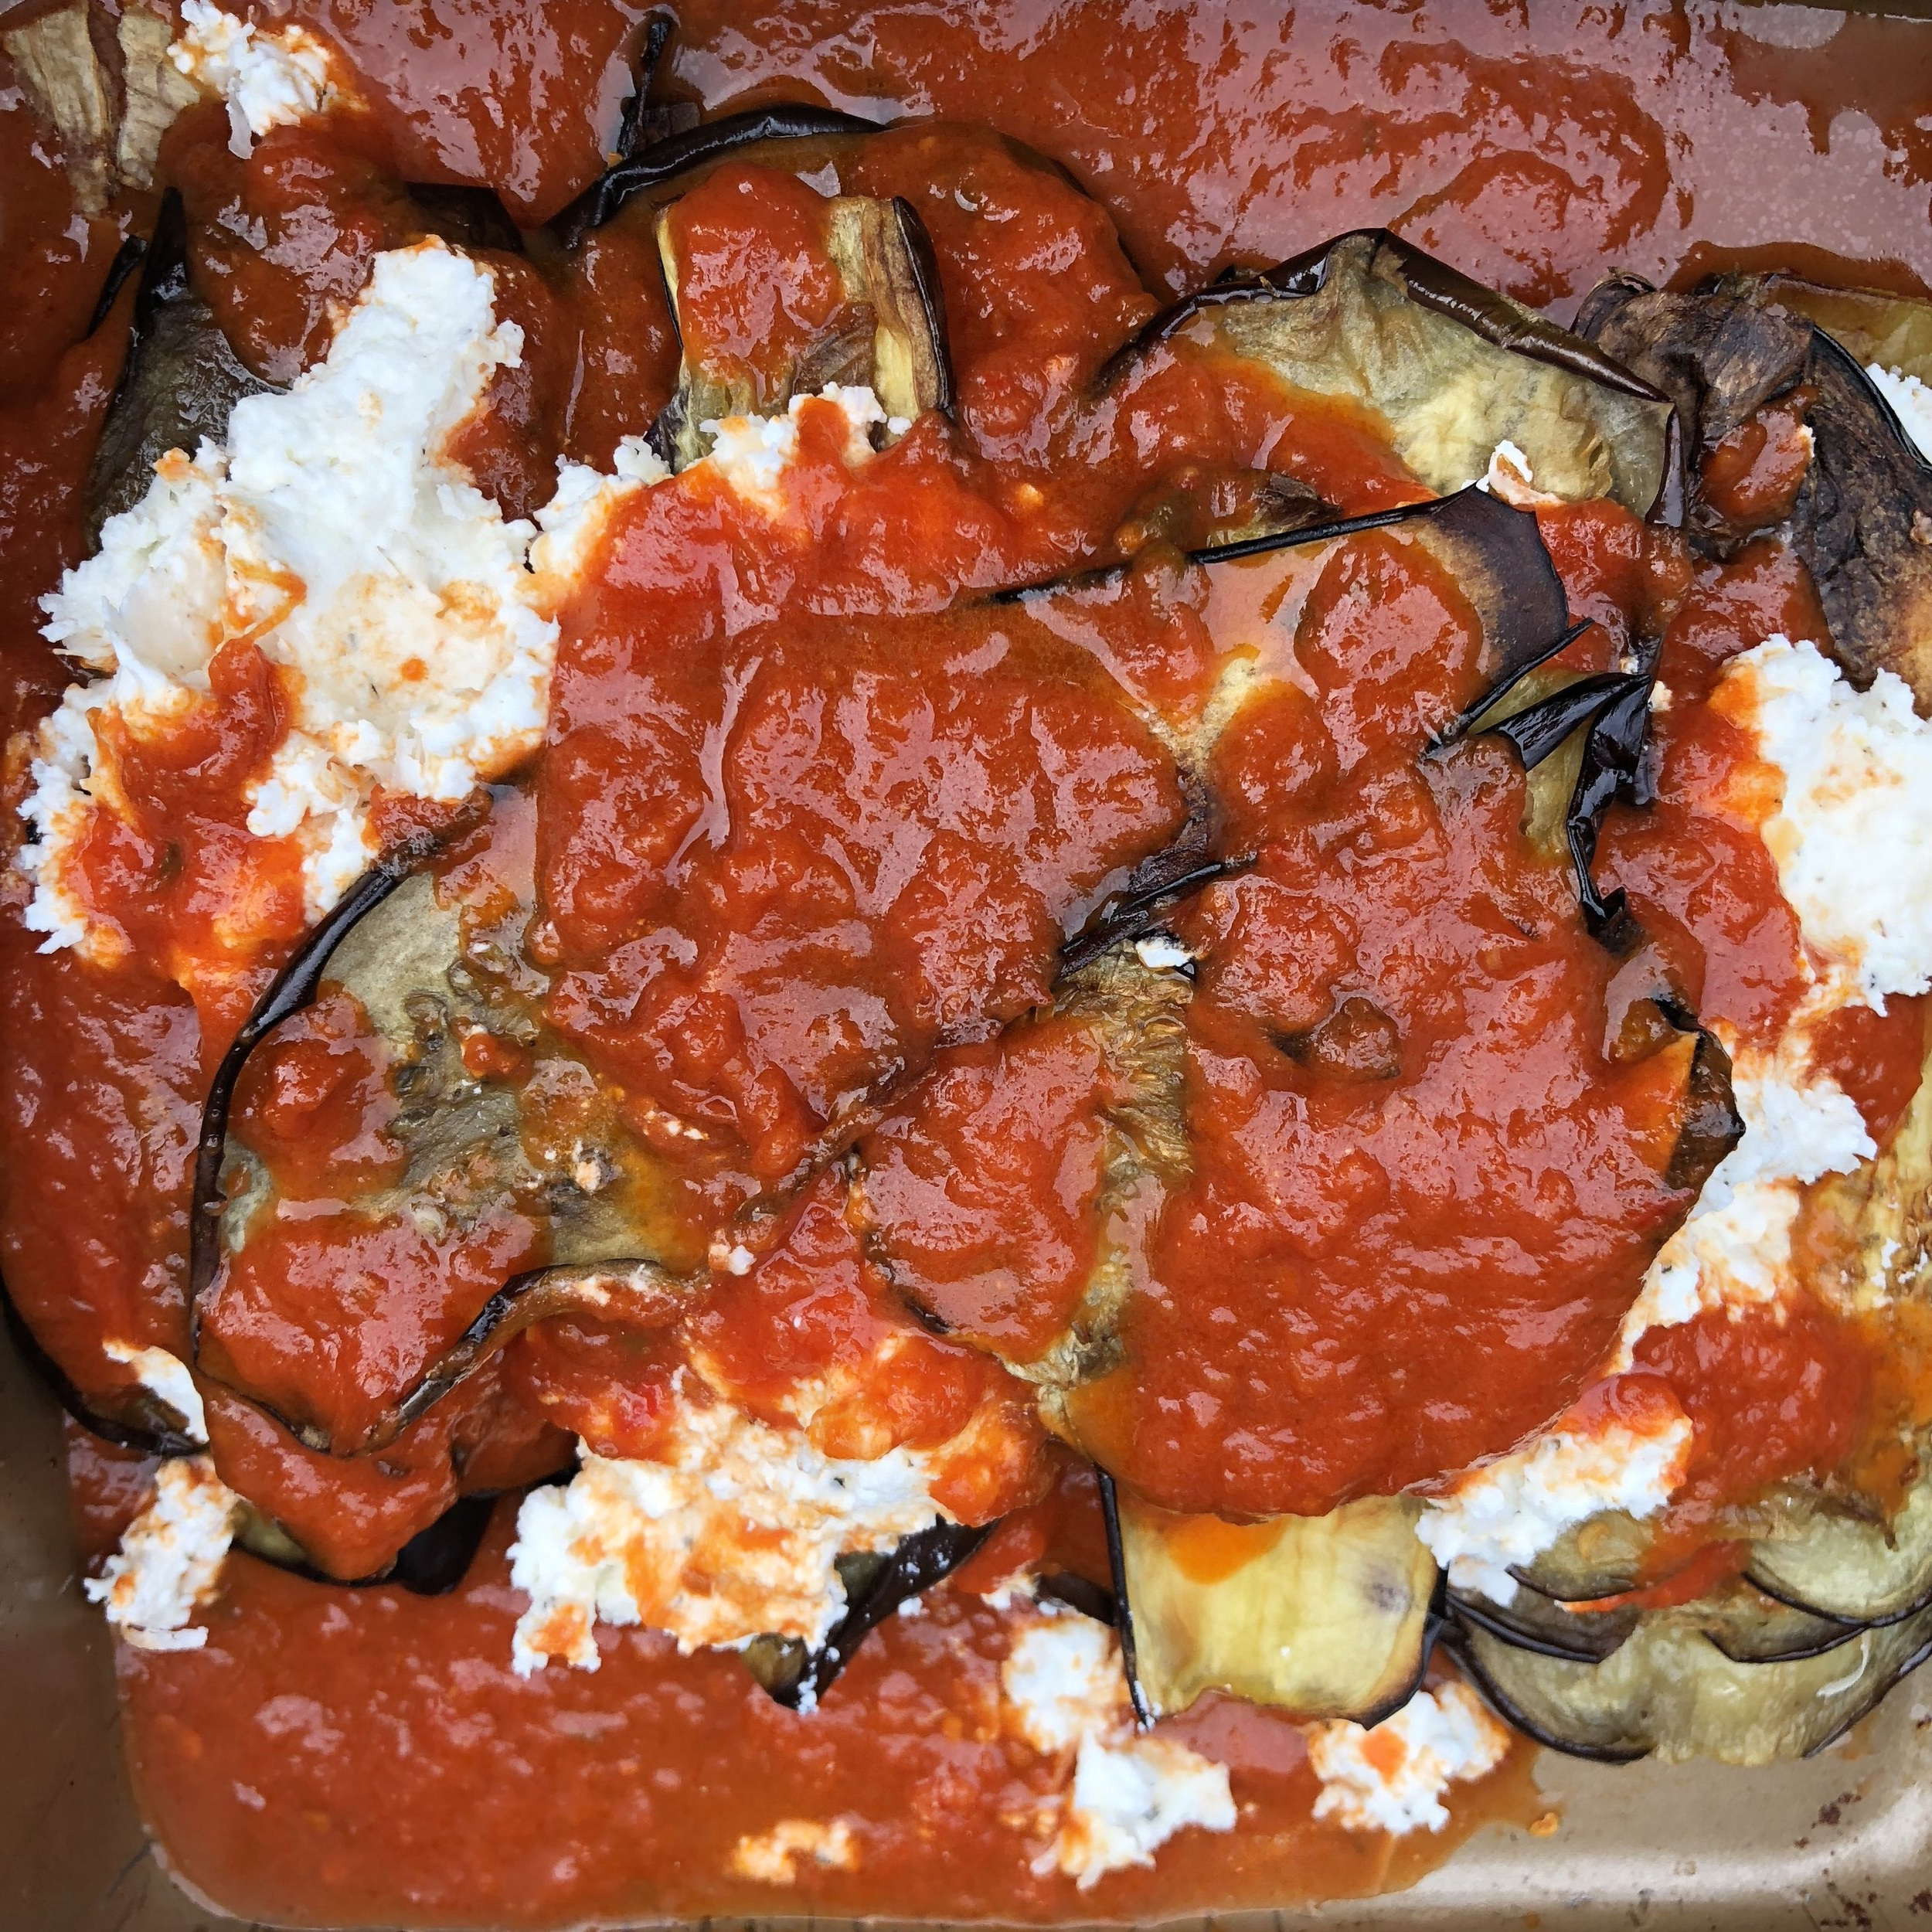
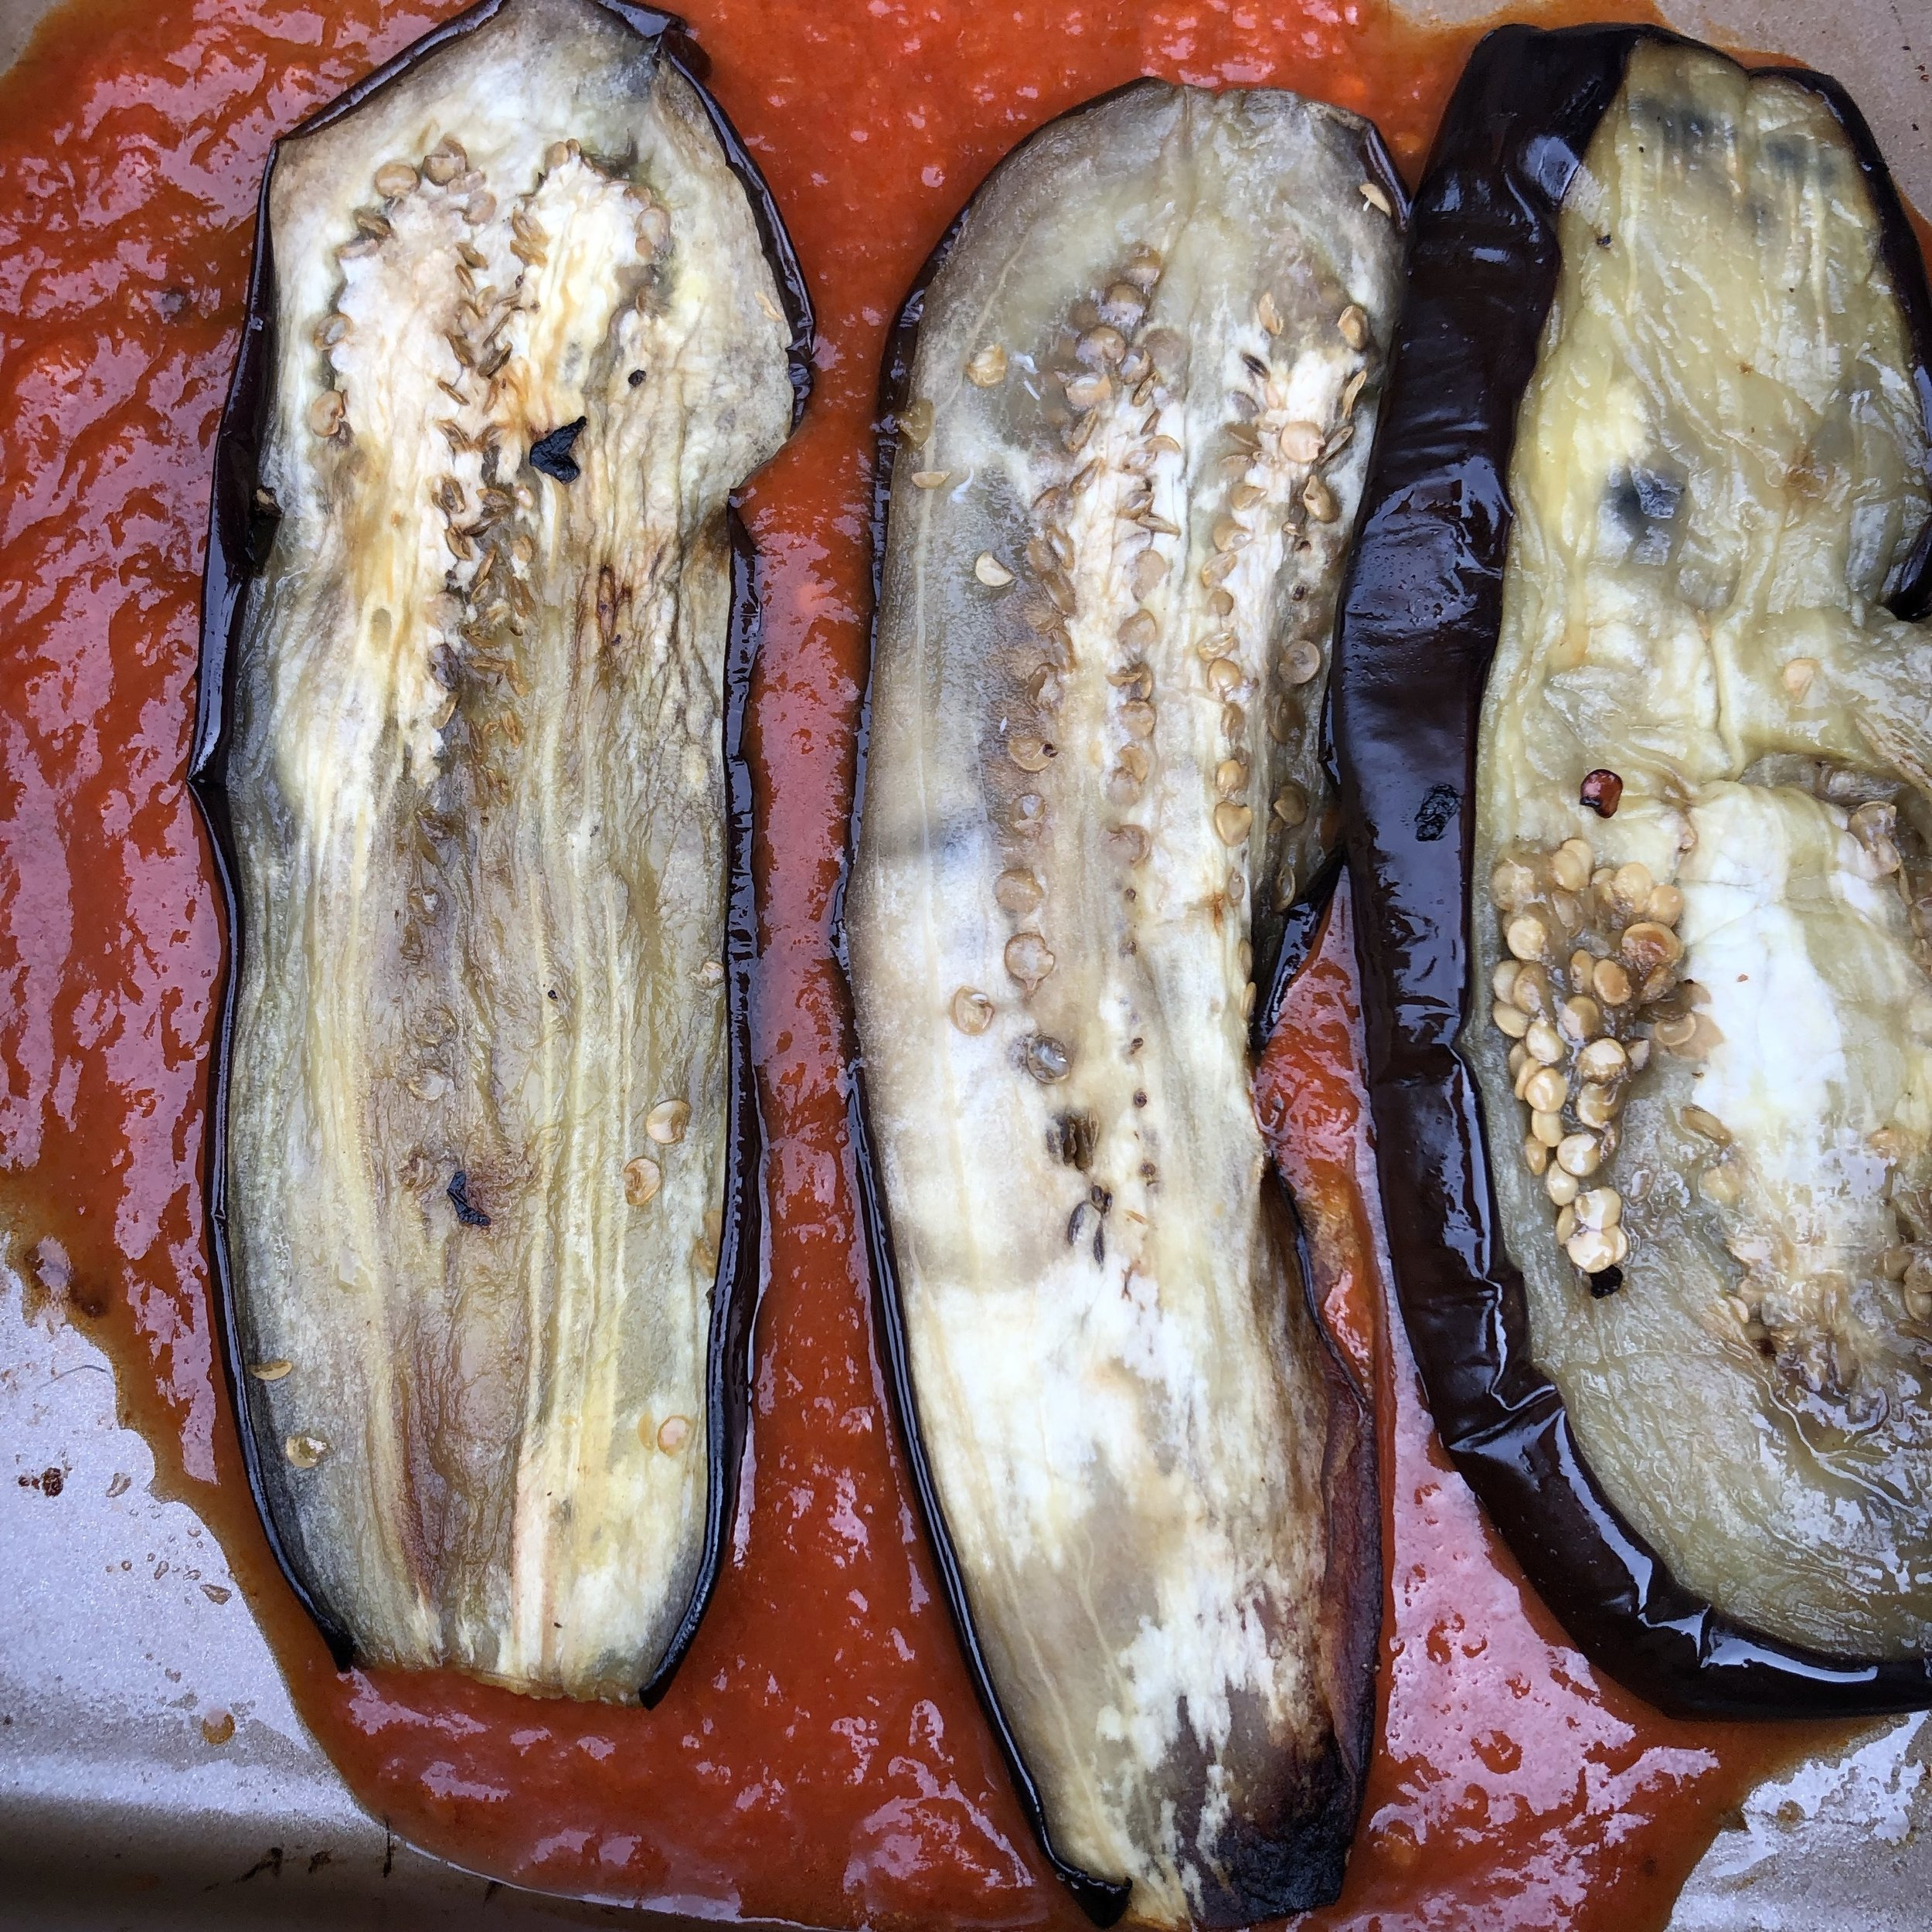
In a baking dish with high sides, ladle a few spoonfuls of sauce, arrange about 1/4 of your eggplant slices in a single layer over the sauce. Dollop 1/4 of your cheese mixture across the eggplant slices. Repeat until you have used all of your ingredients, finishing with a layer of sauce on top. Sprinkle about 1/4 teaspoon of red pepper flakes on top, if desired.
Bake at 400 degrees for about 30 minutes or until cheese is bubbly and lightly browned around edges.
Meanwhile, in a small skillet over medium high, heat 1 tablespoon of olive oil. Add the bread crumbs and sauté, stirring frequently until lightly browned, about 4 minutes.
Remove eggplant from the oven, and top with the toasted breadcrumbs. Allow to cool 5 minutes before serving.
Whole Grilled Fish with Fresh Herbs and Citrus
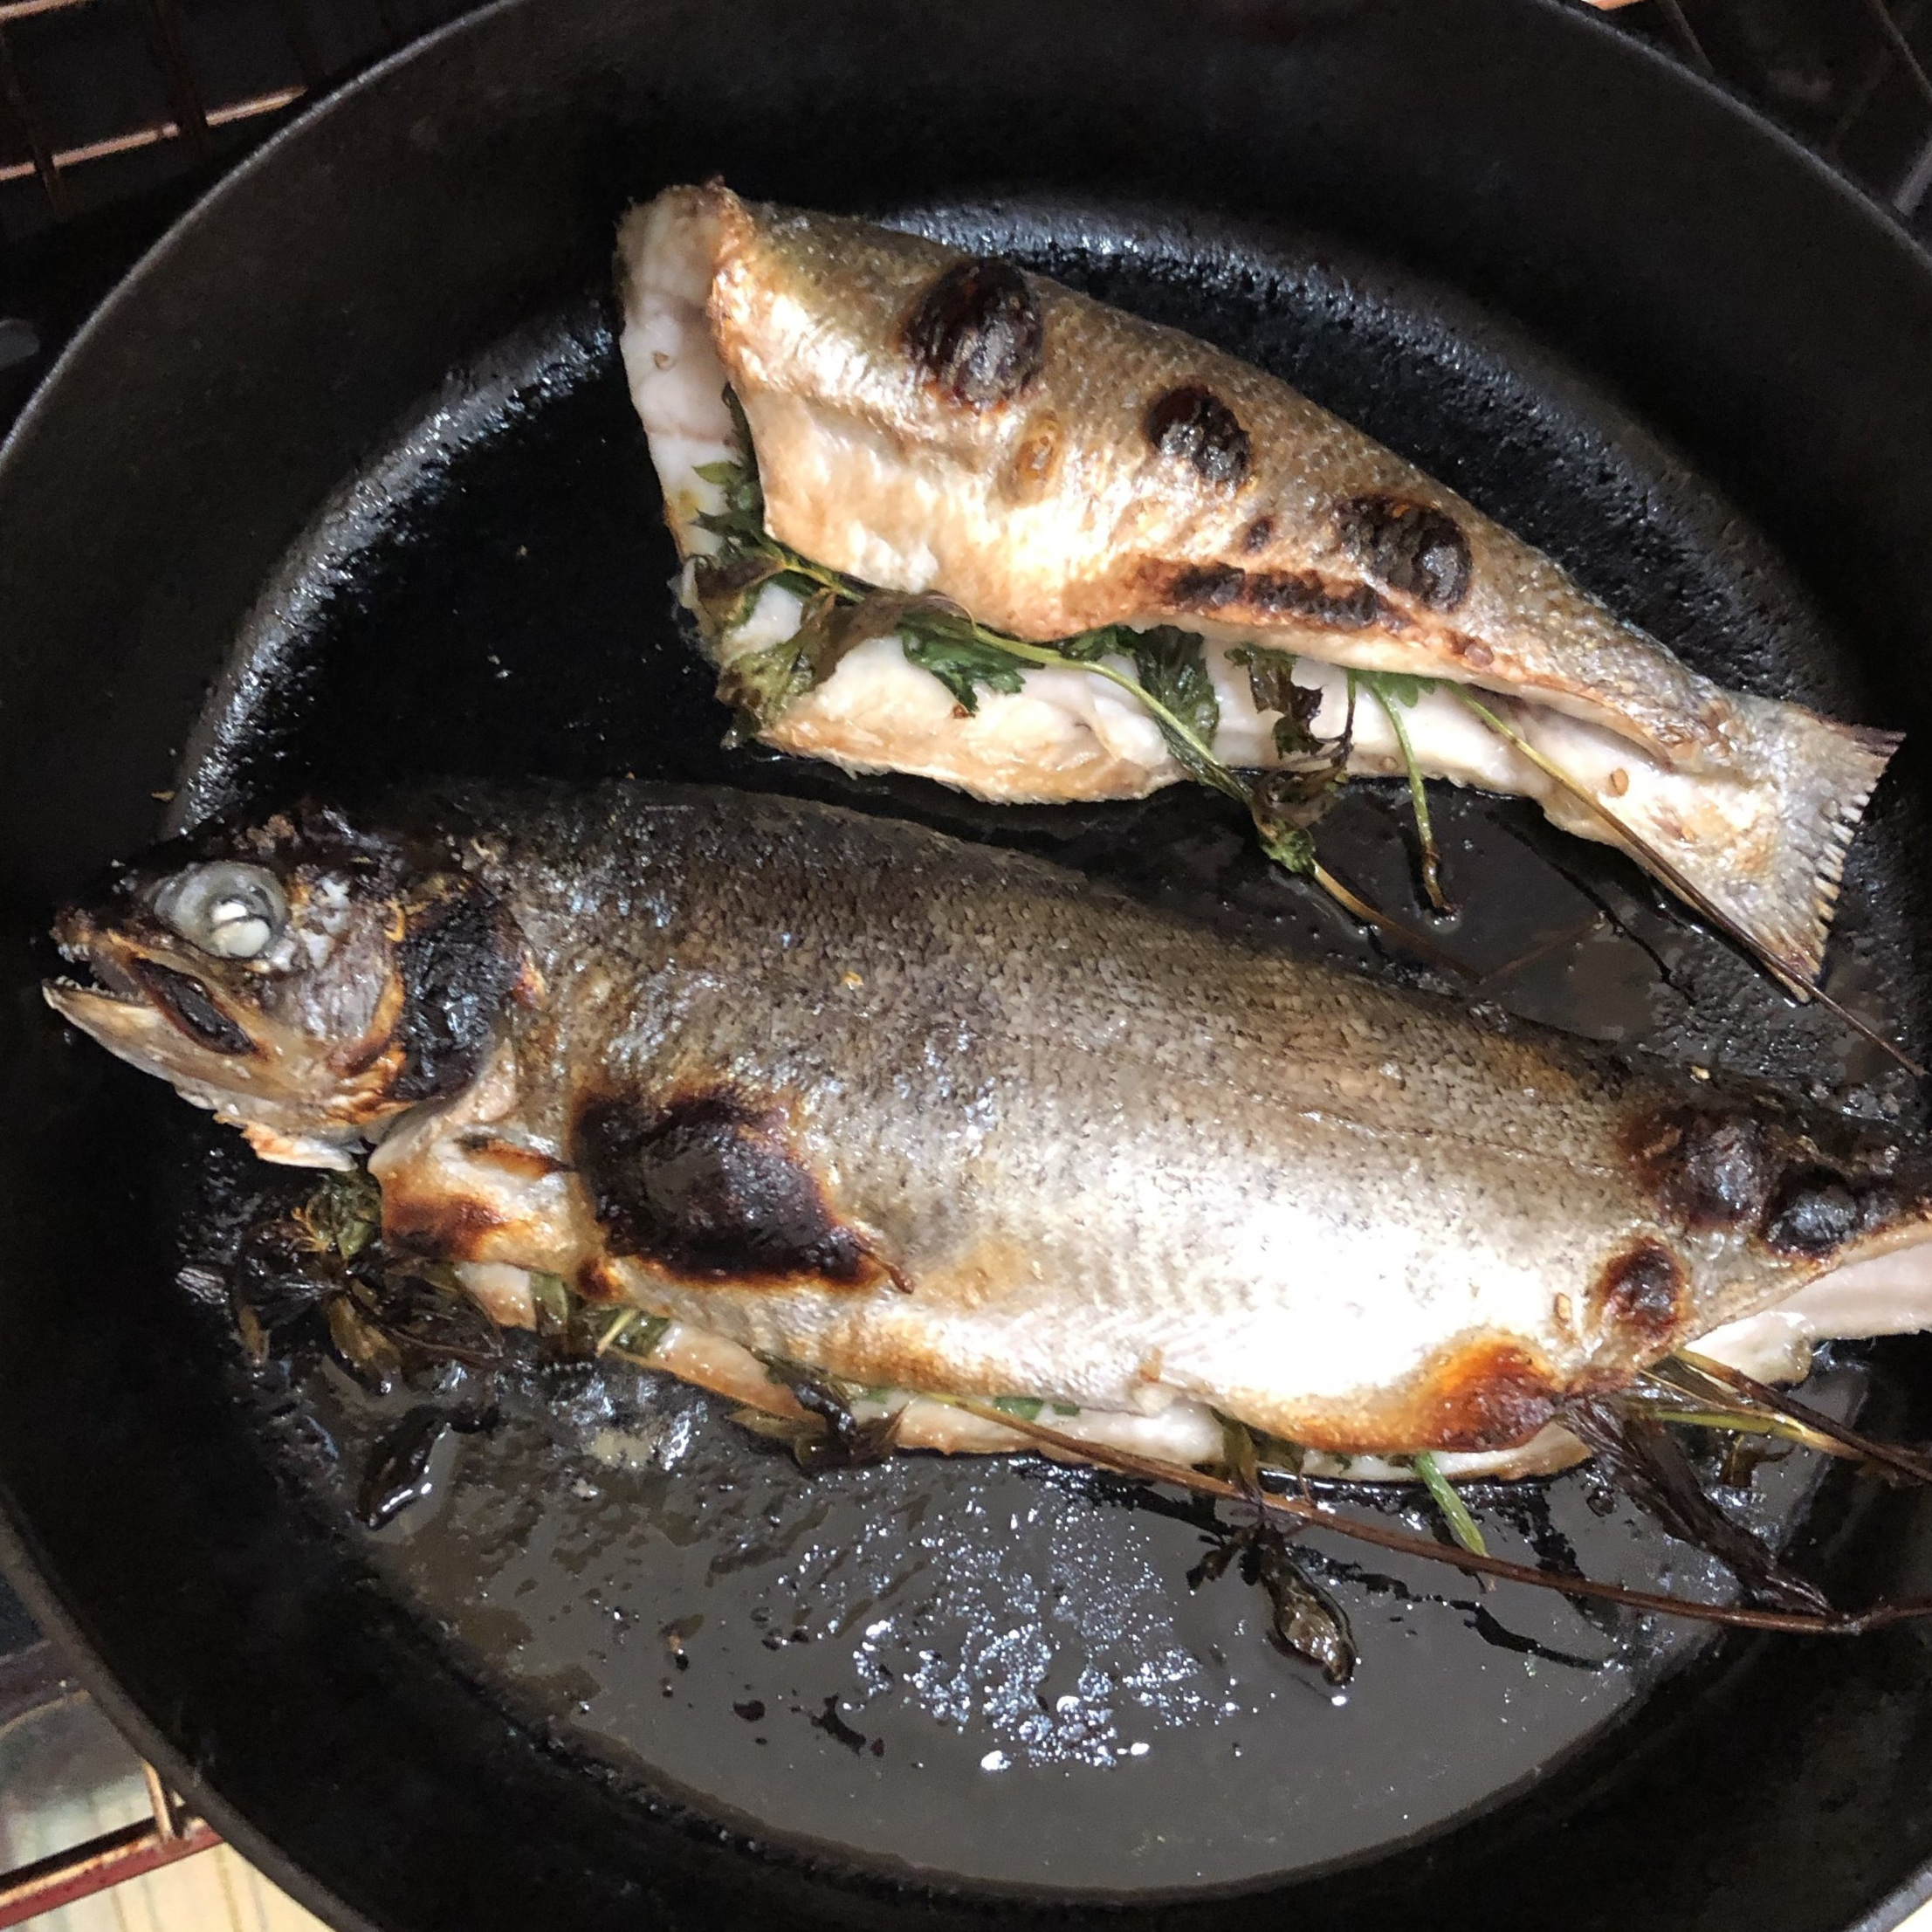
I used to be intimidated by recipes calling for whole fish, even after growing up with a fishing rod tucked under my arm, and even after culinary school where we covered all things fin fish. Last summer, I explored grilling whole fish. It was a lot less intimidating to work with them outdoors on a gas grill. I’ve since tested and adapted these recipes for indoor cooking, because let’s face it, we all don’t have the option of grilling all the time.
This is the start to a perfect summer night meal, when you want to expel as little effort as possible to eat something light and full flavored. Pair with some grilled vegetables or a salad and you’re a star, a sea star.
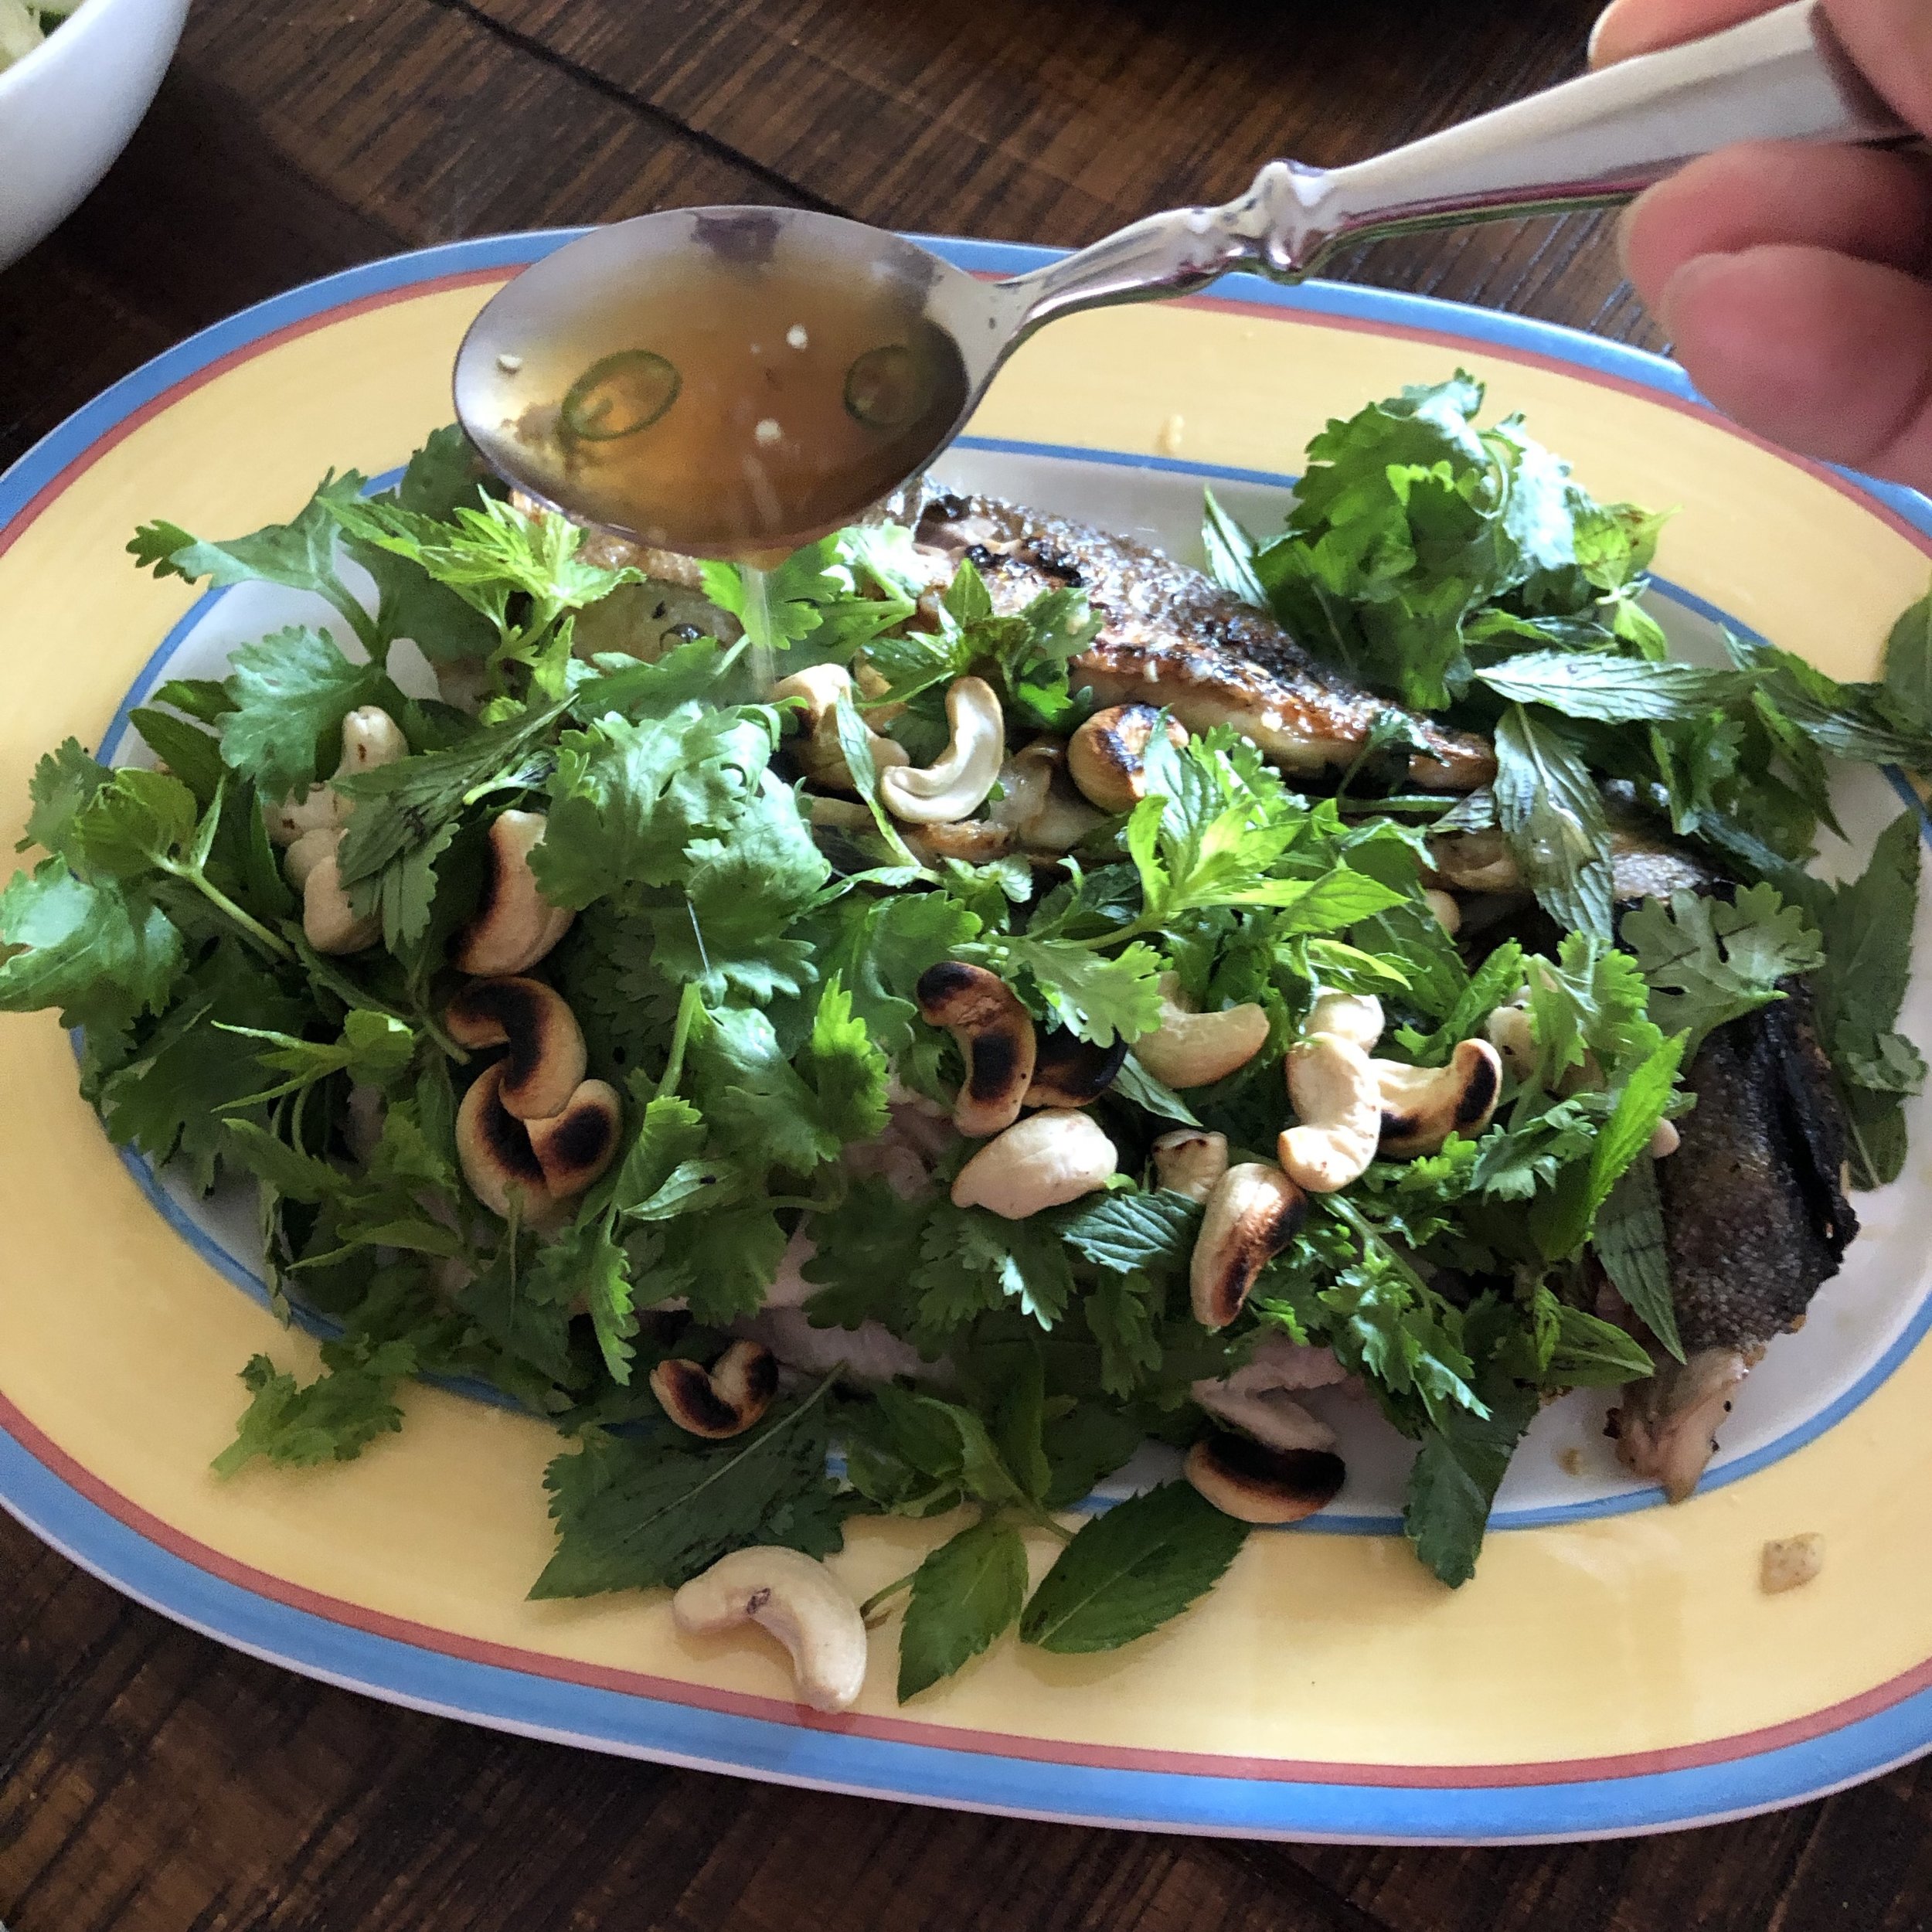
What follows is a formula for simple whole grilled fish with herbs and citrus served in 5 of my favorite ways (just updated with a new favorite). You can easily modify this formula to fit your favorite flavor combinations, seasonally available produce and local flavor. Or you can jump straight to my recipe for Whole Grilled Trout with Cilantro, Mint, Nam Pla Prik, and Cashews, which you won’t regret one bit.
WHOLE GRILLED FISH WITH FRESH HERBS & CITRUS - 4 WAYS
Lemon + Parsley + Garlic + Pepper + Olive Oil garnished with Hazelnuts
Orange + Parsley + Oregano + Olive Oil garnished with Olives + Capers
Orange + Lime + Cilantro + Serrano + Cumin garnished with Avocado + Tomato
Mint + Cilantro + Thai basil + White Pepper + Kaffir Lime Leaf garnished with Toasted Cashews + Nam Pla Prik Thai Chili Lime Sauce
Preserved Lime or Lime + Ras el Hanout + Parsley
Serves: 4 - 6
What You Need:
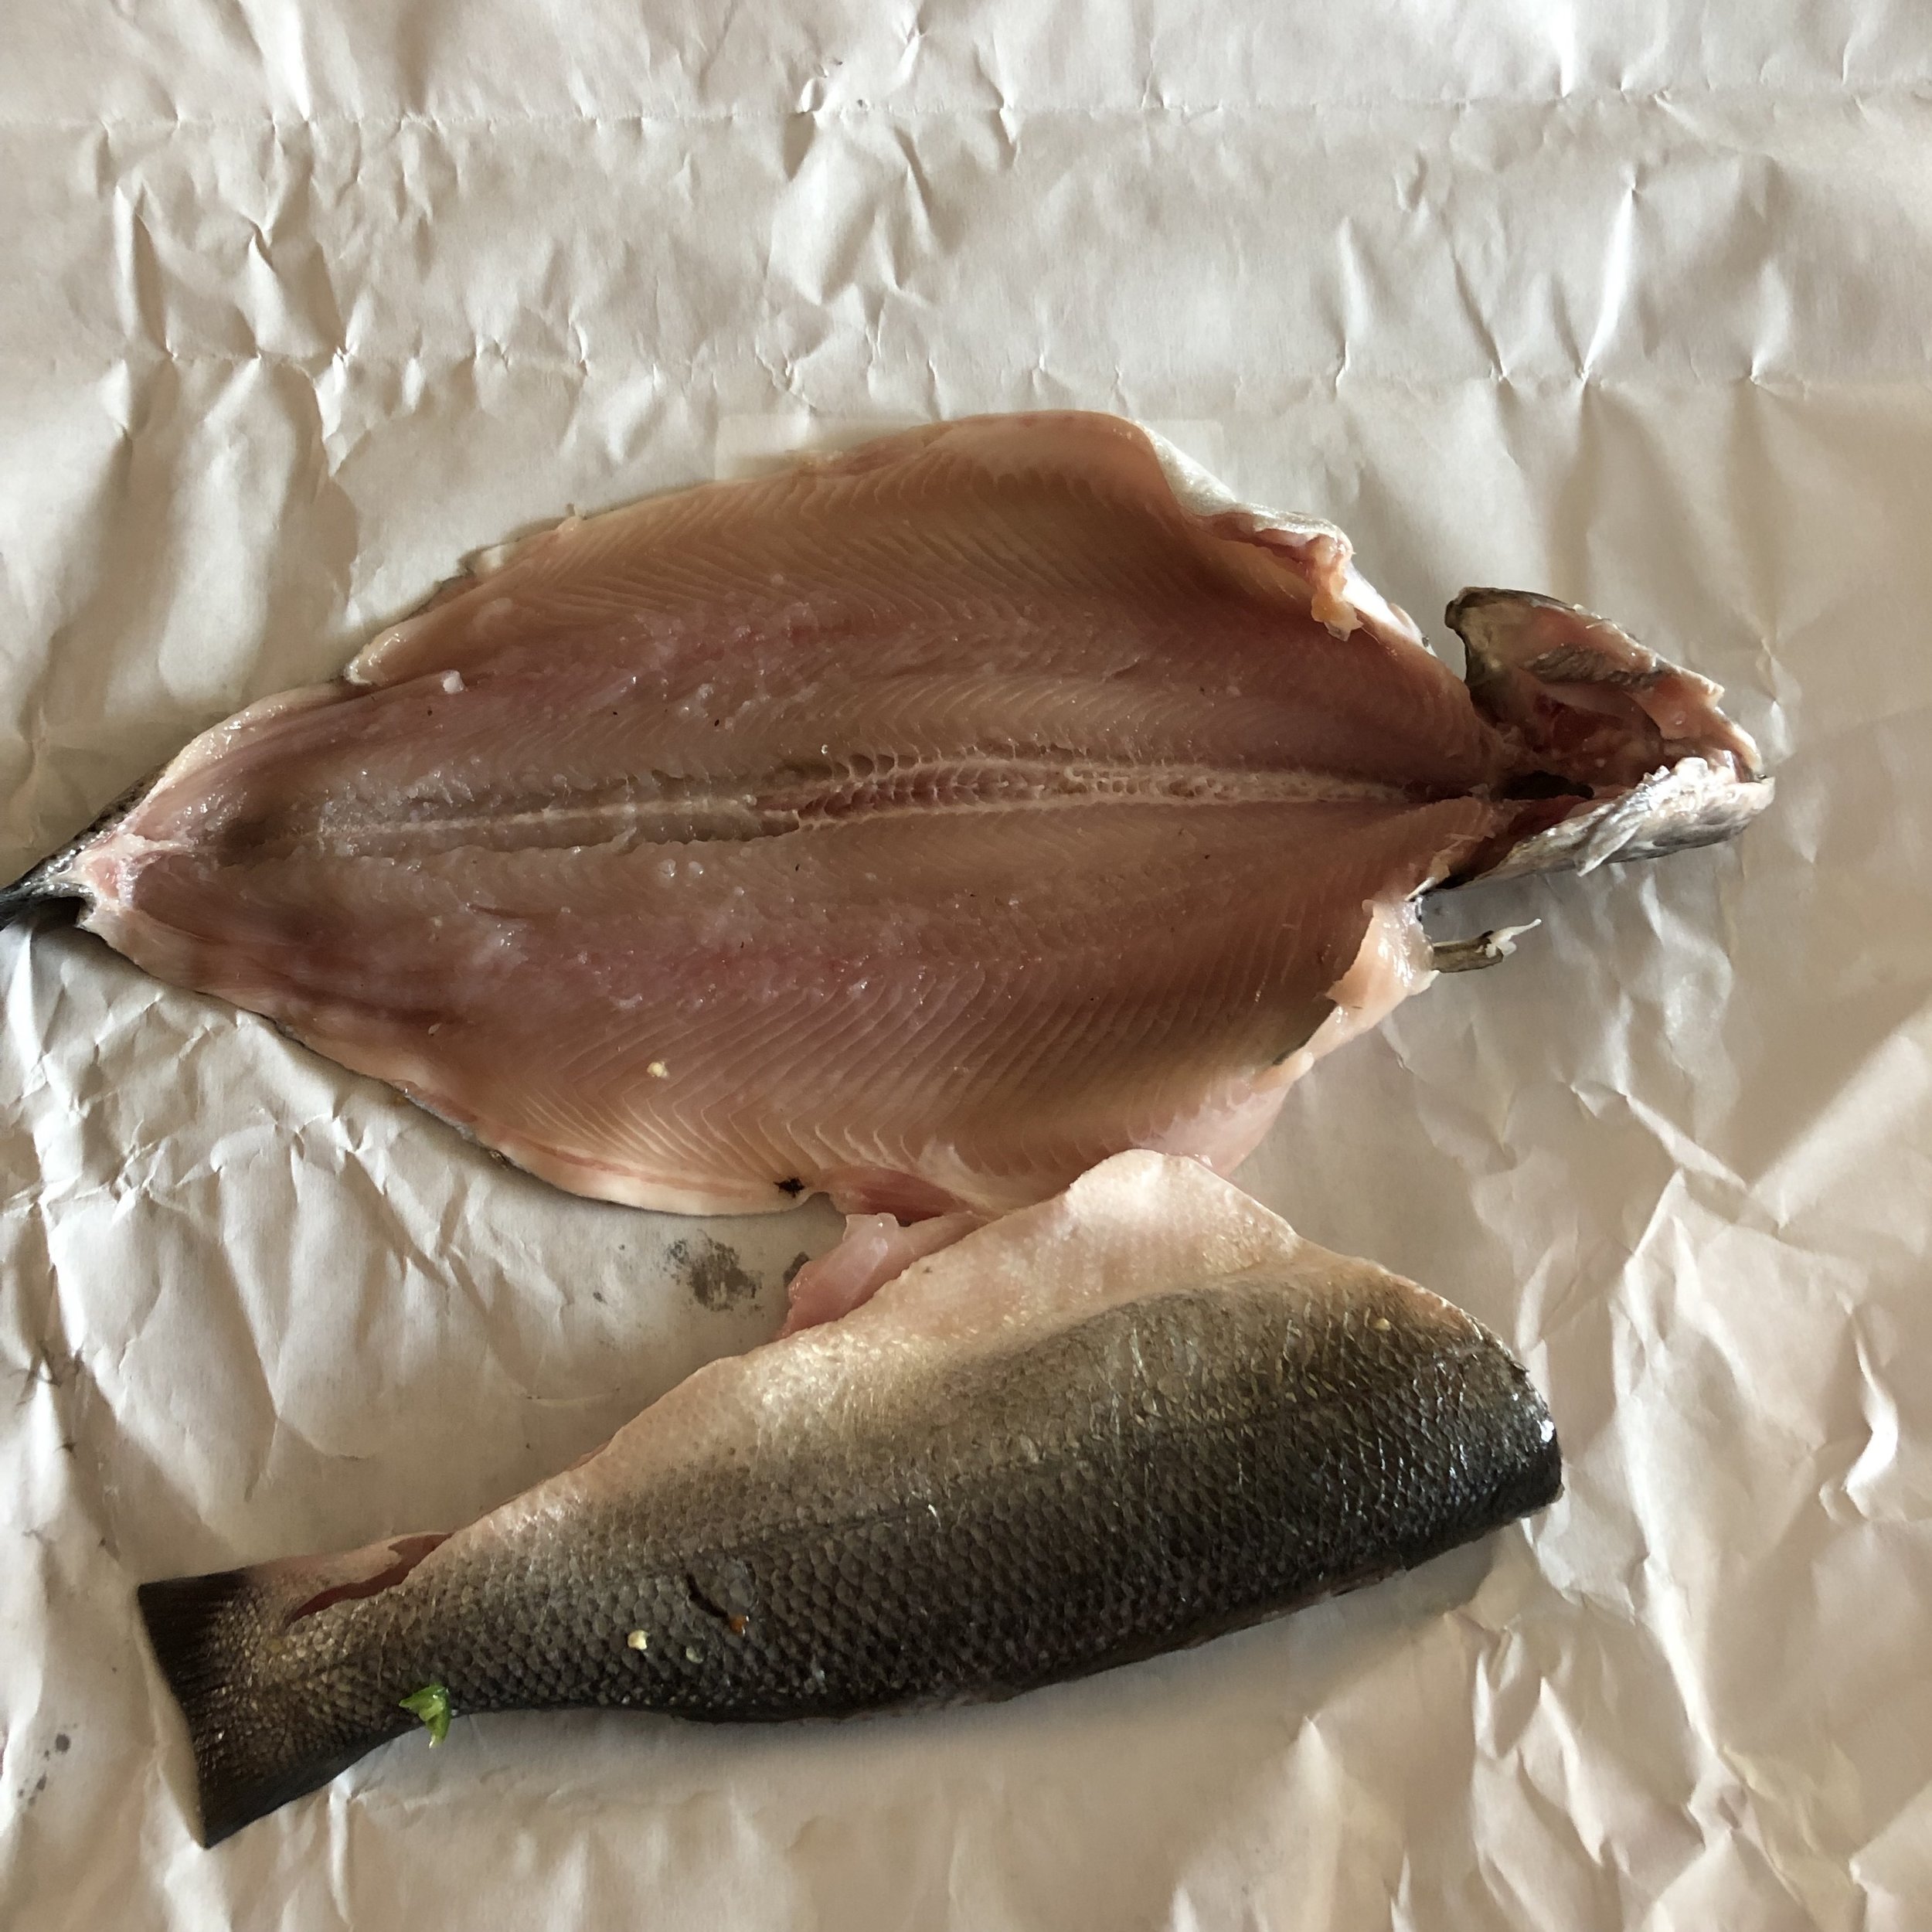
3 small whole fish, such as branzino, trout or red snapper, scaled, cleaned, & heads removed or butterflied, about 1 pound each
¼ teaspoon sea salt
¼ - 1 teaspoon ground pepper or other spices or spice blends
1 - 2 bunches of fresh herbs
2 - 3 limes, lemons or oranges, sliced or juiced for dressing
1 tablespoon oil
¼ cup nuts, lightly toasted
1-2 chili peppers, such as jalapeno, serrano or Thai bird’s eye chili, thinly sliced
¼ - ½ cup olives, pickles, capers, or caper berries
What You Do:
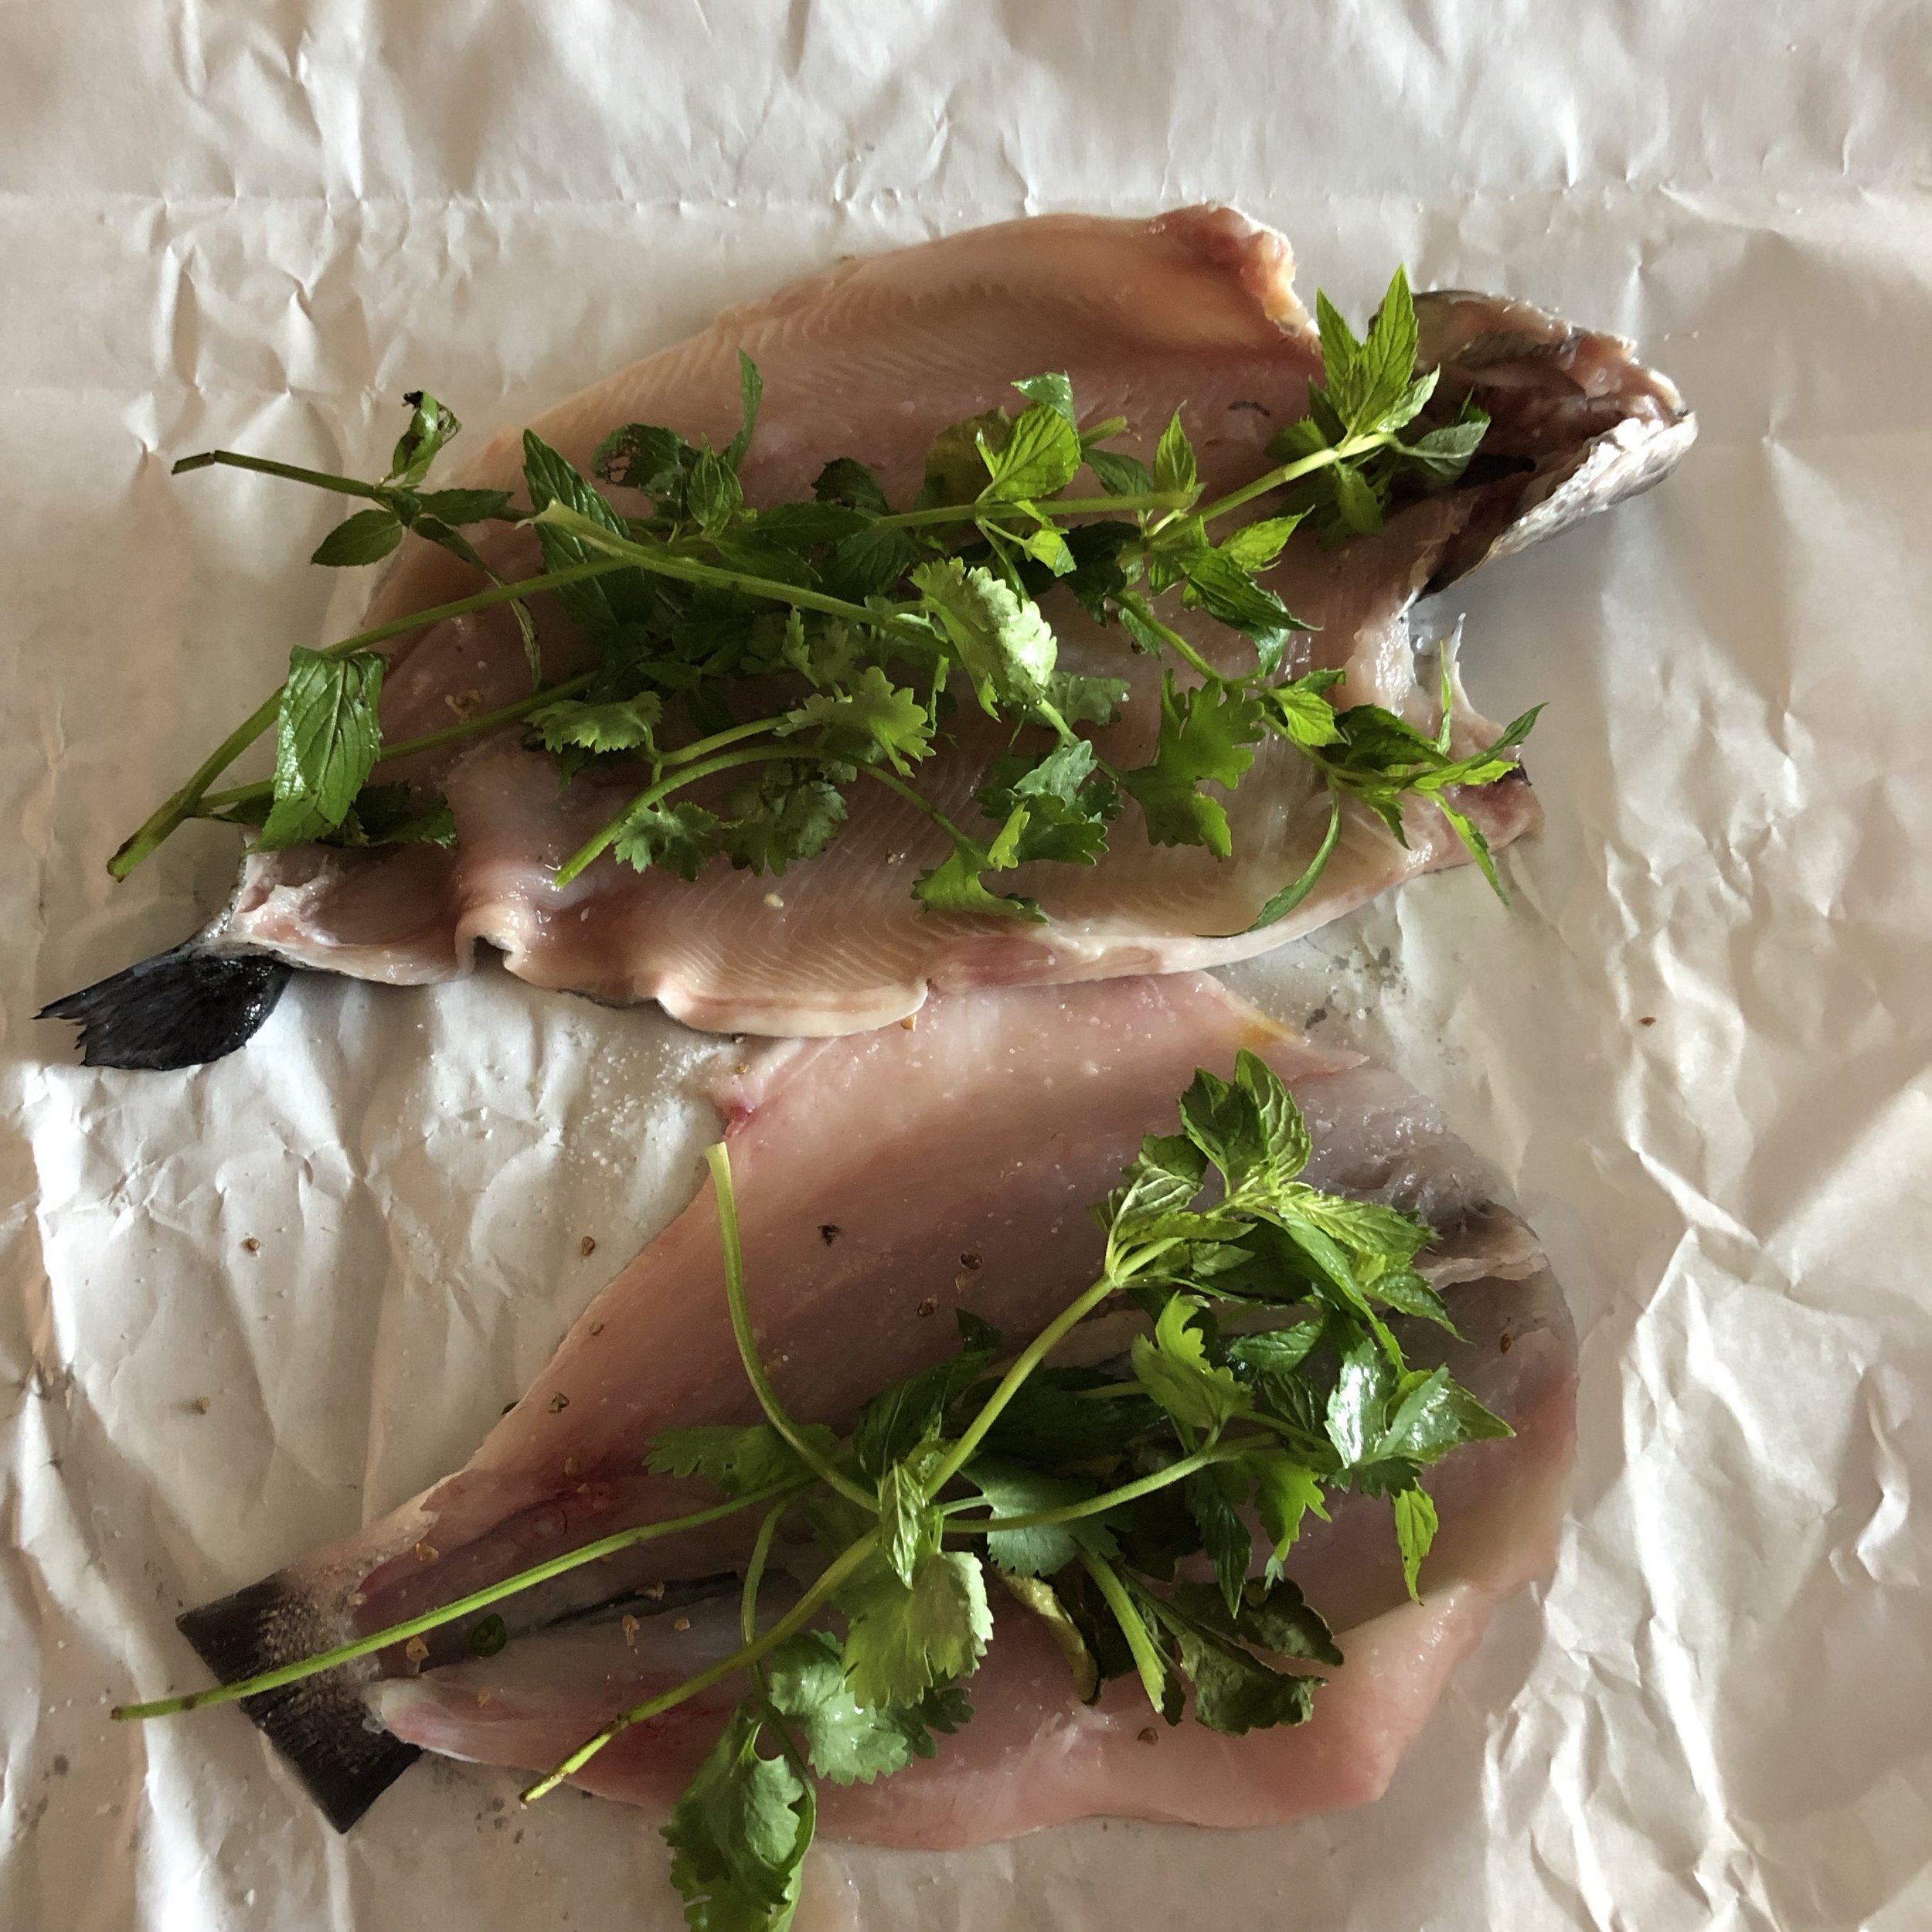
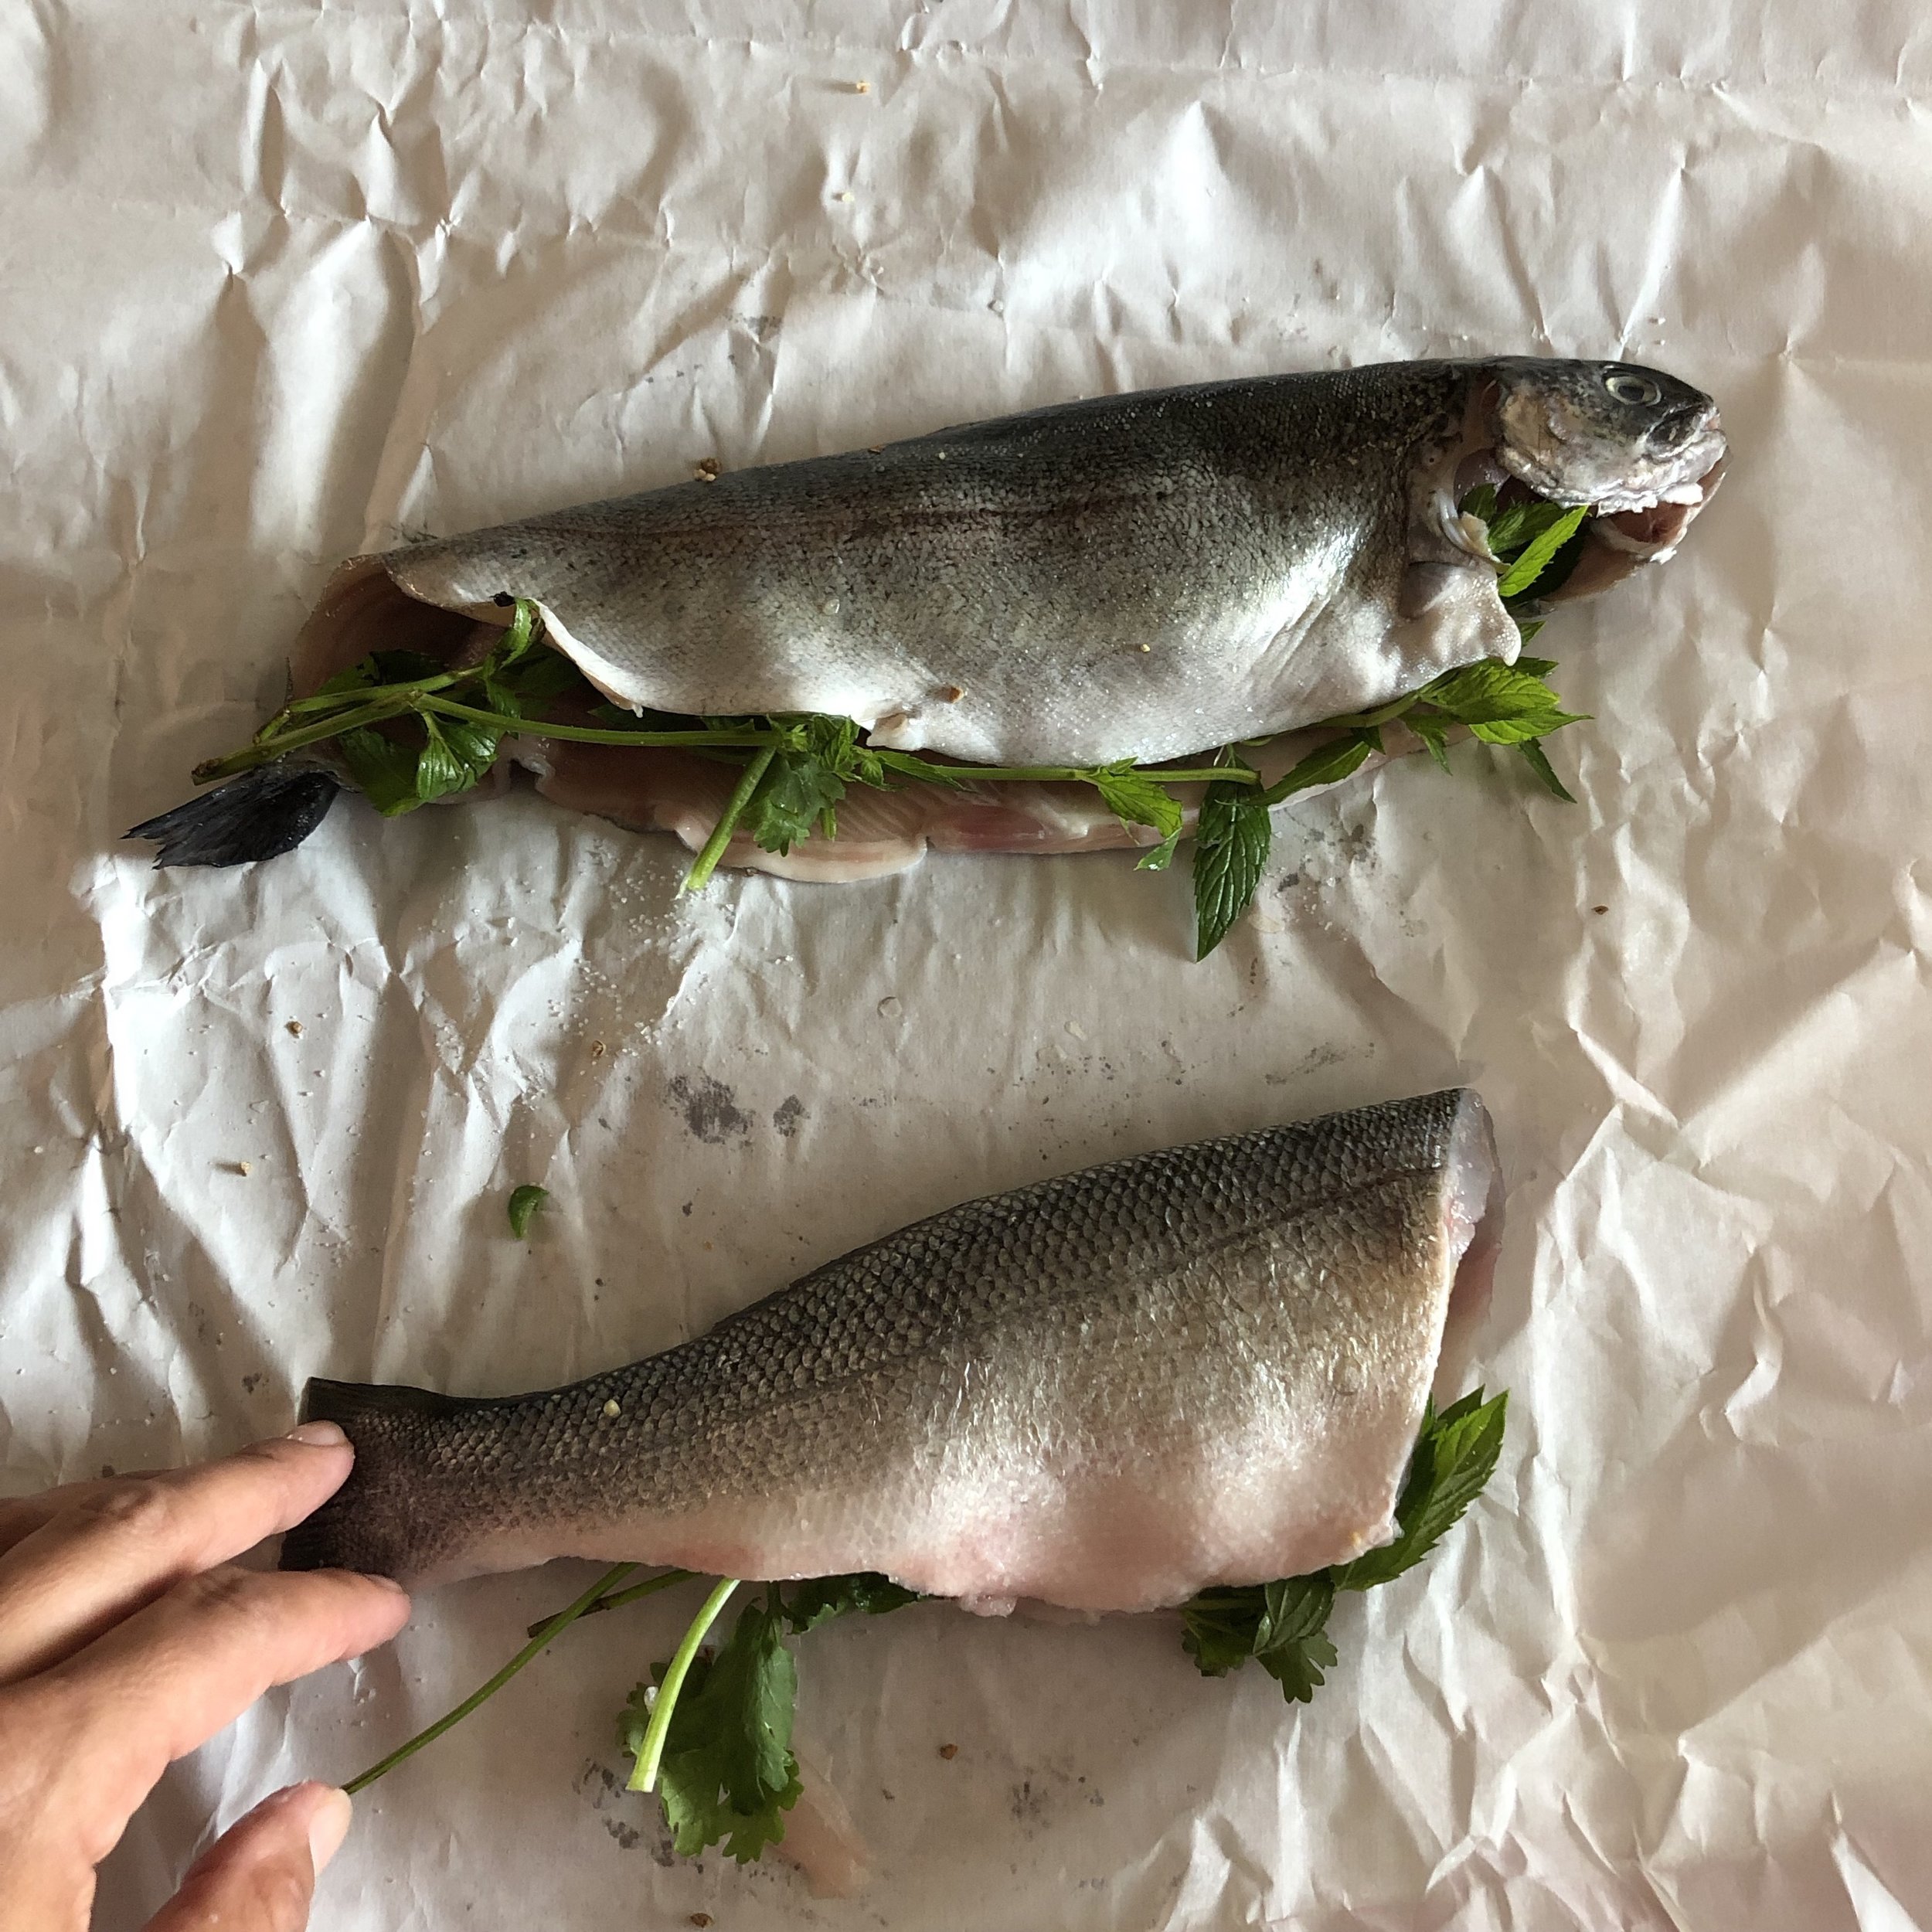
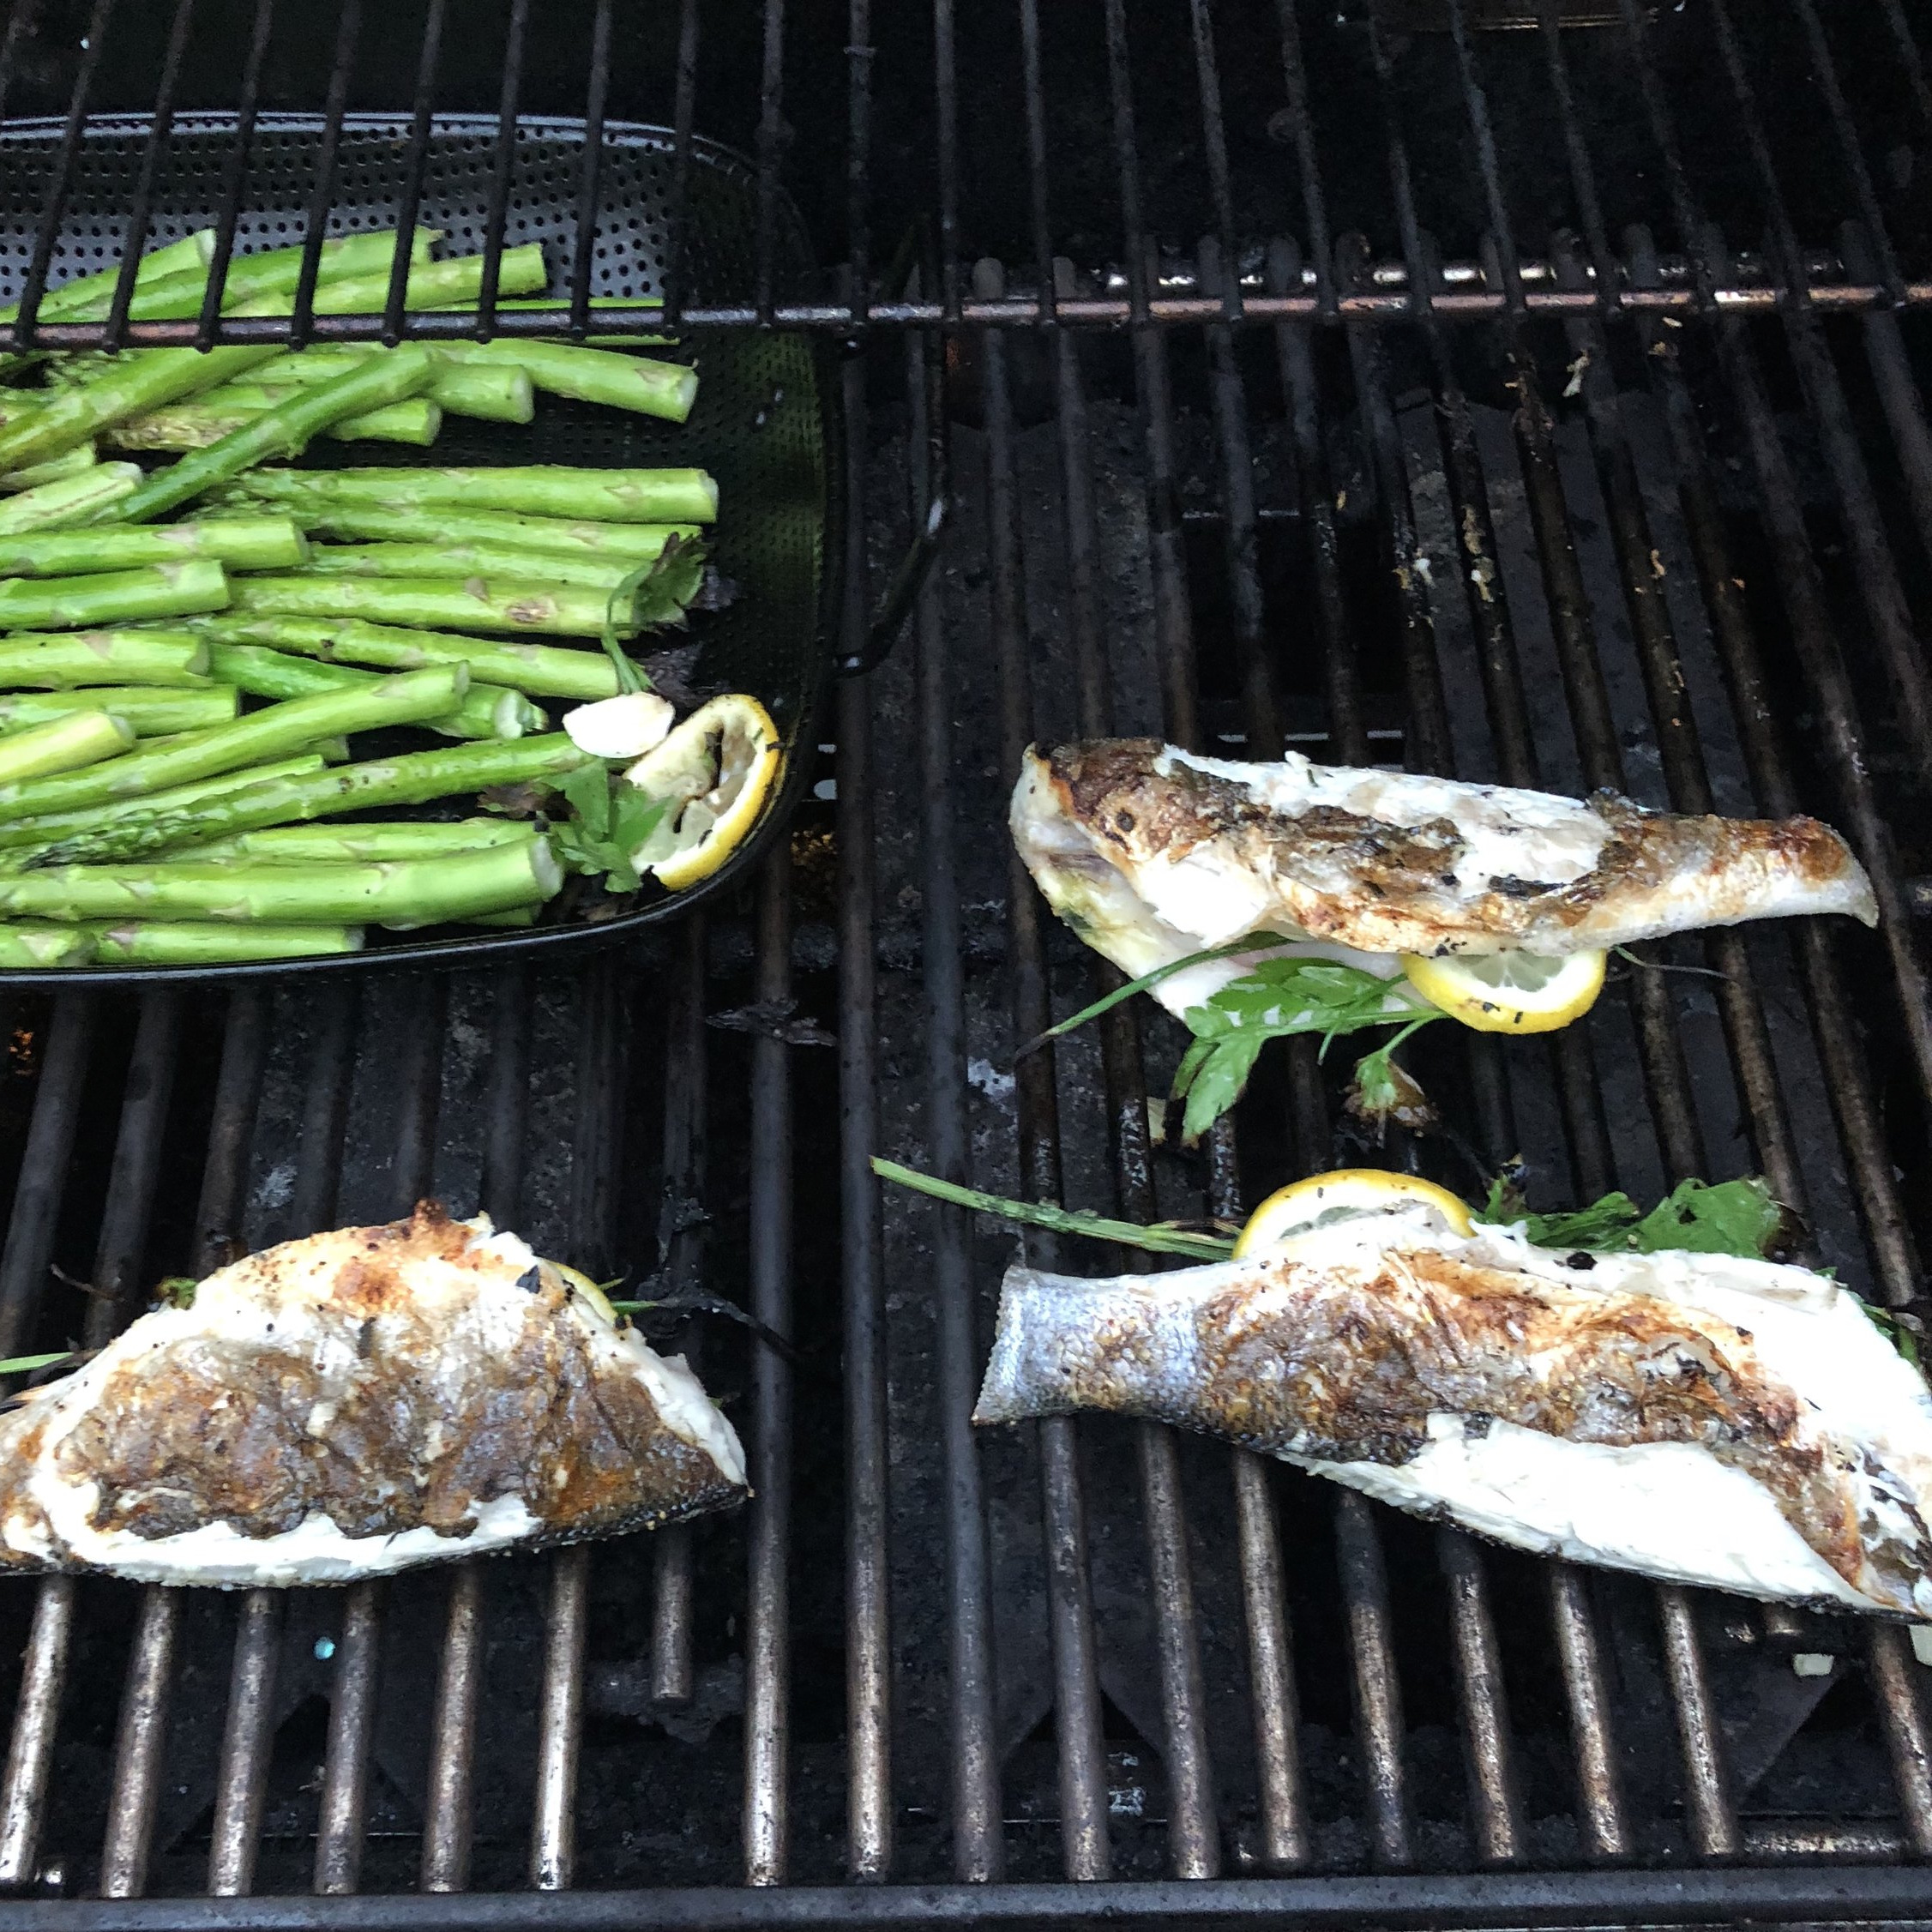
Sprinkle sea salt and spices on the insides of the fish. Stuff each fish with few herb sprigs (leaving stems intact) and a few citrus slices.
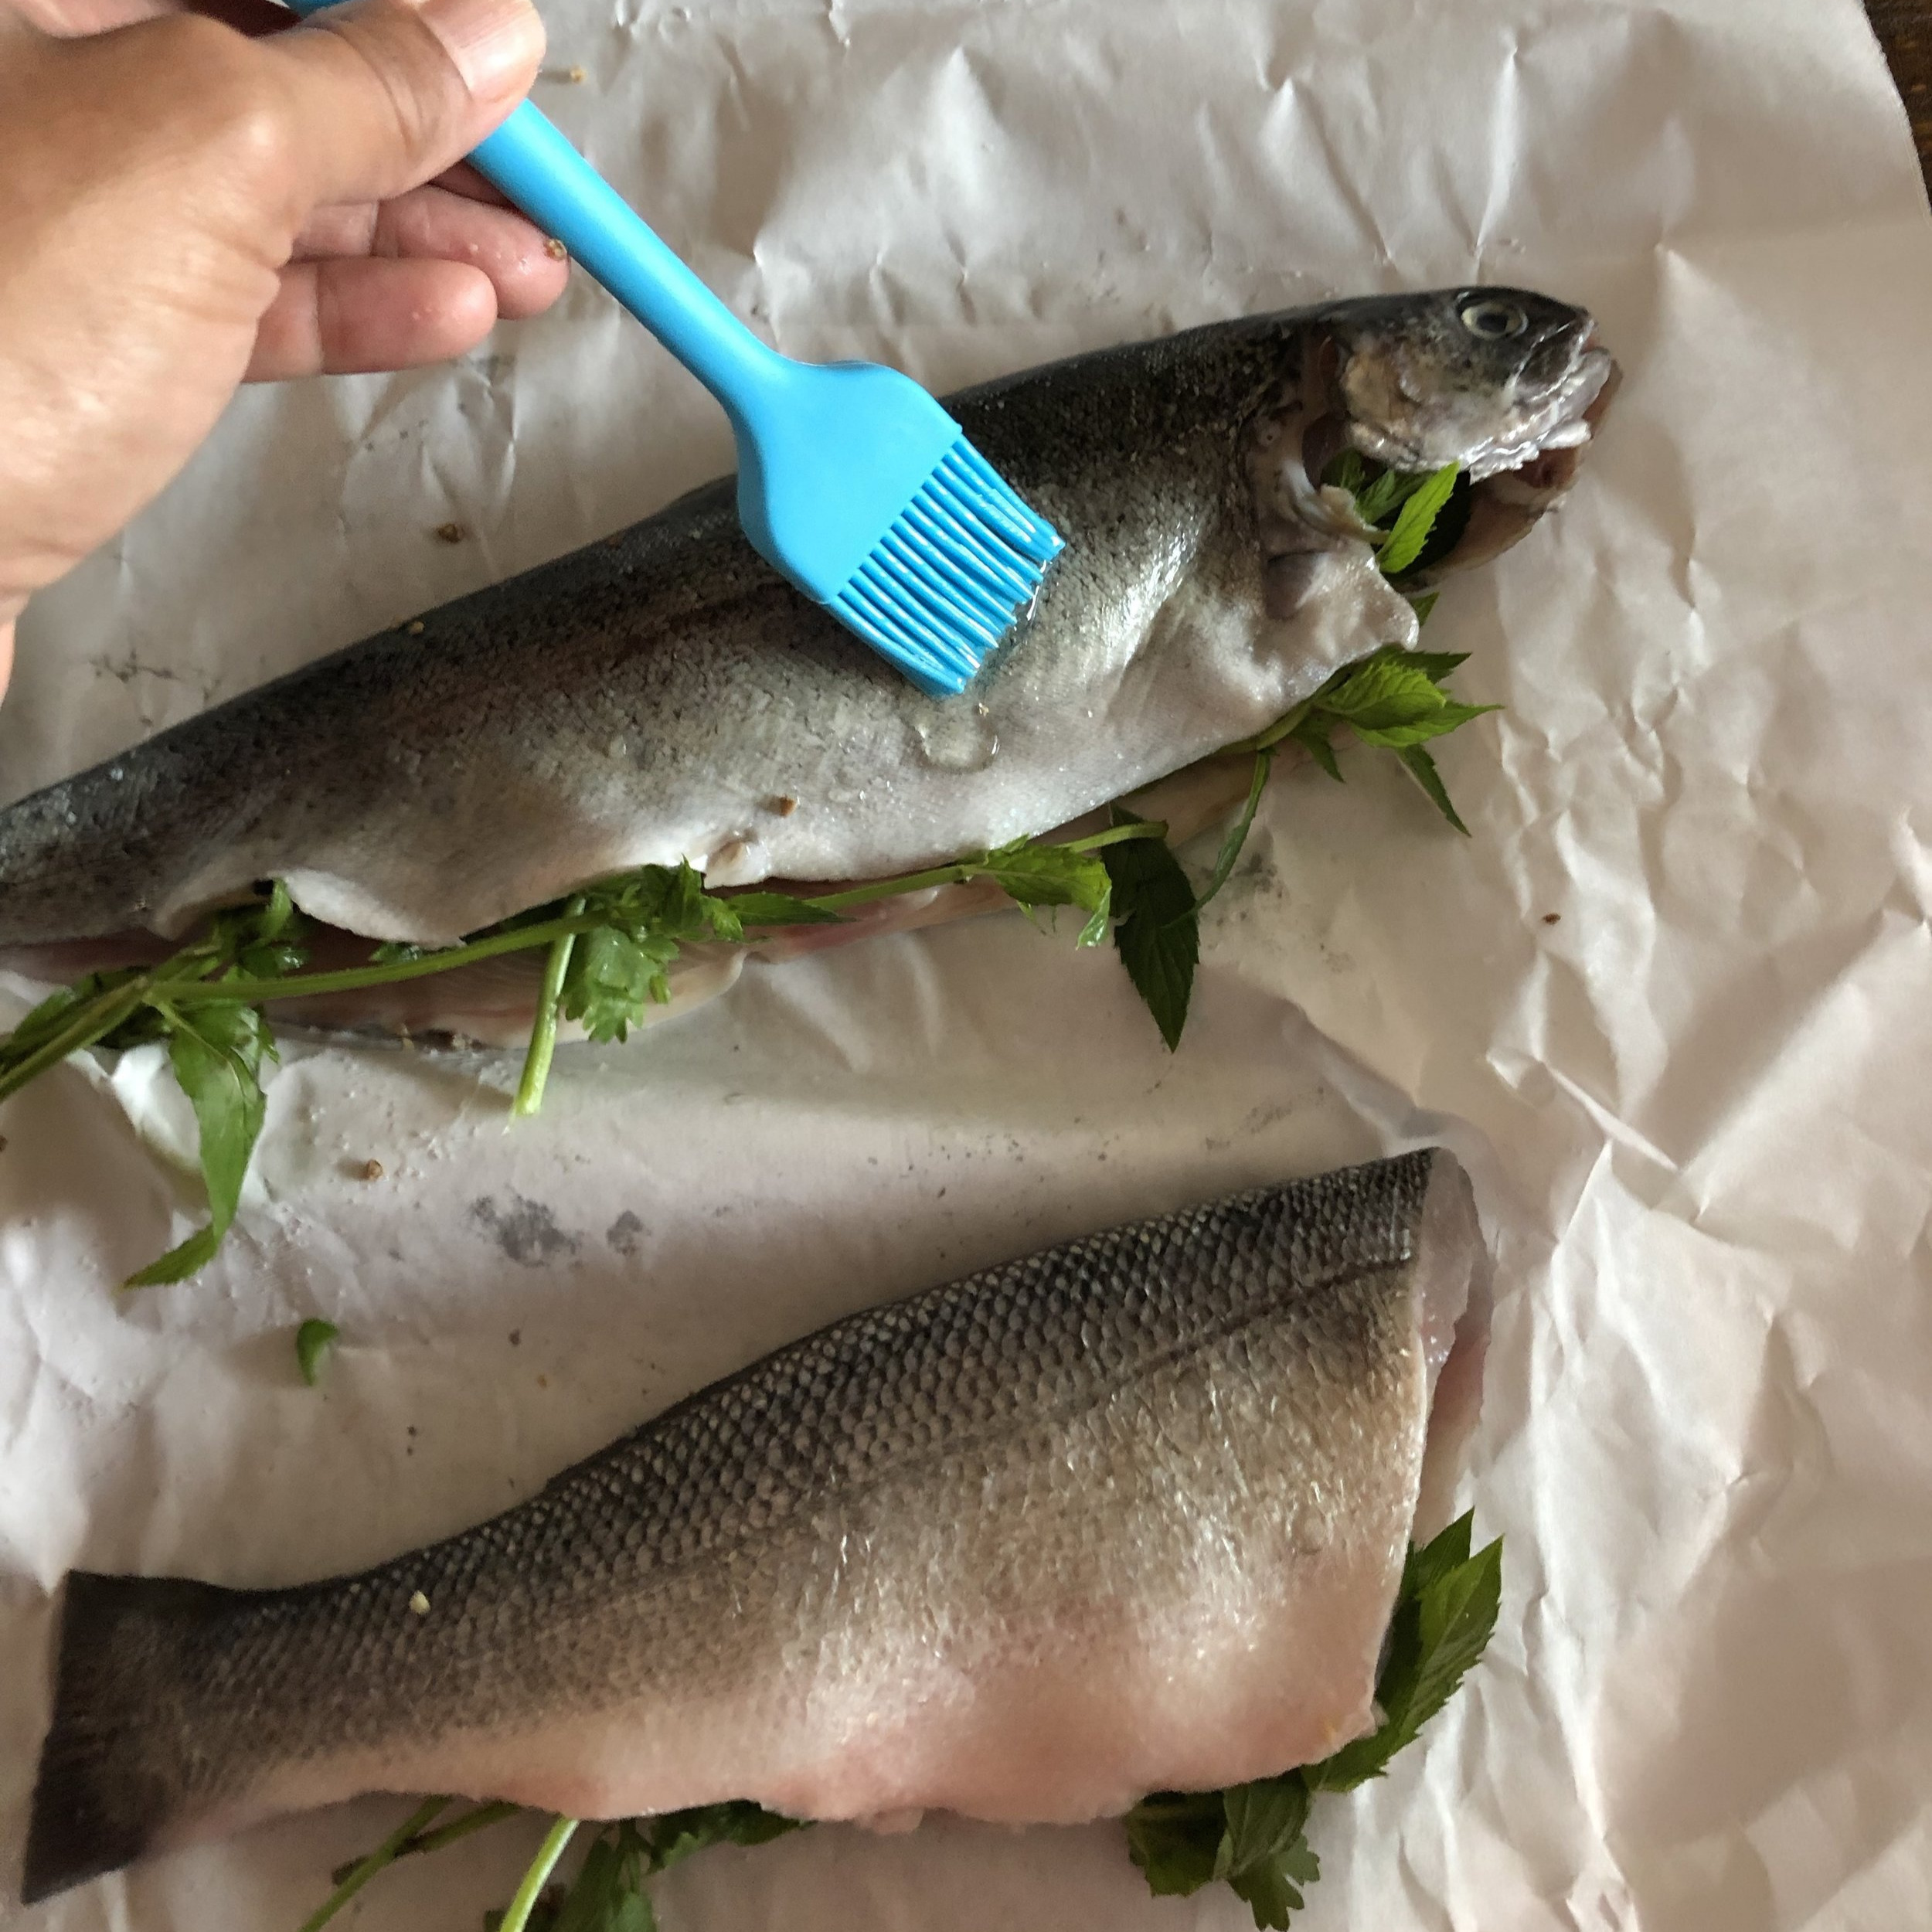
Brush the outside of each fish lightly with canola oil.
Heat a grill on high heat.
Meanwhile, prepare any sauces or garnishes. Juice or slice the remaining citrus, toast nuts, slice peppers, tomatoes or other fruits, pluck herb leaves from the stems and discard stems.
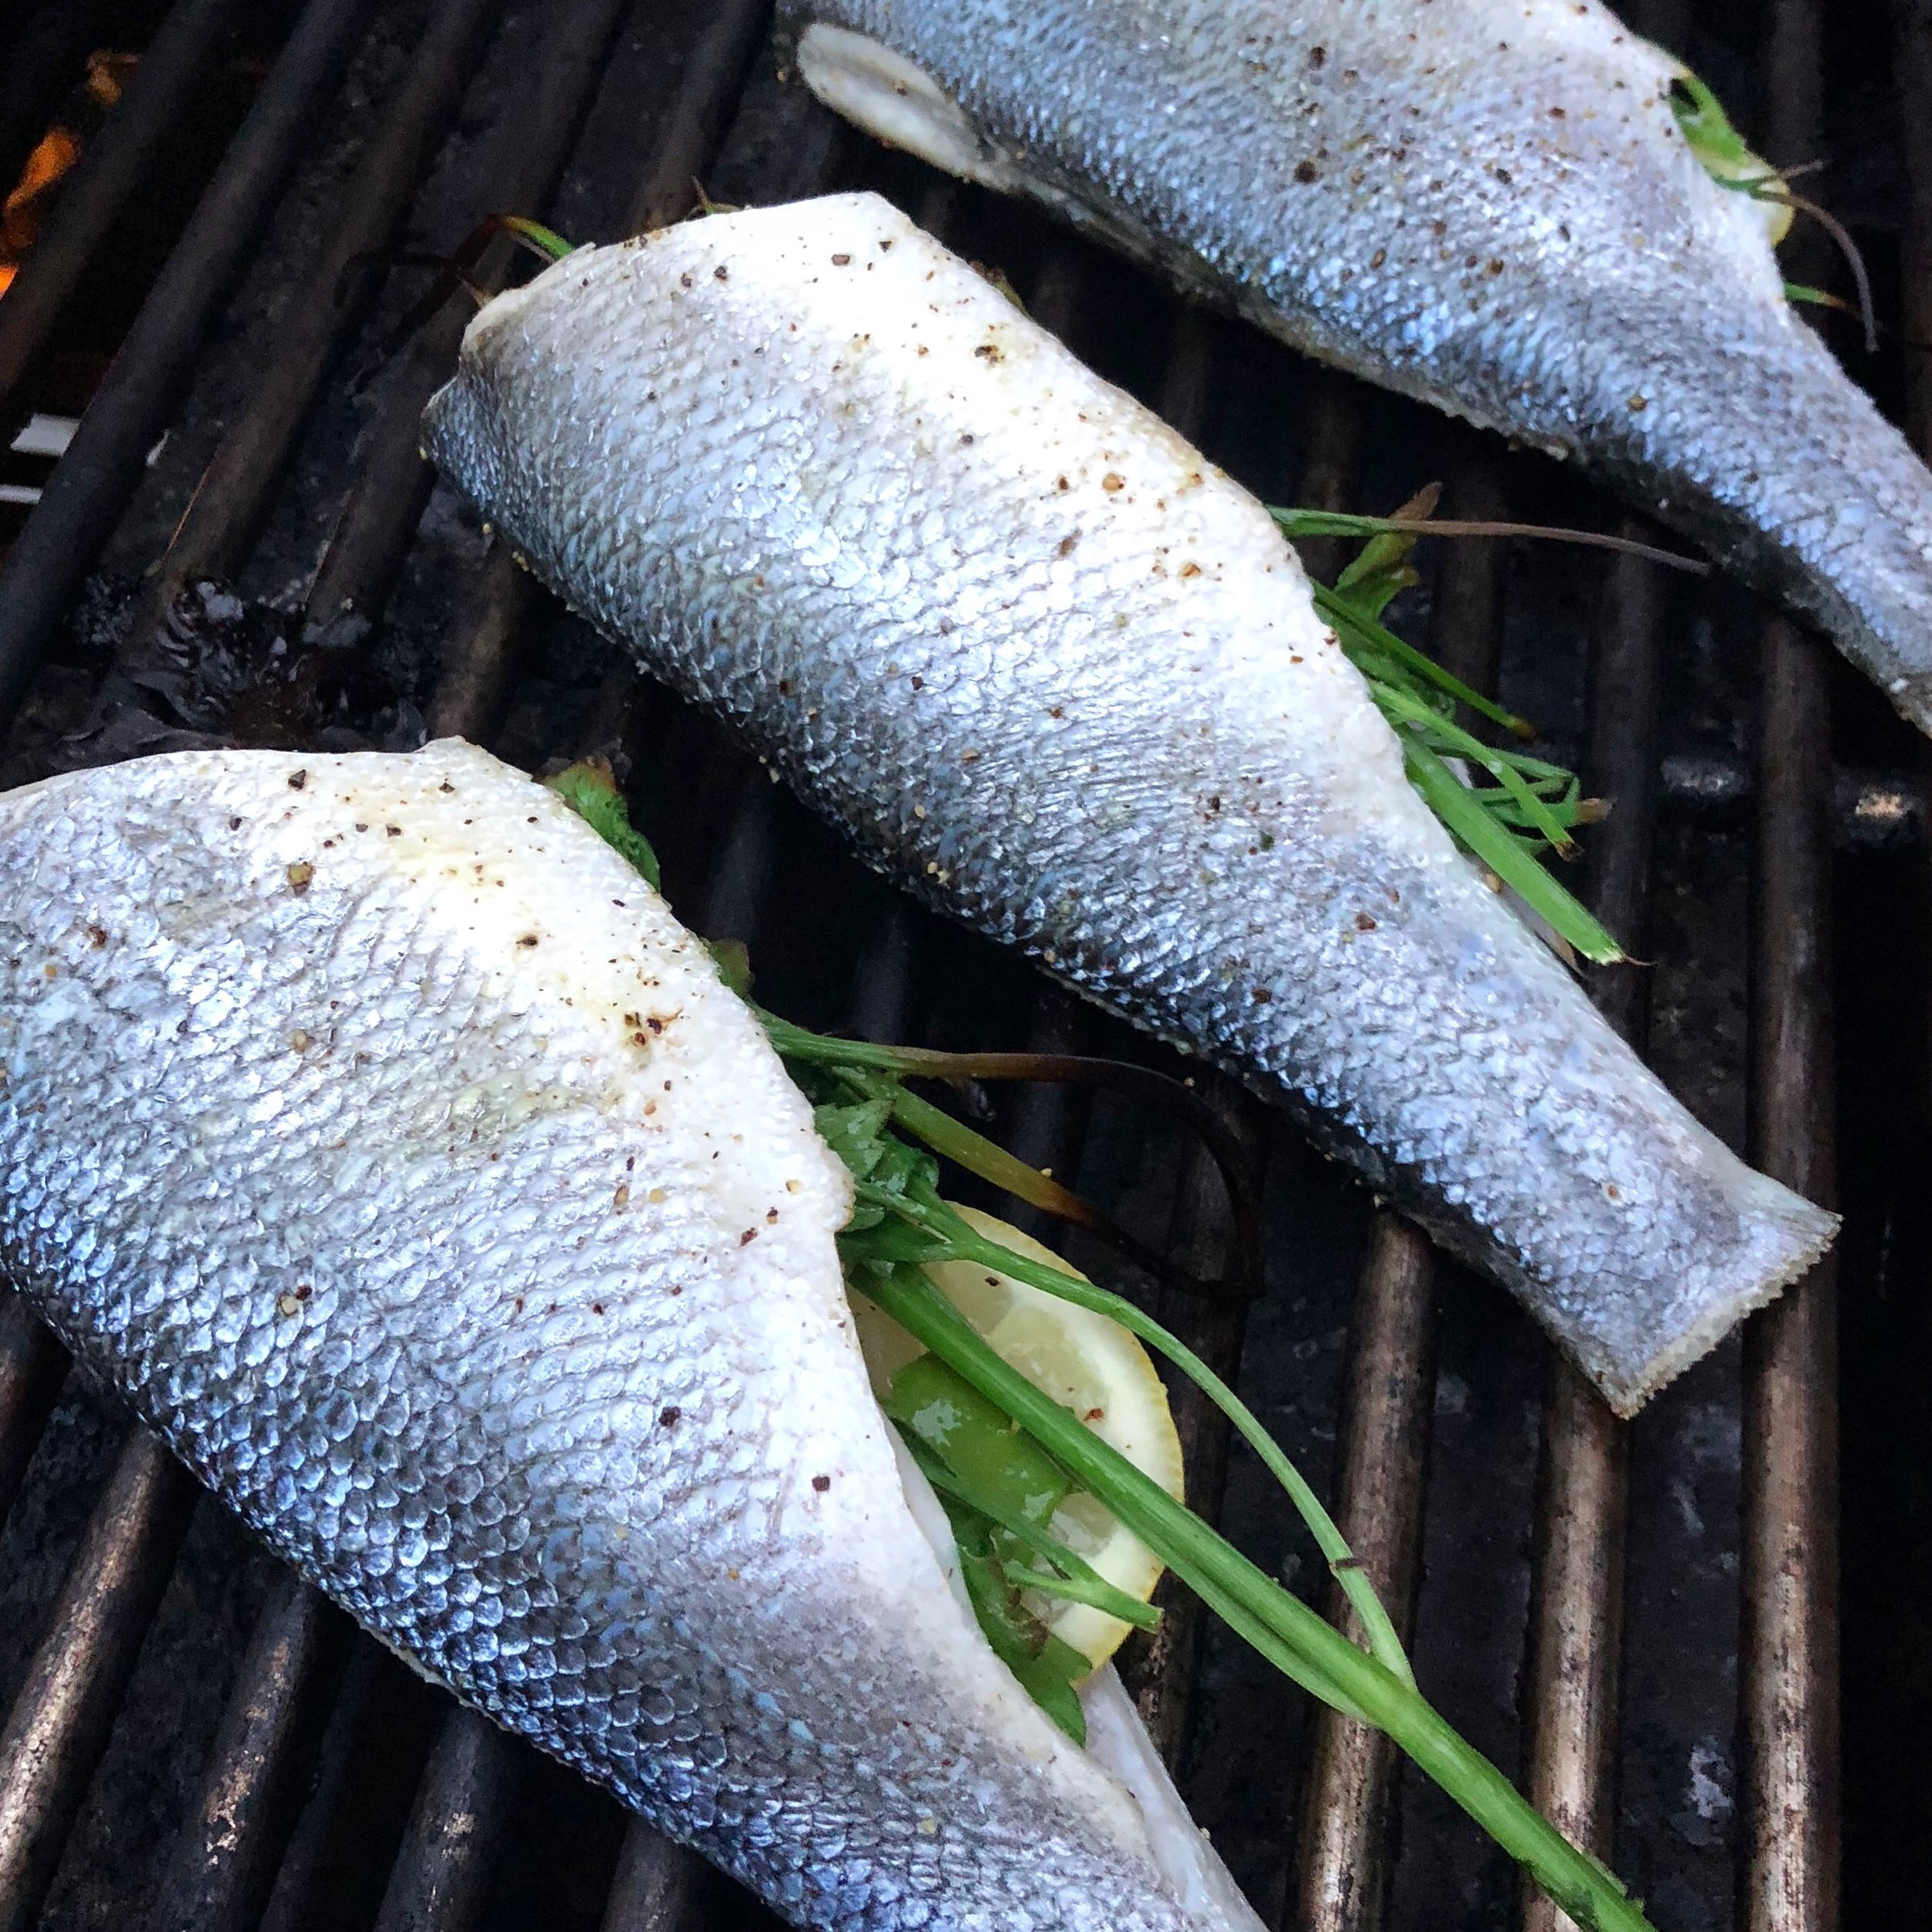
Grill the fish over high heat, turning once, 6-7 minutes per side or until skin is crisped and flesh is flaky.
Serve immediately garnished with toasted nuts, additional citrus, herb leaves, and more per suggestions above.
No grill? No problem. You can also cook this whole fish under the broiler in a cast iron skillet or broiler safe pan. Heat the pan under the broiler for about 10 minutes. Add the prepared fish to the pan and place back under the broiler for about 6-7 minutes. Flip and cook an additional 5-6 minutes on the other side.
New England Corn Chowdah
I'm from New England. This IS how you say it and spell it.
Here’s a recipe for a New England classic made vegetarian and gluten free. Of course, you can still use bacon for the extra richness or add lobster for a decadent summertime delight. See variations below. A traditional chowder might use a roux -- equal parts butter and flour cooked to a paste -- for thickening, but I’ve found that a purée of fresh corn kernels plus potatoes cooked down into the broth create the exact same result and help the chowder maintain it’s fresh light consistency rather than becoming gelatinous. Note: this chowder will also work well with leftover previously cooked corn on the cob. Just remove kernels from cobs and use both as if they were fresh. You might not extract as much flavor from the previously cooked cobs and the kernels won’t be as crunchy in the chowder but it’s certainly a great use for leftover corn on the cob.
What you need:
5 ears of corn
1 bay leaf
3 teaspoons sea salt, divided
2 tablespoons olive oil or unsalted butter, plus more butter for serving if desired
1 onion, medium dice
4-5 medium red potatoes, small dice
¼ teaspoon dried thyme (optional)
pinch cayenne pepper (optional)
3 cups half-n-half, whole milk or combination
¼ cup fresh thyme leaves (from about 6-7 sprigs)
1 teaspoon minced parsley leaves
black pepper to taste
What you do:
1. Cut corn kernels from cobs. Using the back of your knife, scrape the remaining kernels and juices from the cob. Set aside.
2. Boil 3 cups water with 2 teaspoons sea salt and add cobs (with kernels removed) and bay leaf. Simmer for 10 minutes. Drain and reserve liquid. Discard the cobs and bay leaf.
3. In a soup pot, heat the olive oil on medium high heat until it shimmers. Add diced onion and a pinch of salt and sauté until soft, about 3 minutes.
4. Add potatoes, another pinch of salt, dried thyme, and cayenne if using, and reduce heat to medium. Cook for about 5 minutes or while you prepare the liquid.
Blend about 1/3 of the fresh corn kernels with stock (or water) before adding to chowder to create a sweet and creamy base. (see step 5)
[yup, my dad's jar of corks in the background]
5. Put about a cup of the reserved corn stock and 1 cup of the corn kernels into a blender. Blend until smooth. Alternatively, you could just add the corn kernels to the liquid in a large measuring cup and purée with an immersion blender. Add this liquid to the pot and simmer for about 20 minutes or until potatoes are very tender. Season to taste with salt and black pepper.
6. Add remaining corn kernels and cook for about 4 minutes.
7. Add milk and thyme, and warm until liquid just begins to steam. Be careful not to boil the milk. Season to taste with salt and pepper. Serve with an additional pat of butter, if desired, and minced parsley leaves.
Variations:
With Bacon: At step 3, render the bacon until crispy in the soup pot. Remove bacon strips and lay on paper towels. Drain excess grease so that you are left with about 2 tablespoons in bottom of pan. Sauté diced onion in the 2 tablespoons of bacon fat and continue with recipe. Add roughly chopped bacon bits to the chowder just before serving.
With Lobster: At step 7, add previously cooked and shelled lobster meat, cut into bite sized pieces, with the milk and thyme.
To freeze: After adding the corn in step 6, remove from heat and allow to cool. Freeze the partially finished chowder at this point. To reheat and finish, simply defrost in the fridge or in a pot over low heat. Bring to a simmer and ensure potatoes are heated through. Add milk and thyme and continue with step 7.
Summer Succotash - New England Style
It does not get more American than succotash, one of the first dishes Native Americans shared with settlers. The word, meaning "broken corn kernels" comes from the Narrangansett people, who lived in the area that is now Rhode Island. There are many ways to make succotash and an American southerner might eloquently debate a Yankee on both contents and process. I favor the New England variety, with a few tweaks, but also just assumed succotash translated to "every vegetable from the garden" or "the entire contents of your produce drawer dumped into a skillet."
Succotash is the whatever you have at the time kind of dish. Actually -- and perhaps I should put this into the procedure itself -- when making succotash, I open all drawers of my fridge, hunt behind jars and open every container of leftovers, stacking every possible vegetable that can be used on the cutting board along with the tomatoes ripening on the counter. As far as I'm concerned, the only required ingredient in summer succotash is fresh local sweet corn previously cooked or raw. The others you can take or leave or substitute, depending on what you have and what you like.
New England Summer Succotash
Yield: Serves 4-6
What you need:
2 tablespoons extra virgin olive oil or butter
1 onion
sea salt or kosher salt
dried ground spices (e.g. smoked paprika, garlic powder, cayenne, optional)
2 sweet peppers (any color bell, anaheim, cubanelle)
3-5 cloves garlic
1 cup beans (see note)
2 medium zucchini or summer squash
2-3 cups fresh corn kernels*
1/4 cup water
1-2 medium tomatoes or handful of cherry tomatoes
1-2 tablespoons fresh herbs (thyme, parsley, basil, oregano, chives, rosemary), chopped
What you do:
Cut all vegetables into a similar size and shape.
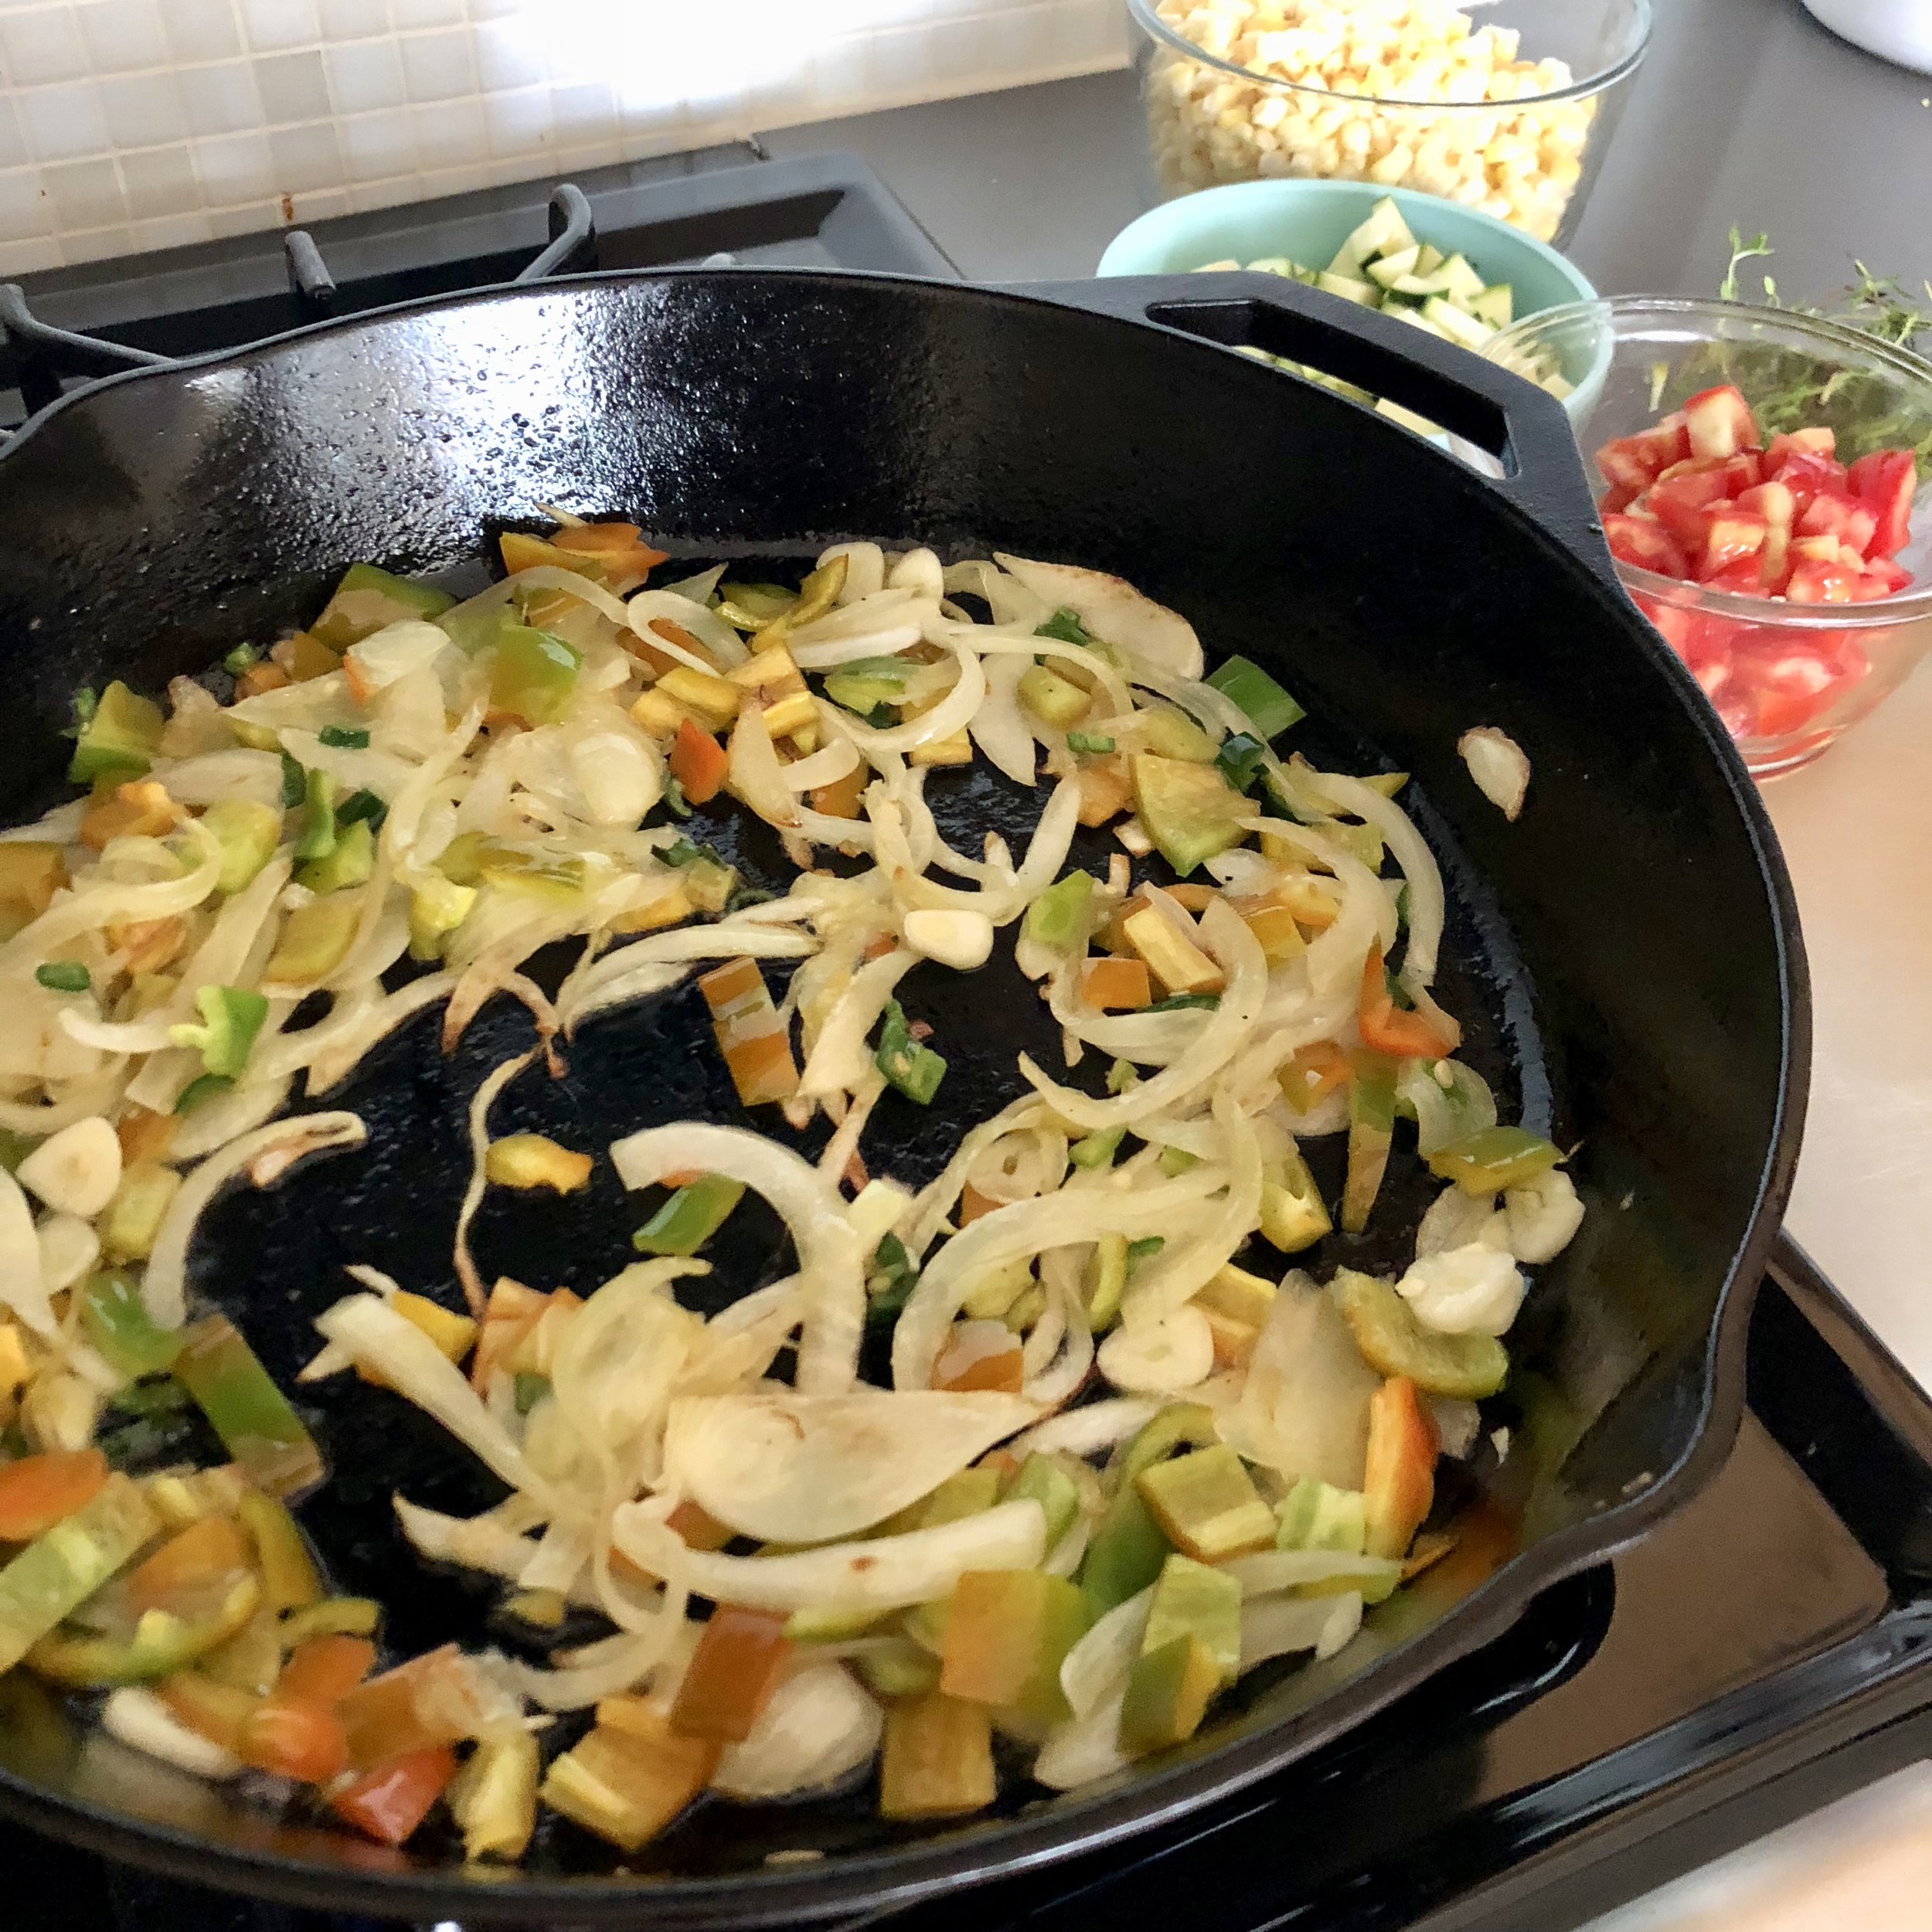
Heat a large heavy bottomed skillet (cast iron if available) over moderately high heat. Heat the oil or butter and add the onion with a few pinches of salt. Sauté until soft and lightly browned, about 5-8 minutes.
Add spices if using and sauté about 1 minute.
Add the peppers, garlic, a pinch of salt and sauté until peppers are softened.
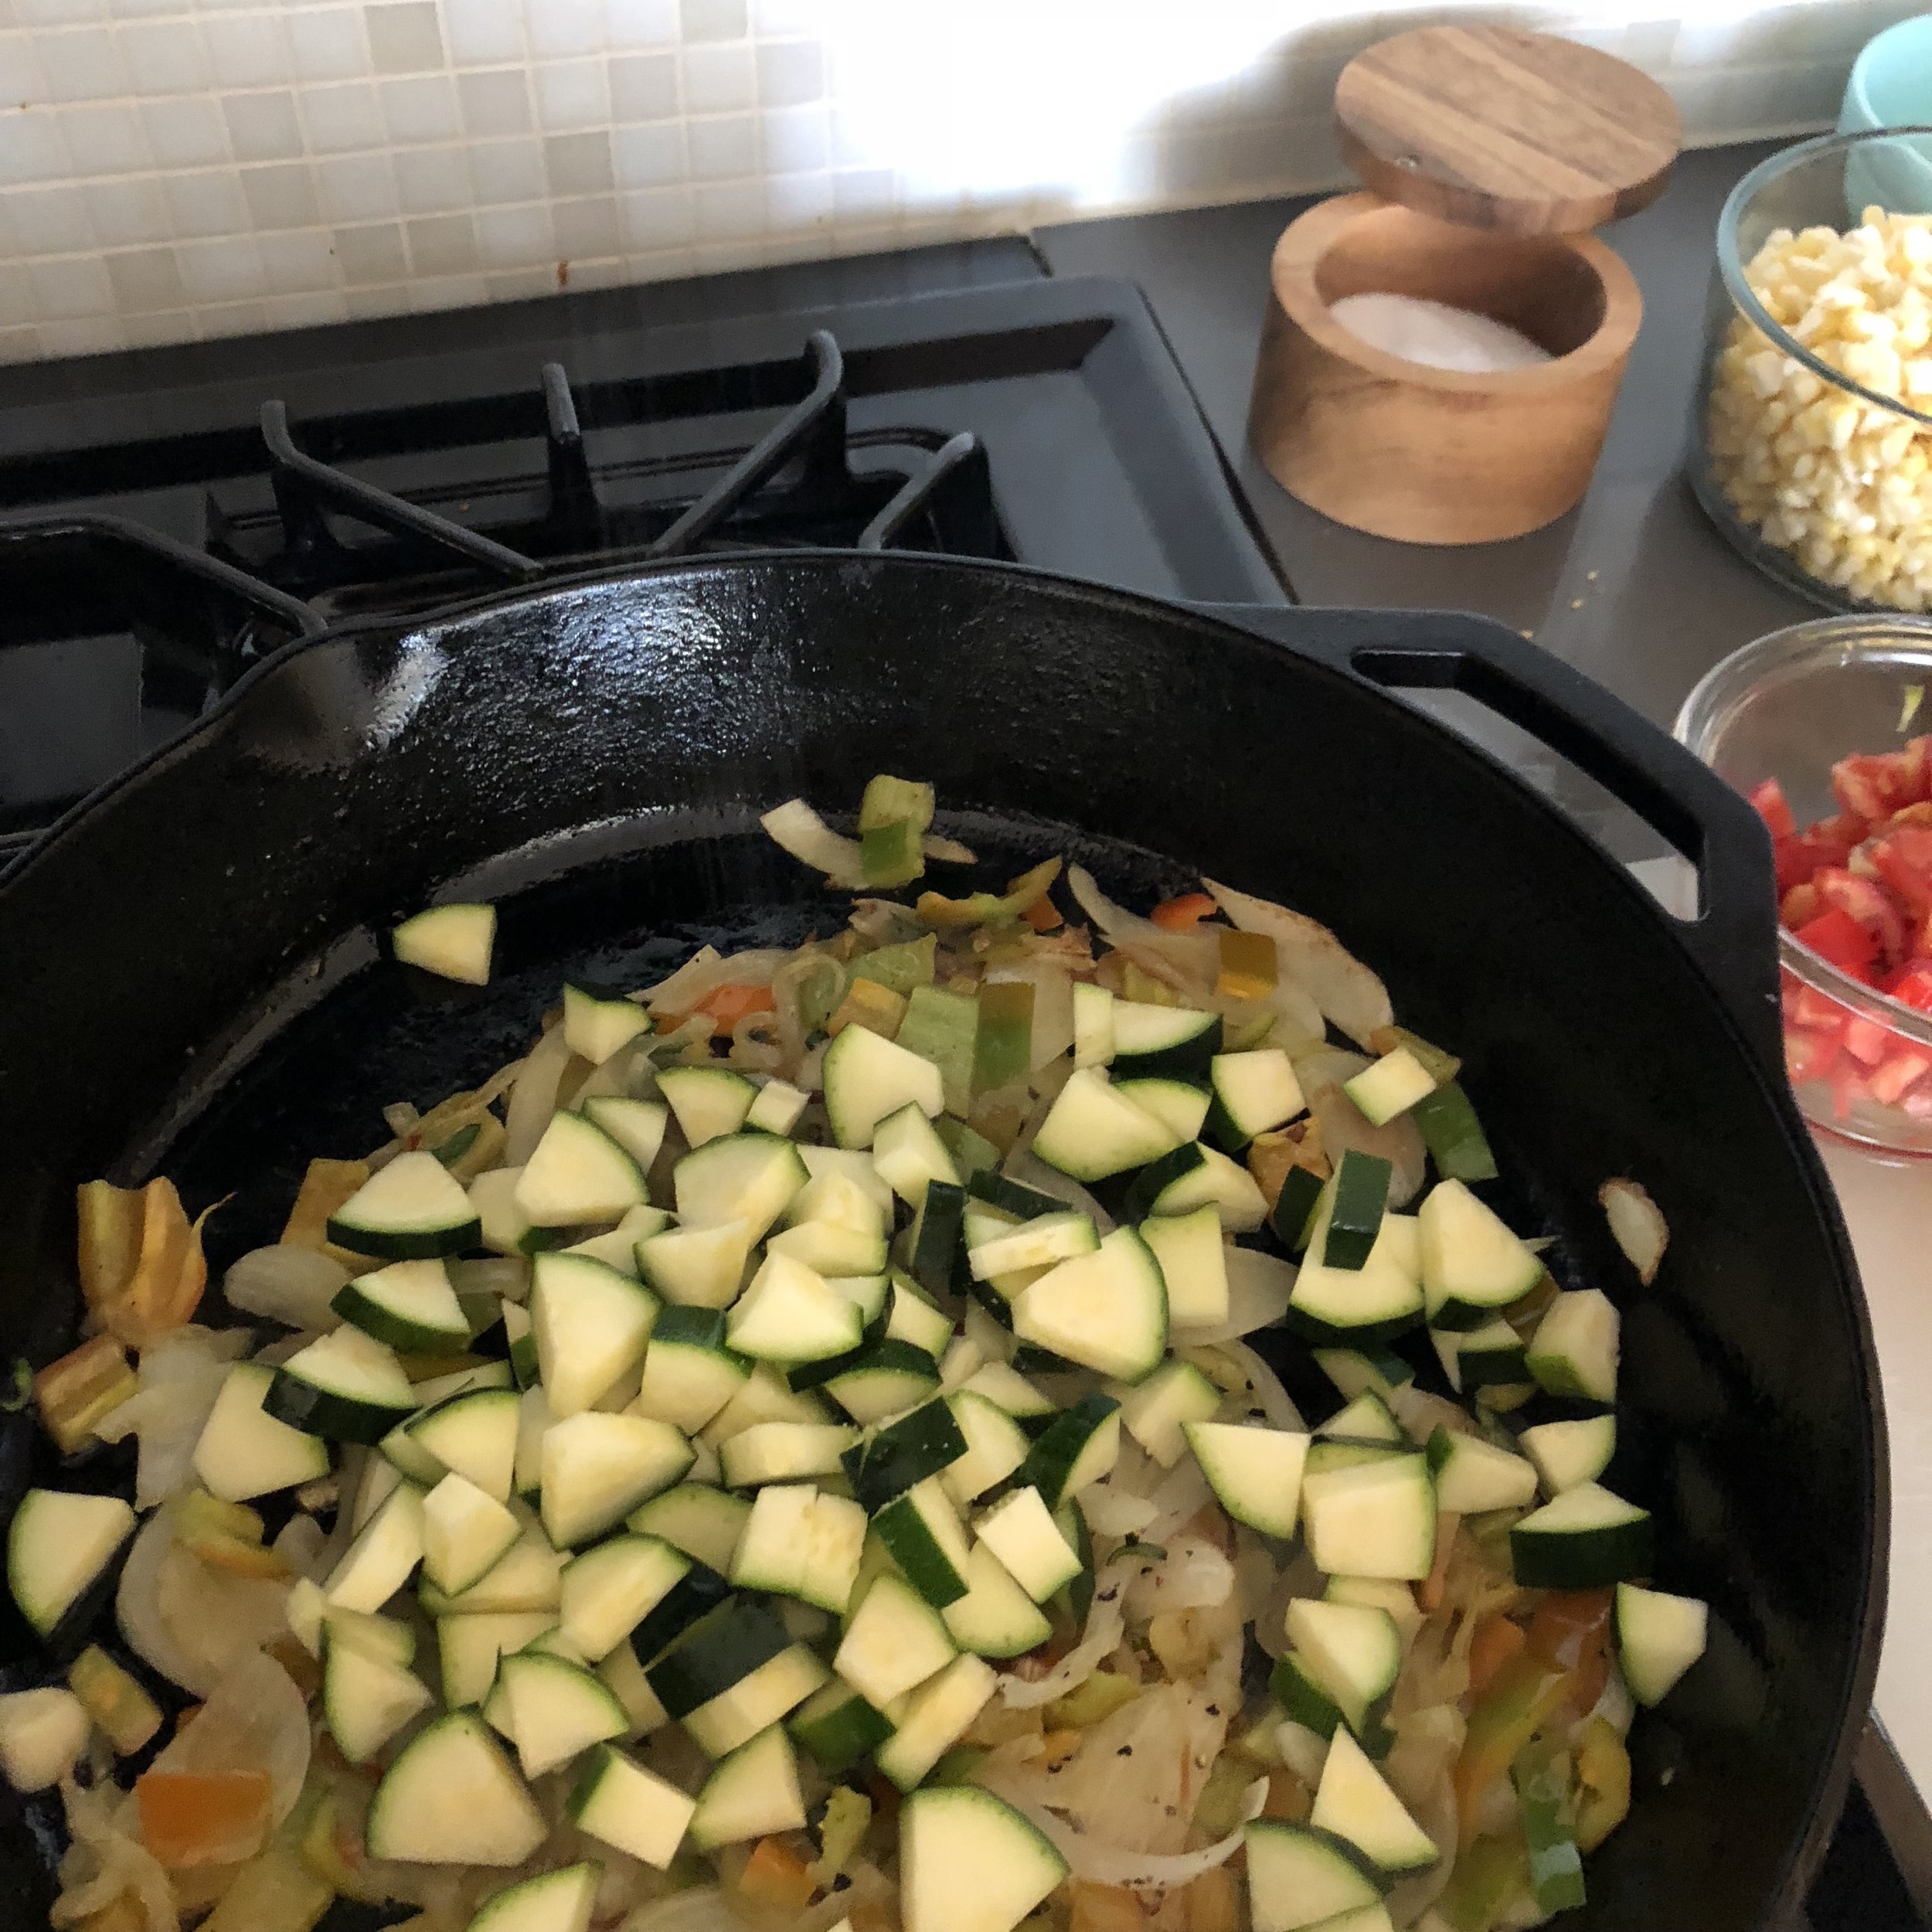
Add fresh beans (if using), zucchini and corn kernels with a few more pinches of salt. Sauté 1-2 minutes. Add the water and cook until liquid is absorbed.
Add the tomatoes and cook until they break down. Add cooked dried beans if using.
Right before turning off the heat, add the fresh herbs.
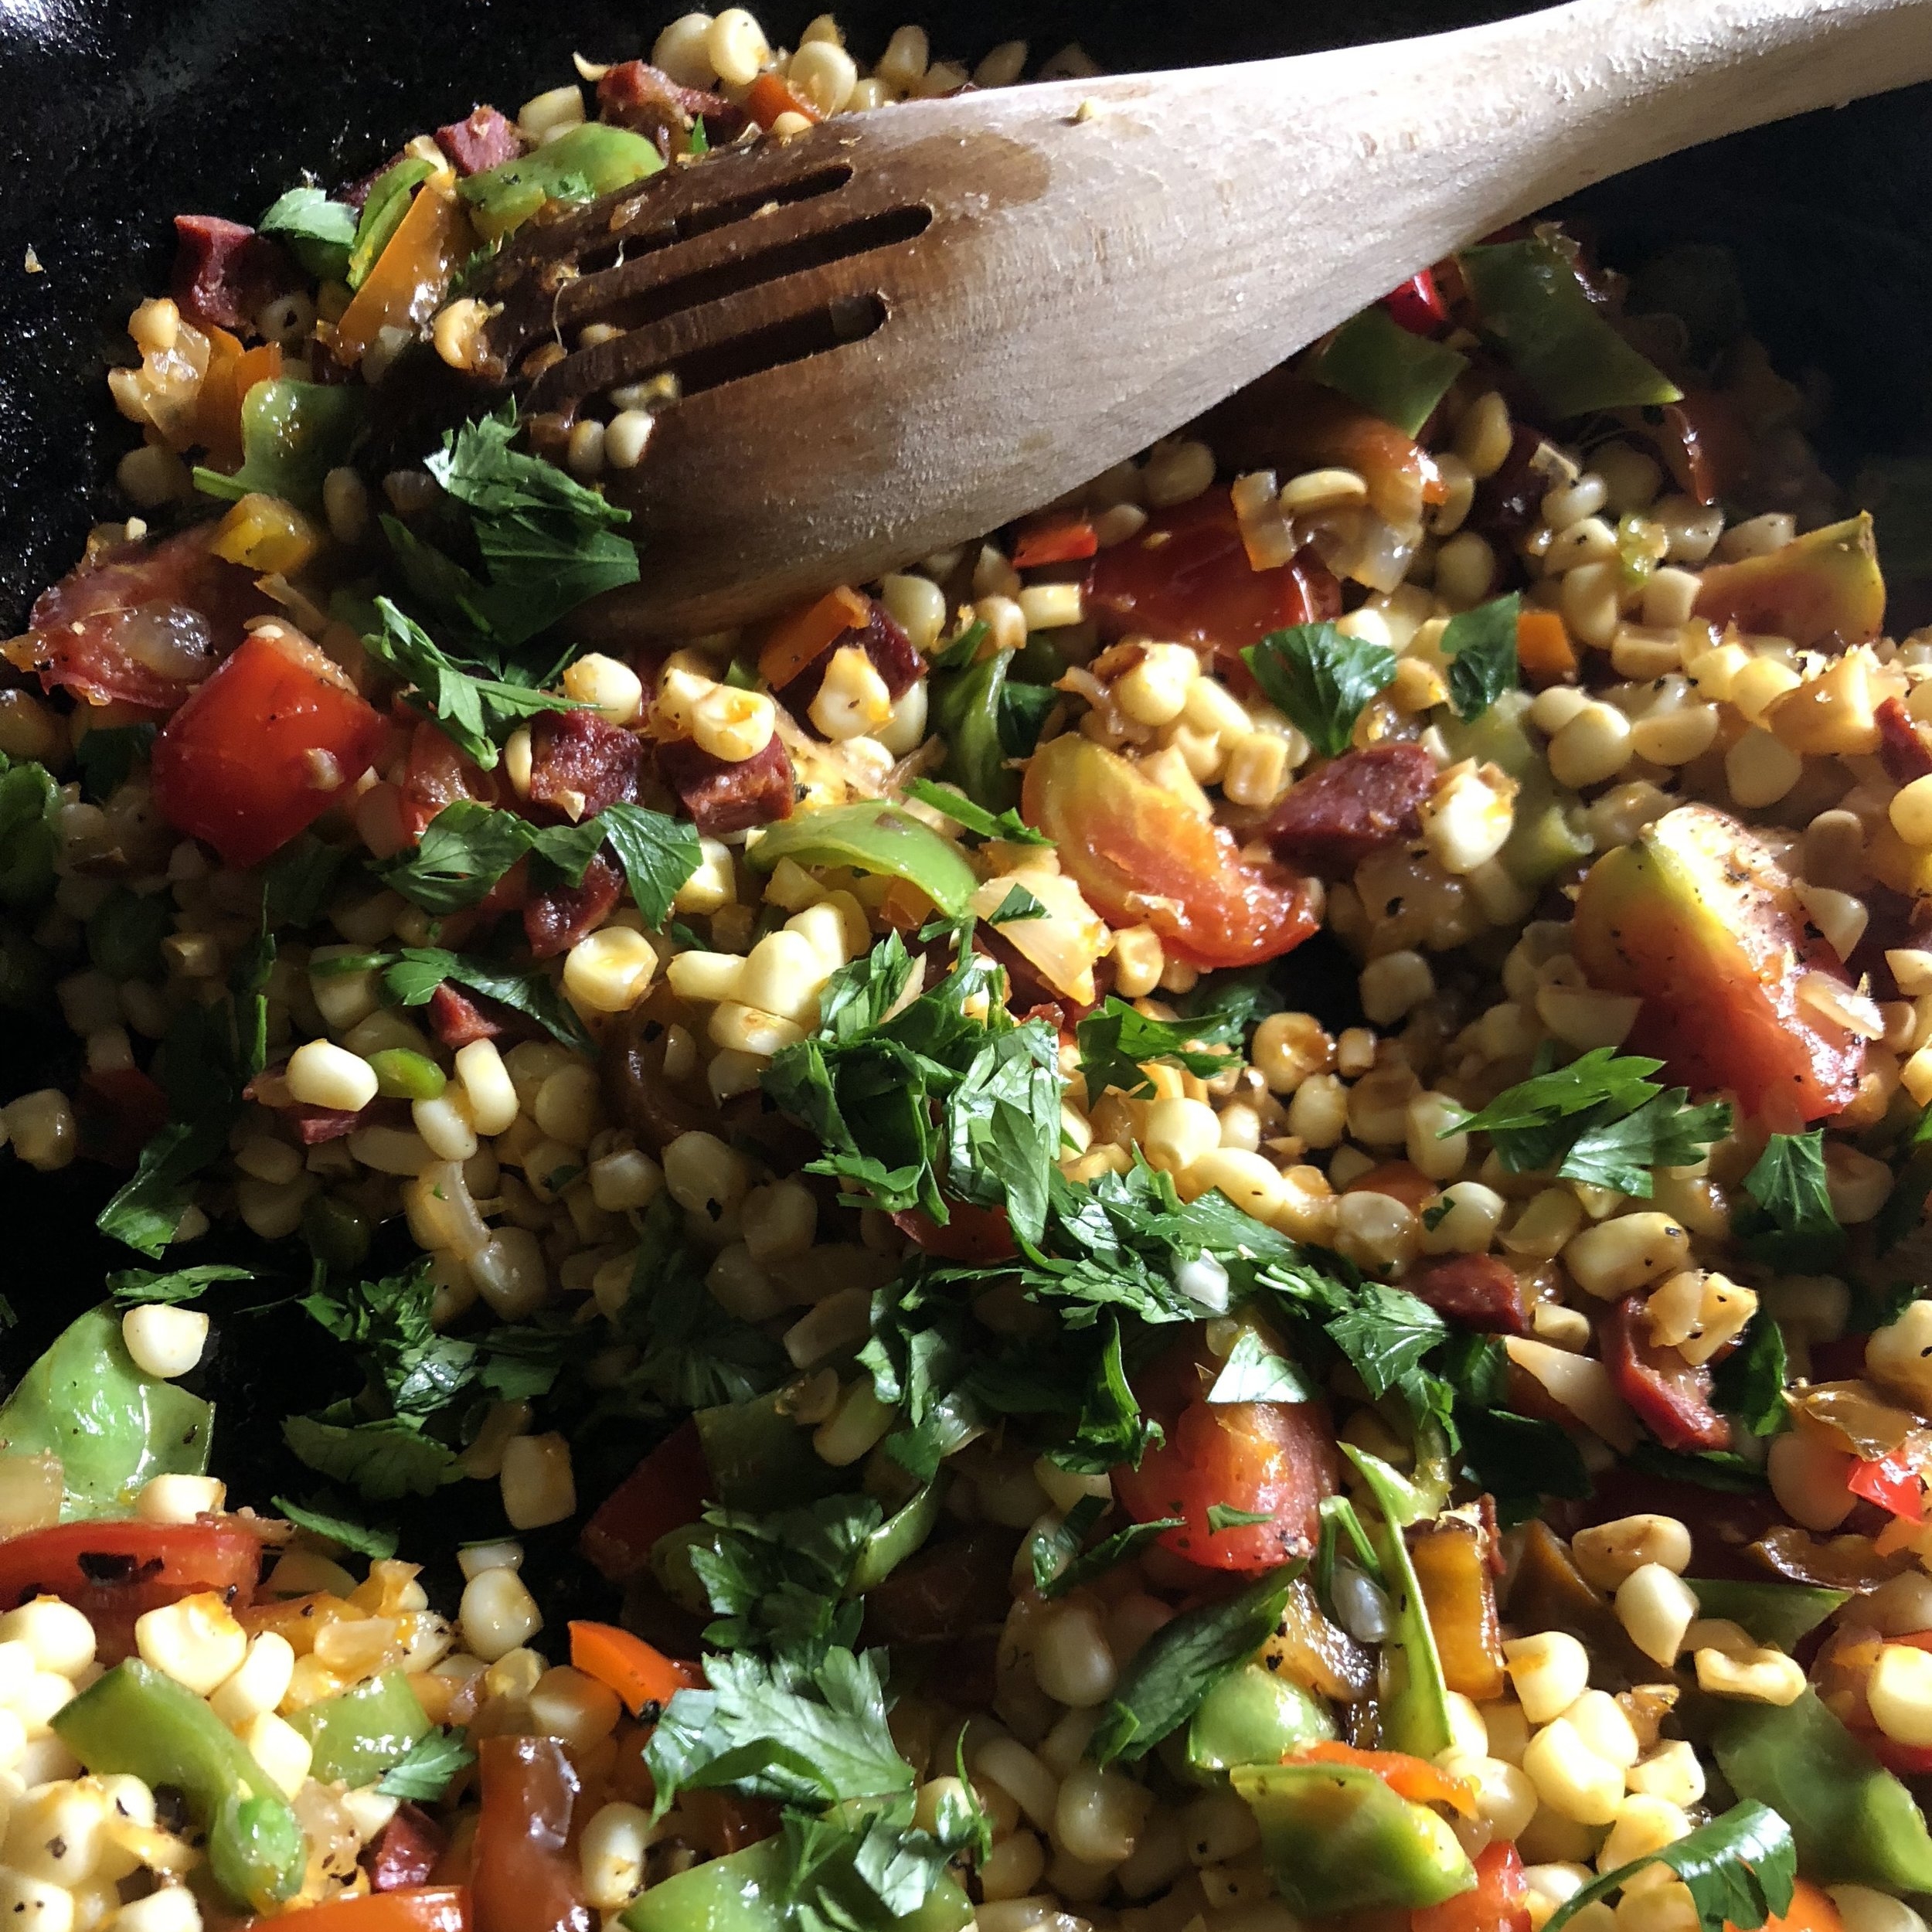
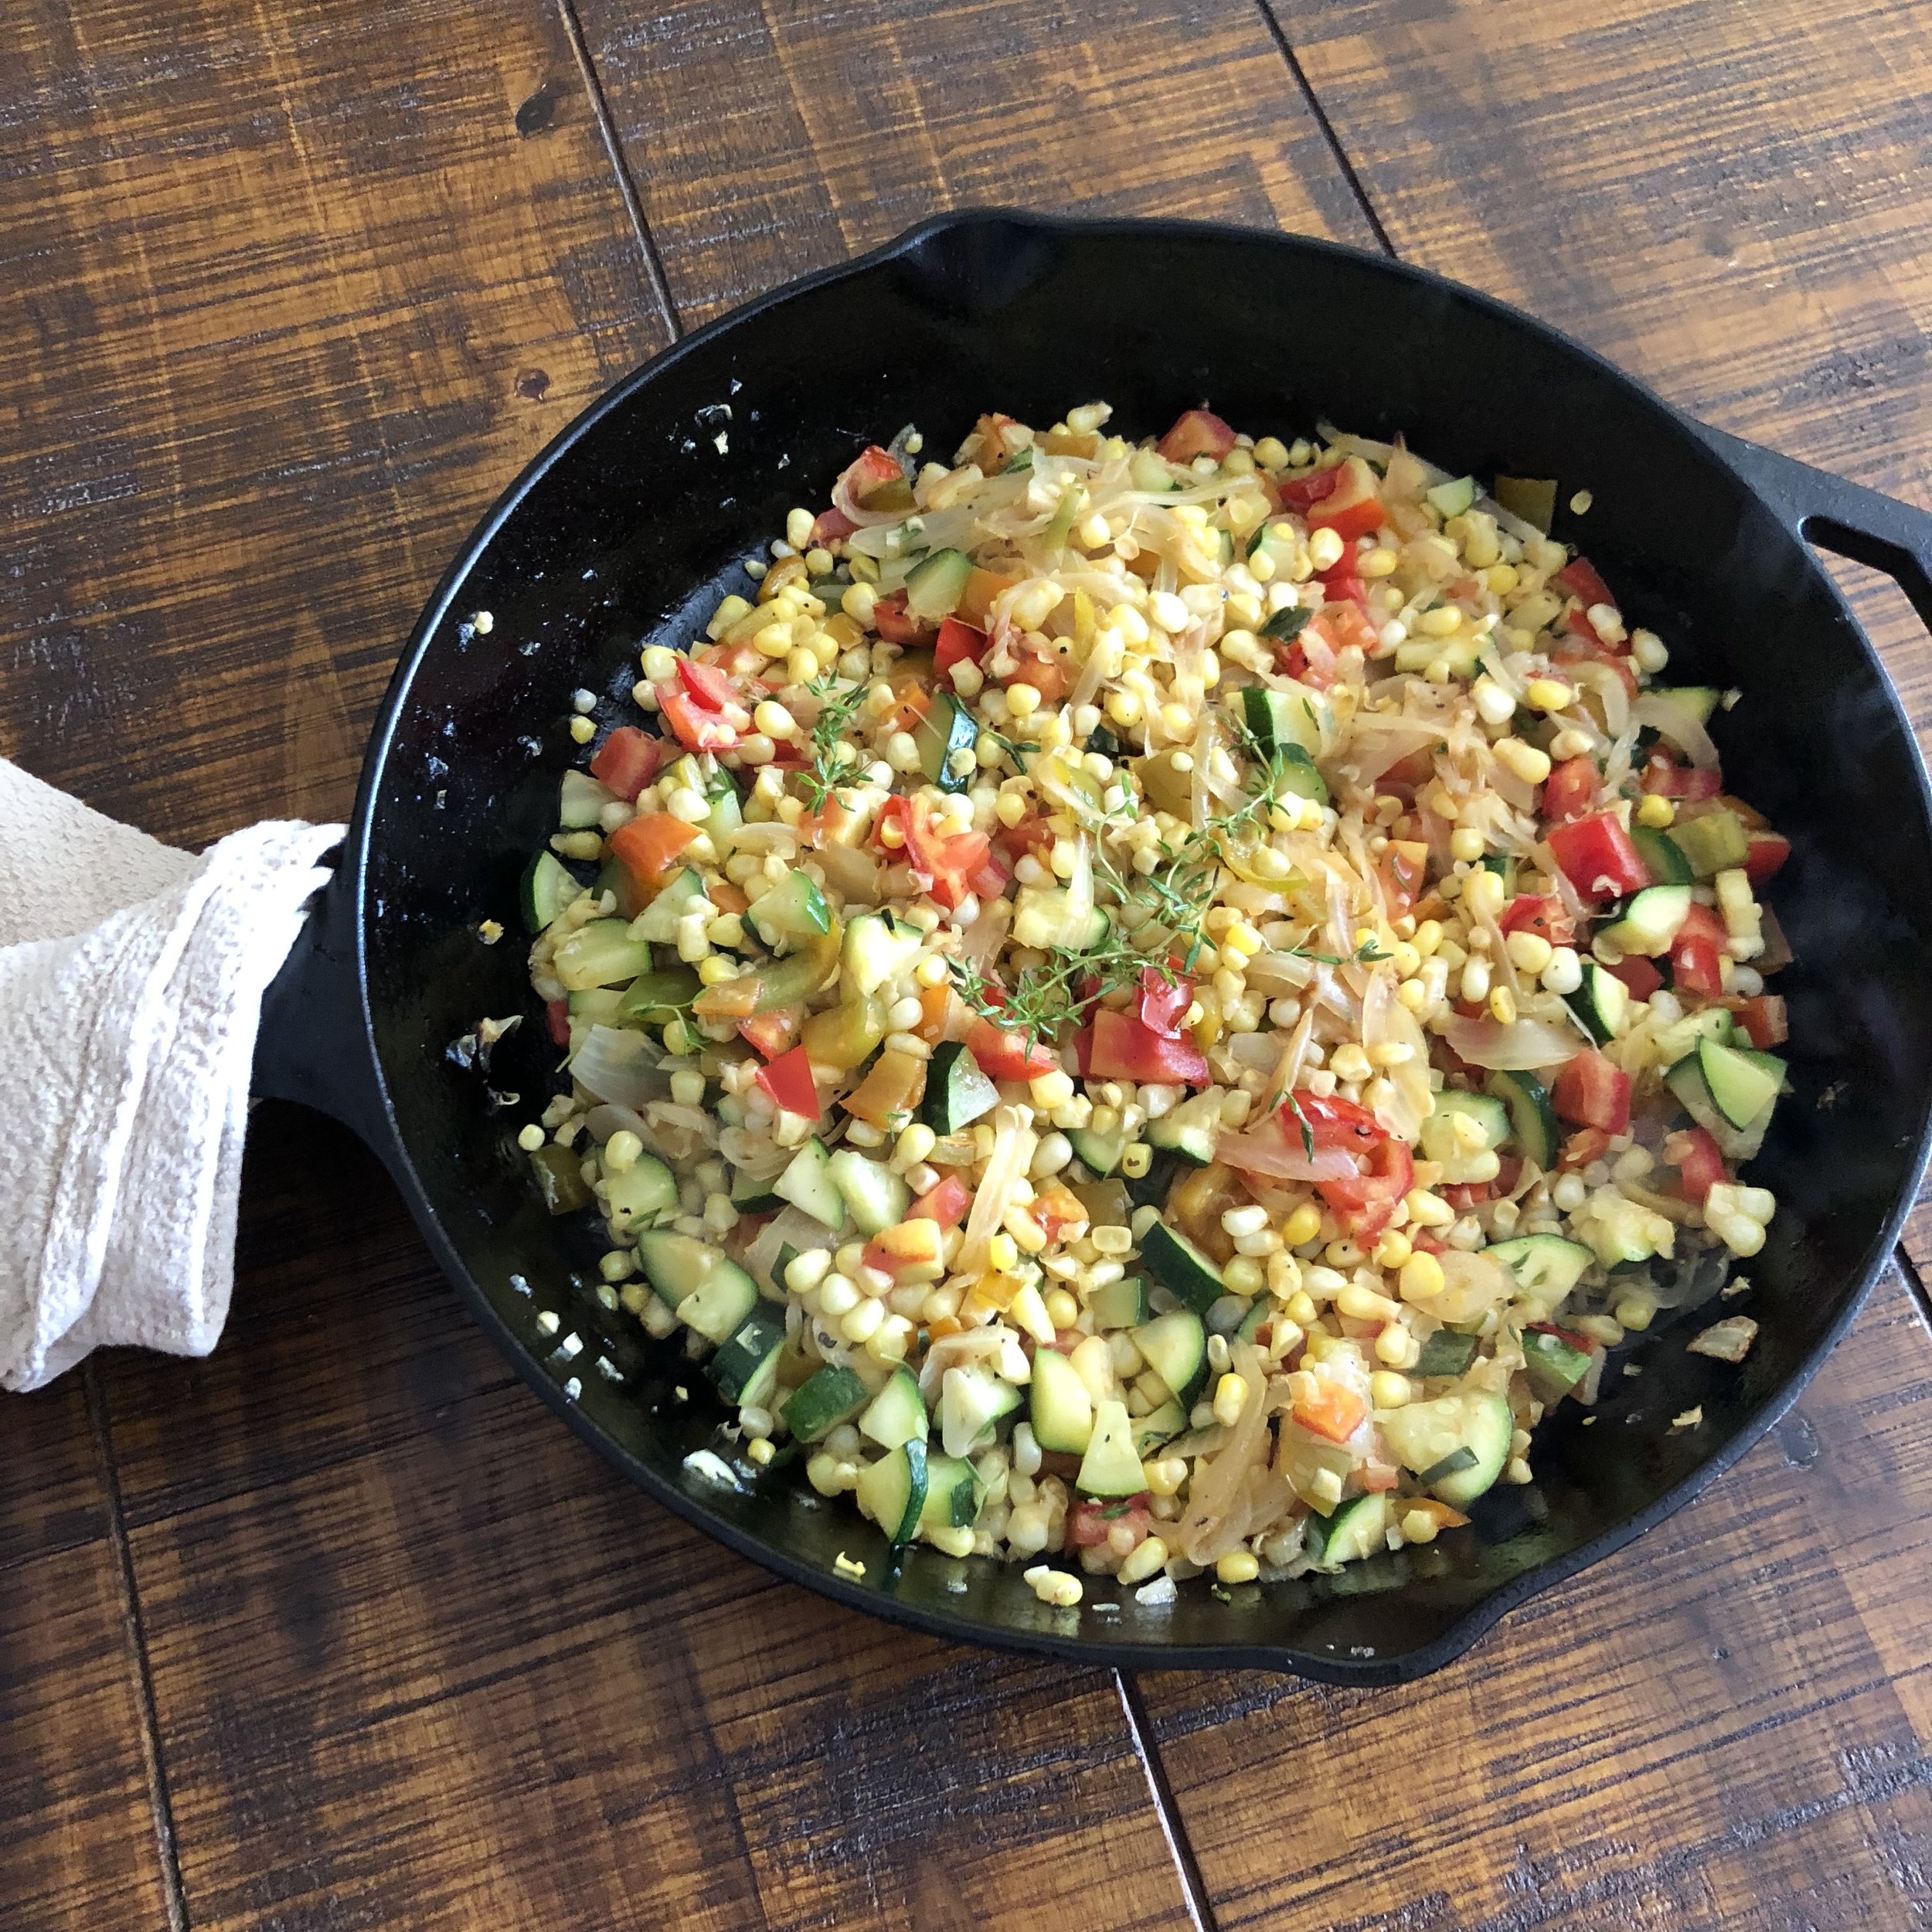
Note on beans: Traditional New England succotash uses cranberry or "cattle beans" like the ones pictured here. See that beautiful cranberry color marbled throughout? If you can get fresh cranberry beans straight from the shell for your summer succotash, that is ideal. Or substitute fresh shelling peas, snap peas, green beans, or lima beans. You can also cook up the dried ones, like you make any dried bean and add to the succotash at the very end.
Variations:
Use leftover already cooked vegetables, such as corn boiled on the cob or grilled zucchini and squash. Simply reduce the cooking time for the already cooked vegetables. Add them to the succotash a little later than the recipe calls for, omit the water and reduce the salt.
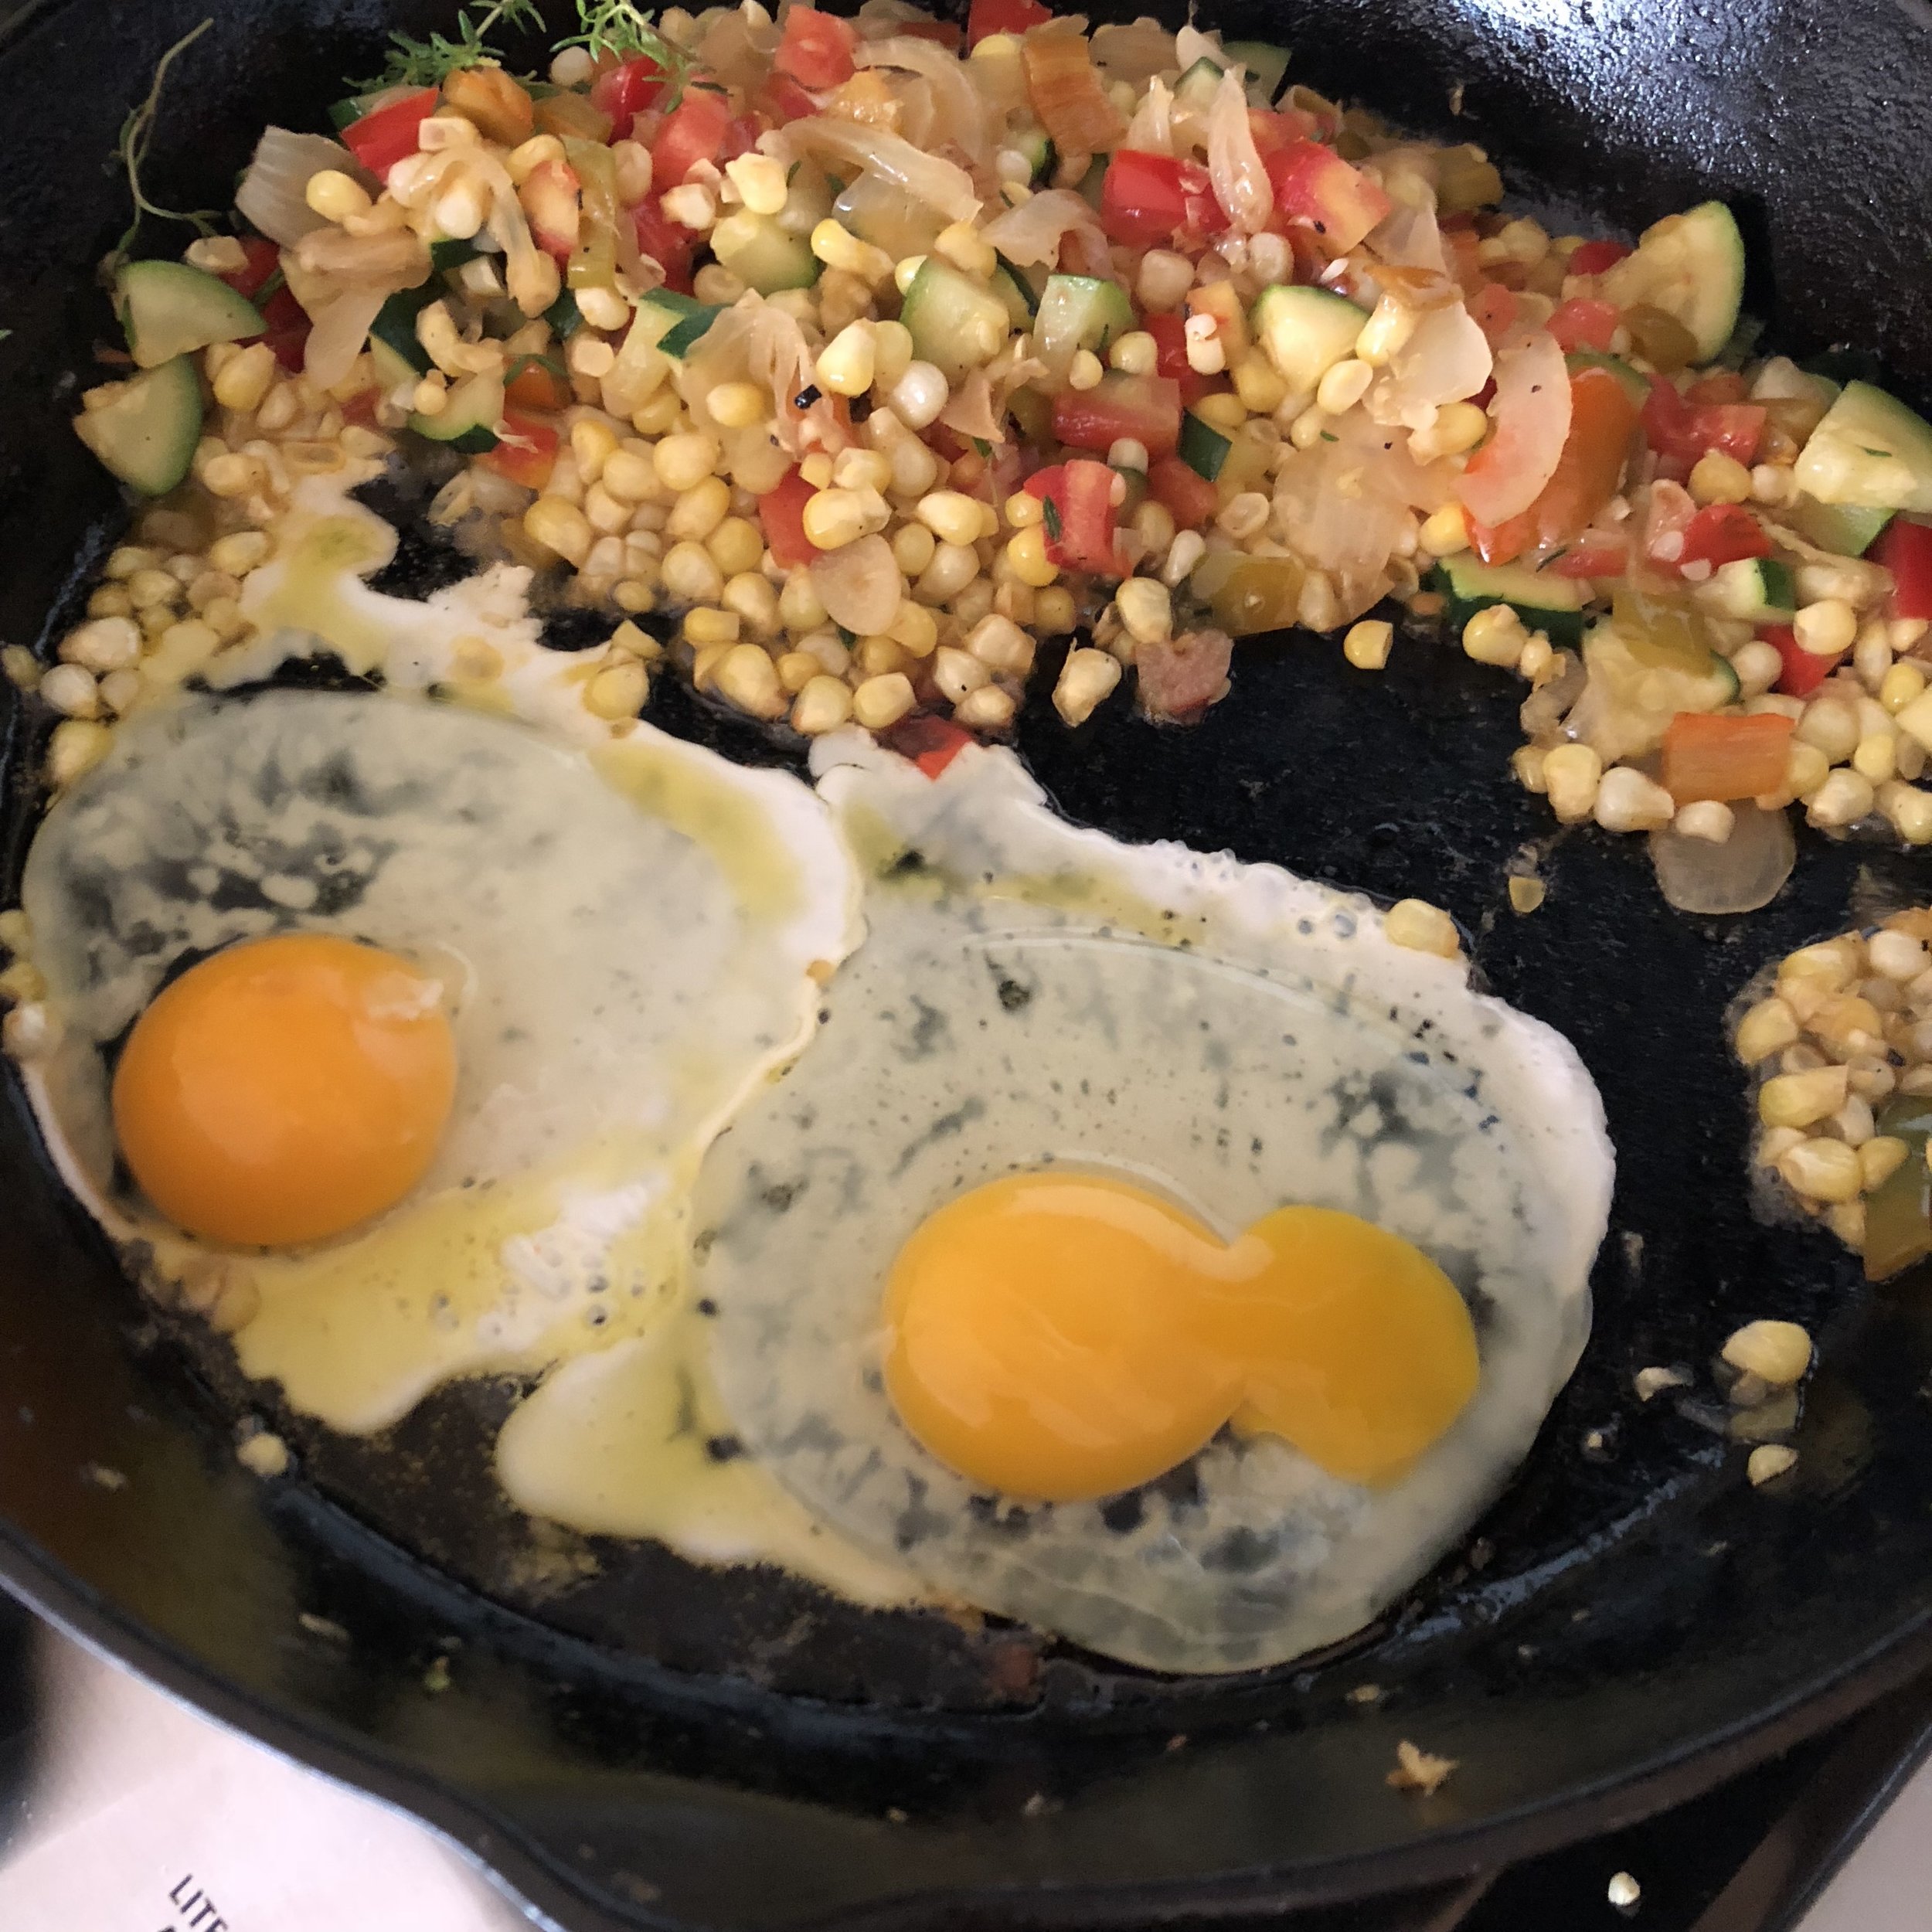
Serve the succotash as a brunch hash topped with crispy fried eggs. Push the succotash to the side, add a touch more oil and fry the eggs in the same skillet.
In place of tomatoes, try a tablespoon or two of apple cider vinegar or other vinegar.
Use salt pork or bacon for the fat. Render the fat in step 2 in place of oil or butter. Add the onion to the rendered fat and bacon pieces.
Crisp up small slices of dry salami in the oil. Remove before adding the onion, set aside and return to the dish at the end.
Lunchbox Challenge: Vegetarian Camp Lunches
After nearly 2 weeks of cobbled together childcare, camp mom, and family "vacation" my older son is finally back at day camp. So I'm sifting through the options of lunches to pack for my little vegetarian. PB & J is off the table since this camp has a no-nuts policy. Uh oh!
As a natural foods chef instructor who handles special diets and occasionally cooks in very limited facilities (i.e. classes in conference rooms!), I've overcome some unique menu challenges. I often feel like I'm on one of those chef sabotage game shows, a la Alton Brown, in which he ties contestants' hands behind their backs and asks them to make bouillabaisse in 20 minutes. But day camp lunch poses my most challenging set of menu parameters to date. Meals must be:
vegetarian per order of the child
nut-free per order of the camp
balanced per order of the mom, i.e. containing all food groups
portable, durable and not too perishable to stand up to field trips and miles of hiking in the great outdoors before lunch time
eaten at room temperature or as cold as the mini ice-pack will keep them
eaten without utensils
made in batches or in advance
varied from day to day
Challenge accepted. Since we've been down this road before and had to get pretty creative in summers past, I thought I'd share some of these ideas with you. Links to some of the recipes mentioned are also below when you click the photo. Now if only I had accurate photography for all of this. The boxed lunch is rarely photogenic and there is rarely time to snap a pic when hustling out the door. In the comments, please share your favorite vegetarian nut-free camp lunches with us! Also, if you think your kid won't eat many of the items listed here, just try it. You never know what they'll start to like because they were starving and had no other option but to eat what was in their lunchbox while at camp.
Radishes 5 Ways
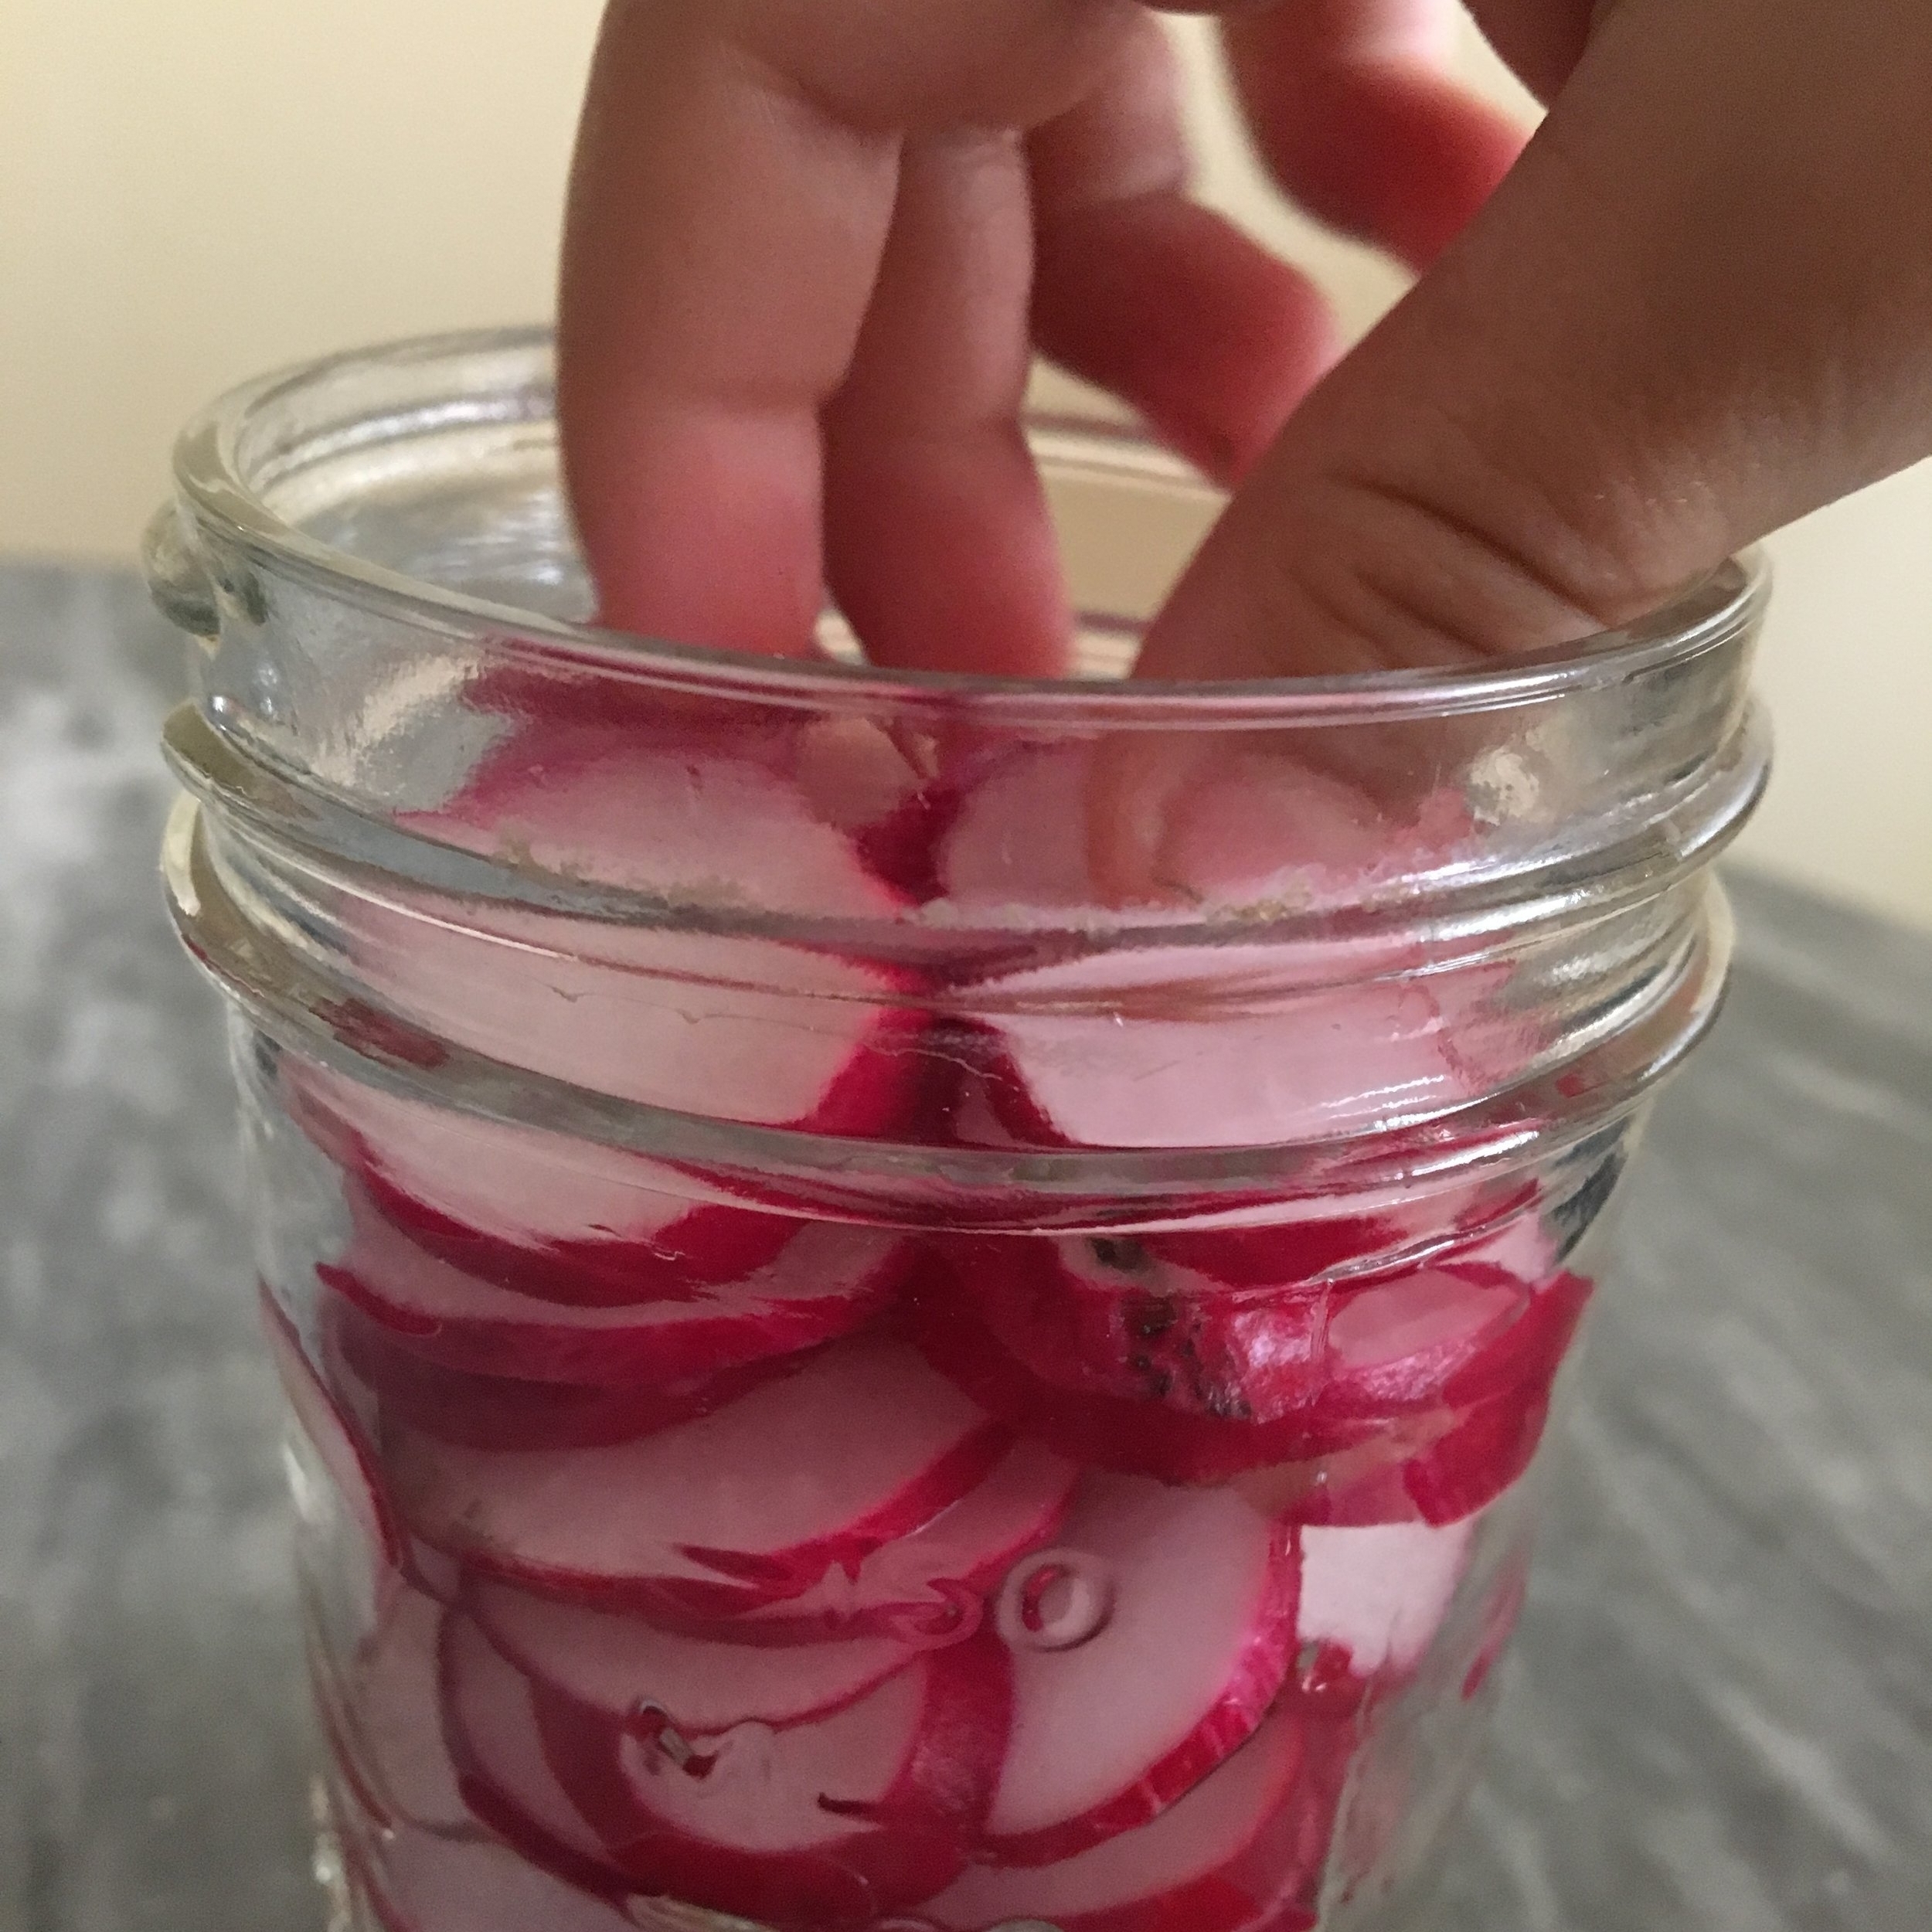
Recently, I've found myself answering lots of questions -- from cooking class students, fellow CSA members, and other parents -- about radishes. So I'm delivering on an overdue recipe post promise. These tightly packed peppery spheres produce passion. Previously, I was passionately opposed to radishes, which caused me to diligently leave bunches on a certain colleague's desk (you know who you are), but then I discovered how to prepare them. At this point, we generally only make them one way, because this is how a certain 5-year-old (he knows who he is) will have it. Pickled. Which, when mentioned in my house, will provoke a high-pitched squeal and the "yummy dance." I get it. But I feel like I'm cheating for my older son's vegetable appreciation because they are probably the easiest thing I make for him.
Here's what you need:
1 bunch of radishes
1 cup or so rice wine vinegar
1 scant teaspoon of honey
1/2 teaspoon cumin seeds
1/2 teaspoon coriander seeds
Here's what you do:
One bunch of radishes usually fills a half pint jar. Use this jar to measure out the vinegar, about three-fourths full. Put that in a small pot and heat it with the honey just until the honey dissolves. While this is heating, thinly slice your radishes and pack them into your jar with the spices. Pour hot liquid over the top. Put cover on and refrigerate. These are best after one day but can be eaten in one hour or kept for weeks. I've never processed them to be shelf stable because the aforementioned 5-year-old eats the entire jar in 3 days. Warning: they smell a little funky, but taste delicious and are a great addition to toast smeared with chickpea or fresh green pea hummus, or a salad, sandwich or taco.
Maybe you're not so into pickles? Try these other great applications for your radishes.
Butter Braised: Scrub radishes, remove stems and tips. Cut into quarters. Put in a small pan and cover by an inch with water. Add a few pinches of salt. On medium-high heat, cook until nearly tender and water is mostly absorbed, adding more water if needed. Add about 3 tablespoons butter for each bunch of radishes, and cook stirring frequently until radishes are tender and slightly browned. When you add butter, you can also add your choice or dried spices or finish the dish with chopped fresh chives or parsley.
Roasted: Add cleaned, trimmed and quartered or whole radishes to a roasting pan with chicken and onions. Occasionally toss the radishes with the chicken drippings.
Potato Hash: Add diced radishes to your hash along with other root vegetables. Top with runny eggs.
Slaw: Shred or julienne radishes and combined with shredded cabbage, carrots and/or cucumbers and dress with a light citrus vinaigrette.
Tip: for stable cutting of a radish or other vegetable with a rounded edge, slice off a tiny piece on one side to create a flat surface for your sphere to rest on your cutting board.
Presto Pesto
Pesto is a comforting stand by, a loyal friend that rarely lets you down. Here are 5 reasons I love to produce pesto:
You can assemble it in a matter of minutes.
You don't need a recipe or any specific ingredients. See below for the "formula" and suggested combinations. It's a great way to use up herbs you have on hand (Do you have an entire $2 bunch of cilantro remaining after your recipe called for a teaspoon minced for garnish? Are you pruning back your herb plants to promote their continued growth? Did you get bundles of herbs in your CSA bounty?)
It can be used immediately, saved in a jar and eaten throughout the week or frozen in batches for a February day when the herb plants have all but dried up.
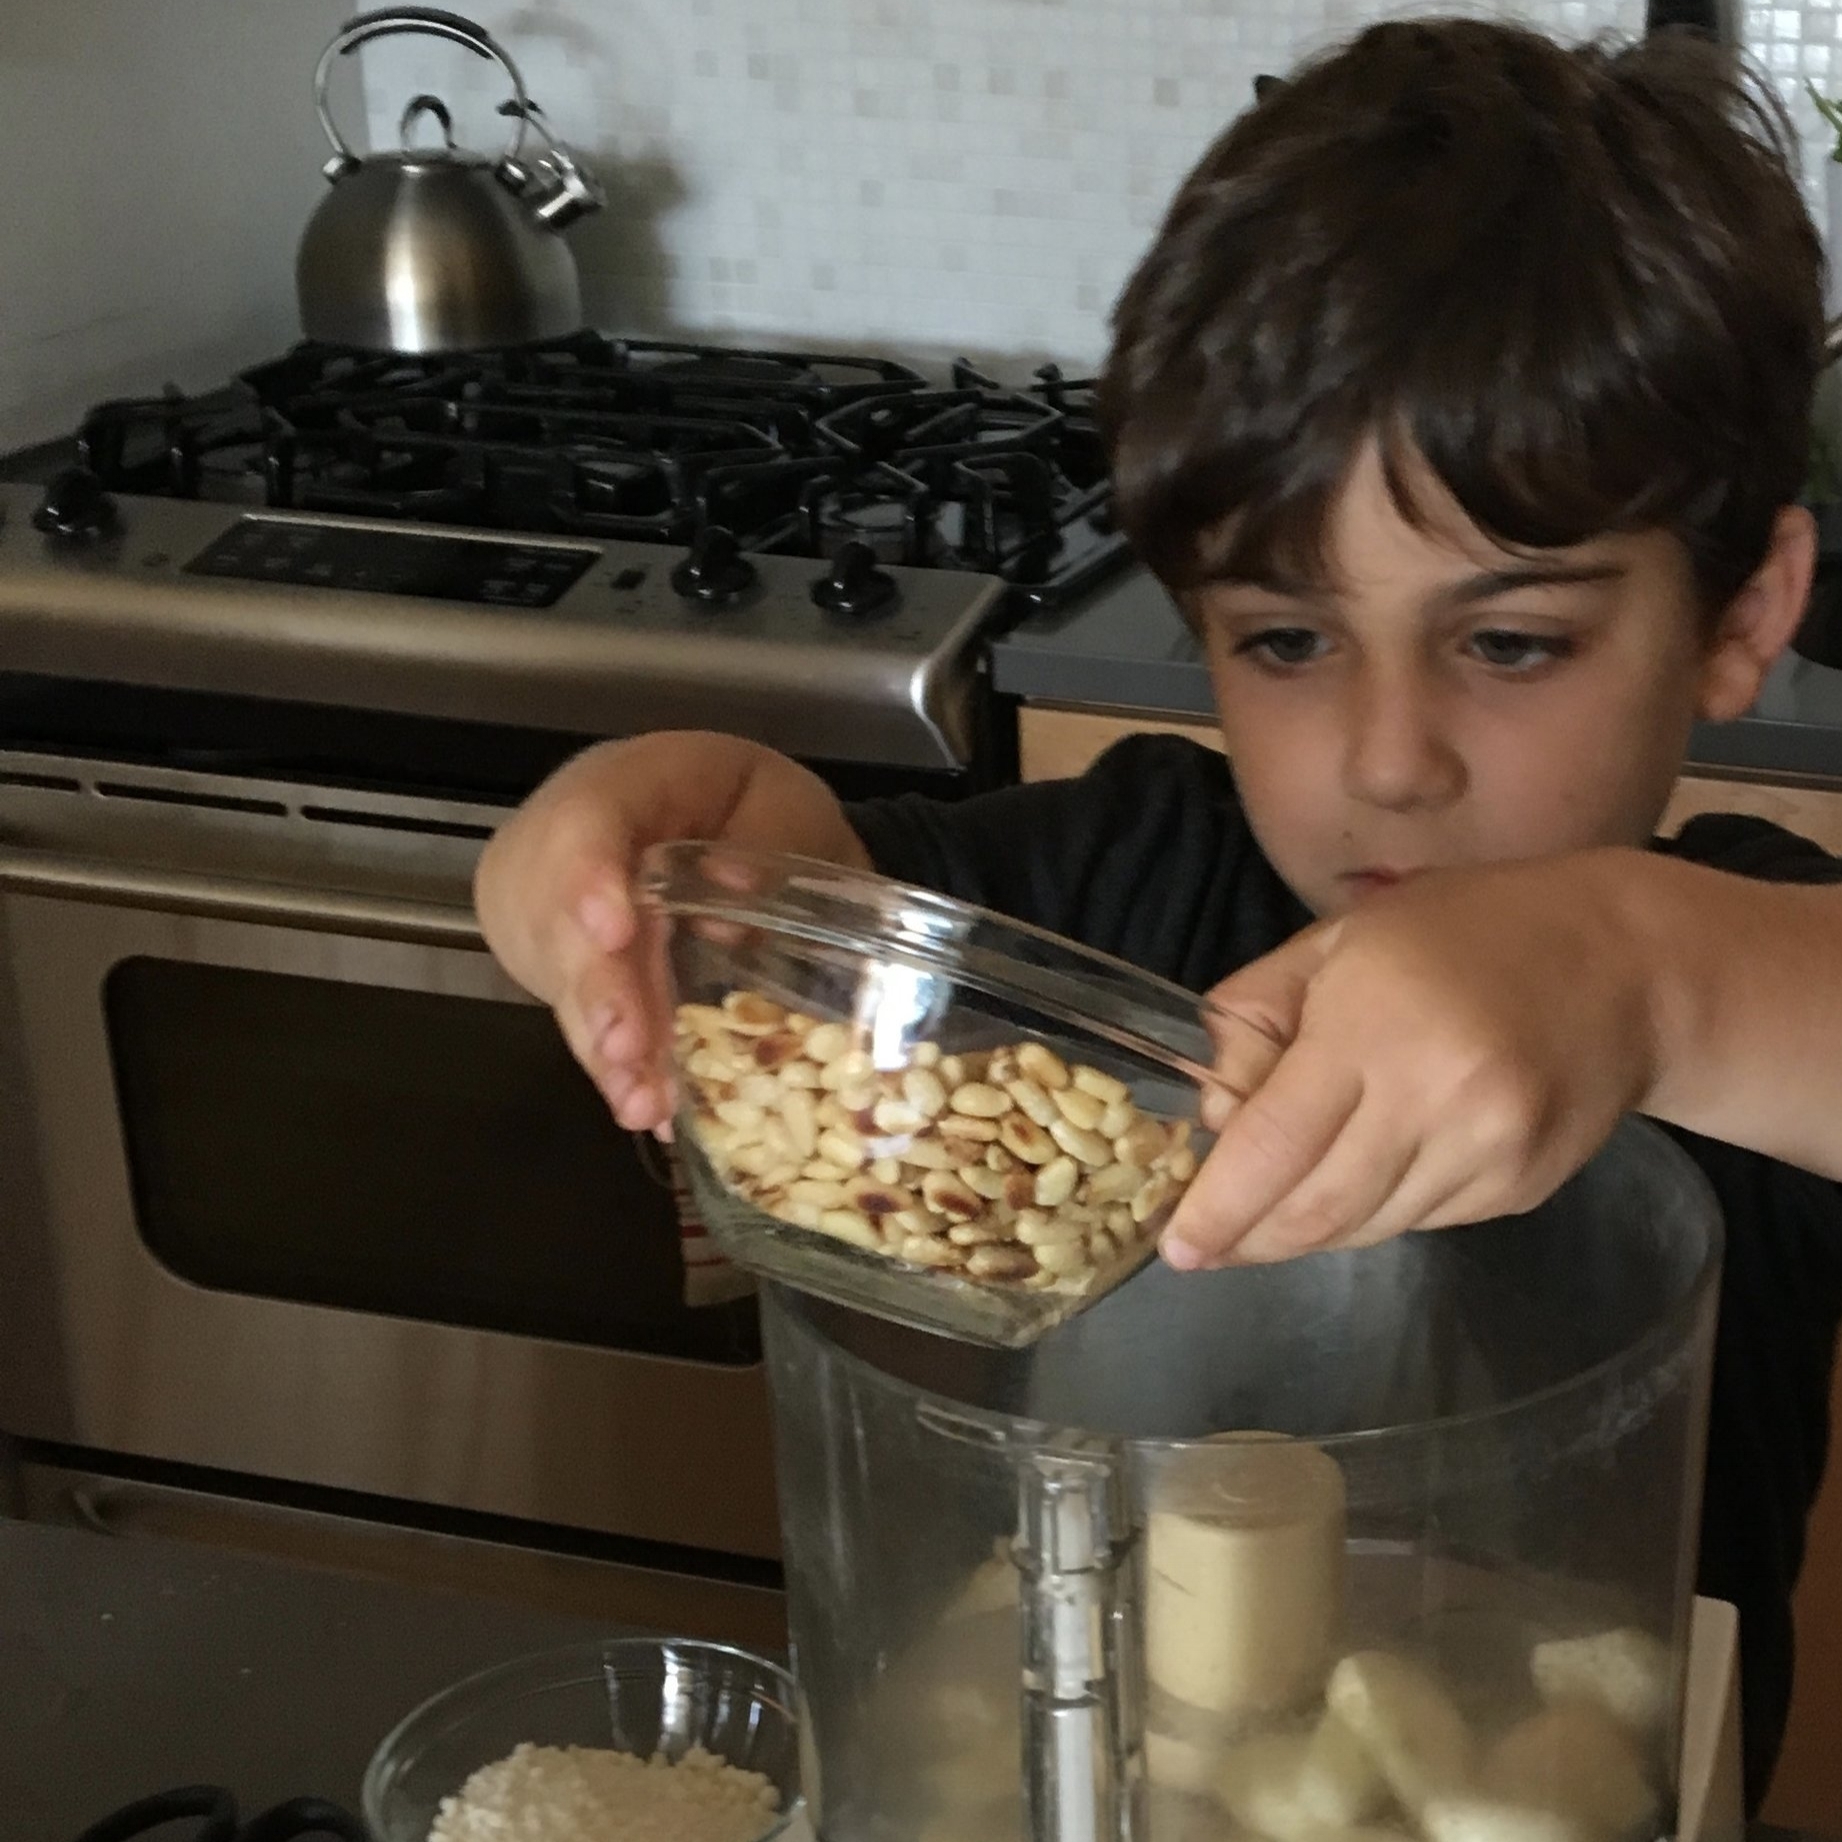
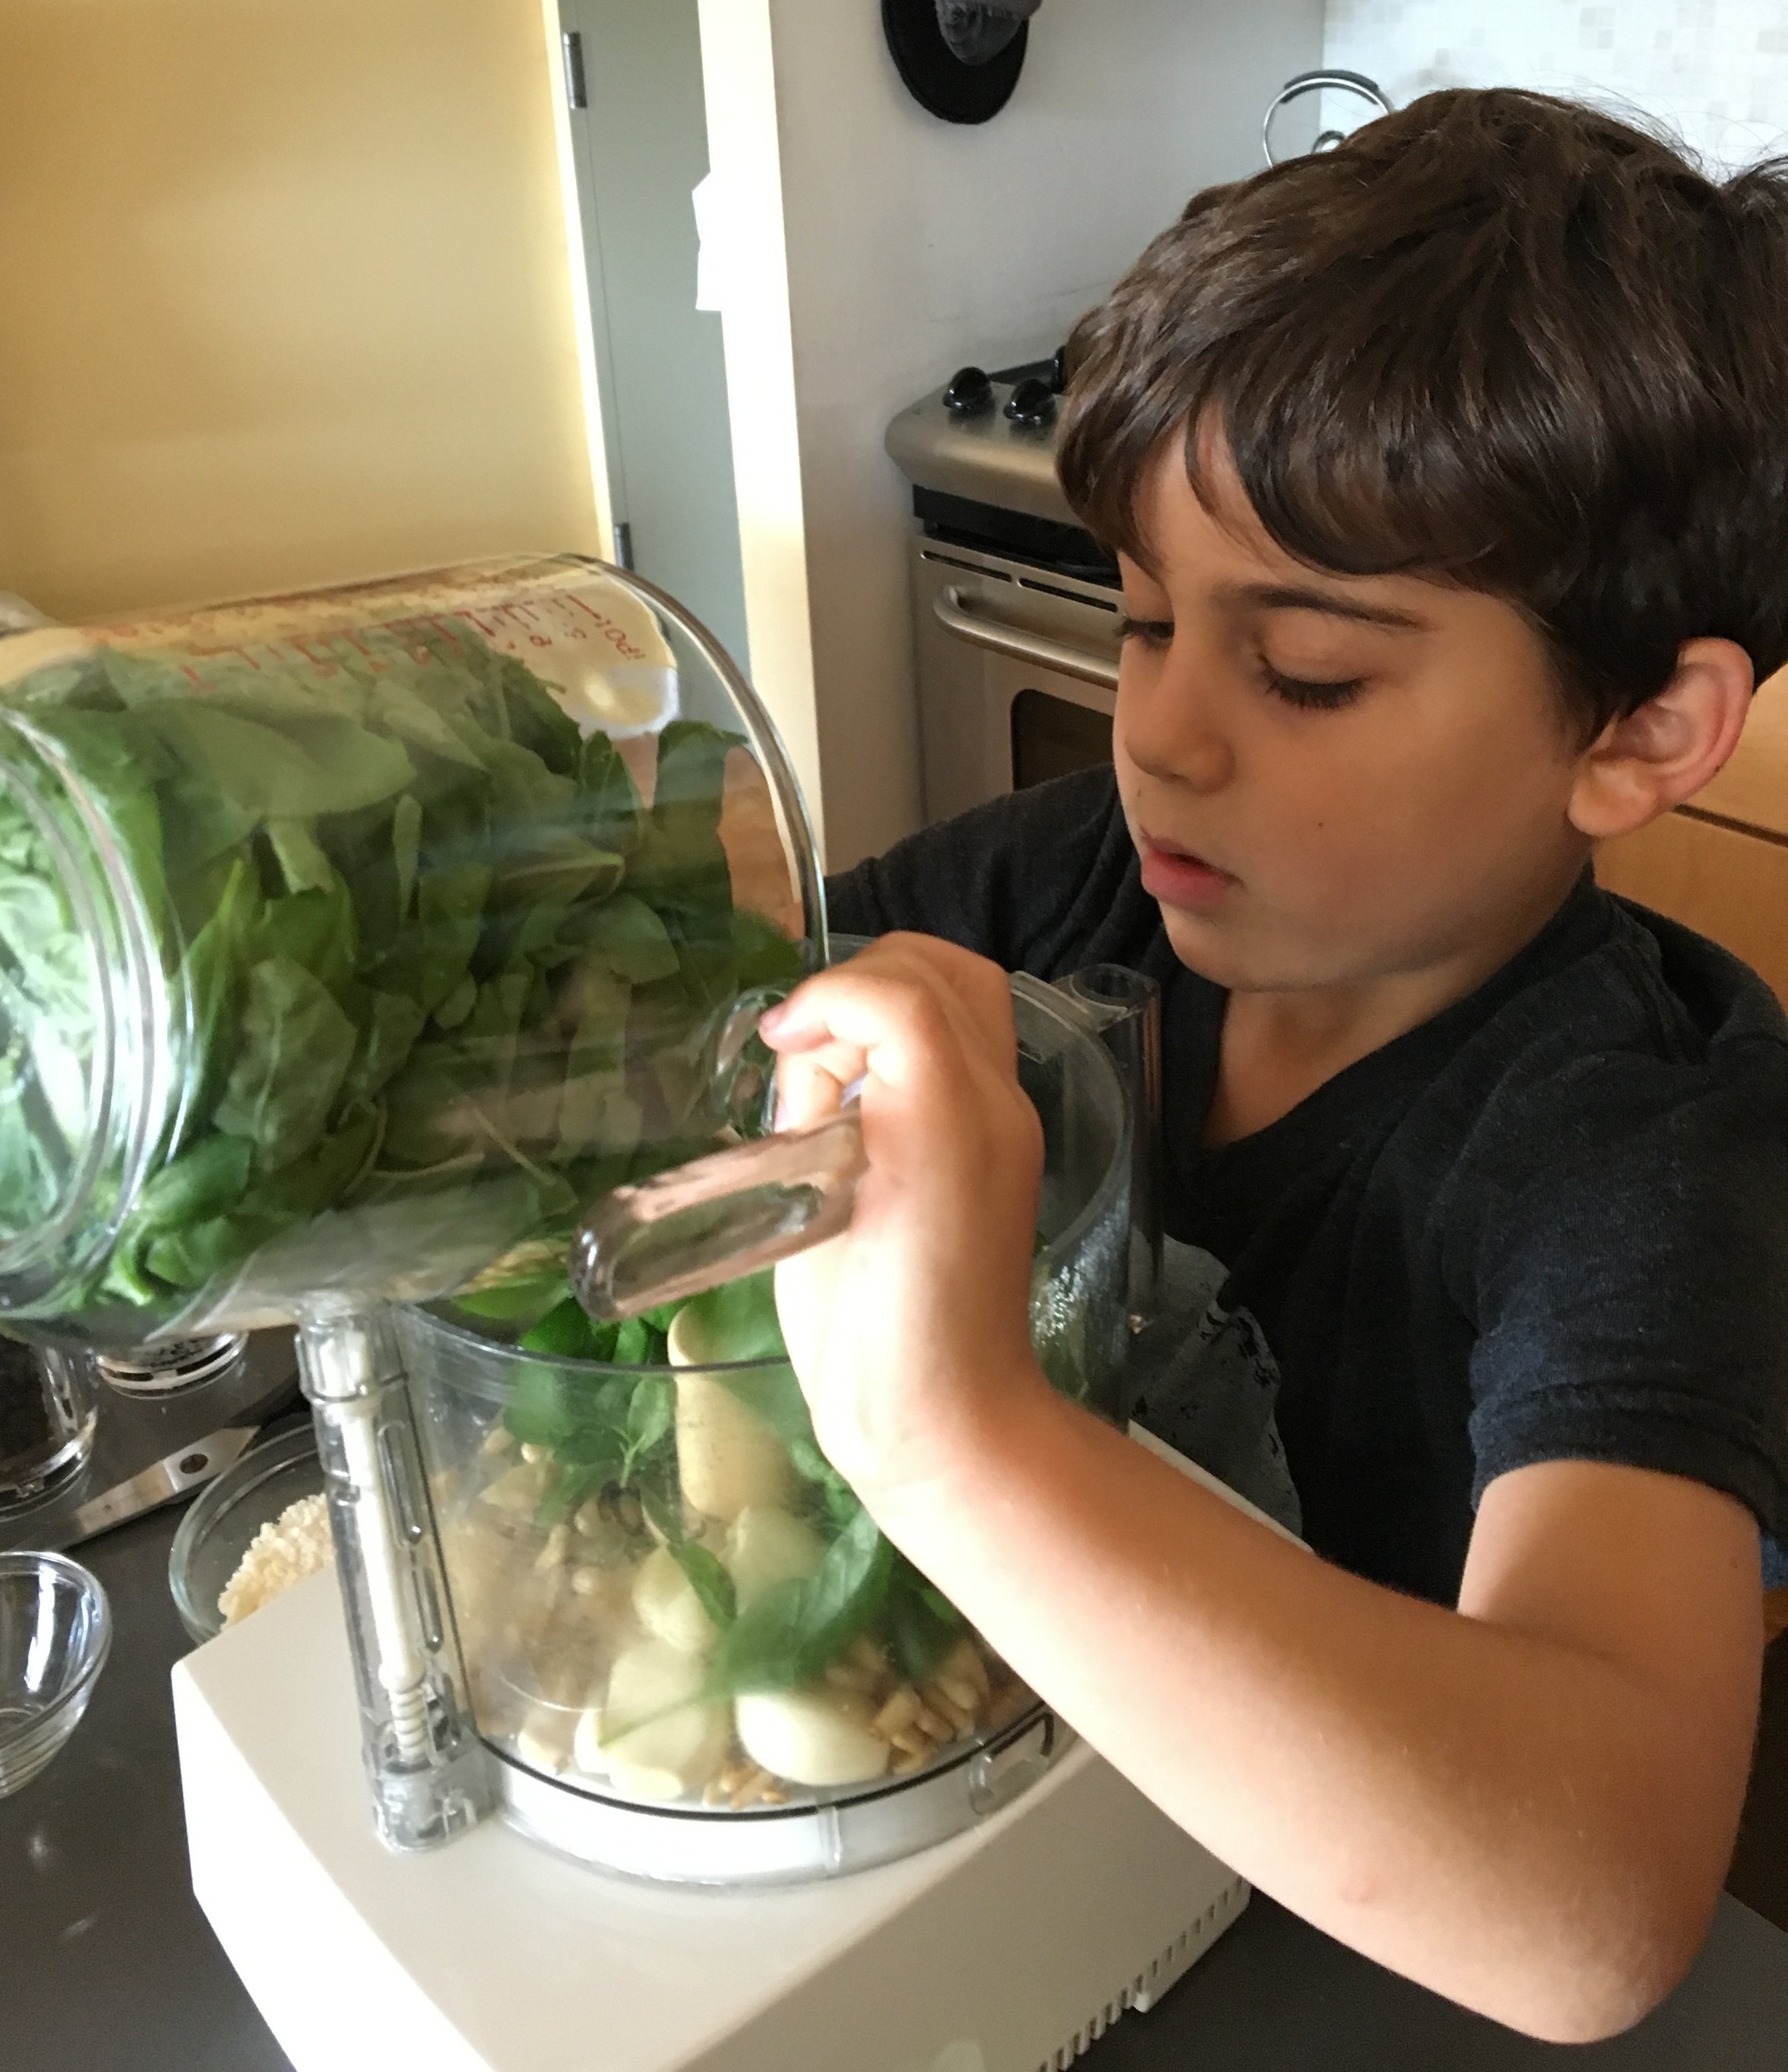
It's kid helper-friendly. Little hands are great at plucking leaves from stems and can help blend items safely in a locked food processor.
Pesto has endless applications: top fish before baking it, thin it out and use as a sauce to spruce up a protein presentation, mix into a pasta, risotto or other grain dish, dress some zucchini "noodles", spread on a sandwich, mix into scrambled eggs or quiche, or top a soup.
Presto Pesto - A Formula
Once you have this basic formula for pesto, you can make all types with whatever leaves you have.
Here's what you need:
the measurements are guidelines, not requirements
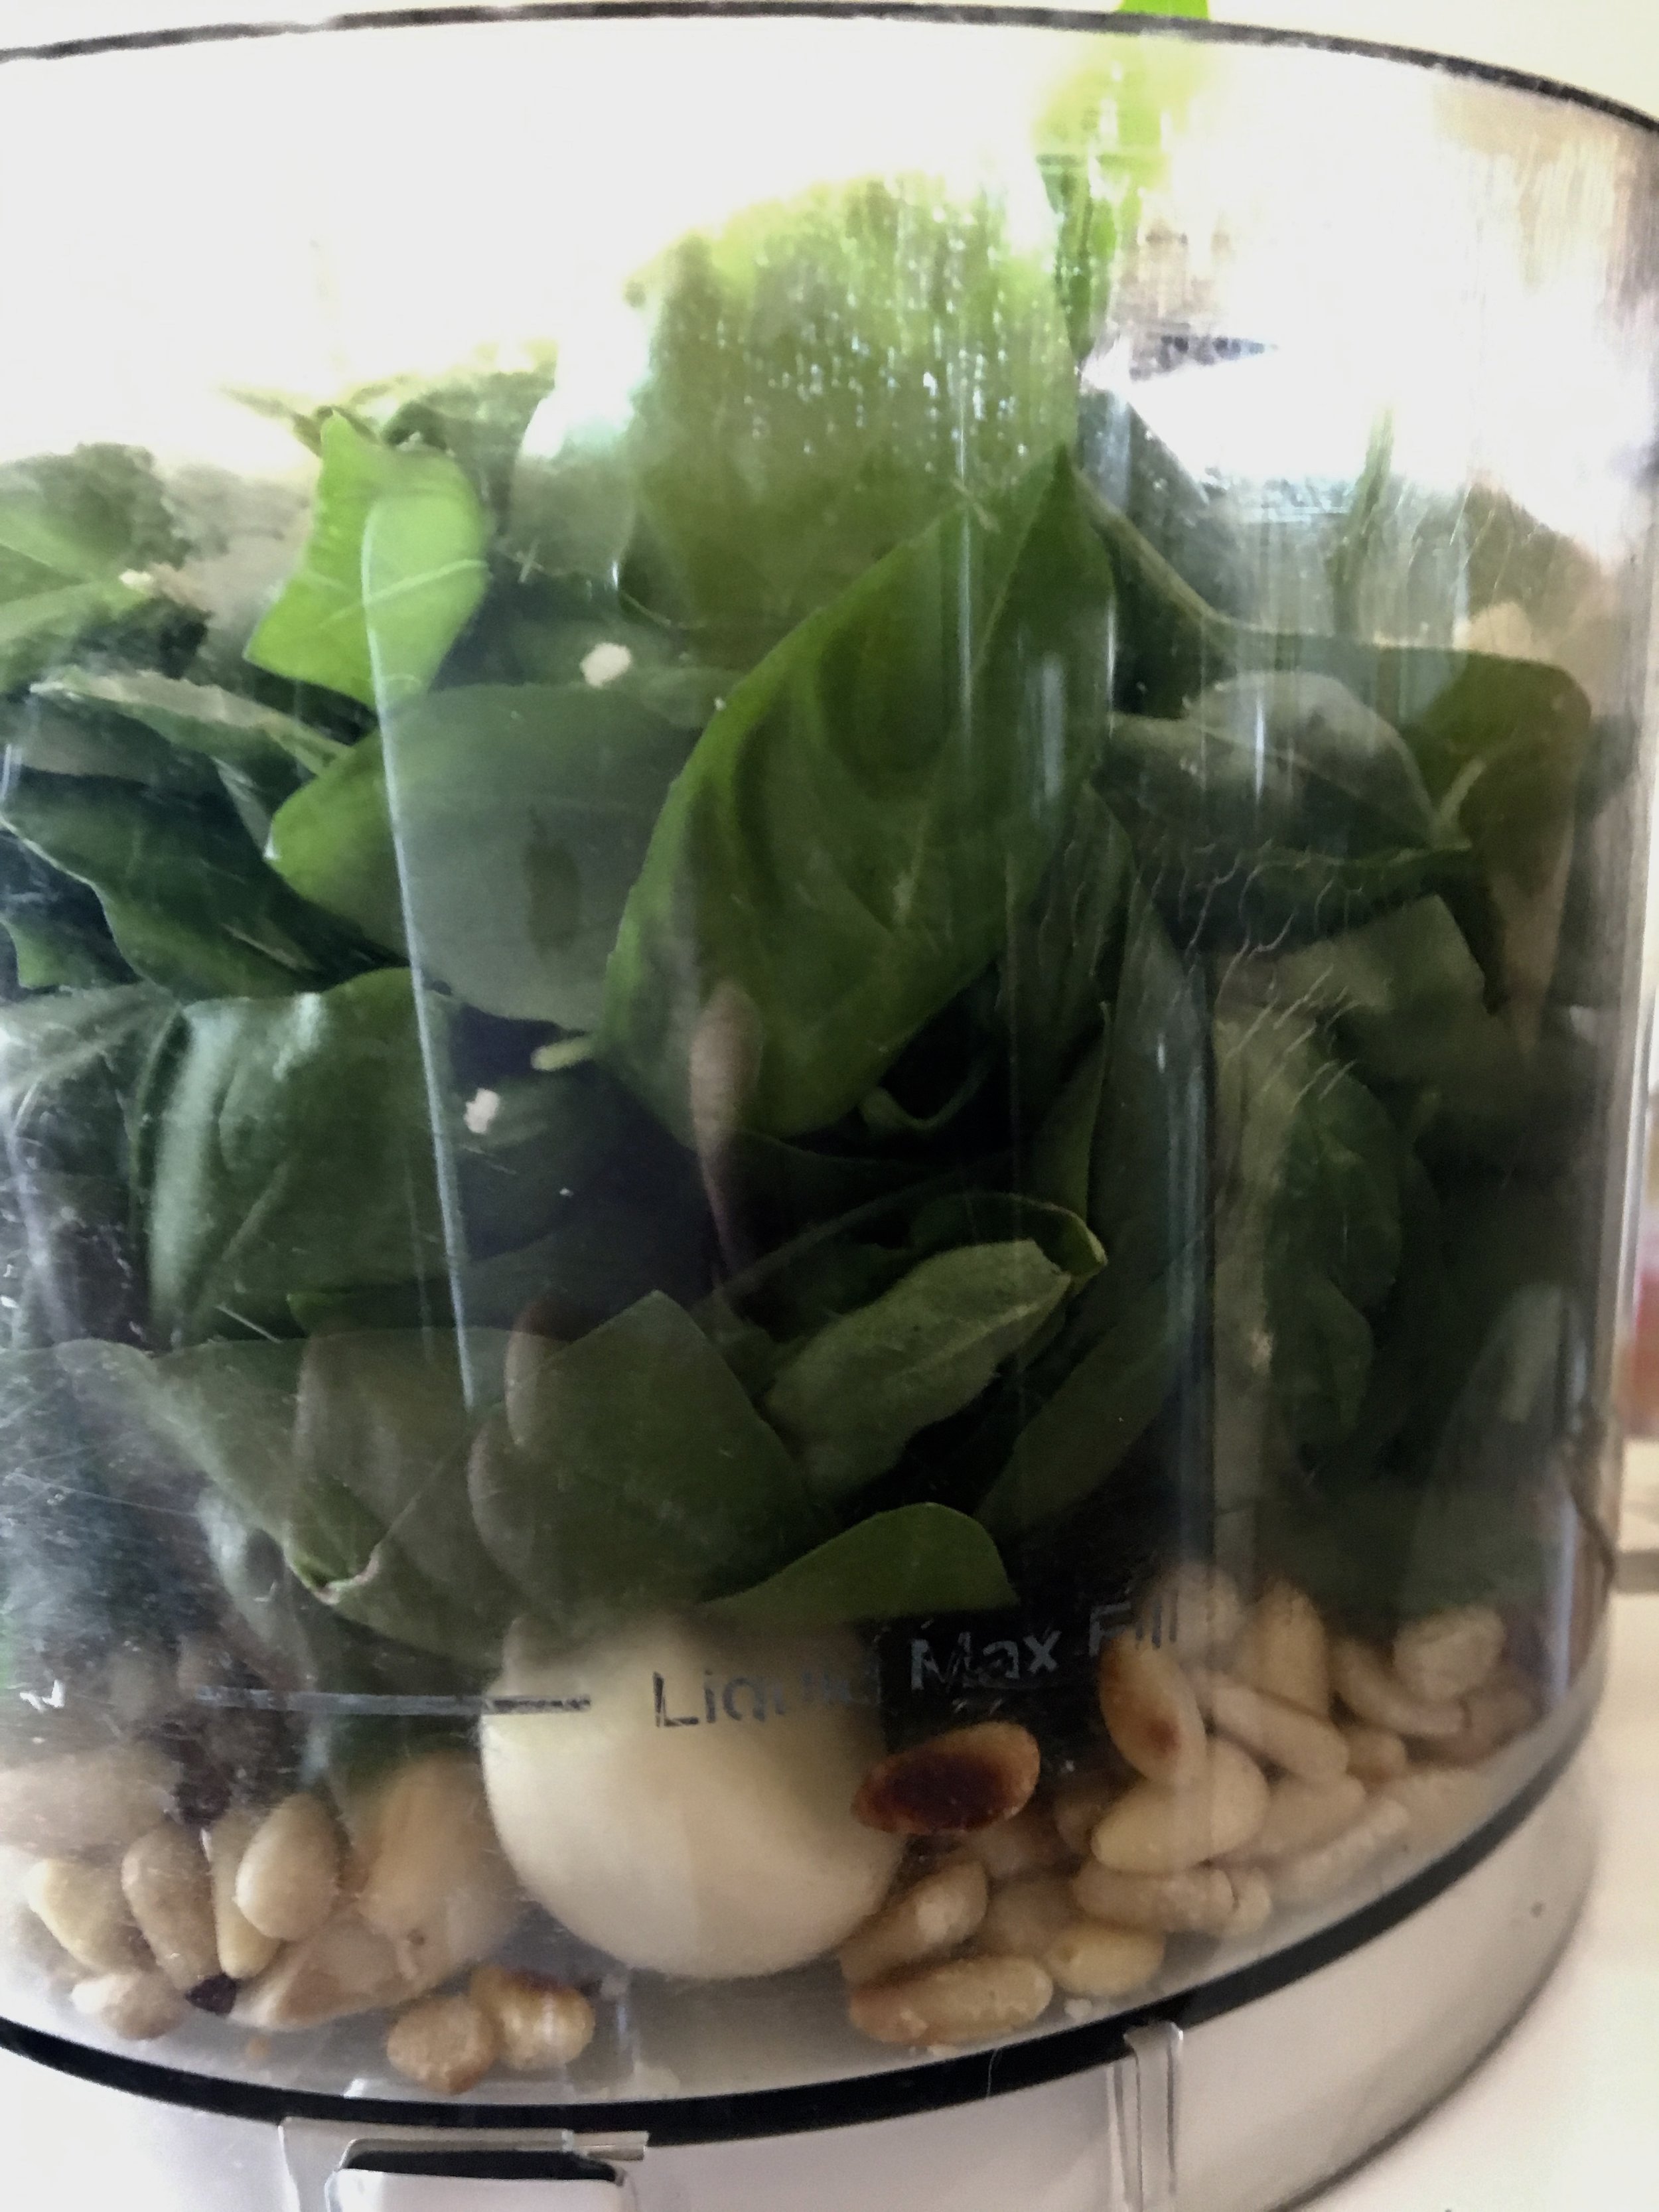
2 cups of aromatic leaves (basil, mint, cilantro, parsley, arugula, even carrot and radish greens)
2-4 cloves of garlic (or garlic scapes or green garlic)
1/4 cup lightly toasted nuts or seeds (pine nuts, walnuts, almonds, pumpkin seeds)
1/2 cup oil
1/4 cup grated cheese (parmesan, pecorino romano or another hard cheese, optional, see note)
salt and pepper to taste
Here's what you do:
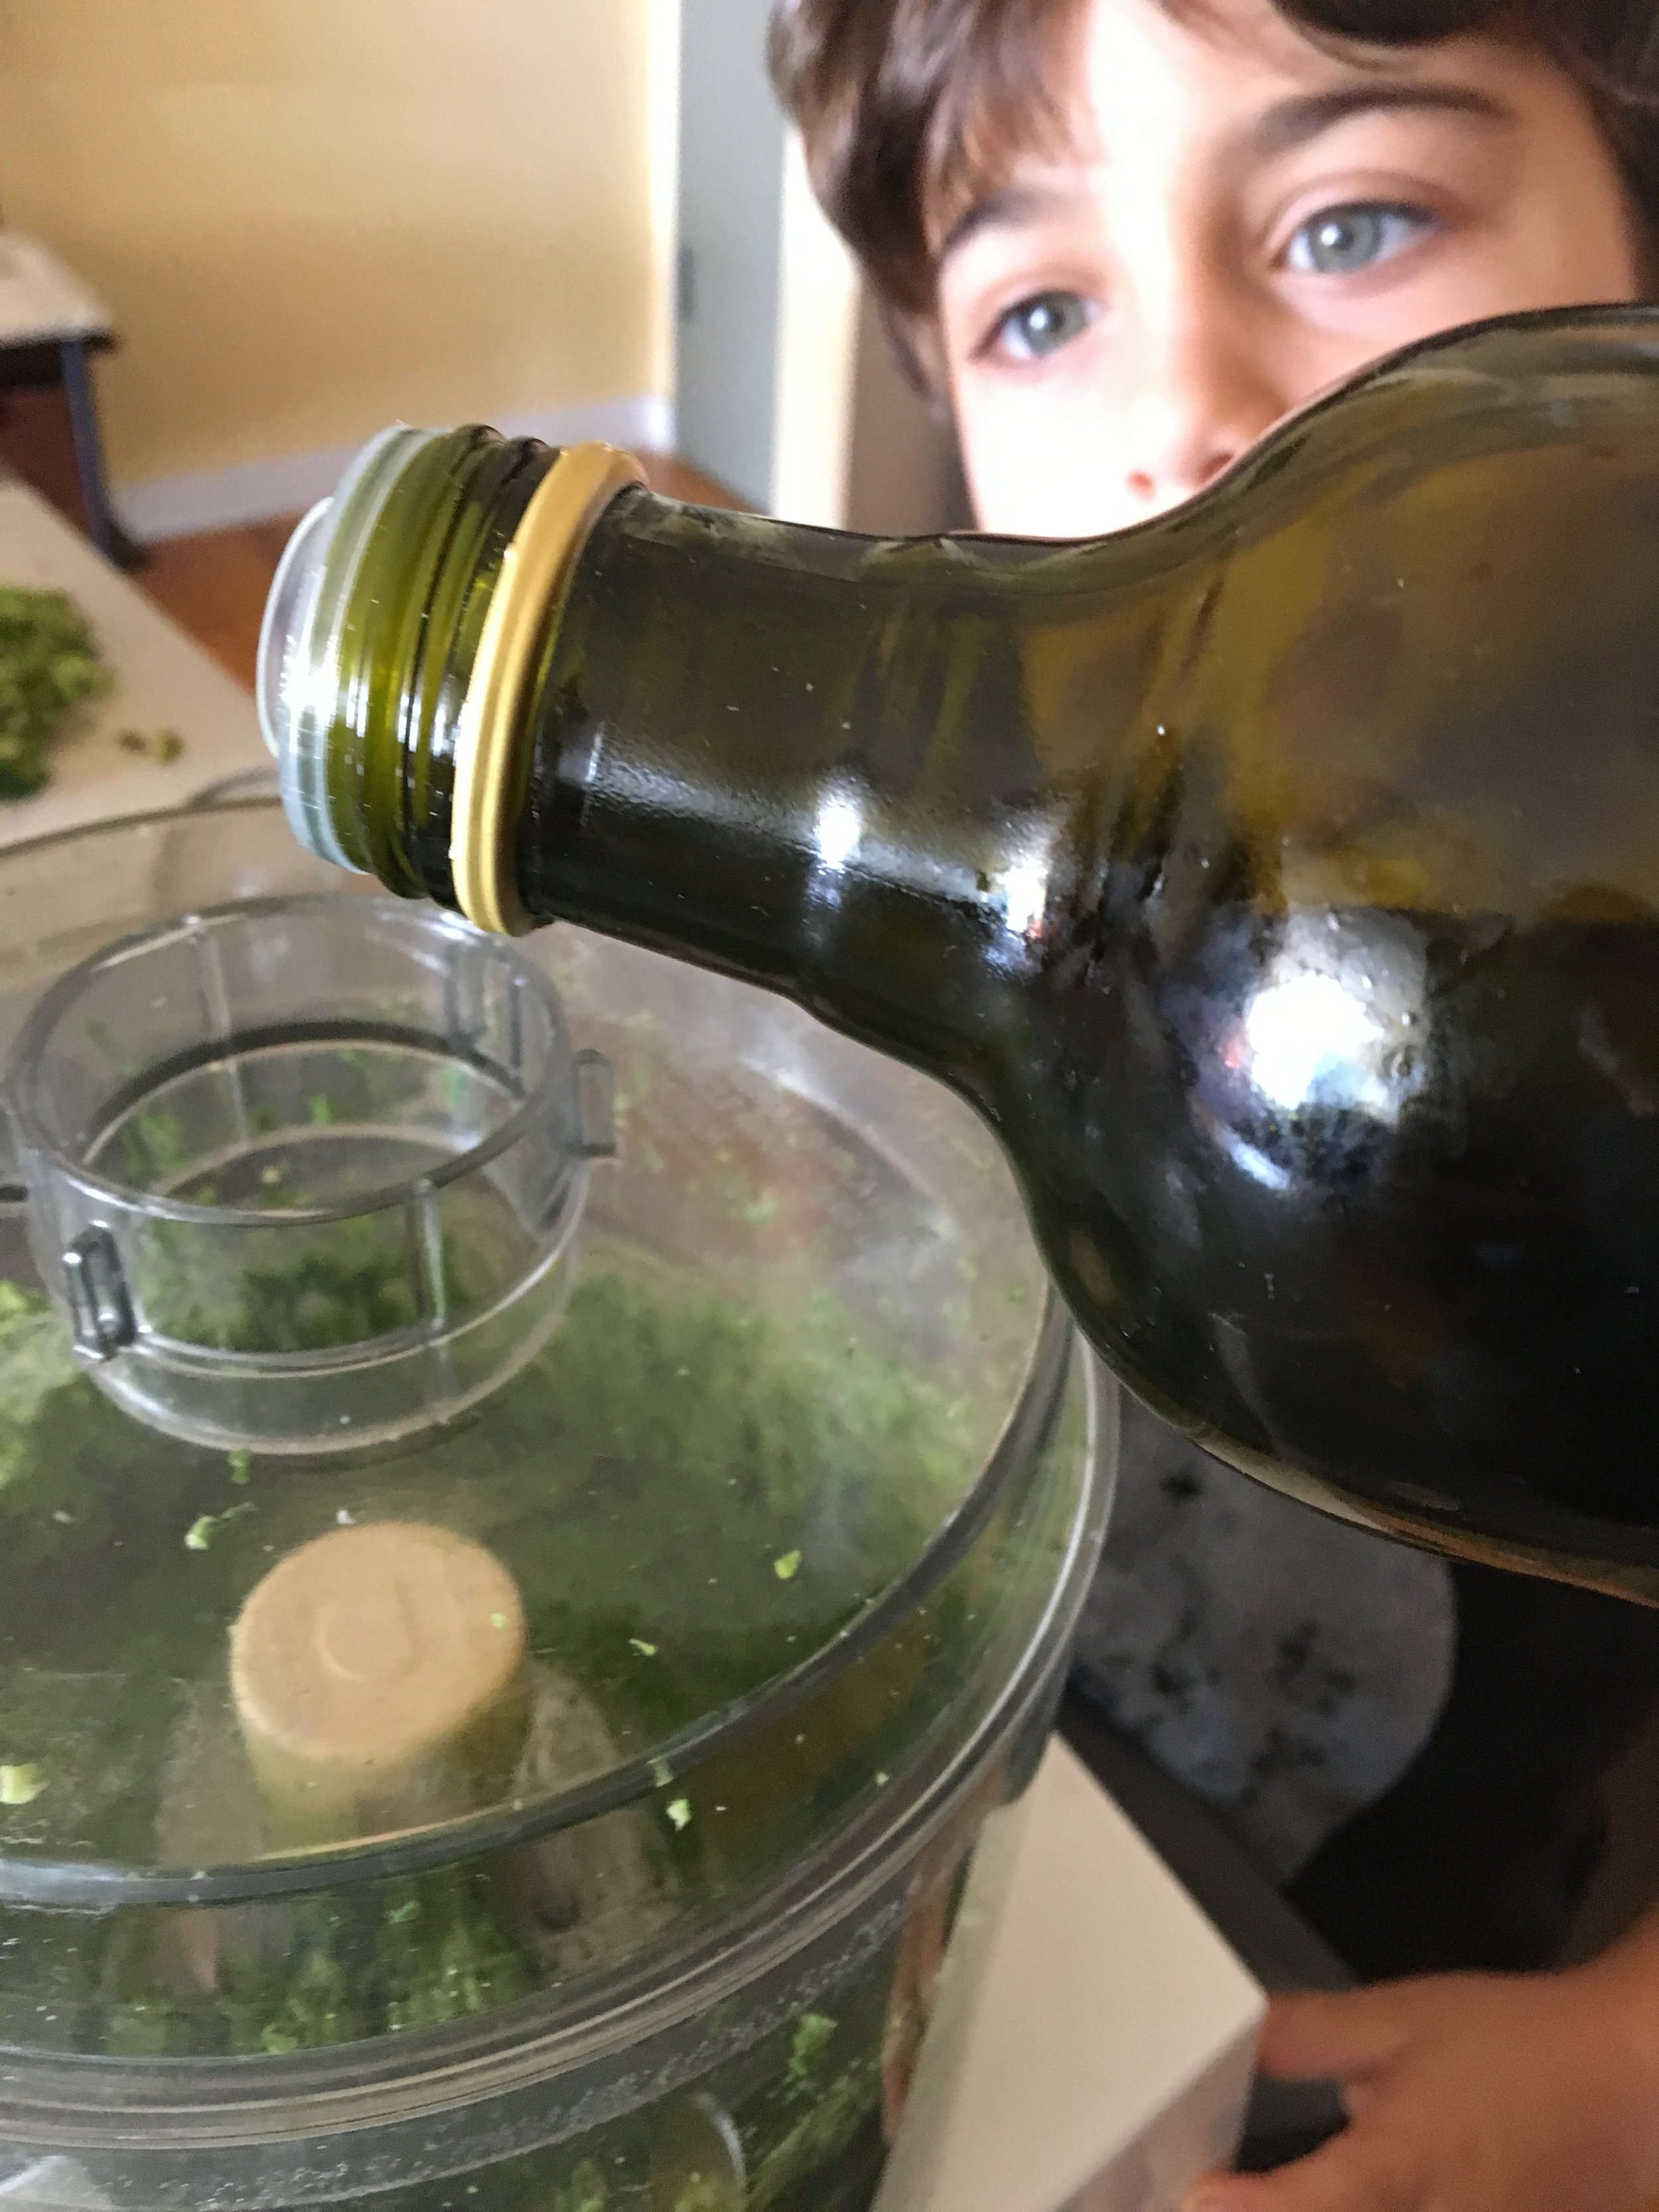
Put all that stuff in a food processor (like one of these), and just let it go. If you want to be more technical, purée the leaves, garlic and nuts first until ground, evenly sized, and well combined. Scrape down the sides, replace the lid, and then process again while streaming the olive oil into the mixture slowly. Add cheese, salt, and pepper at the end to taste and process again until evenly incorporated.
Some recipes suggest adding lemon juice or zest which provides a nice balance of flavor. However, be careful with the acid. It will turn your greens to a less appetizing olive color. If at all, only add right before serving and not if you plan to store your pesto for any length of time.
*Note: you can also go vegan and omit the cheese entirely or replace it with a tablespoon or so of miso paste or a teaspoon of umeboshi paste to get that umami flavor you expect in a pesto. We often omit the cheese for a certain member of the family who is cheese-phobic. (I know. Eye roll, plus incredulous look that says, "how is it possible that an adult human does not like cheese?" Don't get me started. You will read many other posts from me about avoiding & replacing cheese, so you are in luck if you cook for a lactose intolerant or simply cheese intolerant person.)
Here are some of my favorite combinations:
basil + pine nuts + olive oil + garlic scapes - garlic cloves
arugula + pine nut + olive oil
mint + almond + canola oil
oregano + hazelnuts + hazelnut oil
mint + pistachio + garlic + olive oil
cilantro + coconut meat + coconut oil - cheese (technically not a nut, but it fits the formula)
radish greens + pistachios + parmesan + olive oil
You can also mix and match herbs and nuts. Play around with it. There are few rules in pesto. What tastes good to you? What combinations do you use?
Herb Garlic Butter
I attempted to grow a few things this summer. Overall it was a big flop. Between the lingering spring frost, weeds, rodents, and gnats, my garden was doomed. So I decided to focus on what I could control and invested some time and research into growing my herbs. For the first time, I actually re-planted my herb plants into spaces big enough to accommodate their sprawl. I took it to the gnats, inserting glue traps in all of my indoor pots, and re-potting them in clean fresh soil after shaking off the gnat infested soil. I spent hours one Sunday watching countless youtube videos about harvesting my herbs and then practiced, scissors in hand checking the computer screen over my shoulder. I'm so glad I did. This year, all of my herb plants inside and out, even those most difficult to grow for me, like cilantro and sage, flourished. So, now, per the instructions on all those youtube videos, I'm pruning my herb plants like crazy to encourage their continued growth. Since we can't really predict when this river of herbs might suddenly dry up, my plan is to preserve as much as I can in as many ways as possible for later.
Here's that same sage plant just a few weeks later.
This recipe for herb butter is versatile and freezable. The measurements are just suggestions.
For best results, make sure your herb leaves are completely dry. In fact, if I'm using herbs cut from my own plants, I don't even wash them. If you must wash the herbs, be sure to shake off the excess water and dry them thoroughly on a clean kitchen towel before mincing.
This herb butter is perfect for making garlic bread, seasoning a whole chicken to roast, or topping some freshly steamed green beans. What will you use it for? Please share in the comments.
Ingredients:
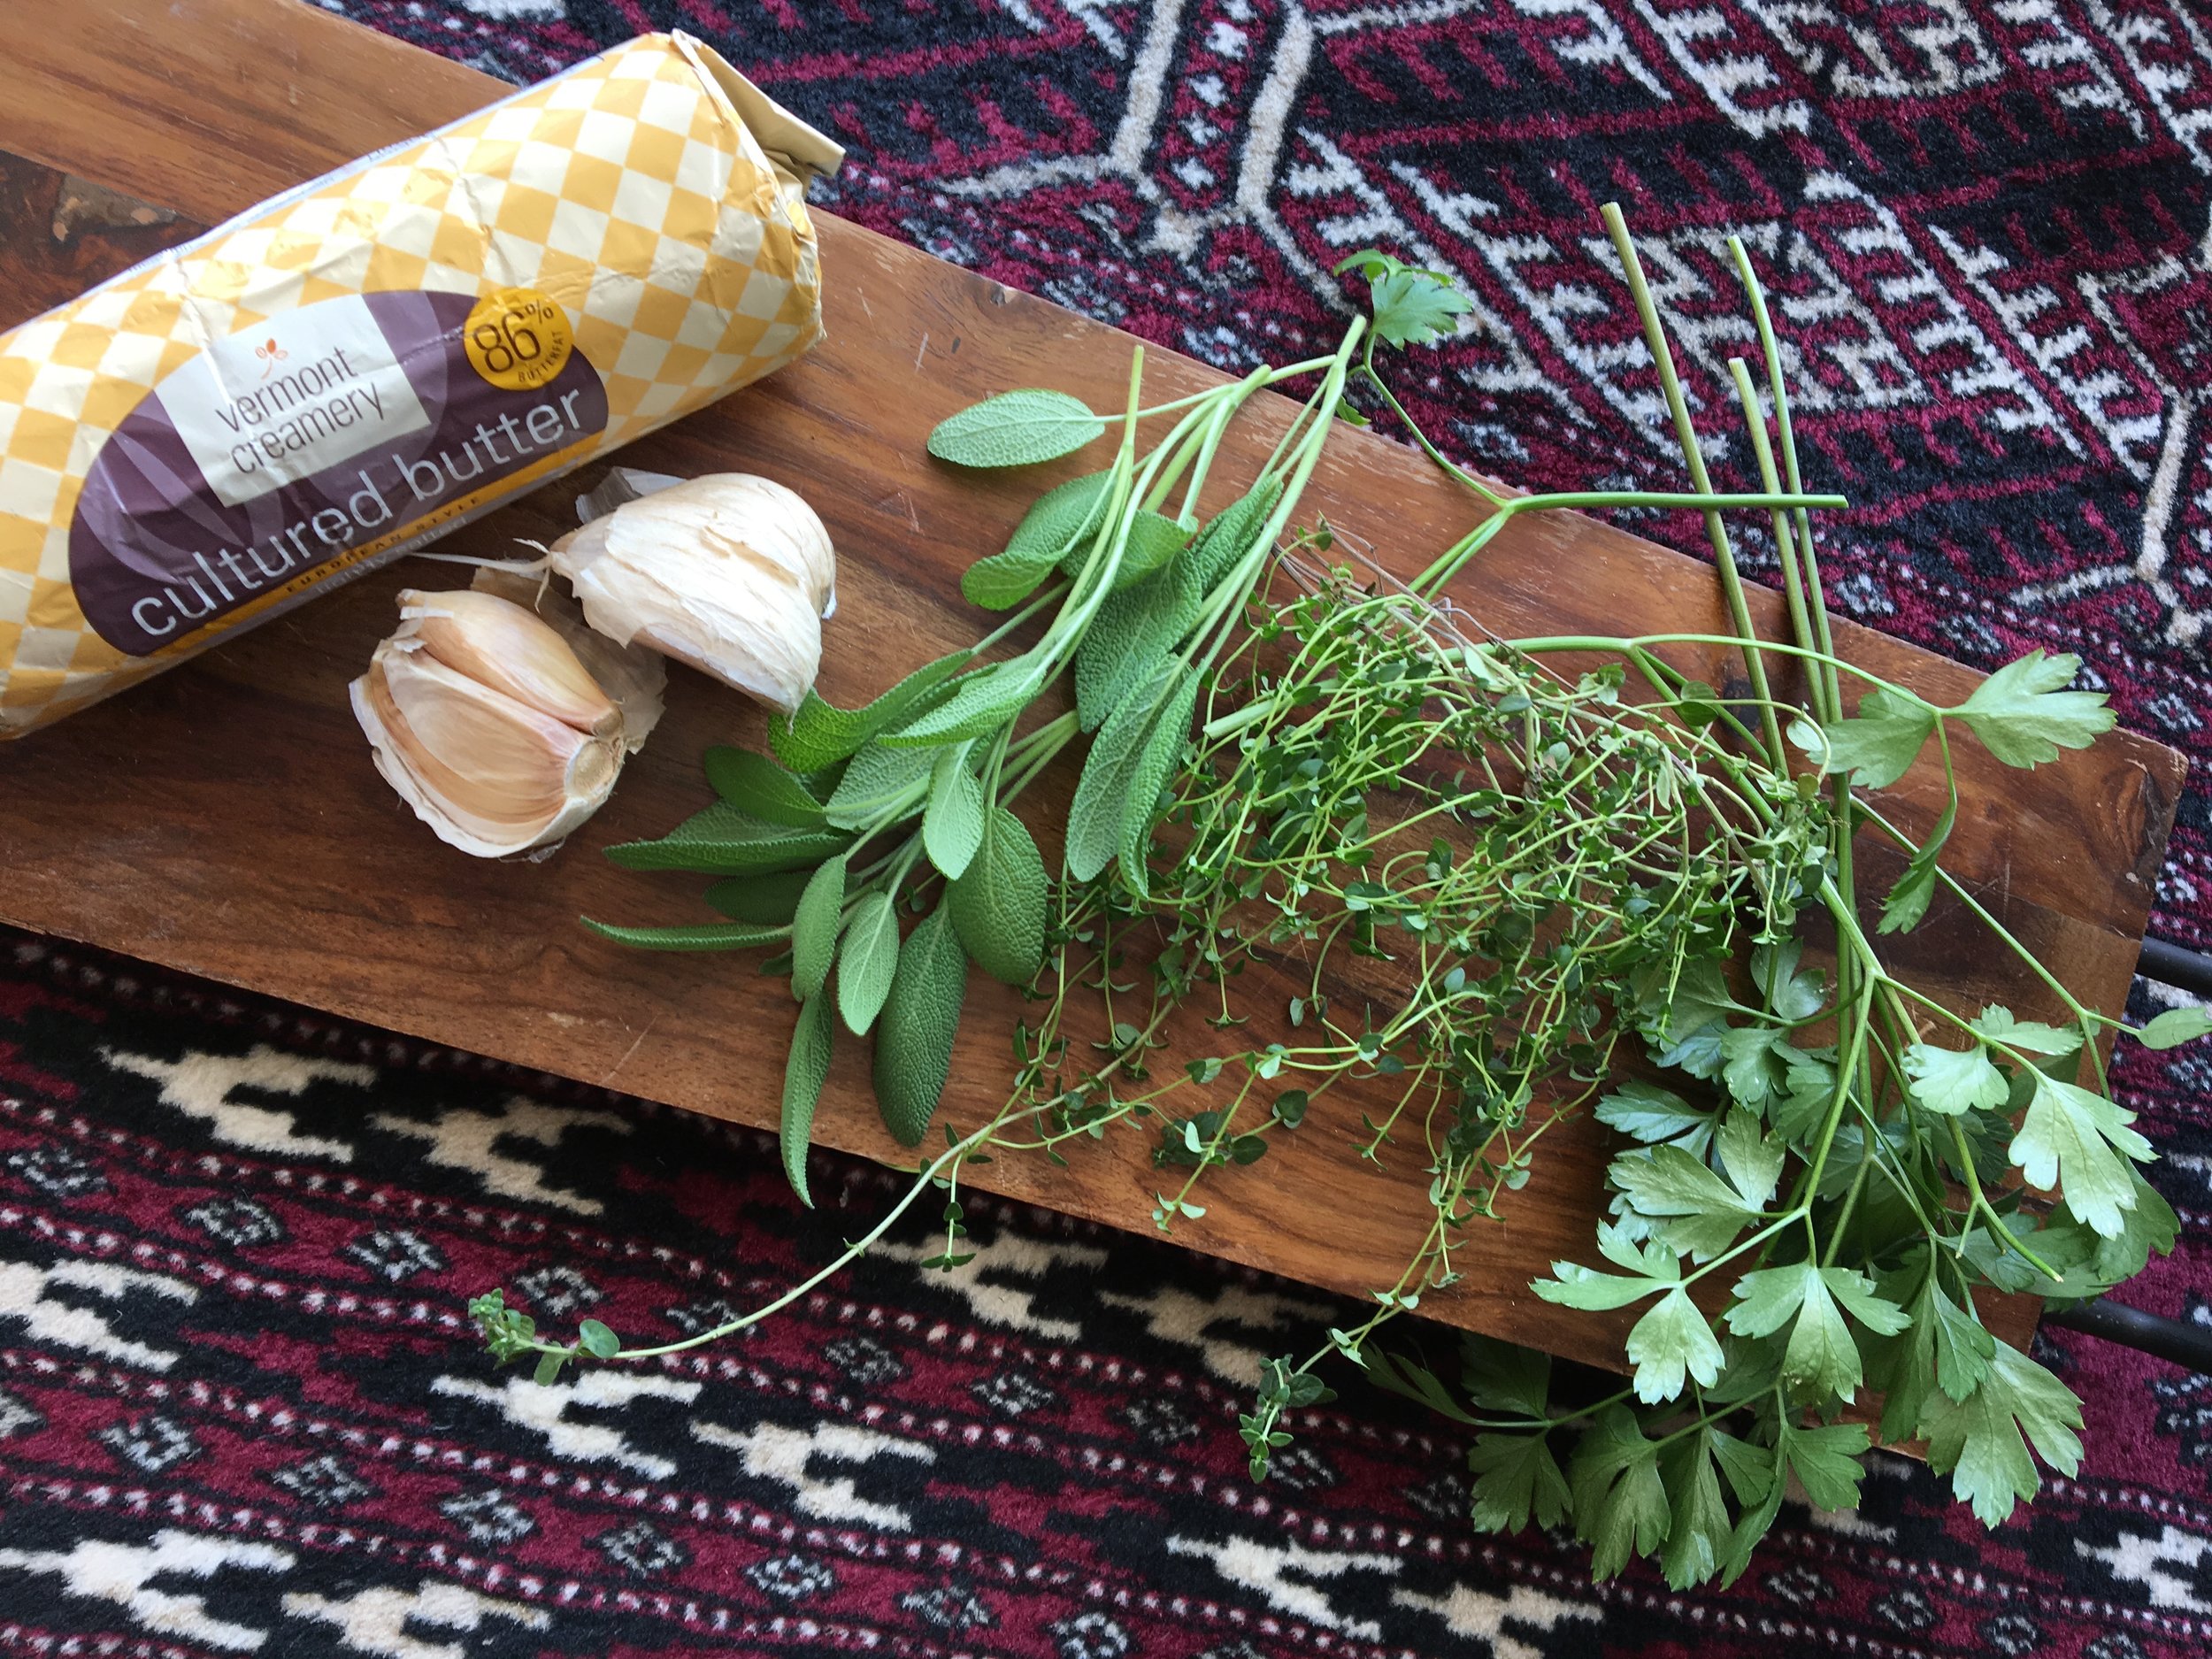
4 ounces salted butter, at room temperature (I have a particular preference for Vermont Creamery's cultured butter for this recipe)
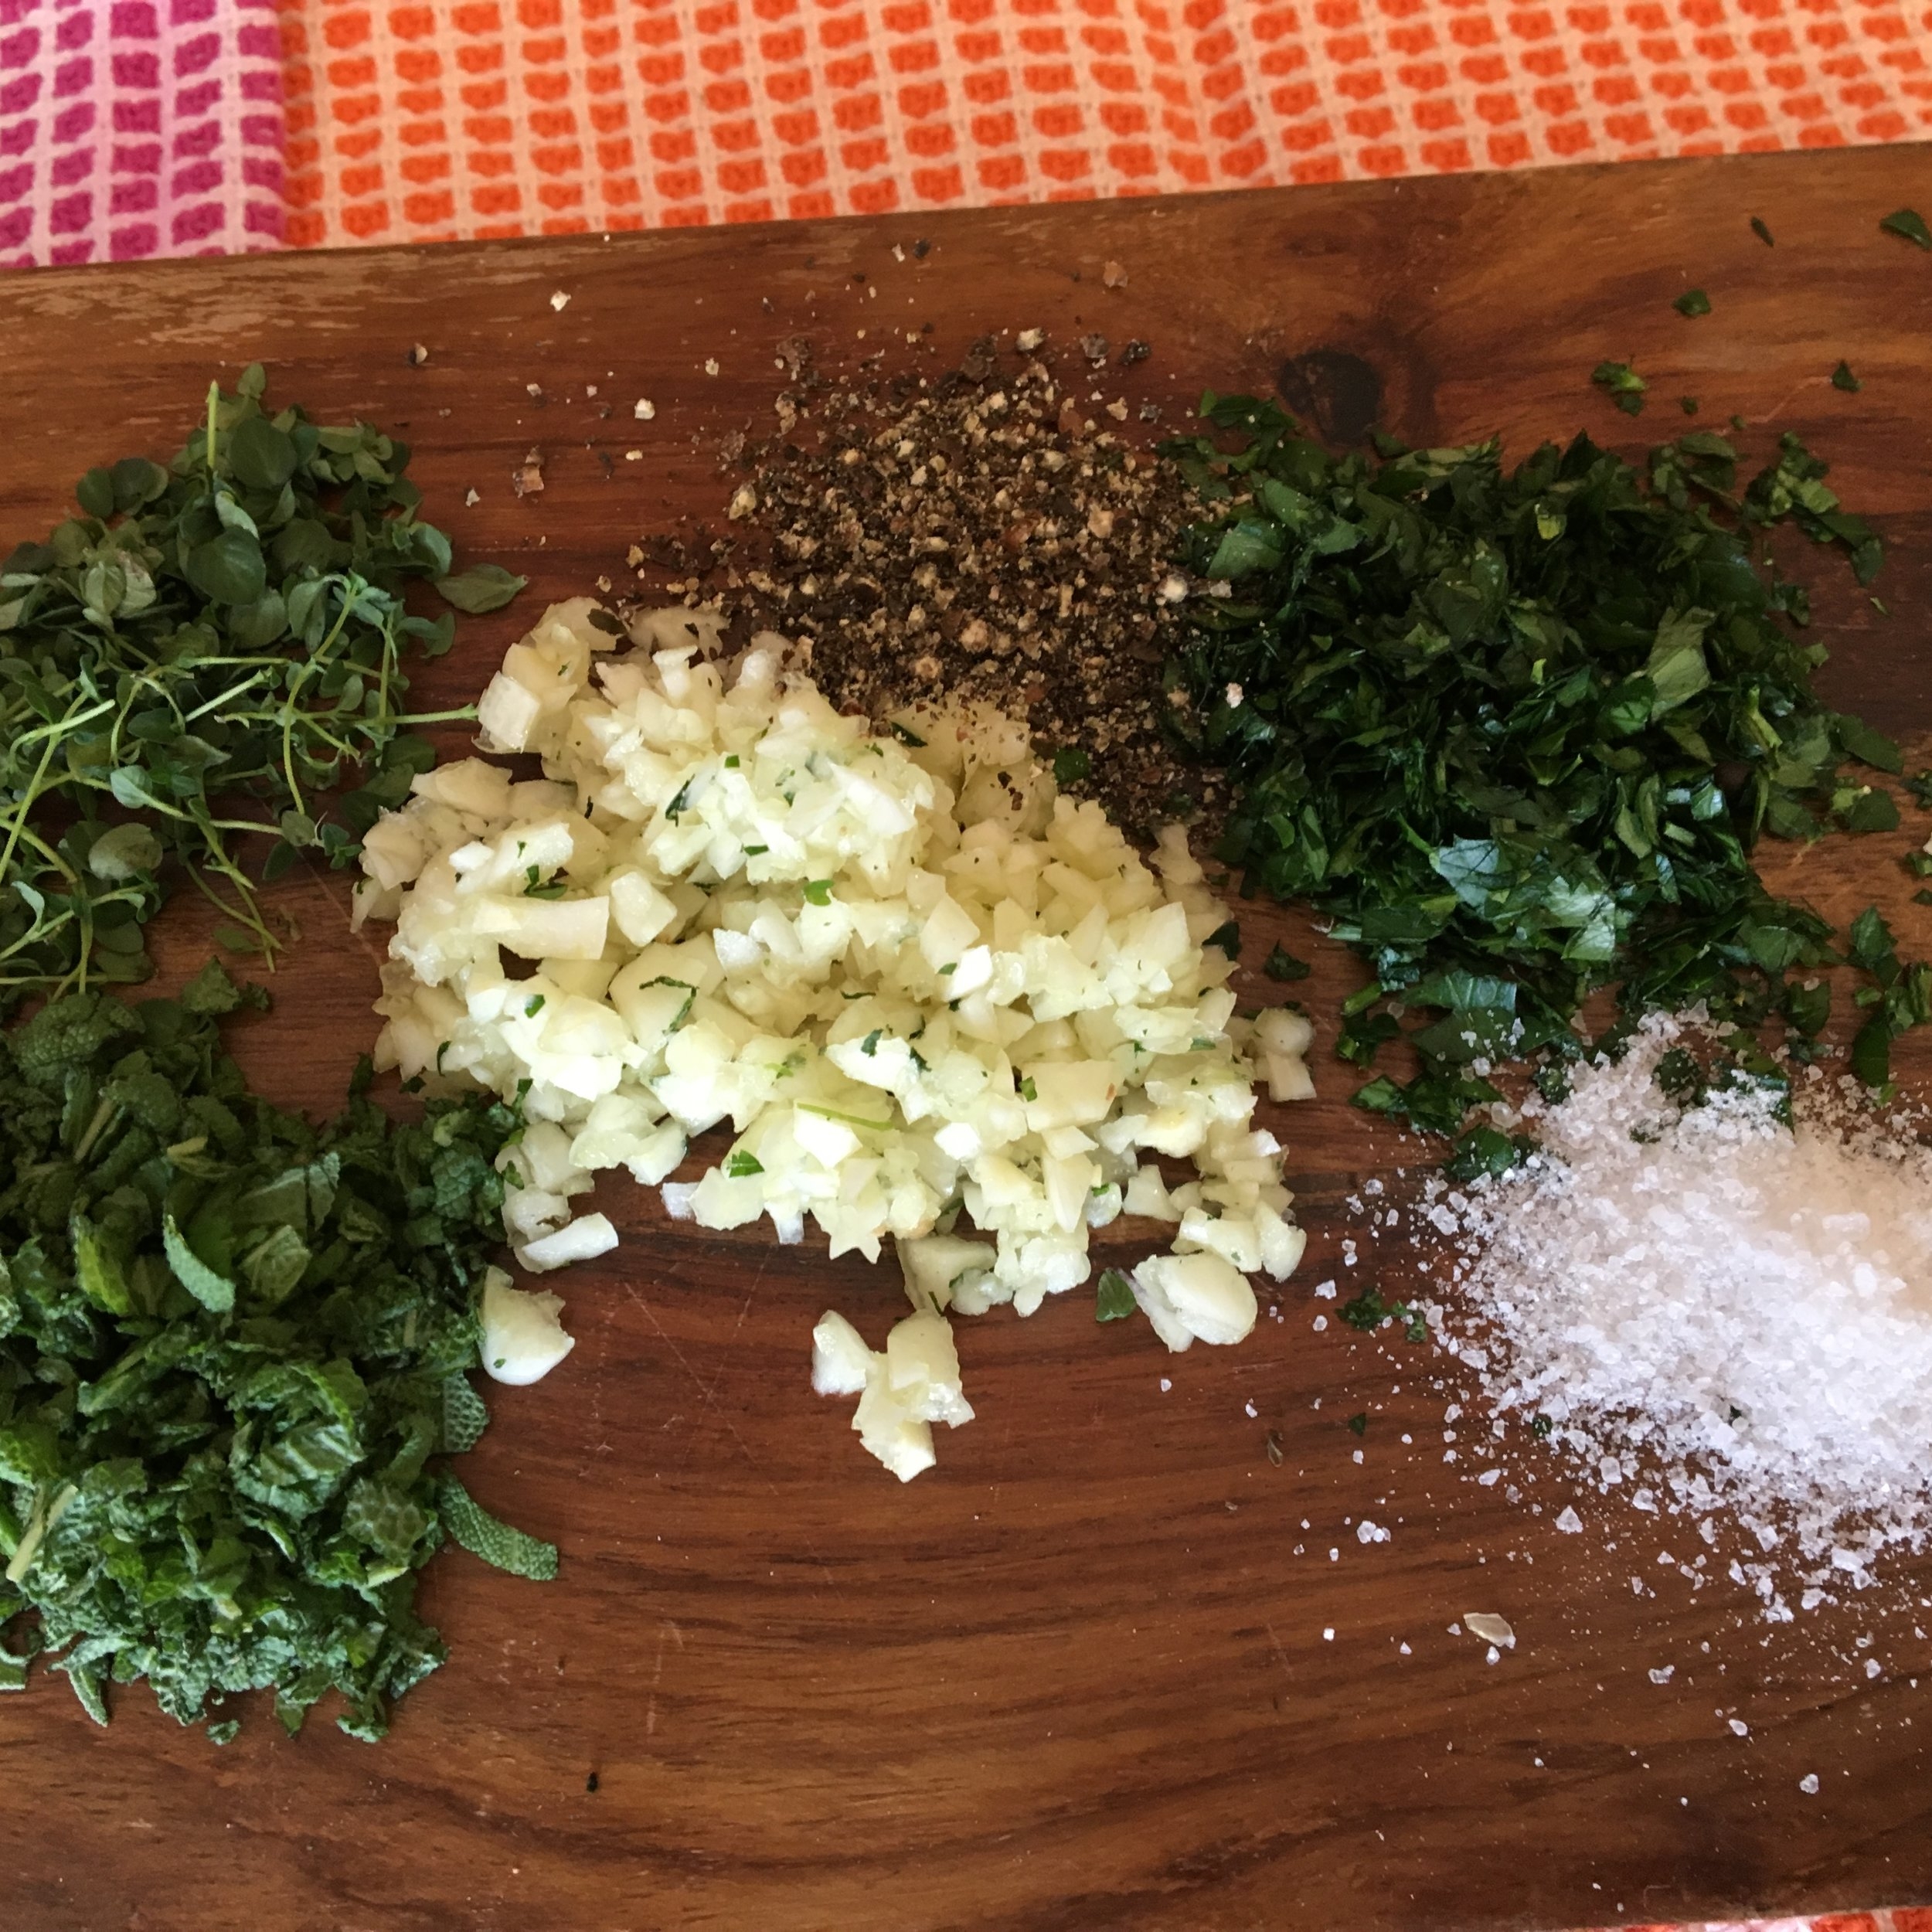
2 tablespoons garlic, minced
1 tablespoon parsley leaves, minced
1 tablespoon fresh sage leaves, minced
2 teaspoons thyme leaves
1 teaspoon freshly ground black pepper
1/2 teaspoon sea salt
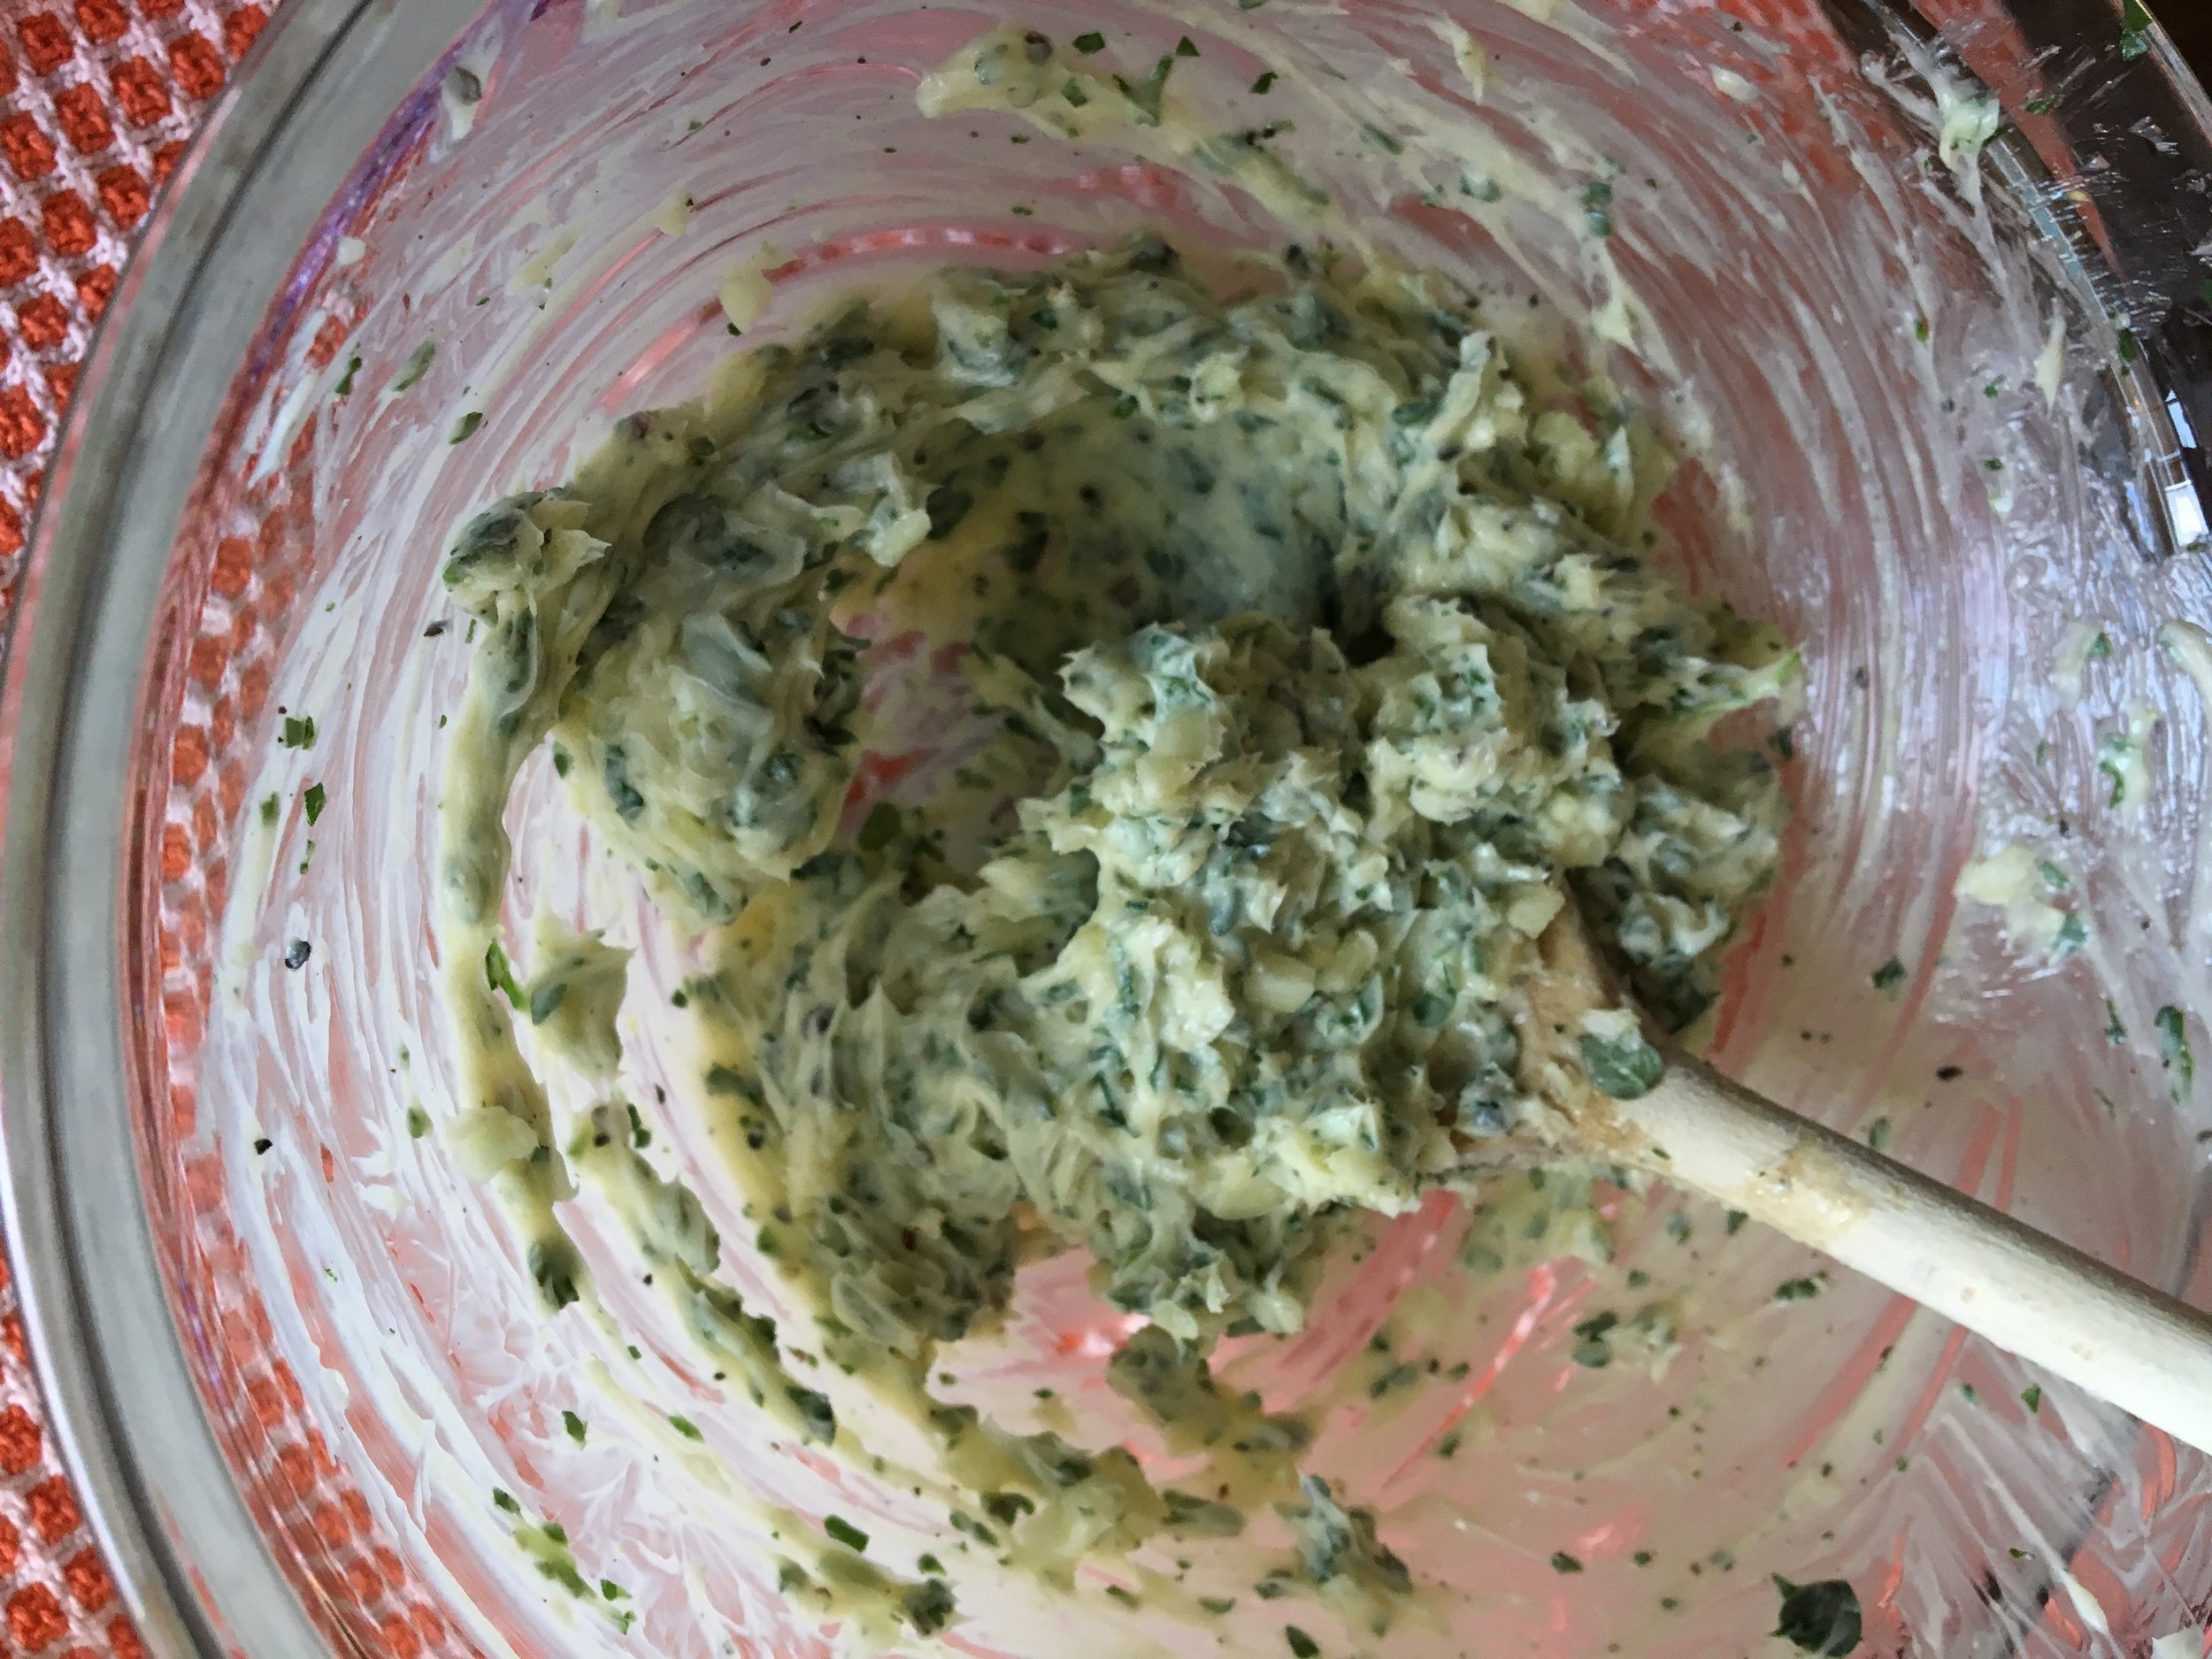
With a wooden spoon, thoroughly mix garlic, herbs, pepper and salt into the butter. Stir until evenly combined.
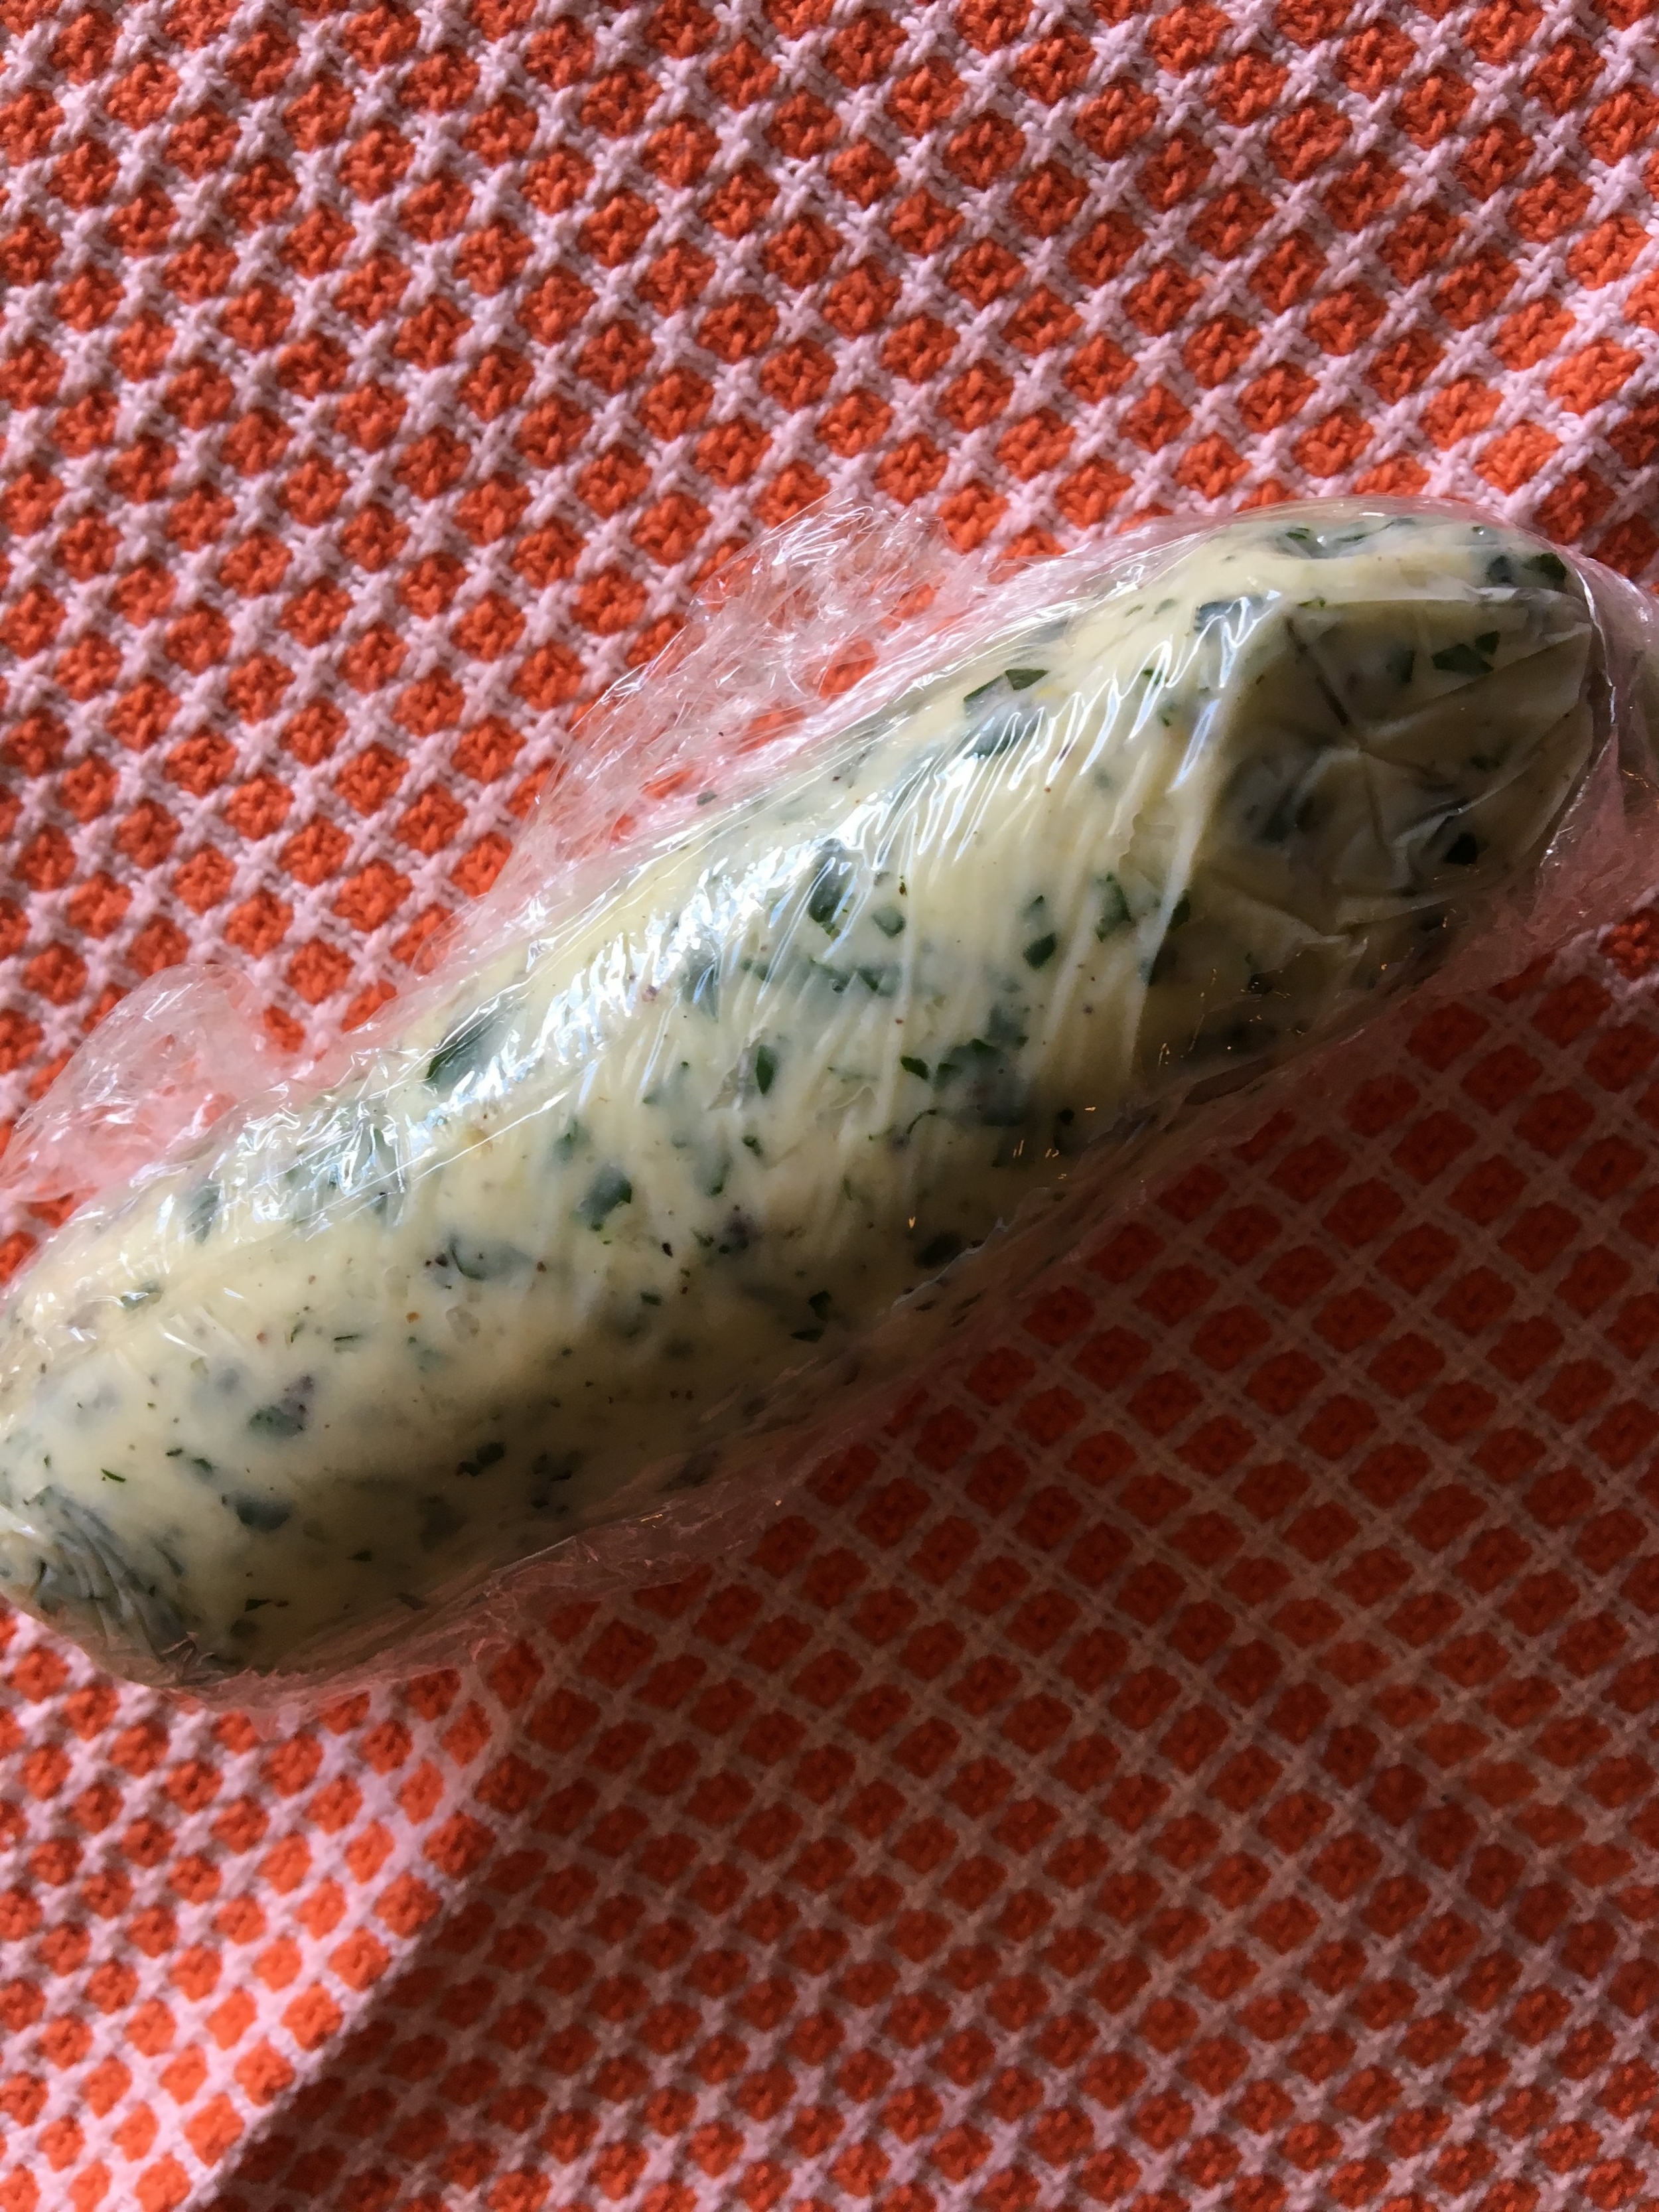
Transfer to a glass jar to store herb butter in your fridge for about 2 weeks or wrap tightly in plastic wrap and freeze for up to 6 months. I used to freeze this butter in small silicone or plastic containers, but learned the hard way that the garlic flavor never really washed out afterwards, so I've switched to storing in plastic wrap.





![Blend about 1/3 of the fresh corn kernels with stock (or water) before adding to chowder to create a sweet and creamy base. (see step 5)[yup, my dad's jar of corks in the background]](https://images.squarespace-cdn.com/content/v1/596a6bb986e6c0107436ffae/1534727293924-VIY7M9H2L1MKT1KIX56K/fullsizeoutput_40d0.jpeg)


