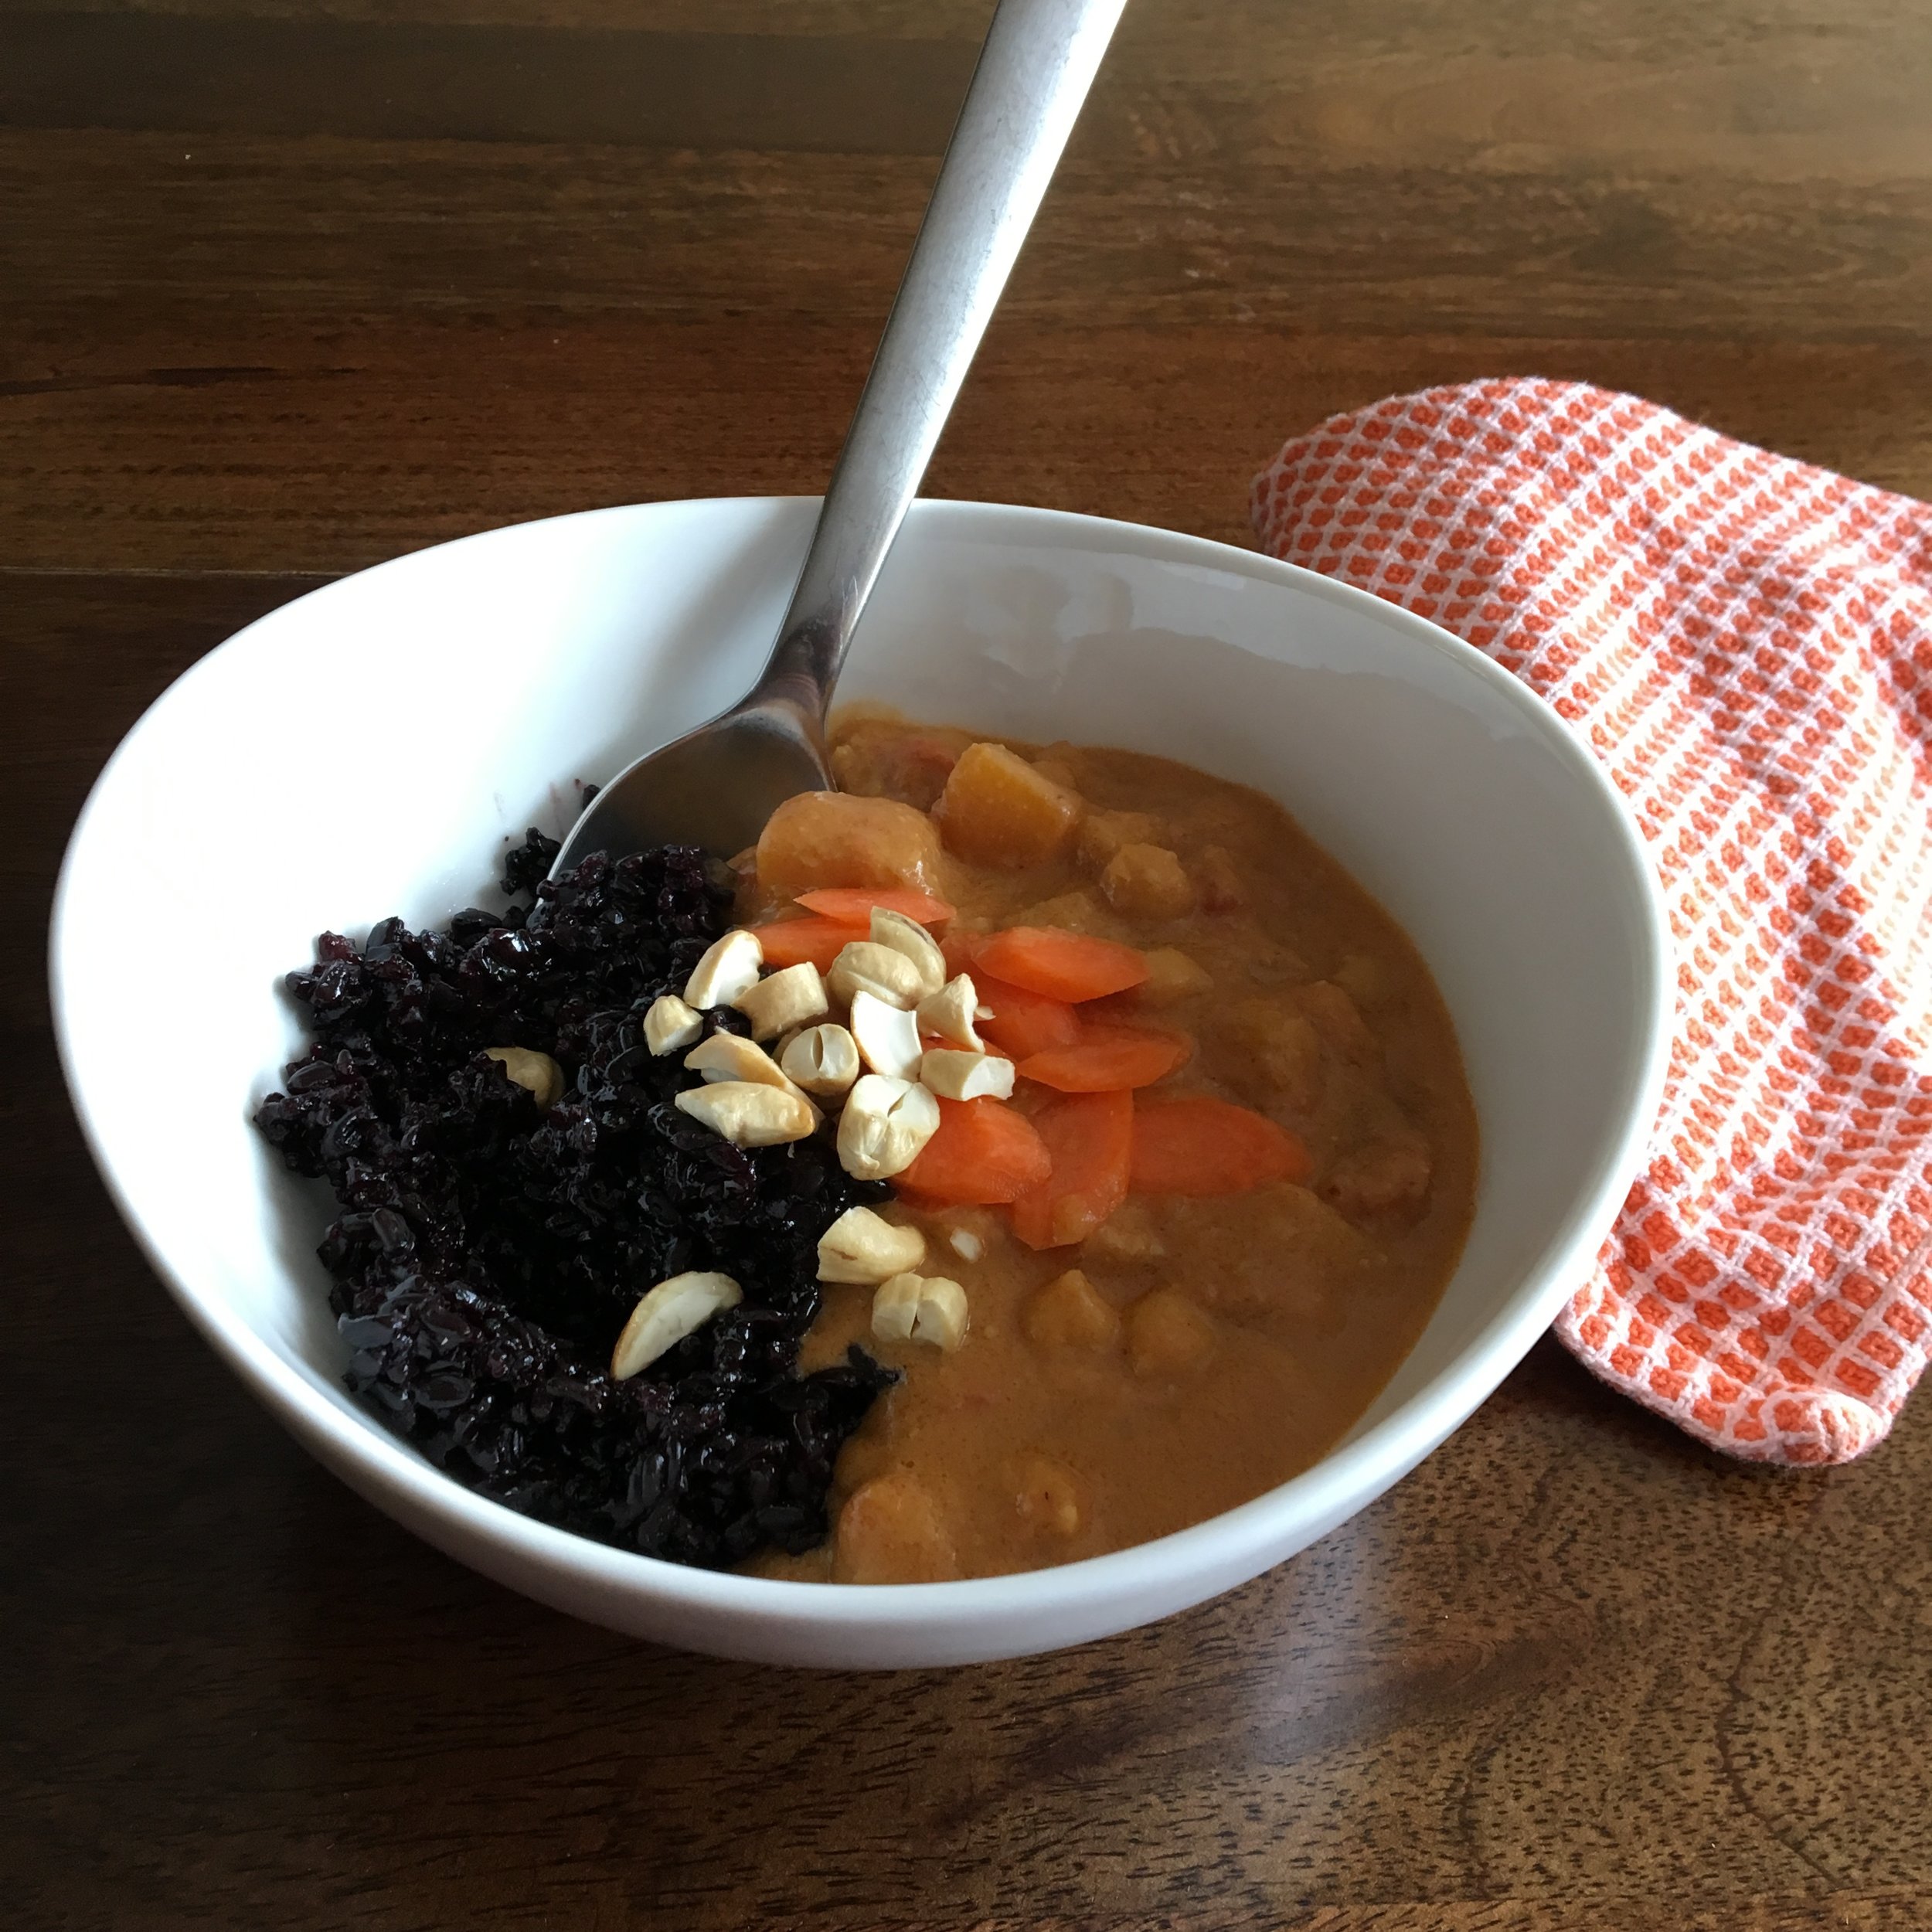
Butternut Squash & French Lentil Stew

This blog post is a wee bit misleading. While I intend to give you a straightforward recipe for a hearty health-supportive one-pot wonder perfect to combat today’s winter chill from Florida to Maine and New York to Chicago, I’m also going to give you the tools to make countless plant-based stews out of any ingredients you’re craving or have on hand. If you’re just here for the Anti-Inflammatory Butternut Squash and French Lentil Stew, click the link for the no-frills version pronto. But if you want to know how to make stew for days, without eating the same one twice, read on… (illustrations coming some day soon).

First, the formula for any Vegan Gluten Free Stew

What you need:

But Chef Laura, how do I know what pairs with what? I hear this question a lot. I leave with you a few tips:

  • what grows together goes together (seasonally, in the same parts of the country/world, etc.)

  • do a quick internet search for your ingredient in question and see what recipes come up not for the recipe itself but to see what others have paired with it

  • pick a genre or cuisine and choose ingredients to pair based on that cuisine’s classic combinations

  • and more you can read more strategies in this earlier blog on using what you have on hand.

  • Cooking oil (coconut, olive, canola)

  • Aromatics (ginger, garlic, onion, scallion, turmeric, chili peppers, etc.)

  • Salt (kosher or sea)

  • Dried spices

  • Pastes (curry paste, tahini, nut butters, tomato paste, etc.)

  • Liquids (water, stock, coconut milk, nut milks, juice, apple cider etc.)

  • Vegetables (raw, canned, frozen)

  • Cooked legumes (chickpeas, lentils, beans of all varieties, etc.)* or uncooked legumes but be sure to add sooner with more liquid or cook separately, then add

  • Acid and/or umami (lemon juice, vinegar, wine, soy sauce, umeboshi, tomato)

  • Greens and/or fresh herbs

What you do:

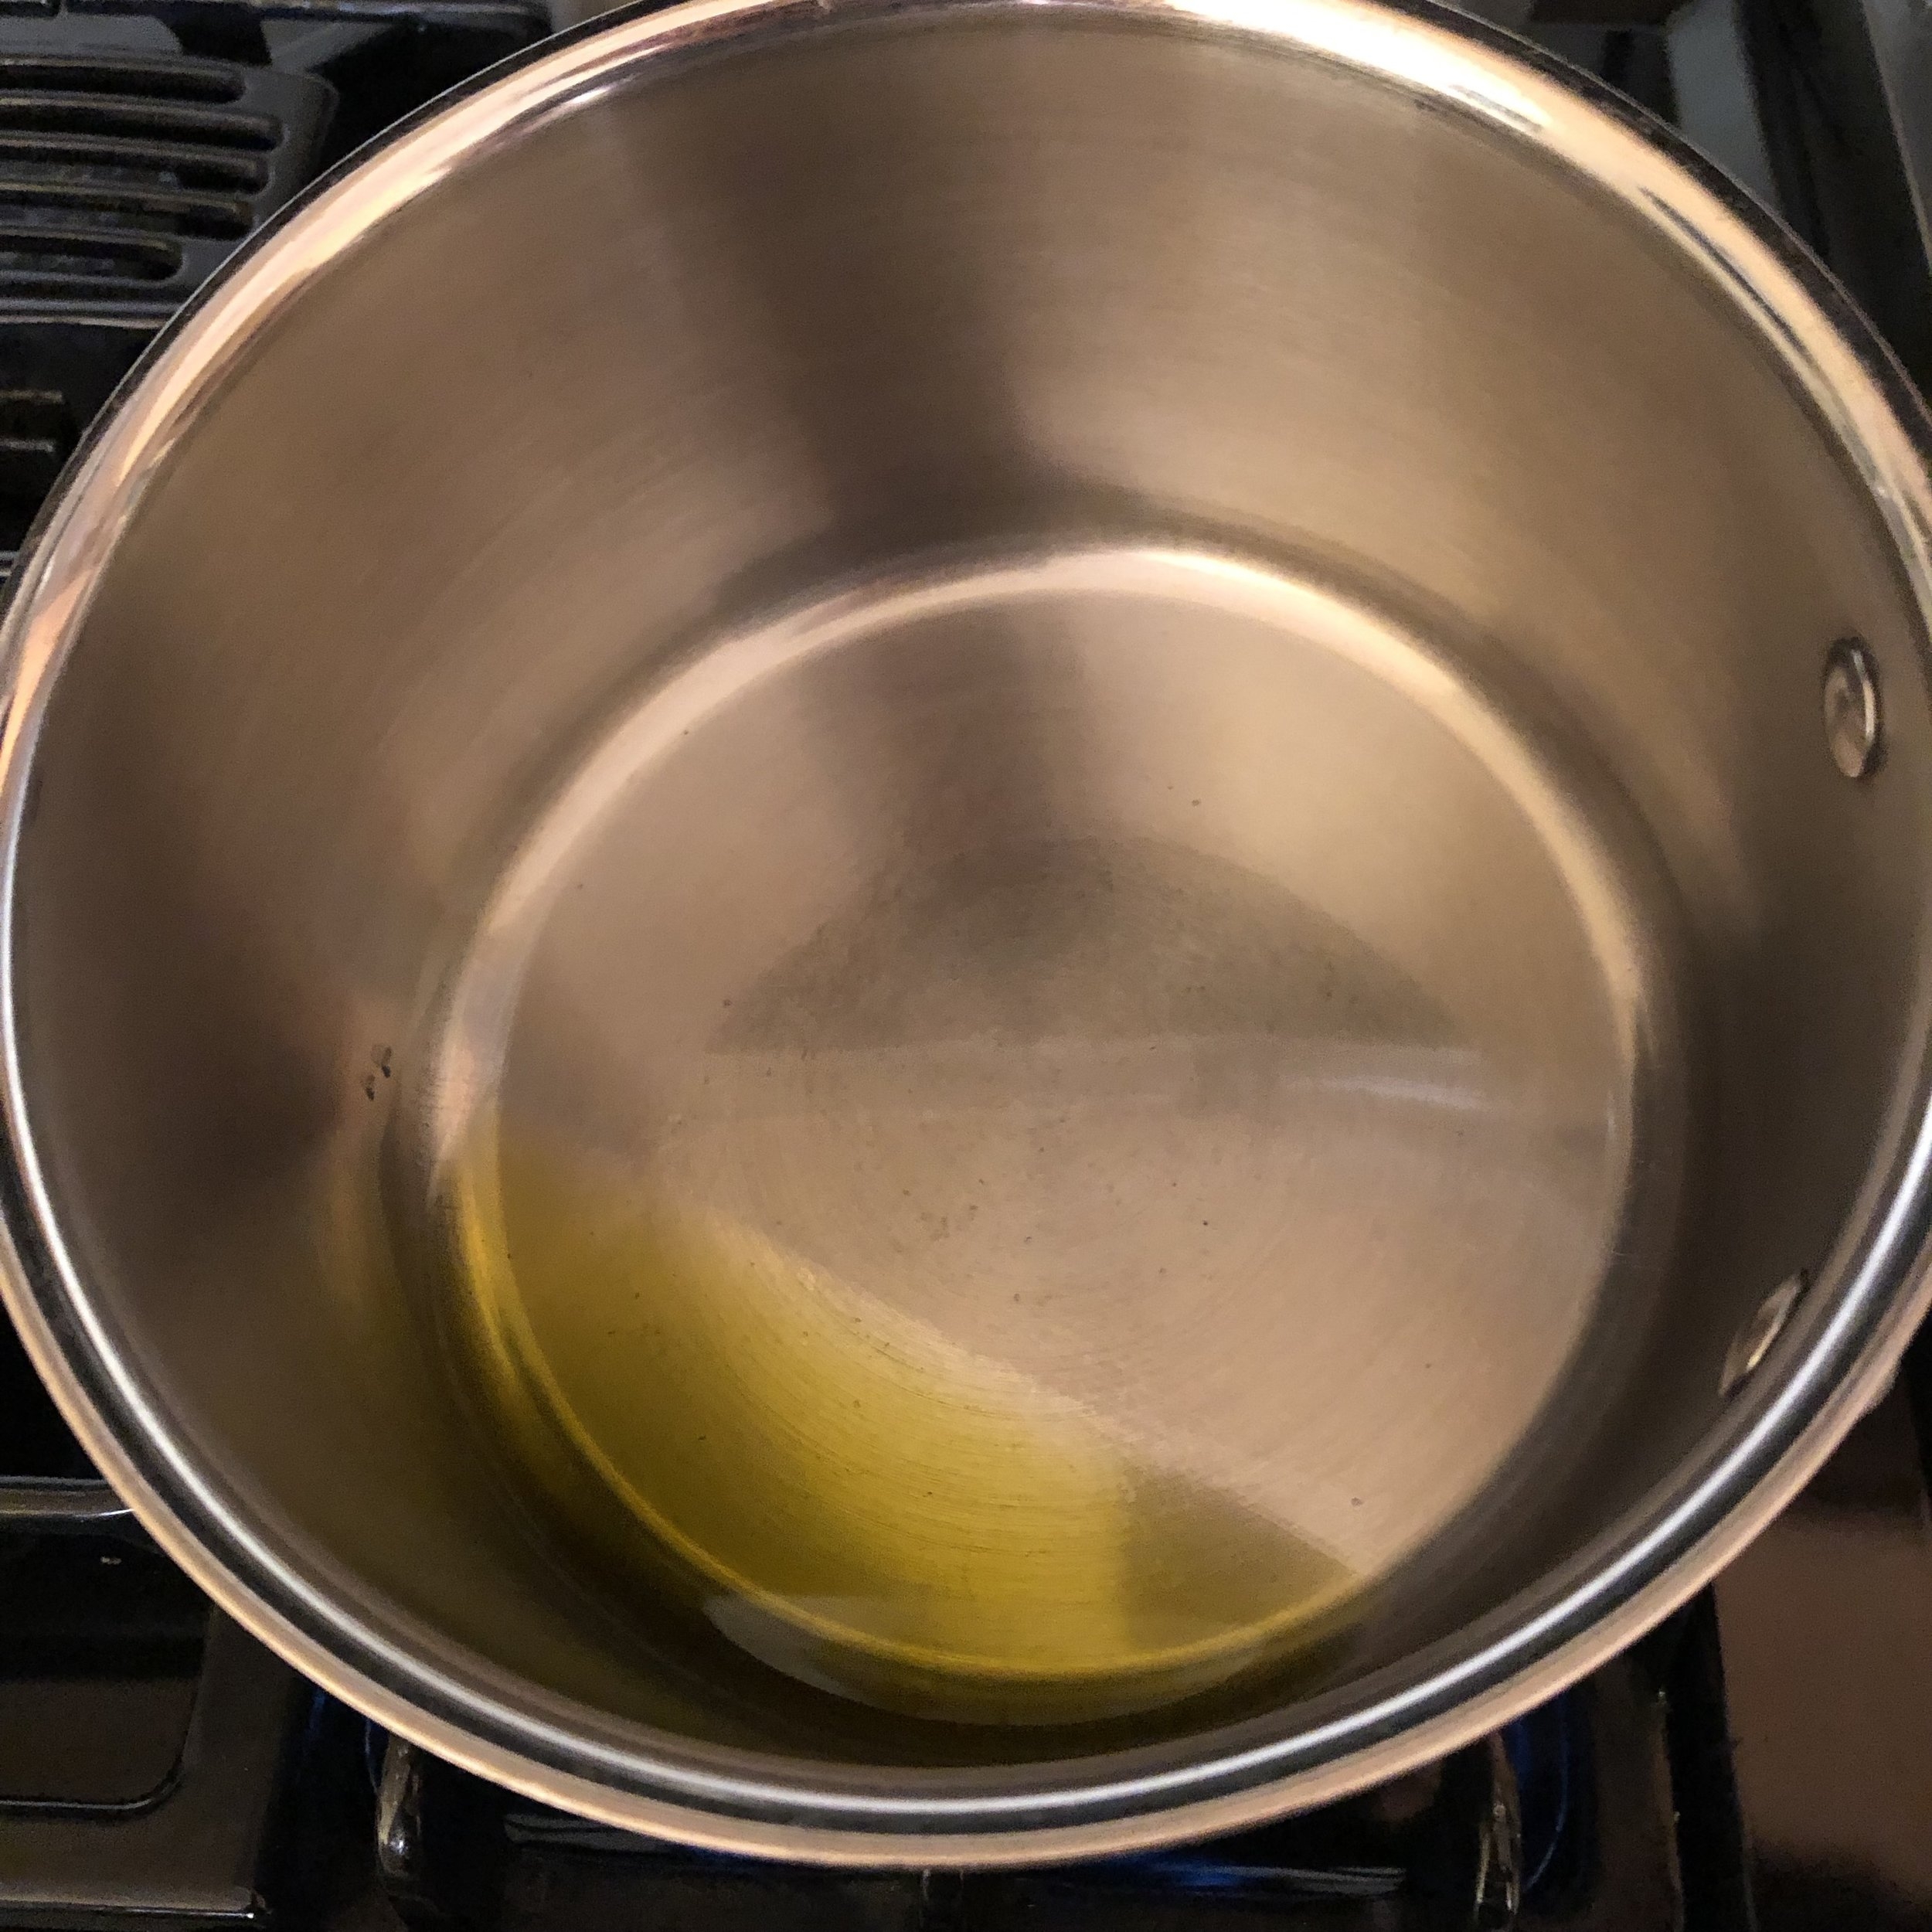
  1. In a large stock pot, heat cooking oil over medium high heat.

  2. Add aromatics and a pinch of salt. If using onion, allow to soften before adding other “smaller” aromatics like garlic to prevent browning or burning.

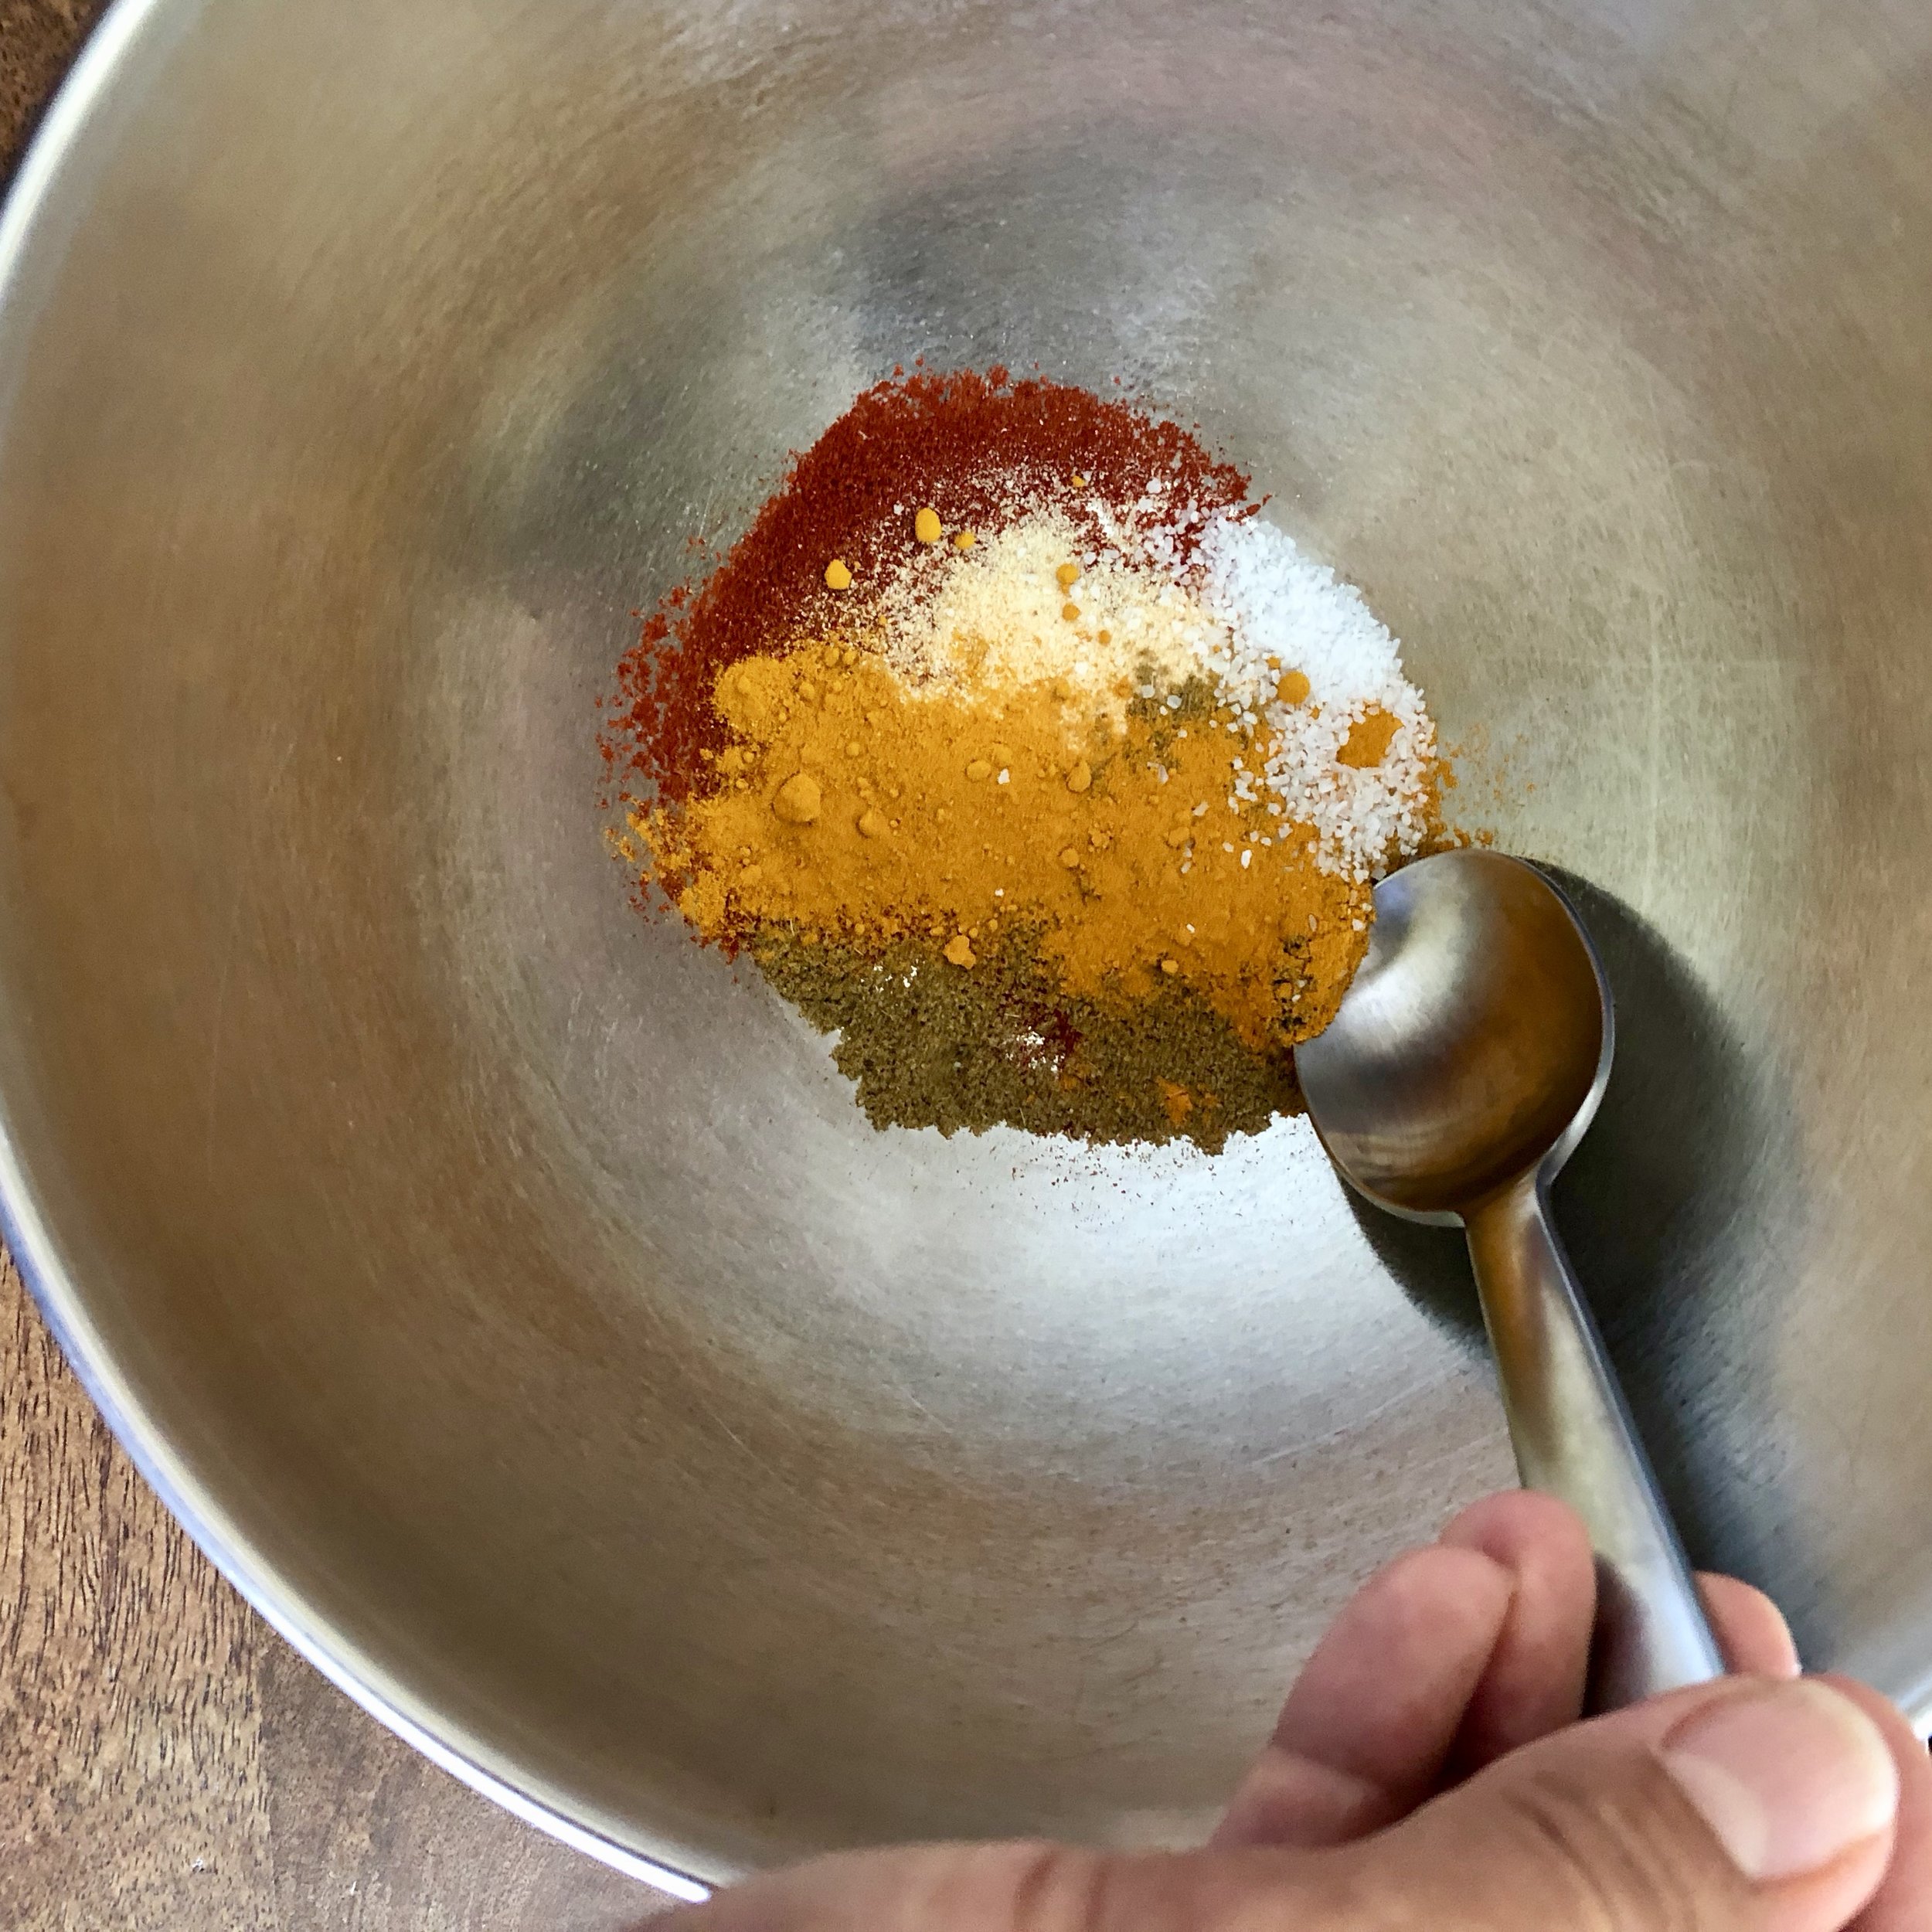
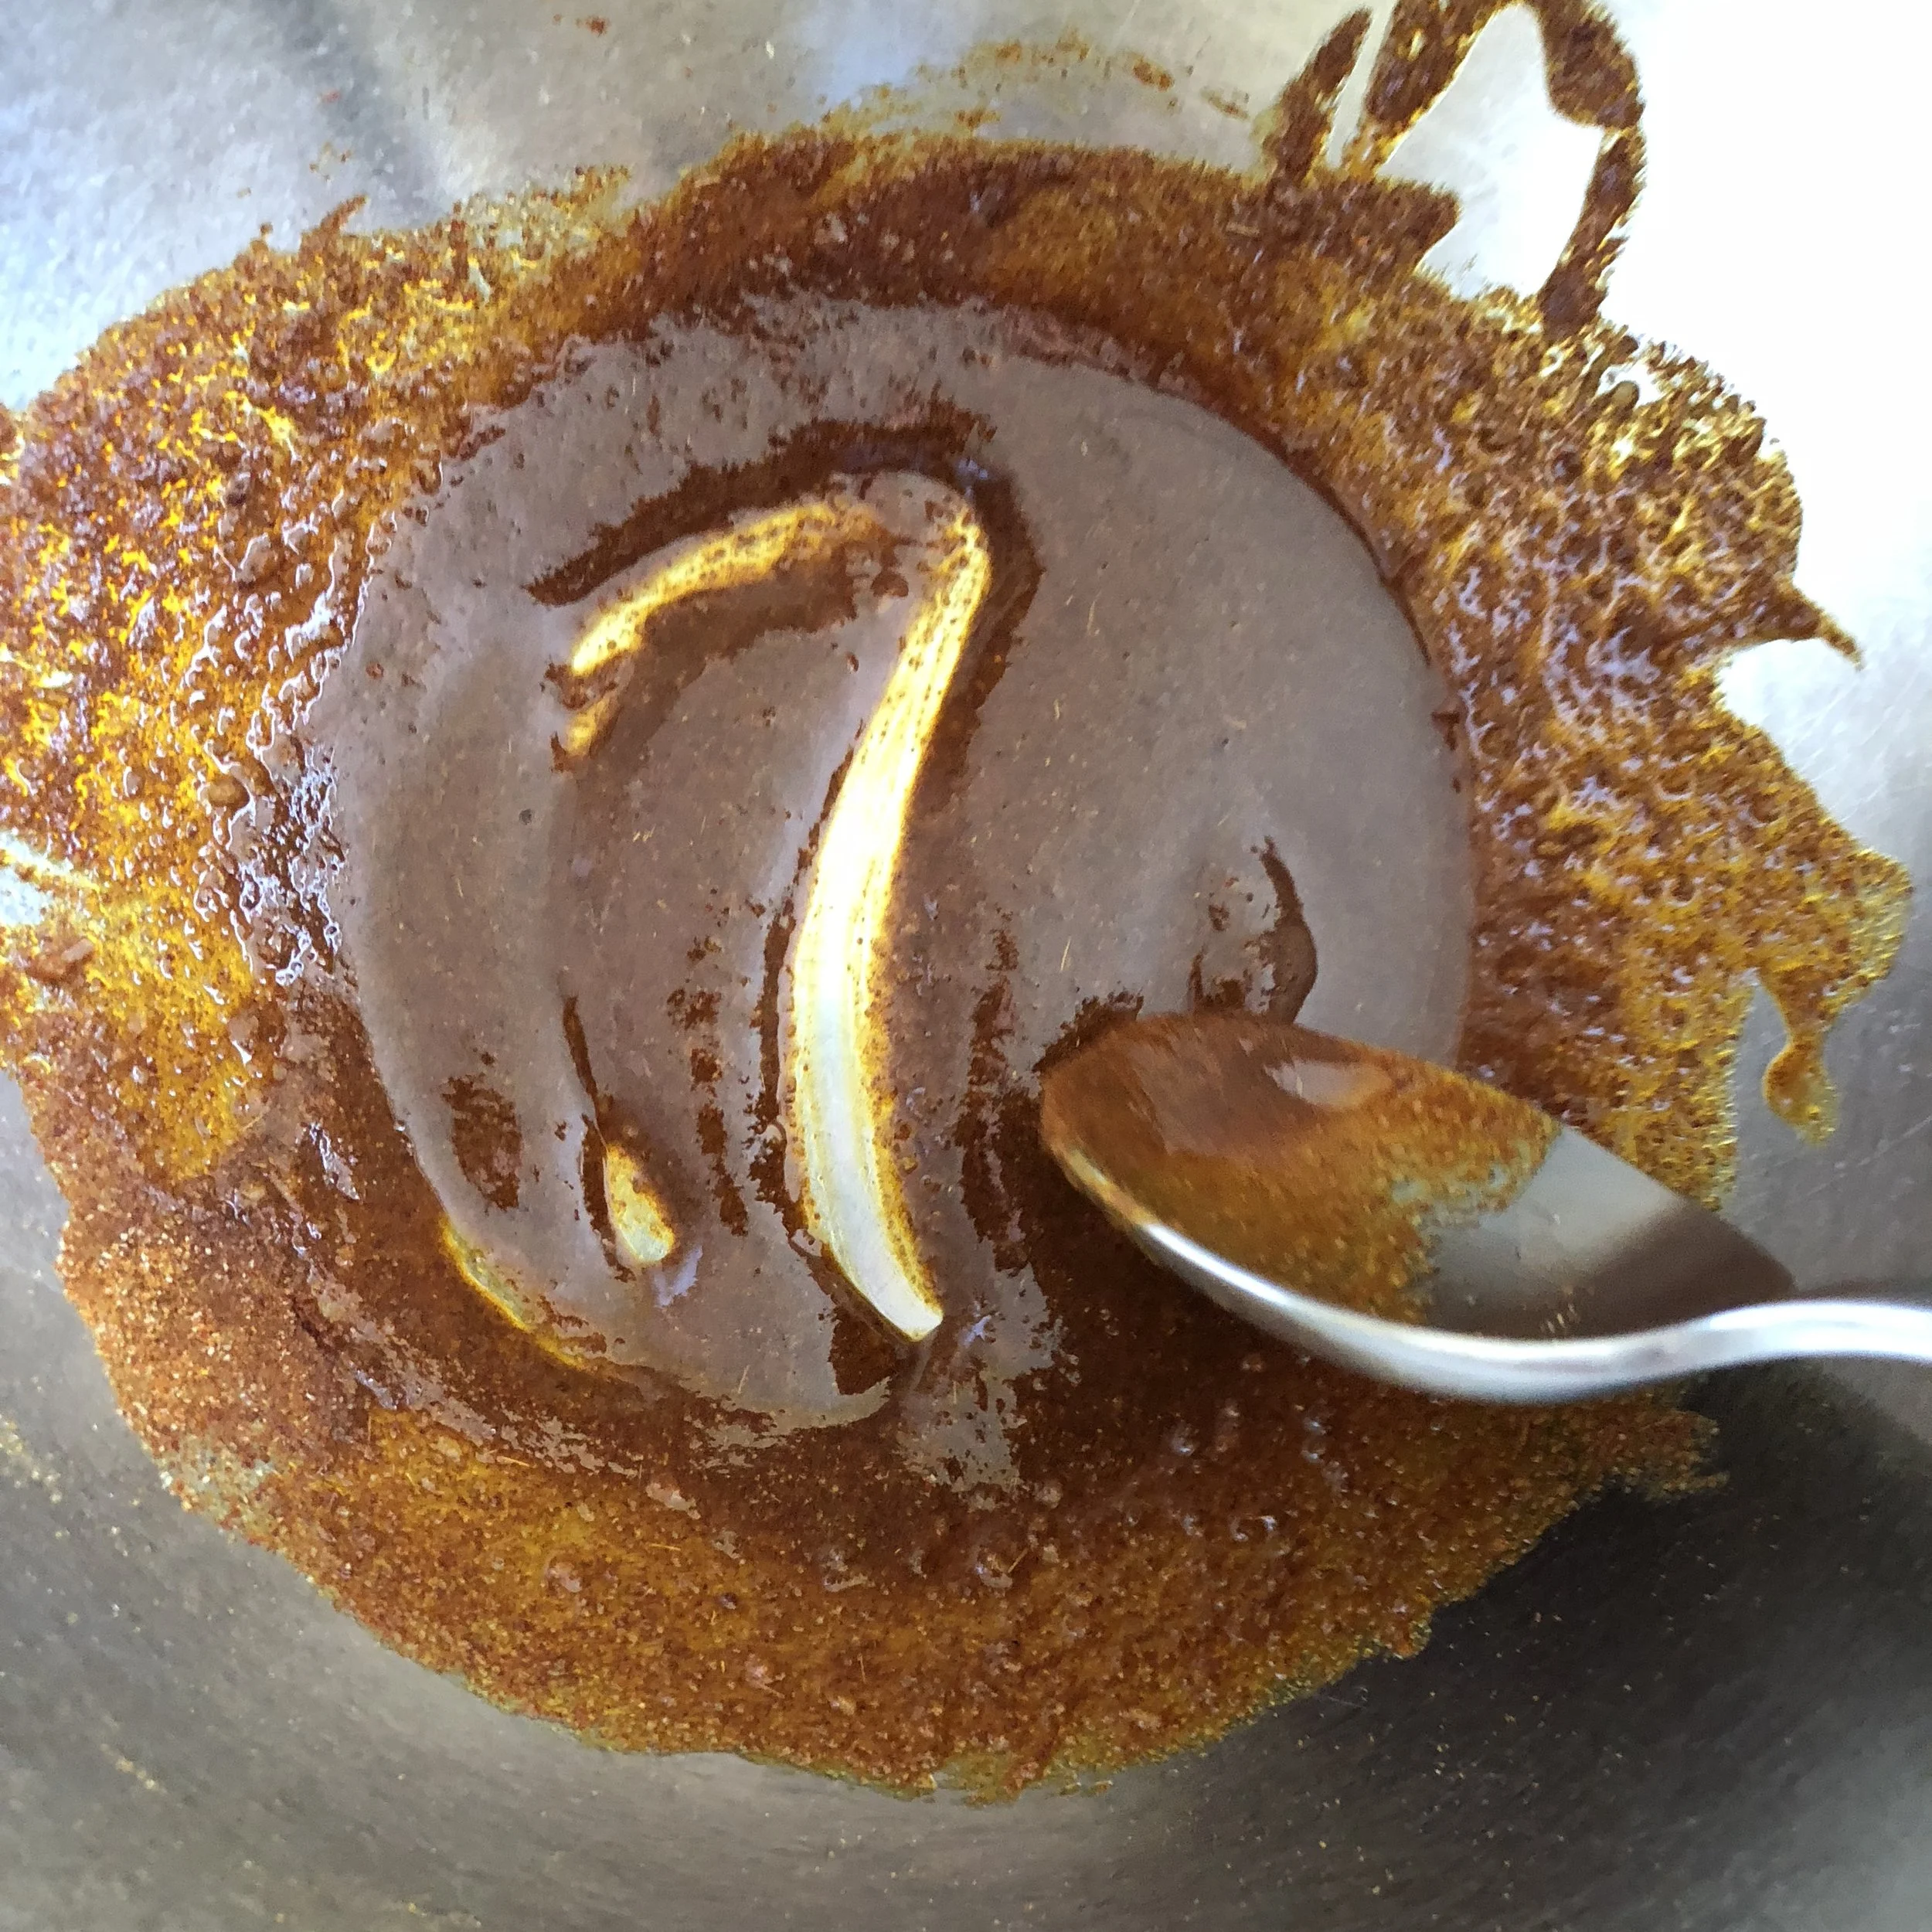
  3. Add dried spices and seasoning and allow to bloom for a few minutes in the oil.

  4. Whisk in paste(s). [You might add acid, like wine, at this stage].

  5. Slowly incorporate liquid by whisking a small amount into the paste and then gradually adding 1-3 cups. Bring to a simmer.

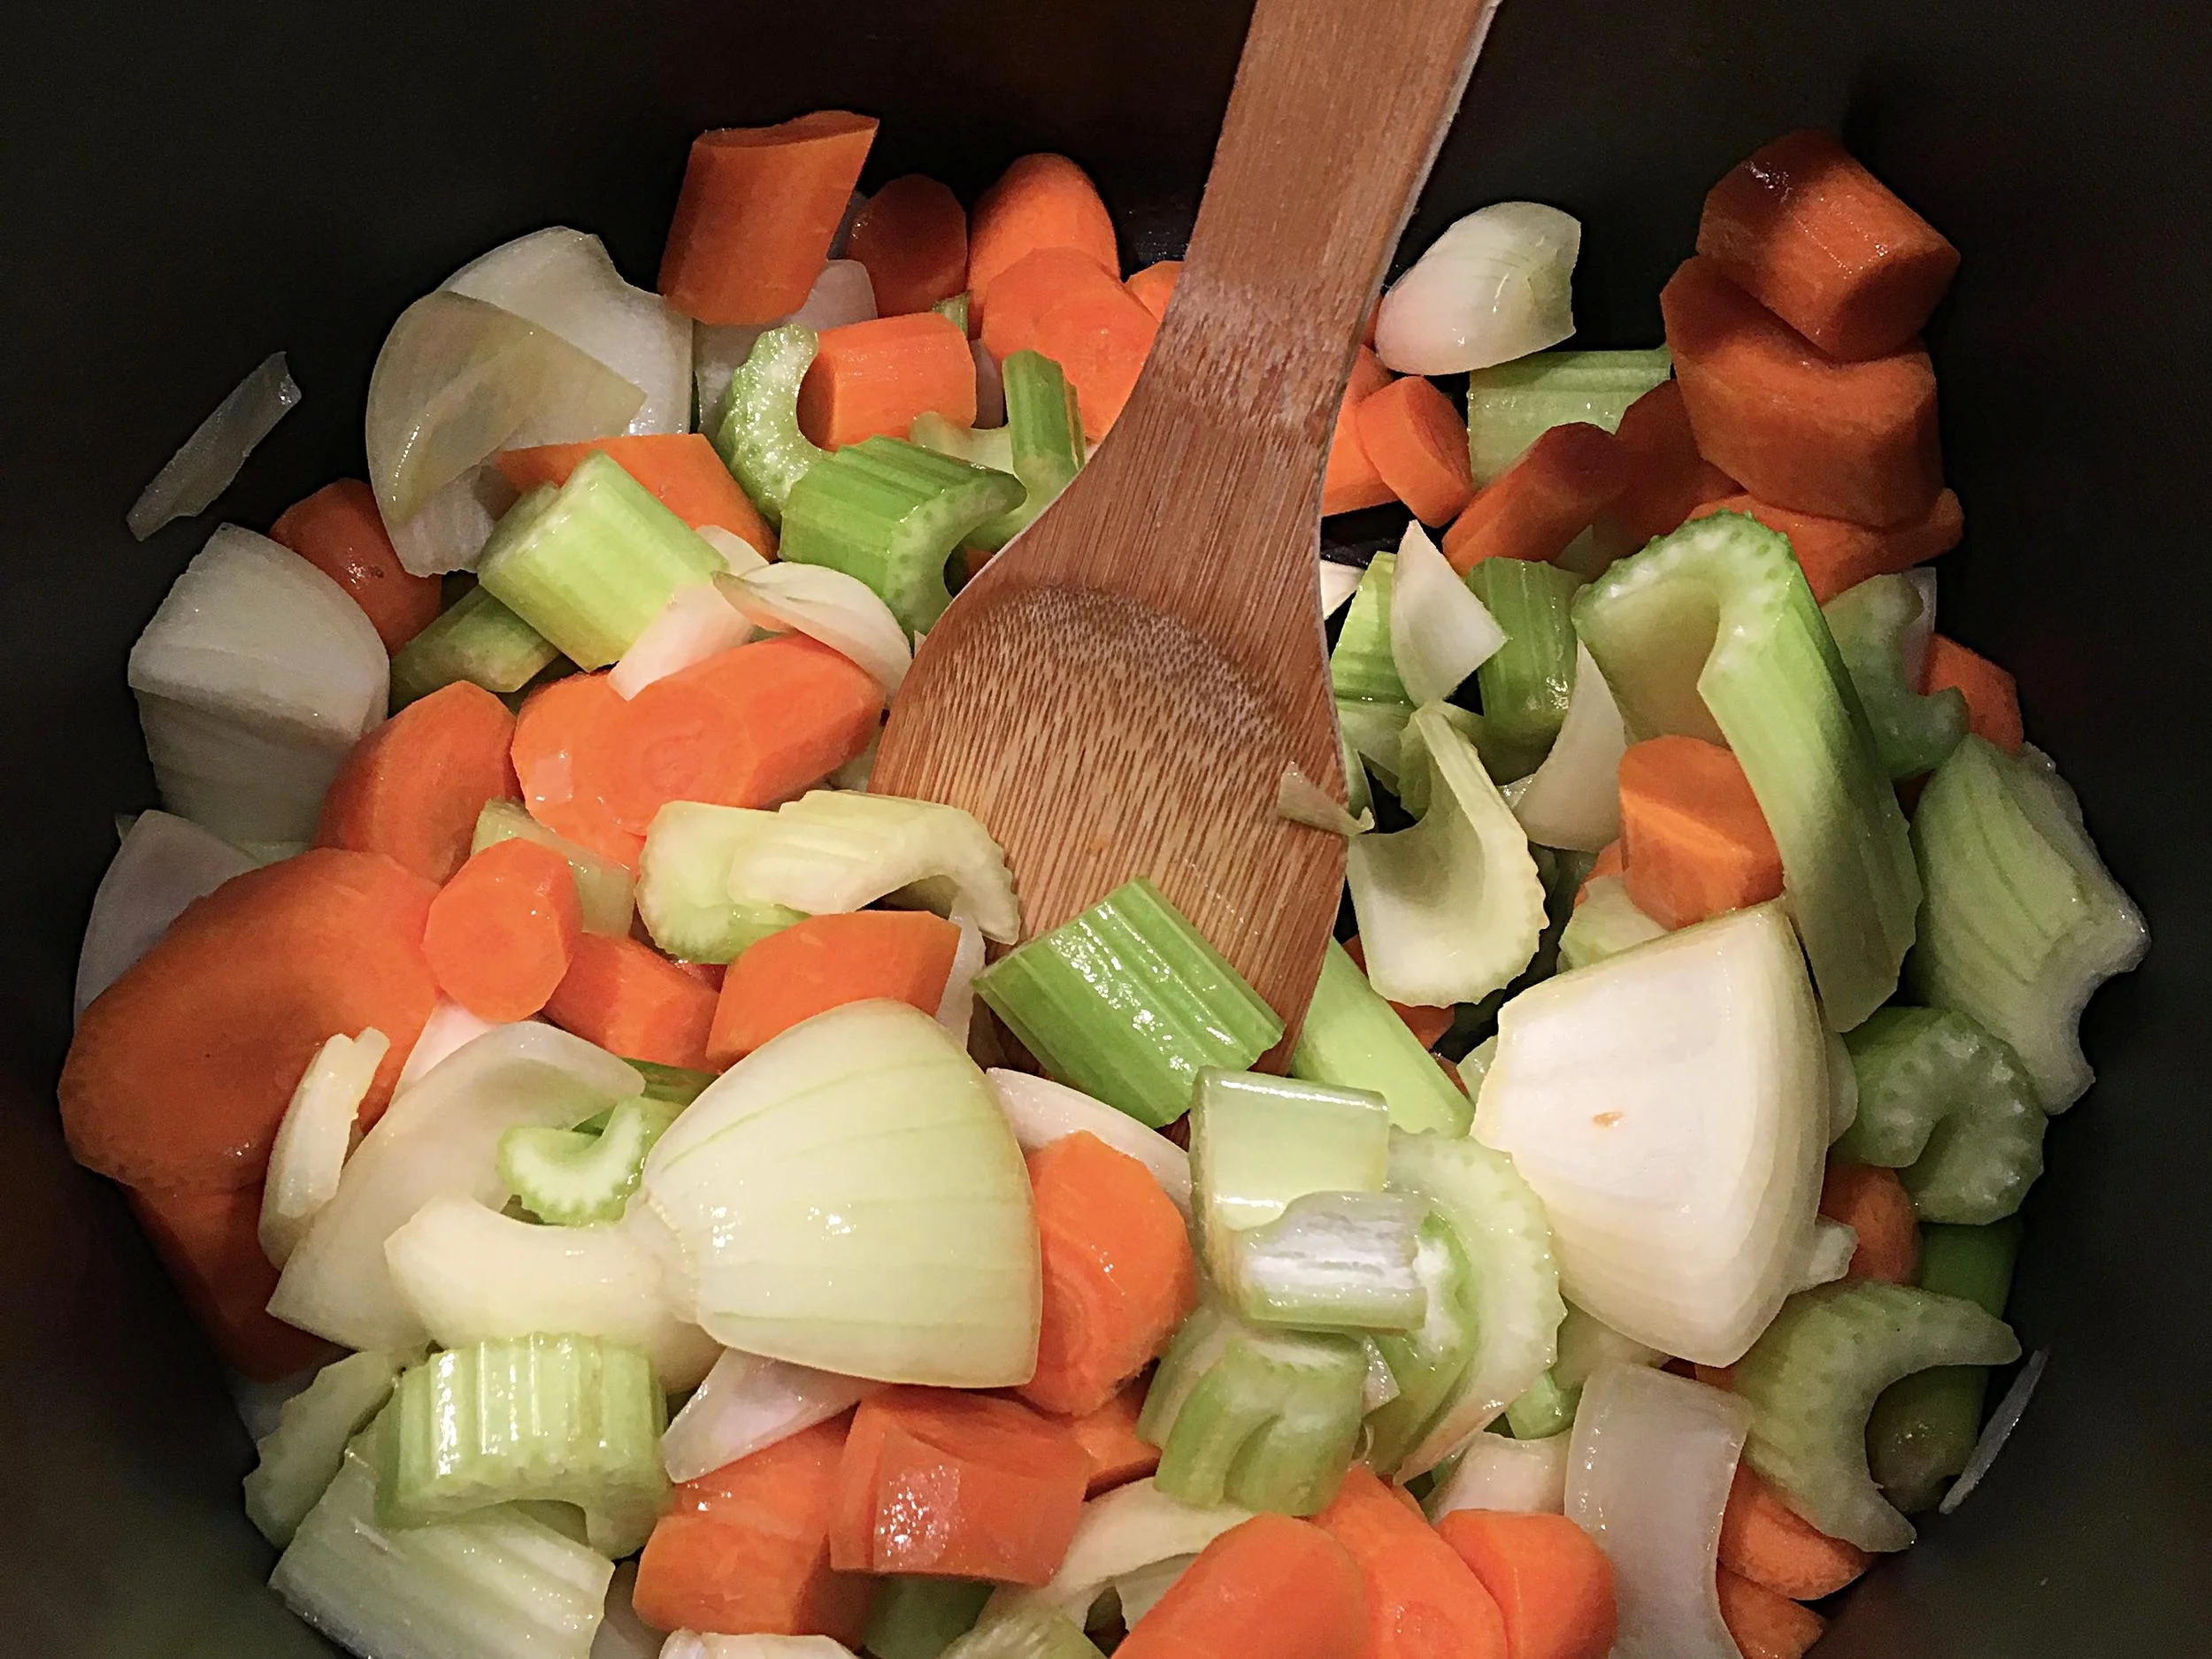
  6. Add vegetables that need the longest cook time. Bring back to a simmer. Continue to add vegetables in order of their cooking time. Add more liquid if needed or desired.

  7. Add cooked legumes and simmer stew for at least 15-20 minutes more or up to 2 hours to incorporate flavors and reduce slightly. [You might add a touch of acid at this stage].

  8. Just before serving, add any greens or fresh herbs, or simply top the plated stew with fresh herbs and greens.

Tips:

  • Add small pinches of salt at every stage.

  • If you don’t have/like an ingredient, leave it out or substitute something else from its category.

  • Cut vegetables into shapes and sizes that are appealing to eat relative to one another.

  • Amounts are relative -- add more of the ingredients you love, less of those you just want a taste of, and add as much liquid to get the consistency you want for your stew.

  • Add items that need to cook longer first such as carrots and those that cook quickly last, such as corn or frozen peas.

Now for the Soup du Jour:

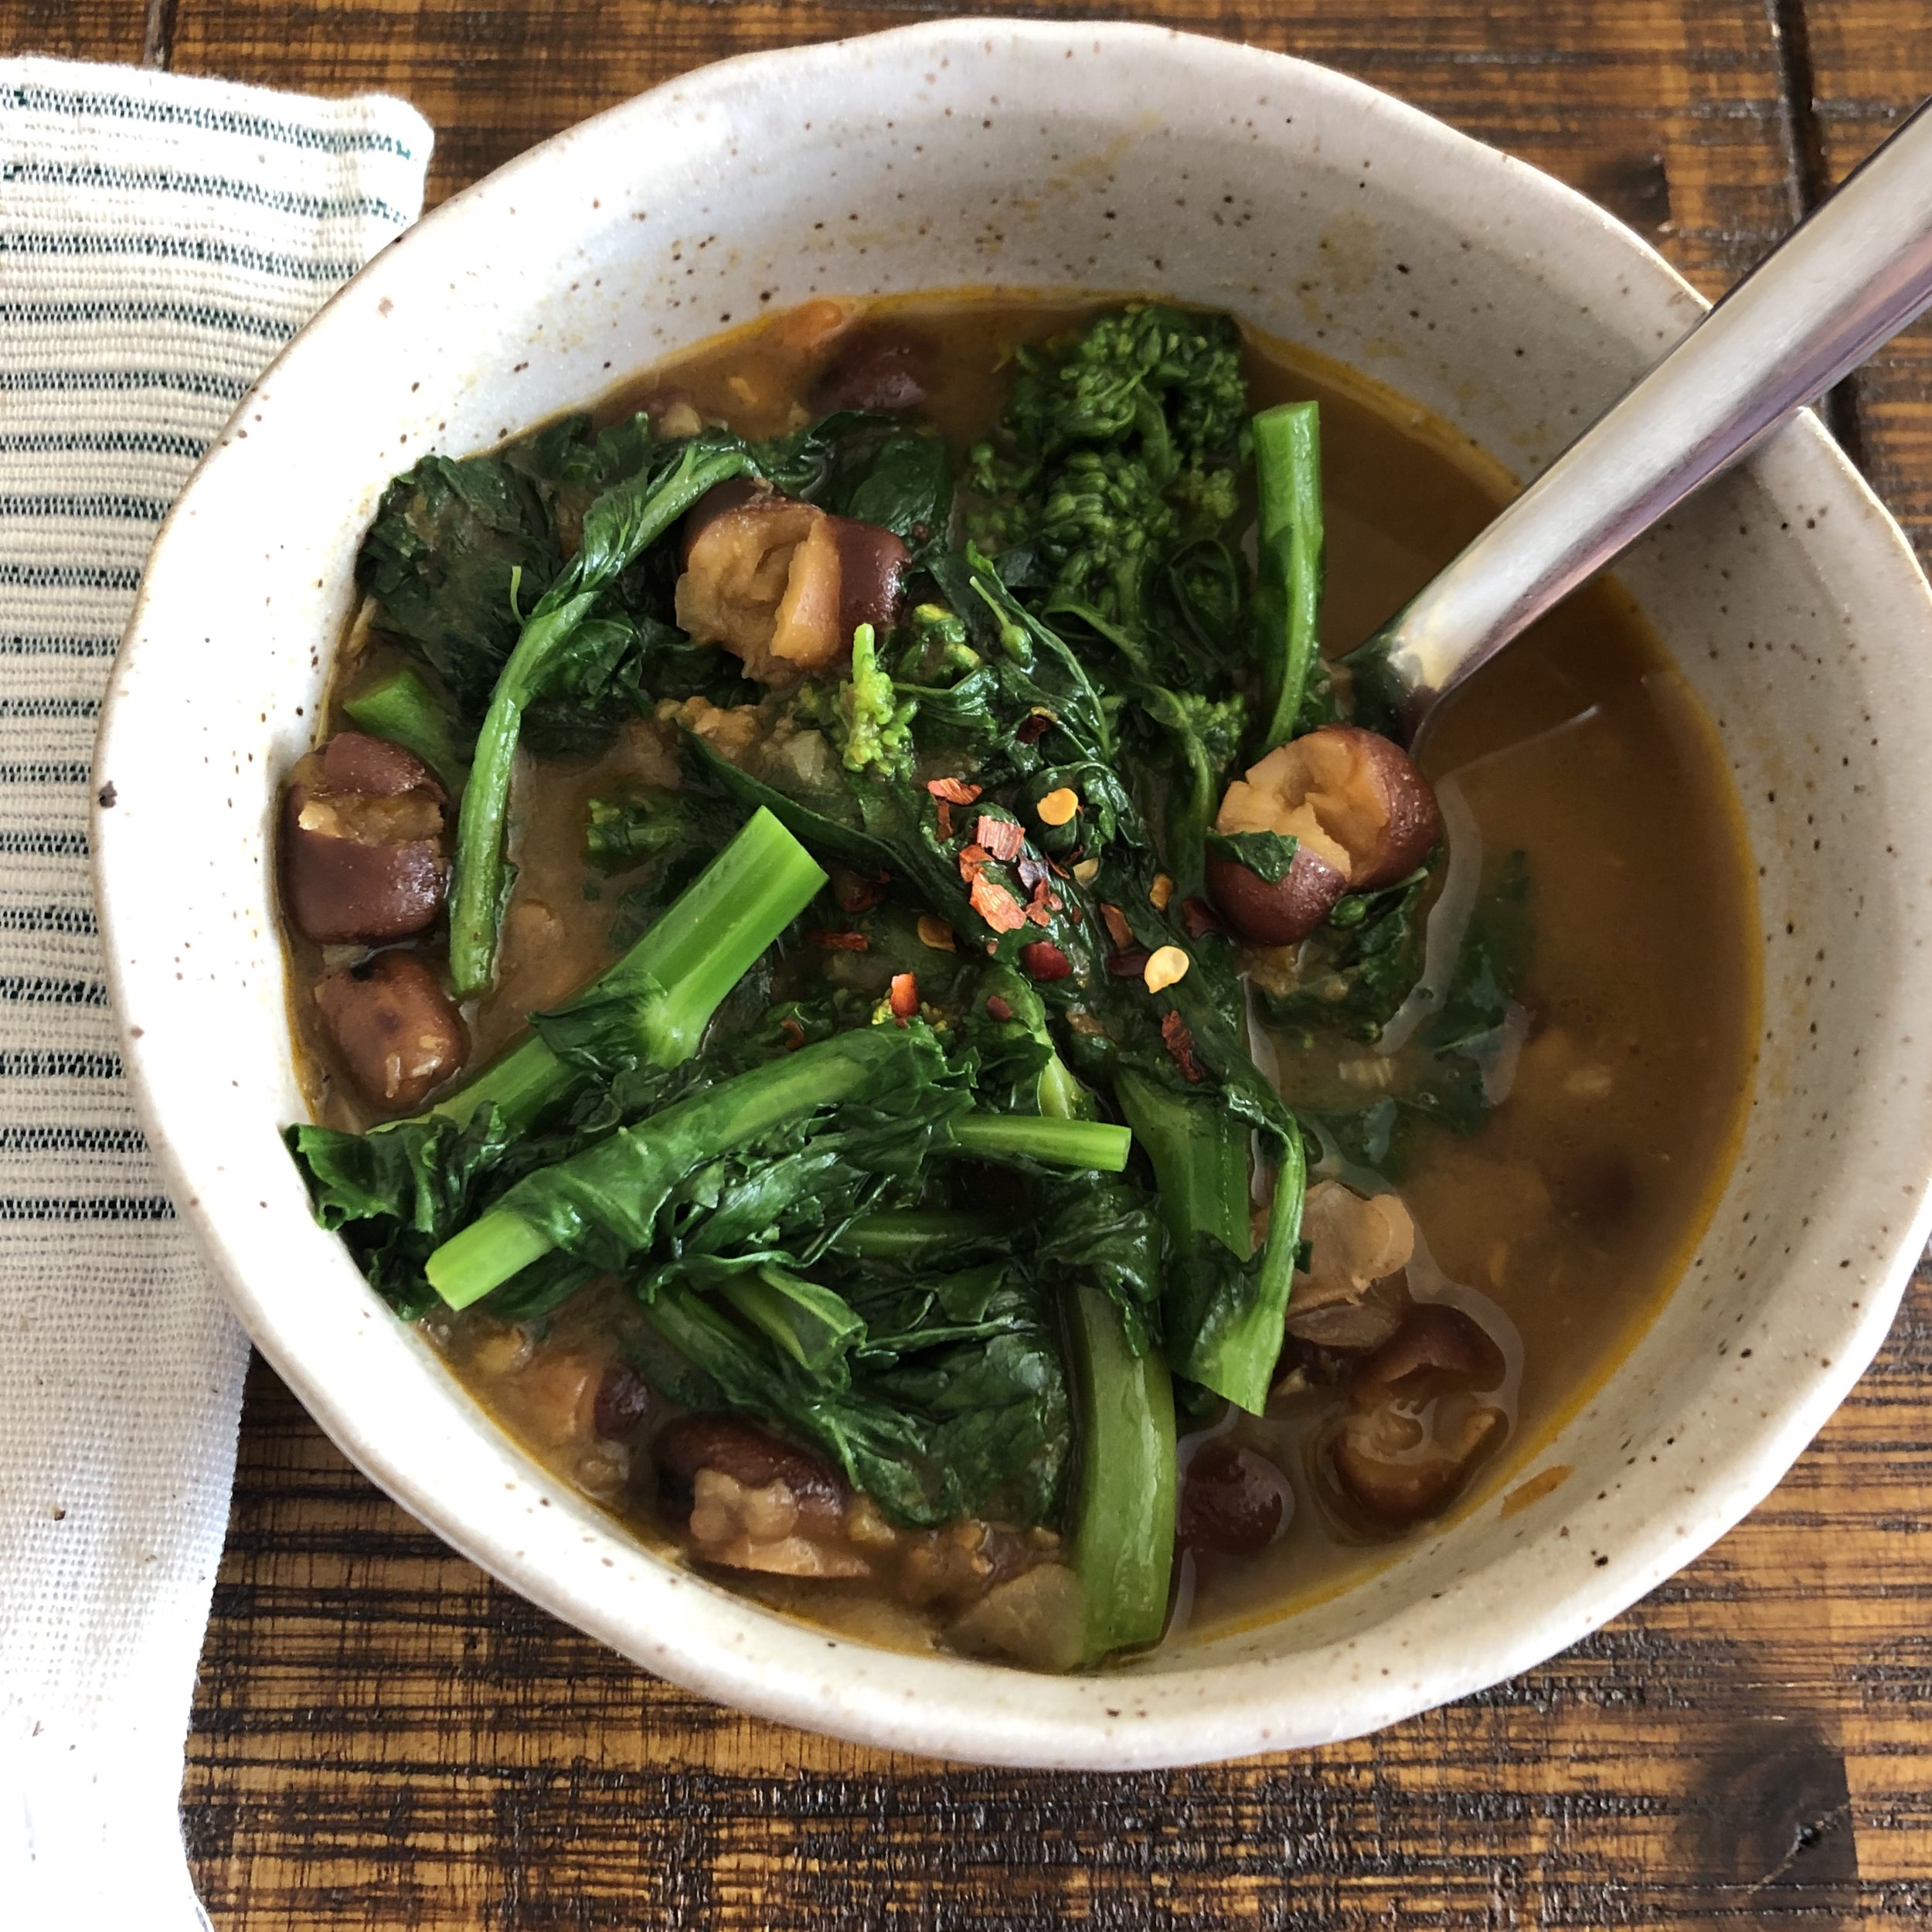
Anti-Inflammatory Butternut Squash and French Lentil Stew

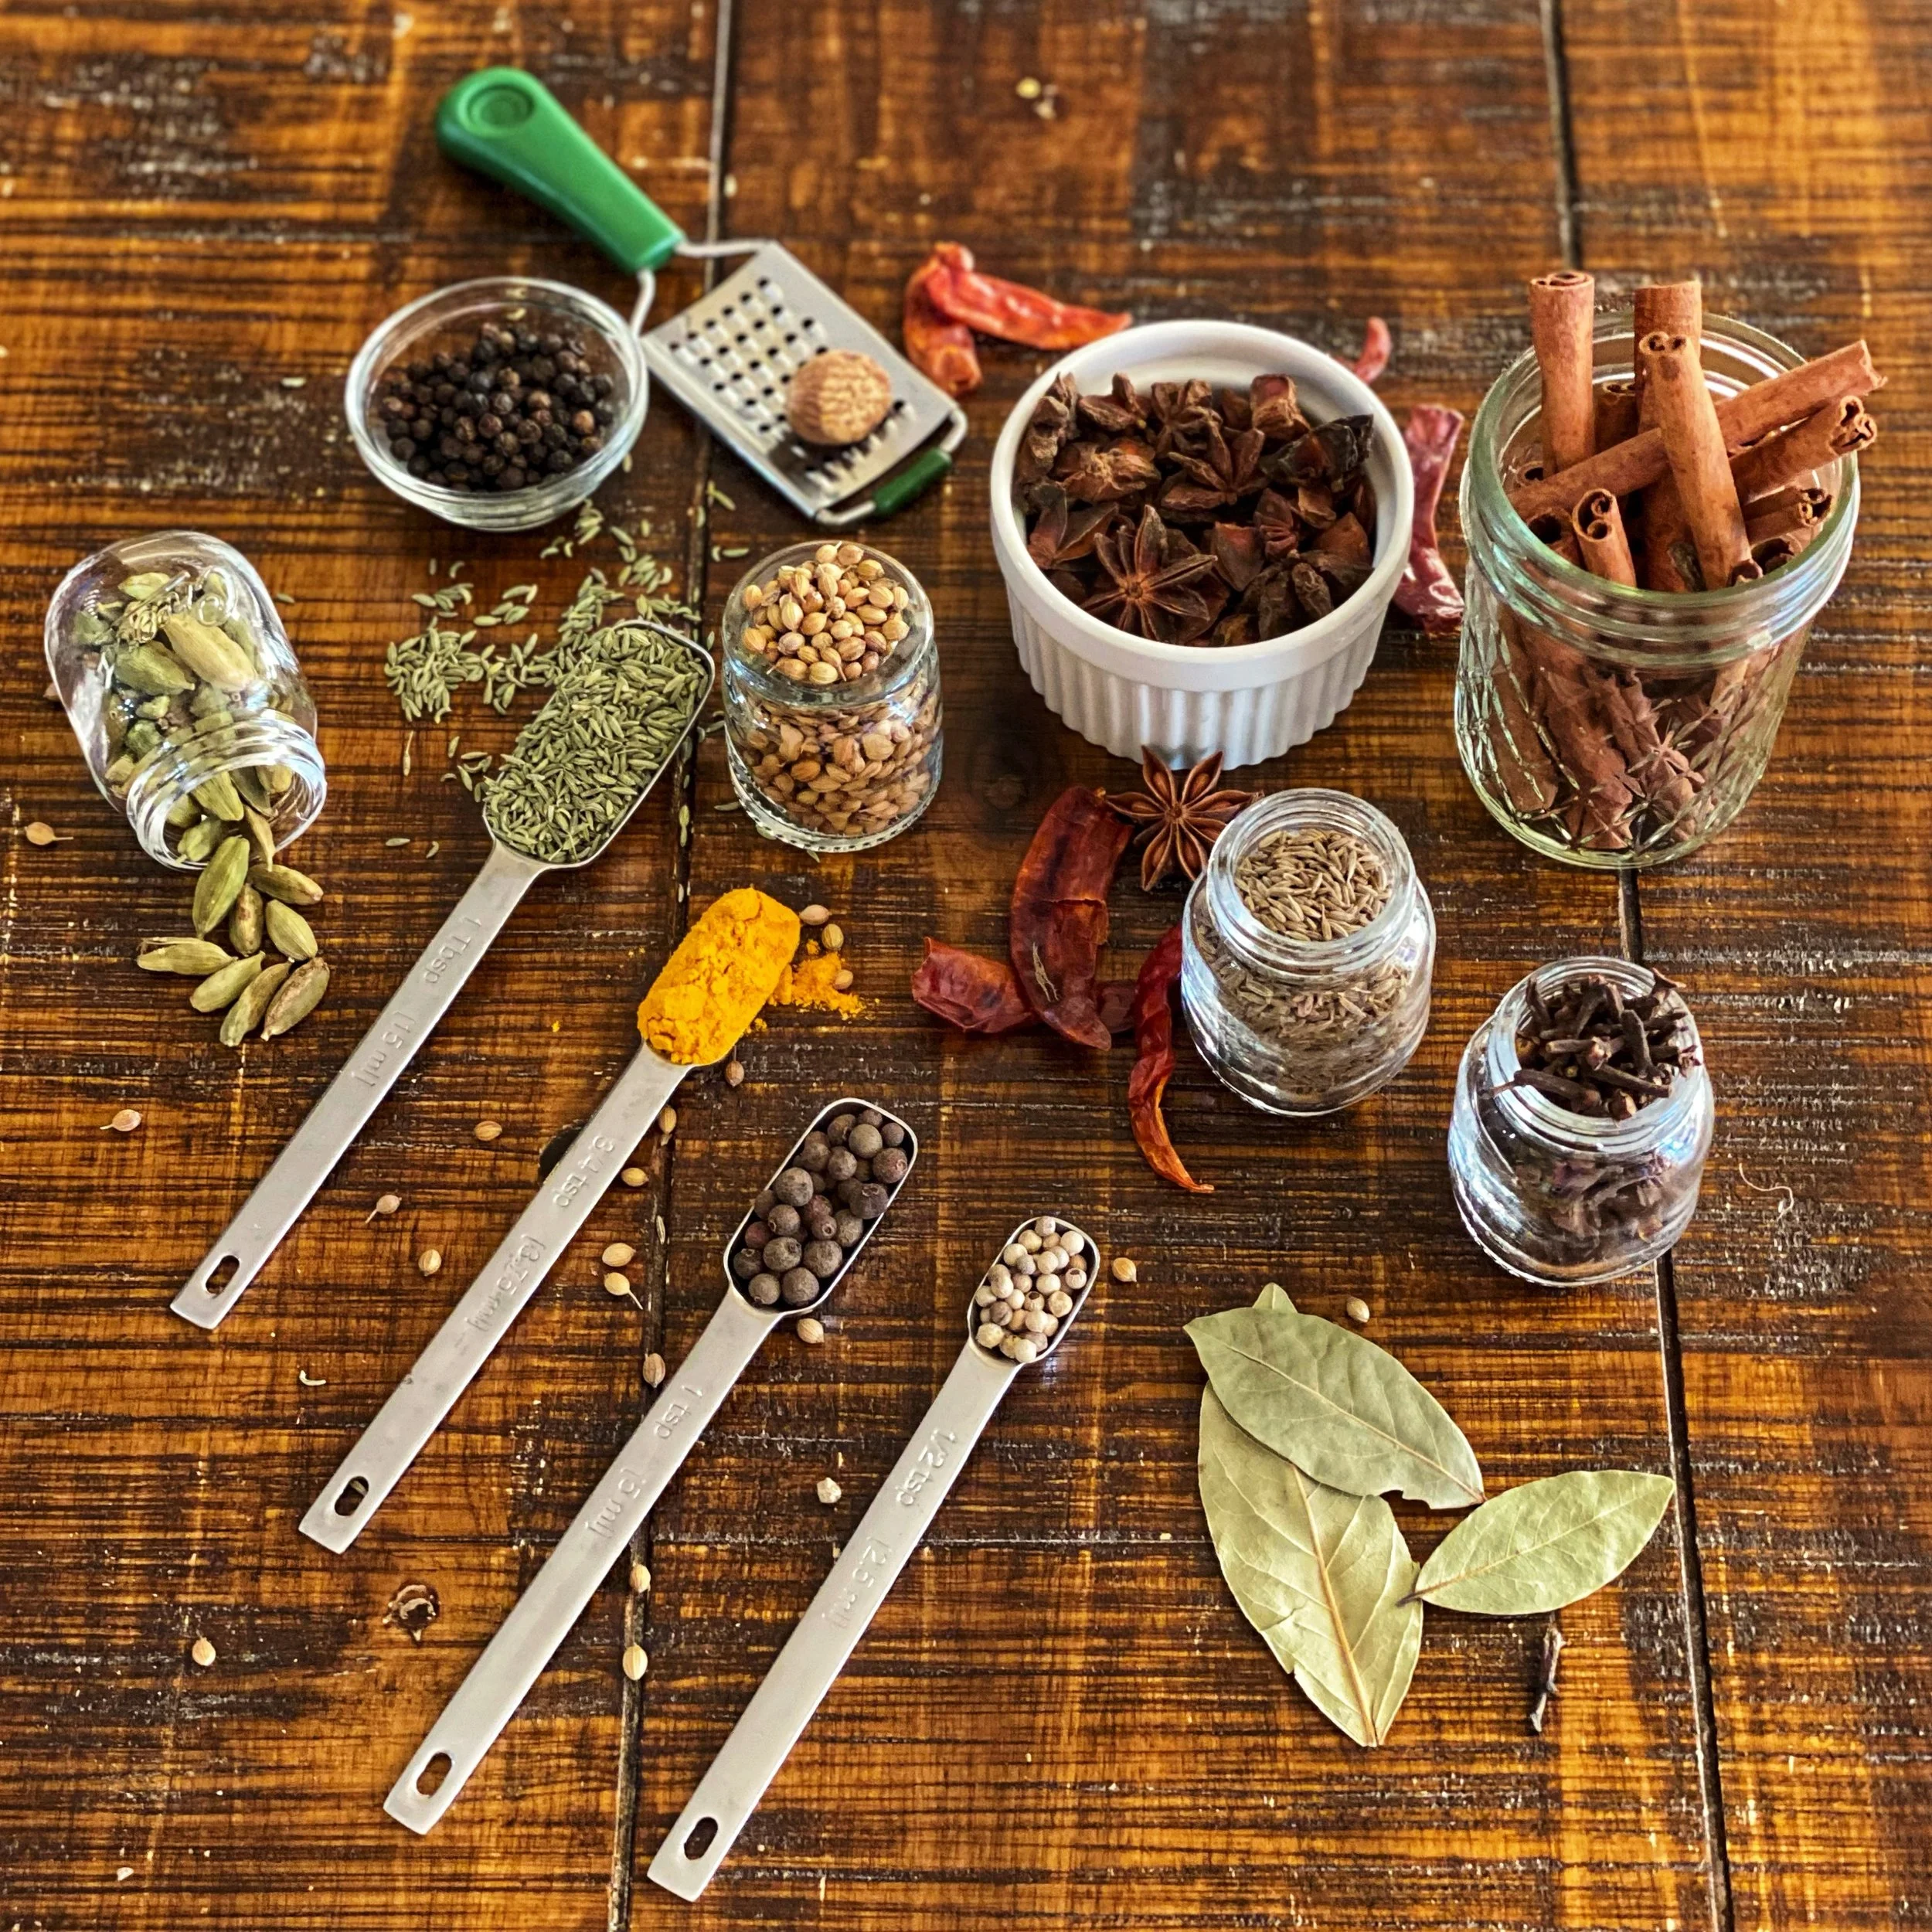
This hearty and flavorful stew highlights squash and fast-cooking french lentils. It’s spiced with Ras el hanout, a North African and Moroccan spice blend that means “head of the shop”. Ras el hanout is packed with anti-inflammatory agents, like ginger, turmeric and black peppercorn and delivers additional warmth with paprika, cinnamon and cayenne. Plant-based and lowcarb, this stew is thickened with tahini, the middle eastern staple made from ground sesame seeds. A bright finish of crisp spinach leaves and lemon juice give you everything you’re craving in one pot and 40 minutes.

Makes: 5-6 cups, serves 6-8

yH0yqW6hQriShqUiL99sBQ.jpg
i927YFHIRumQT9hrcwOLEw.jpg

What you need:

  • ½ cup french lentils

  • 2 tablespoons olive oil

  • 1 small red onion, diced

  • 1 small yellow or white onion, diced

  • ¾ teaspoon salt

  • 3 cloves garlic, minced

  • 1-2 tablespoons grated ginger root

  • 2 - 3 teaspoons ras el hanout spice (purchased or see my recipe)

  • 2 tablespoons tahini

  • 4 cups low sodium vegetable stock

  • 1 medium butternut squash, ¼ inch cubes

  • 3 carrots, ¼ inch thick half moons

  • Juice of 1 lemon

  • 1 bunch of spinach, about 2 cups leaves, torn

  • Freshly cracked black pepper

What you do:

  1. Rinse the lentils and soak in a bowl of hot tap water for about 10 minutes (or until it is time to add them to the stew).

  2. Heat olive oil in a soup pot on medium high heat. Add the onion and a few pinches of salt. Sauté until soft, about 3 minutes.

  3. Add the garlic, ginger and a pinch of salt. Sauté about 1 minute longer.

  4. Whisk in the spice mixture and sauté 30 seconds longer.

  5. Stir in the tahini, and then gradually whisk in the stock in a slow steady stream, allowing it to thicken before adding more.

  6. Strain the lentils and add them to the pot with the remaining salt. Bring to a boil, then lower heat to medium and simmer gently about 20 minutes.

  7. Add the butternut squash and carrots and simmer an additional 10-15 minutes or until lentils, squash and carrots are tender.

  8. Taste and season the soup with lemon juice. Add the torn spinach leaves, stir and heat just a minute or two until they wilt. Serve with additional lemon juice and fresh cracked black pepper, if desired.

Stove-top Popcorn

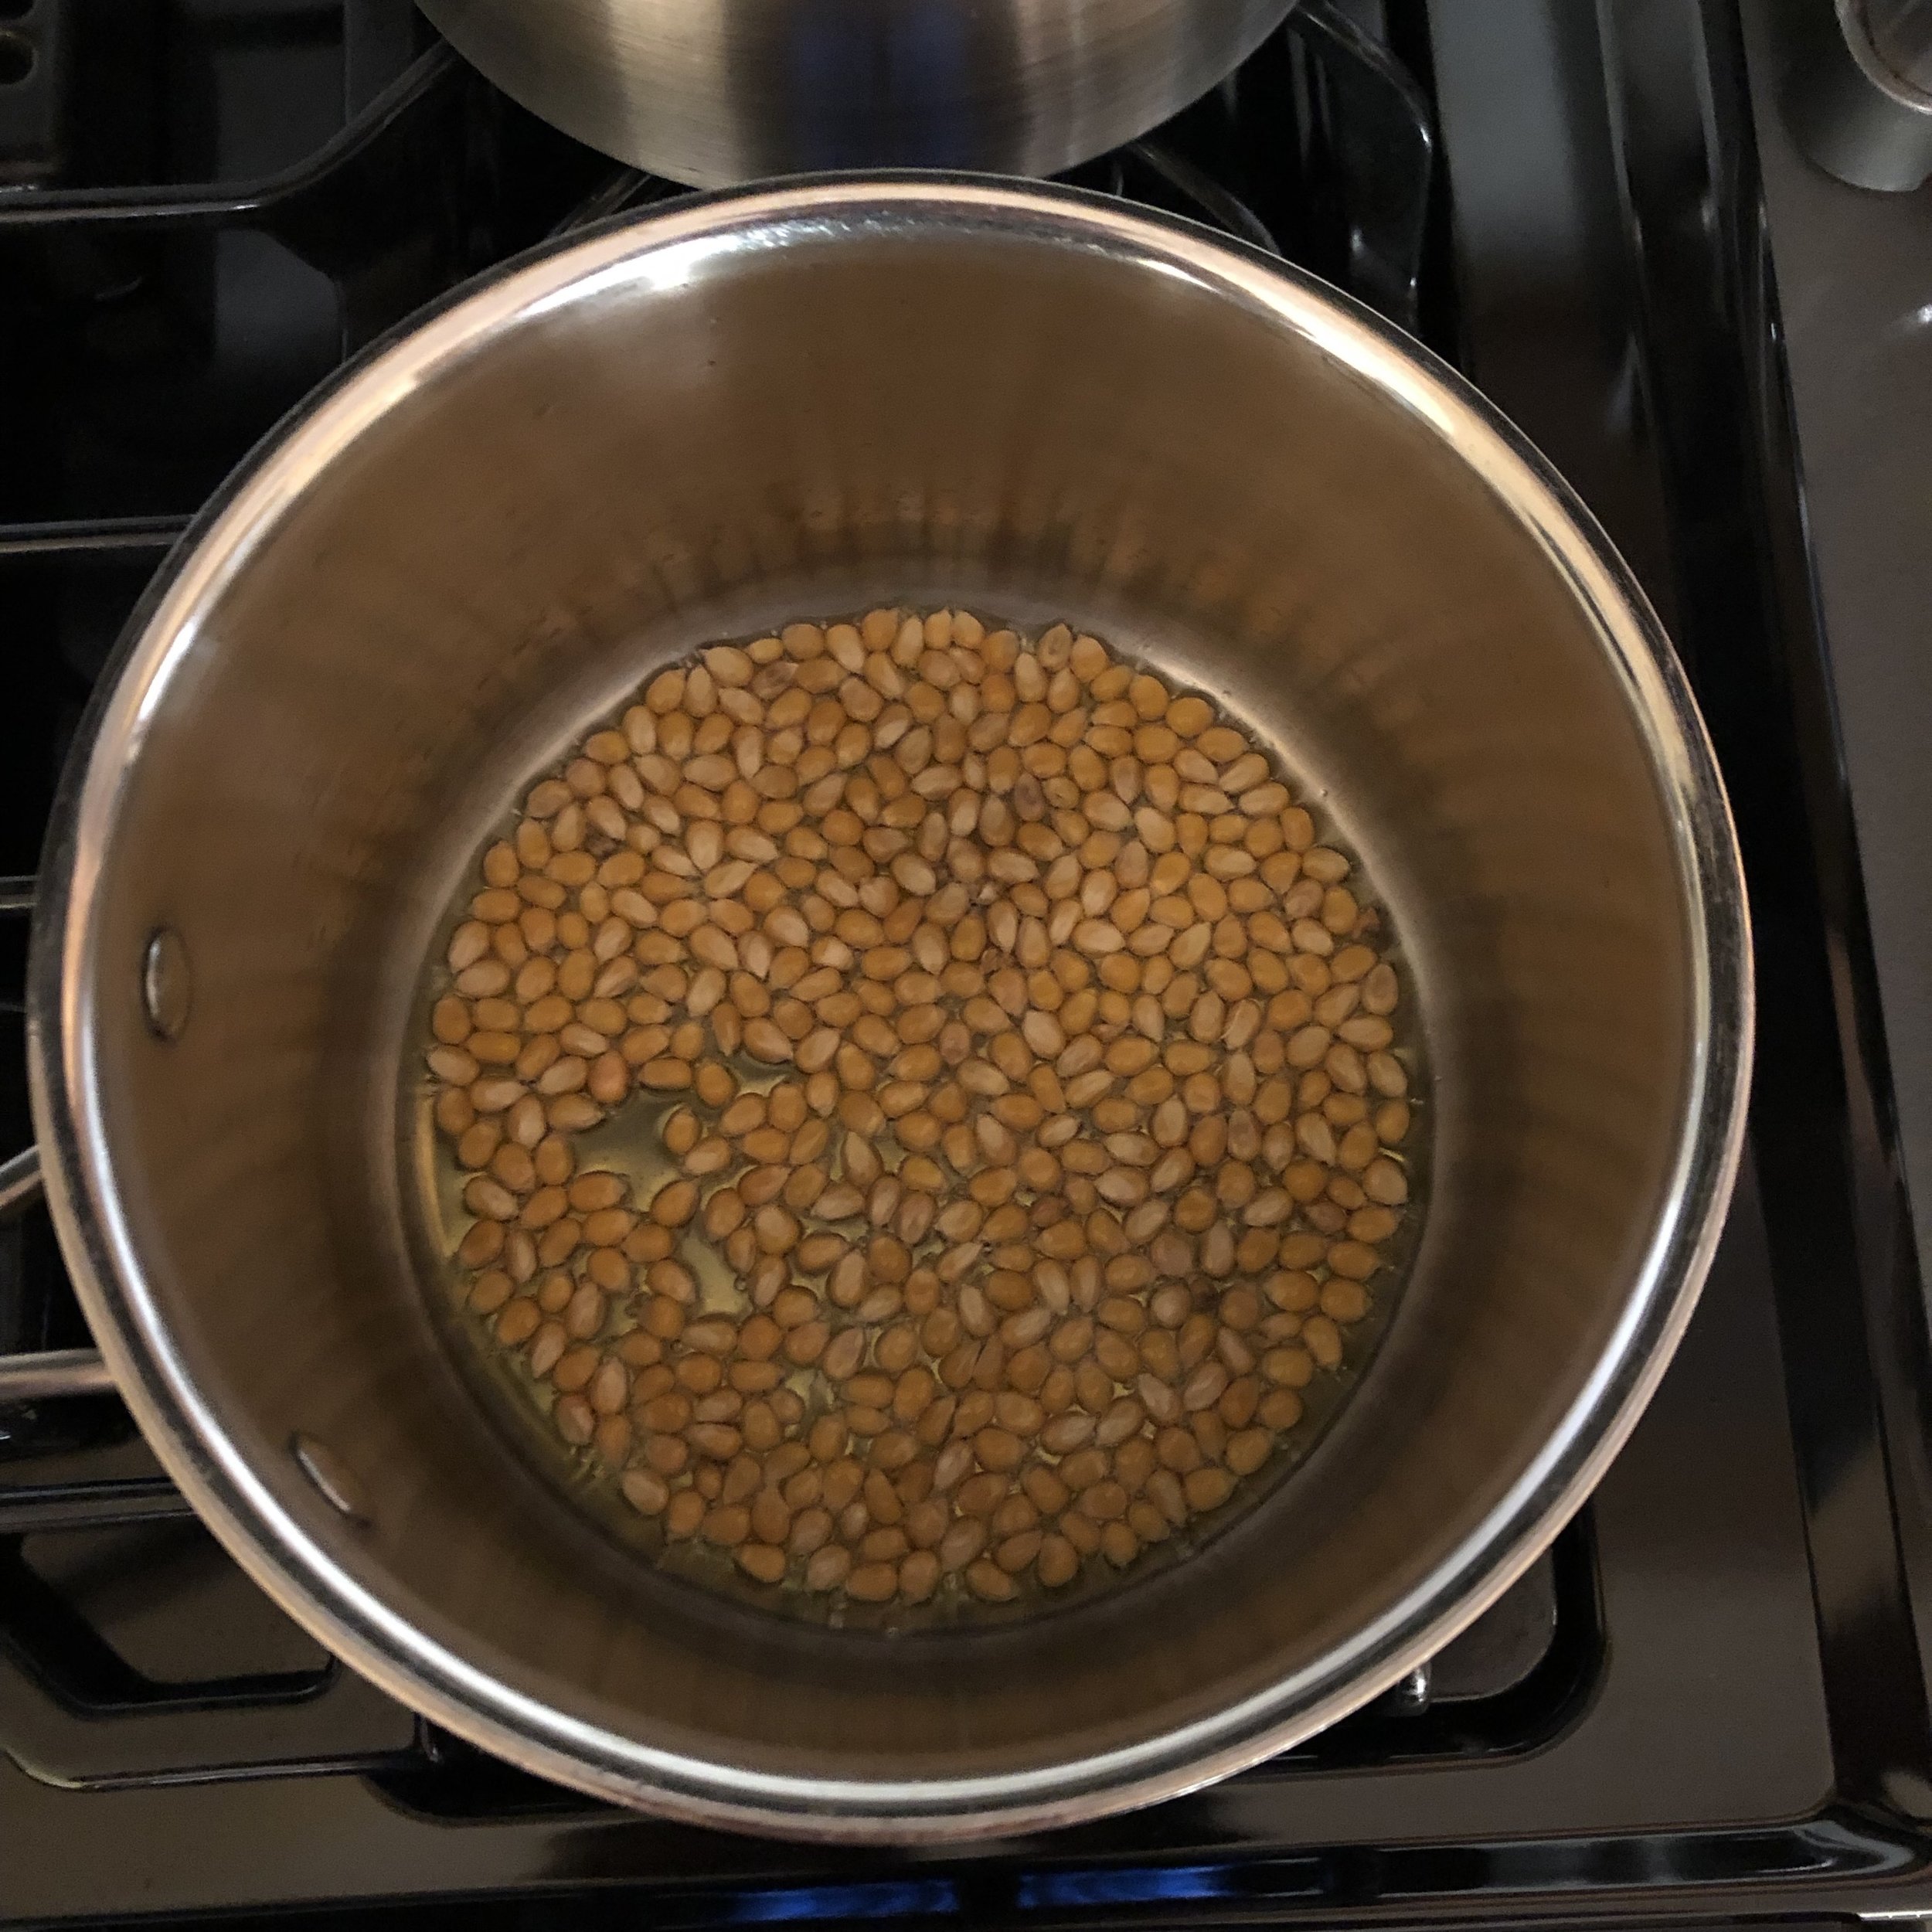
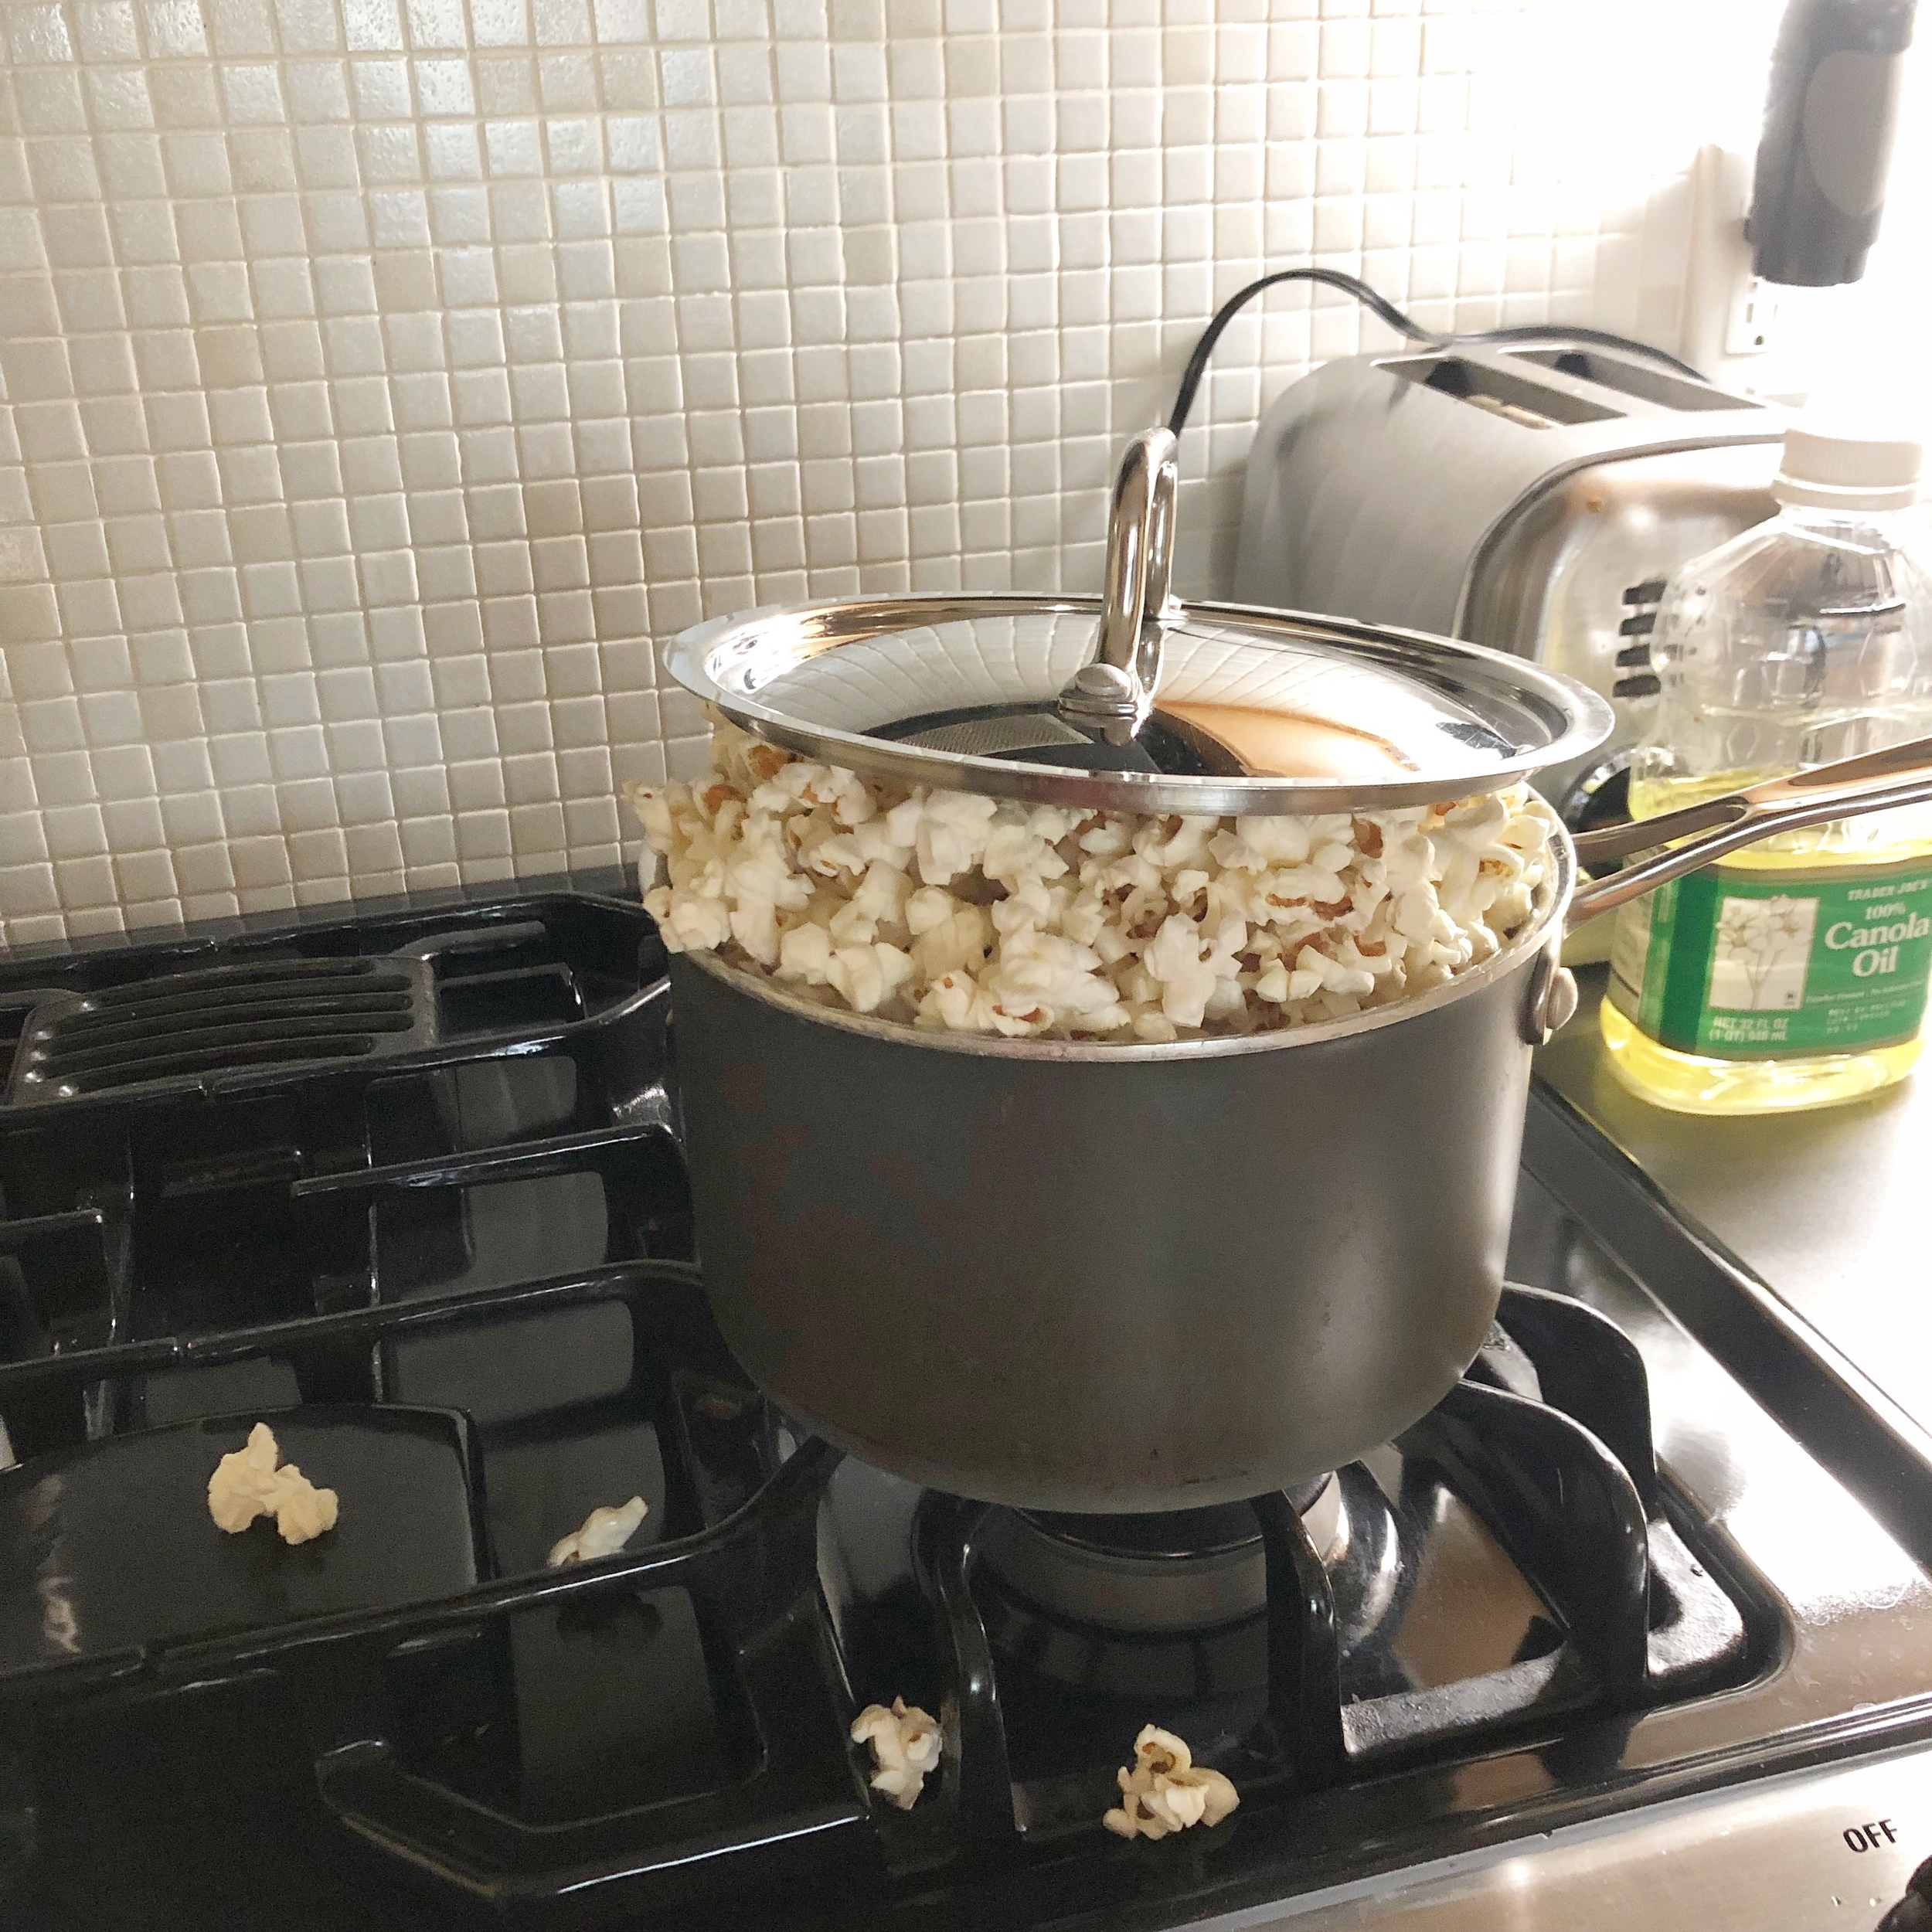
Back in college, my electric air popper was the highlight of my dorm floor, along with the beer die table residing at one end of the hall and the large screen TV at the other. I attracted my neighbors for study breaks (and post-beer die game drumunchies) with the aroma of freshly popping corn. I’ve graduated to not popping popcorn as a means of making new friends, and to using a regular old stove top and lidded pot to make the classic snack. Since my Stove-top Popcorn has impressed and puzzled many guests for Saturday afternoon snacks or movie night at our place, I thought I’d share how you too can make some, followed by a few ideas for yummy toppings.

Since I’ve been making popcorn this way, I have never had an un-popped kernel or burnt popcorn in a batch. I do, however, have occasional overflow of popped corn. But that is only a problem for…no one.

We get our popping corn dried on the cob from Farmer Ted at Windflower Farm, but any bagged popping corn will do.

We get our popping corn dried on the cob from Farmer Ted at Windflower Farm, but any bagged popping corn will do.

What you need:

  • average sized stainless steel pot with a well-fitting lid (I use a 3.5QT pot)

  • cooking oil (canola & olive work best, but you can try others so long as they have a high smoke point)

  • popcorn kernels

  • salt

  • seasoning and flavorings (more on that below)

What you do:

Some seasoning ideas:

Of course you can go with the classic butter and salt topping, but I encourage you to try these variations and use your own creativity.

iMx9x0d3QO2qWiS9S9GHsQ.jpg
OwIaPuuJQtOOY5rcmQ25oQ.jpg
  • Herb Butter: melt butter and mince up any herbs you have on hand, such as thyme, rosemary and parsley. Better yet, if you have some of my herb garlic butter in your freezer, just melt that and toss with your popcorn. Sprinkle with salt and serve.

  • Hot Honey Kettle Corn: Transfer the popped popcorn to a bowl and set aside. In the same pot, over low heat, melt a few tablespoons of butter. Add Mike’s hot honey (or any honey plus a couple teaspoons of dried chili flakes). Add the popcorn back to the pot and toss to coat. Transfer to a bowl. It will harden and get stickier as it cools.

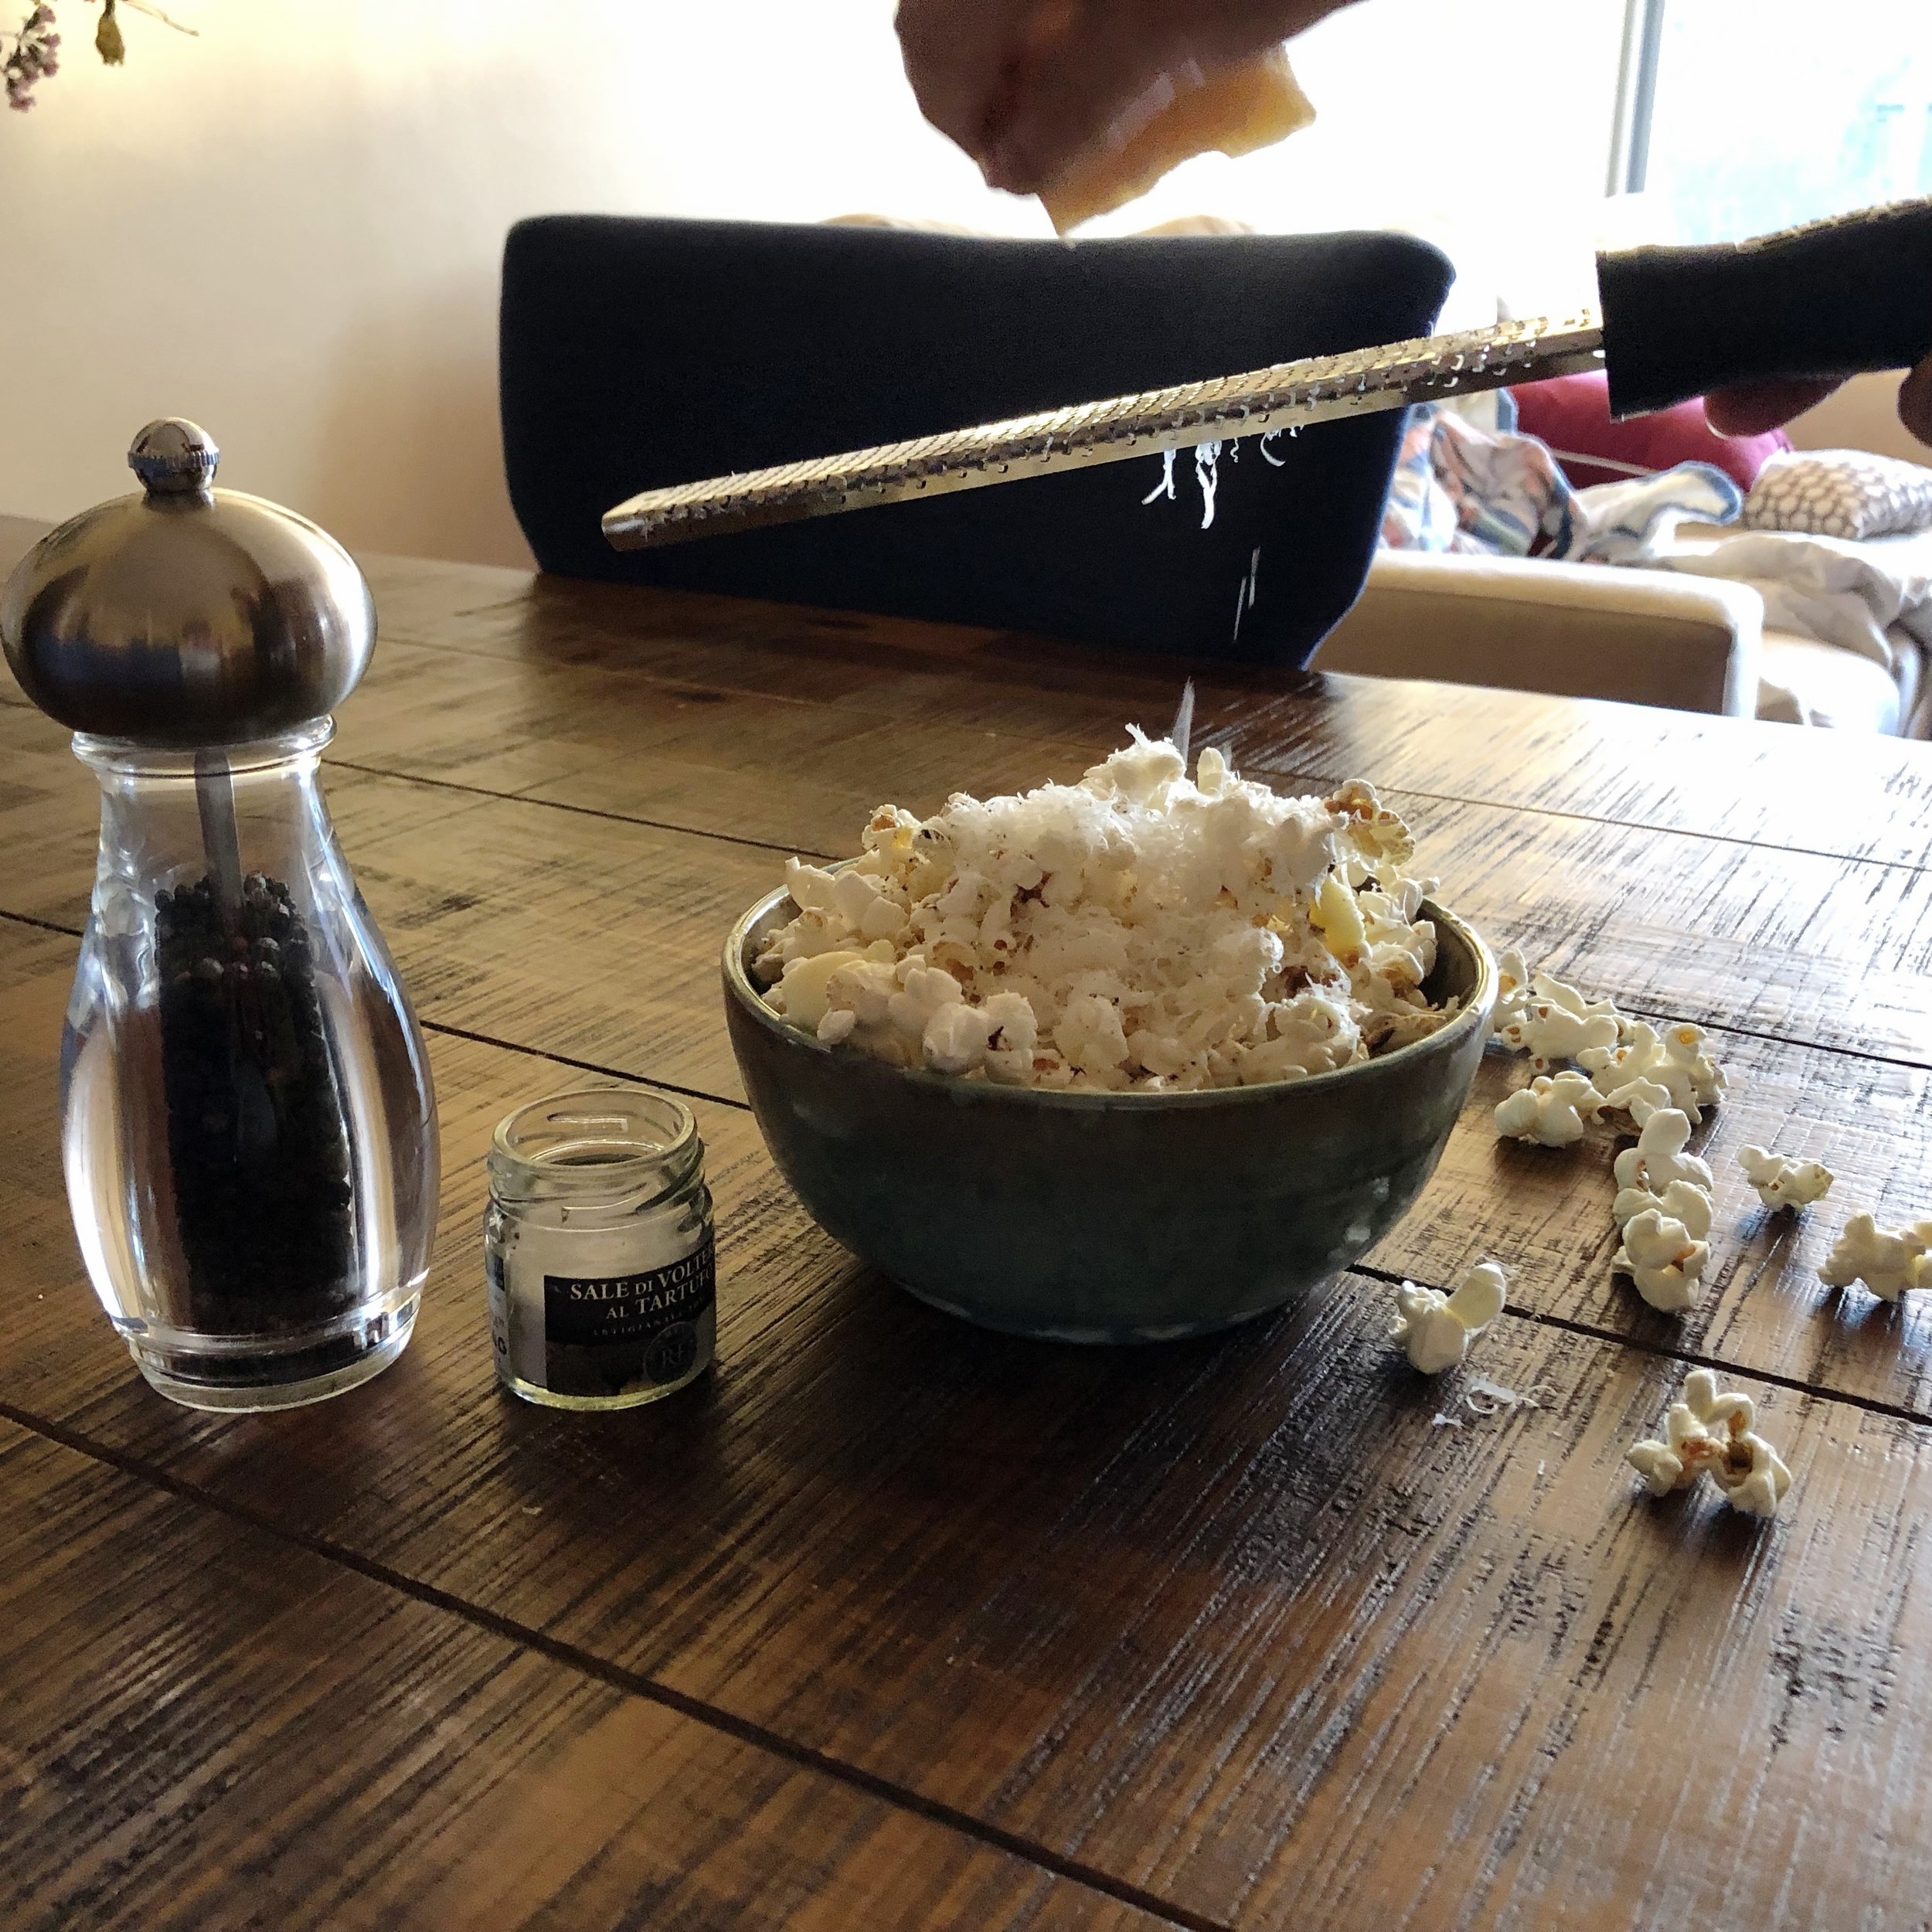
  • Truffle Parmesan: Use olive oil or a combination of olive oil and truffle oil to pop the popcorn. Toss the popped popcorn in melted butter, then sprinkle with truffle salt, grated Parmesan and freshly cracked black pepper.

  • Salt and Pepper: ‘nuff said. Why does salt get all the attention when it comes to popcorn? Don’t leave out the black pepper.

  • Coconut Curry: Use coconut oil to pop the popcorn. Toss popped corn with a curry powder, madras curry or garam masala spice blend you enjoy.

  • Any spice mix plus salt and/or butter is a great addition to popped corn.

Tuber Tutorial

Although we enjoy our potatoes year-round, their chance to shine starts with Thanksgiving and continues through the cooler months, when we gobble up this “storage” crop.

Years ago, while studying abroad in Nepal, I understood first hand what this meant. I arrived at one homestay in the snowy mountain region of Annapurna just after the potato harvest and actually had the privilege of bunking up with the family’s potato stores. Those potatoes, overflowing from large wicker baskets in a cold dry loft above the hut would last them through the cold winter, primarily boiled and dipped in Himalayan salt.

Here, we treat ourselves to mashed potatoes at the holidays, incorporate them in our winter stews and roast them alongside chickens for Sunday dinner. Nothing says winter comfort food quite like a potato. But there are as many varieties of potatoes as dishes we make with them.

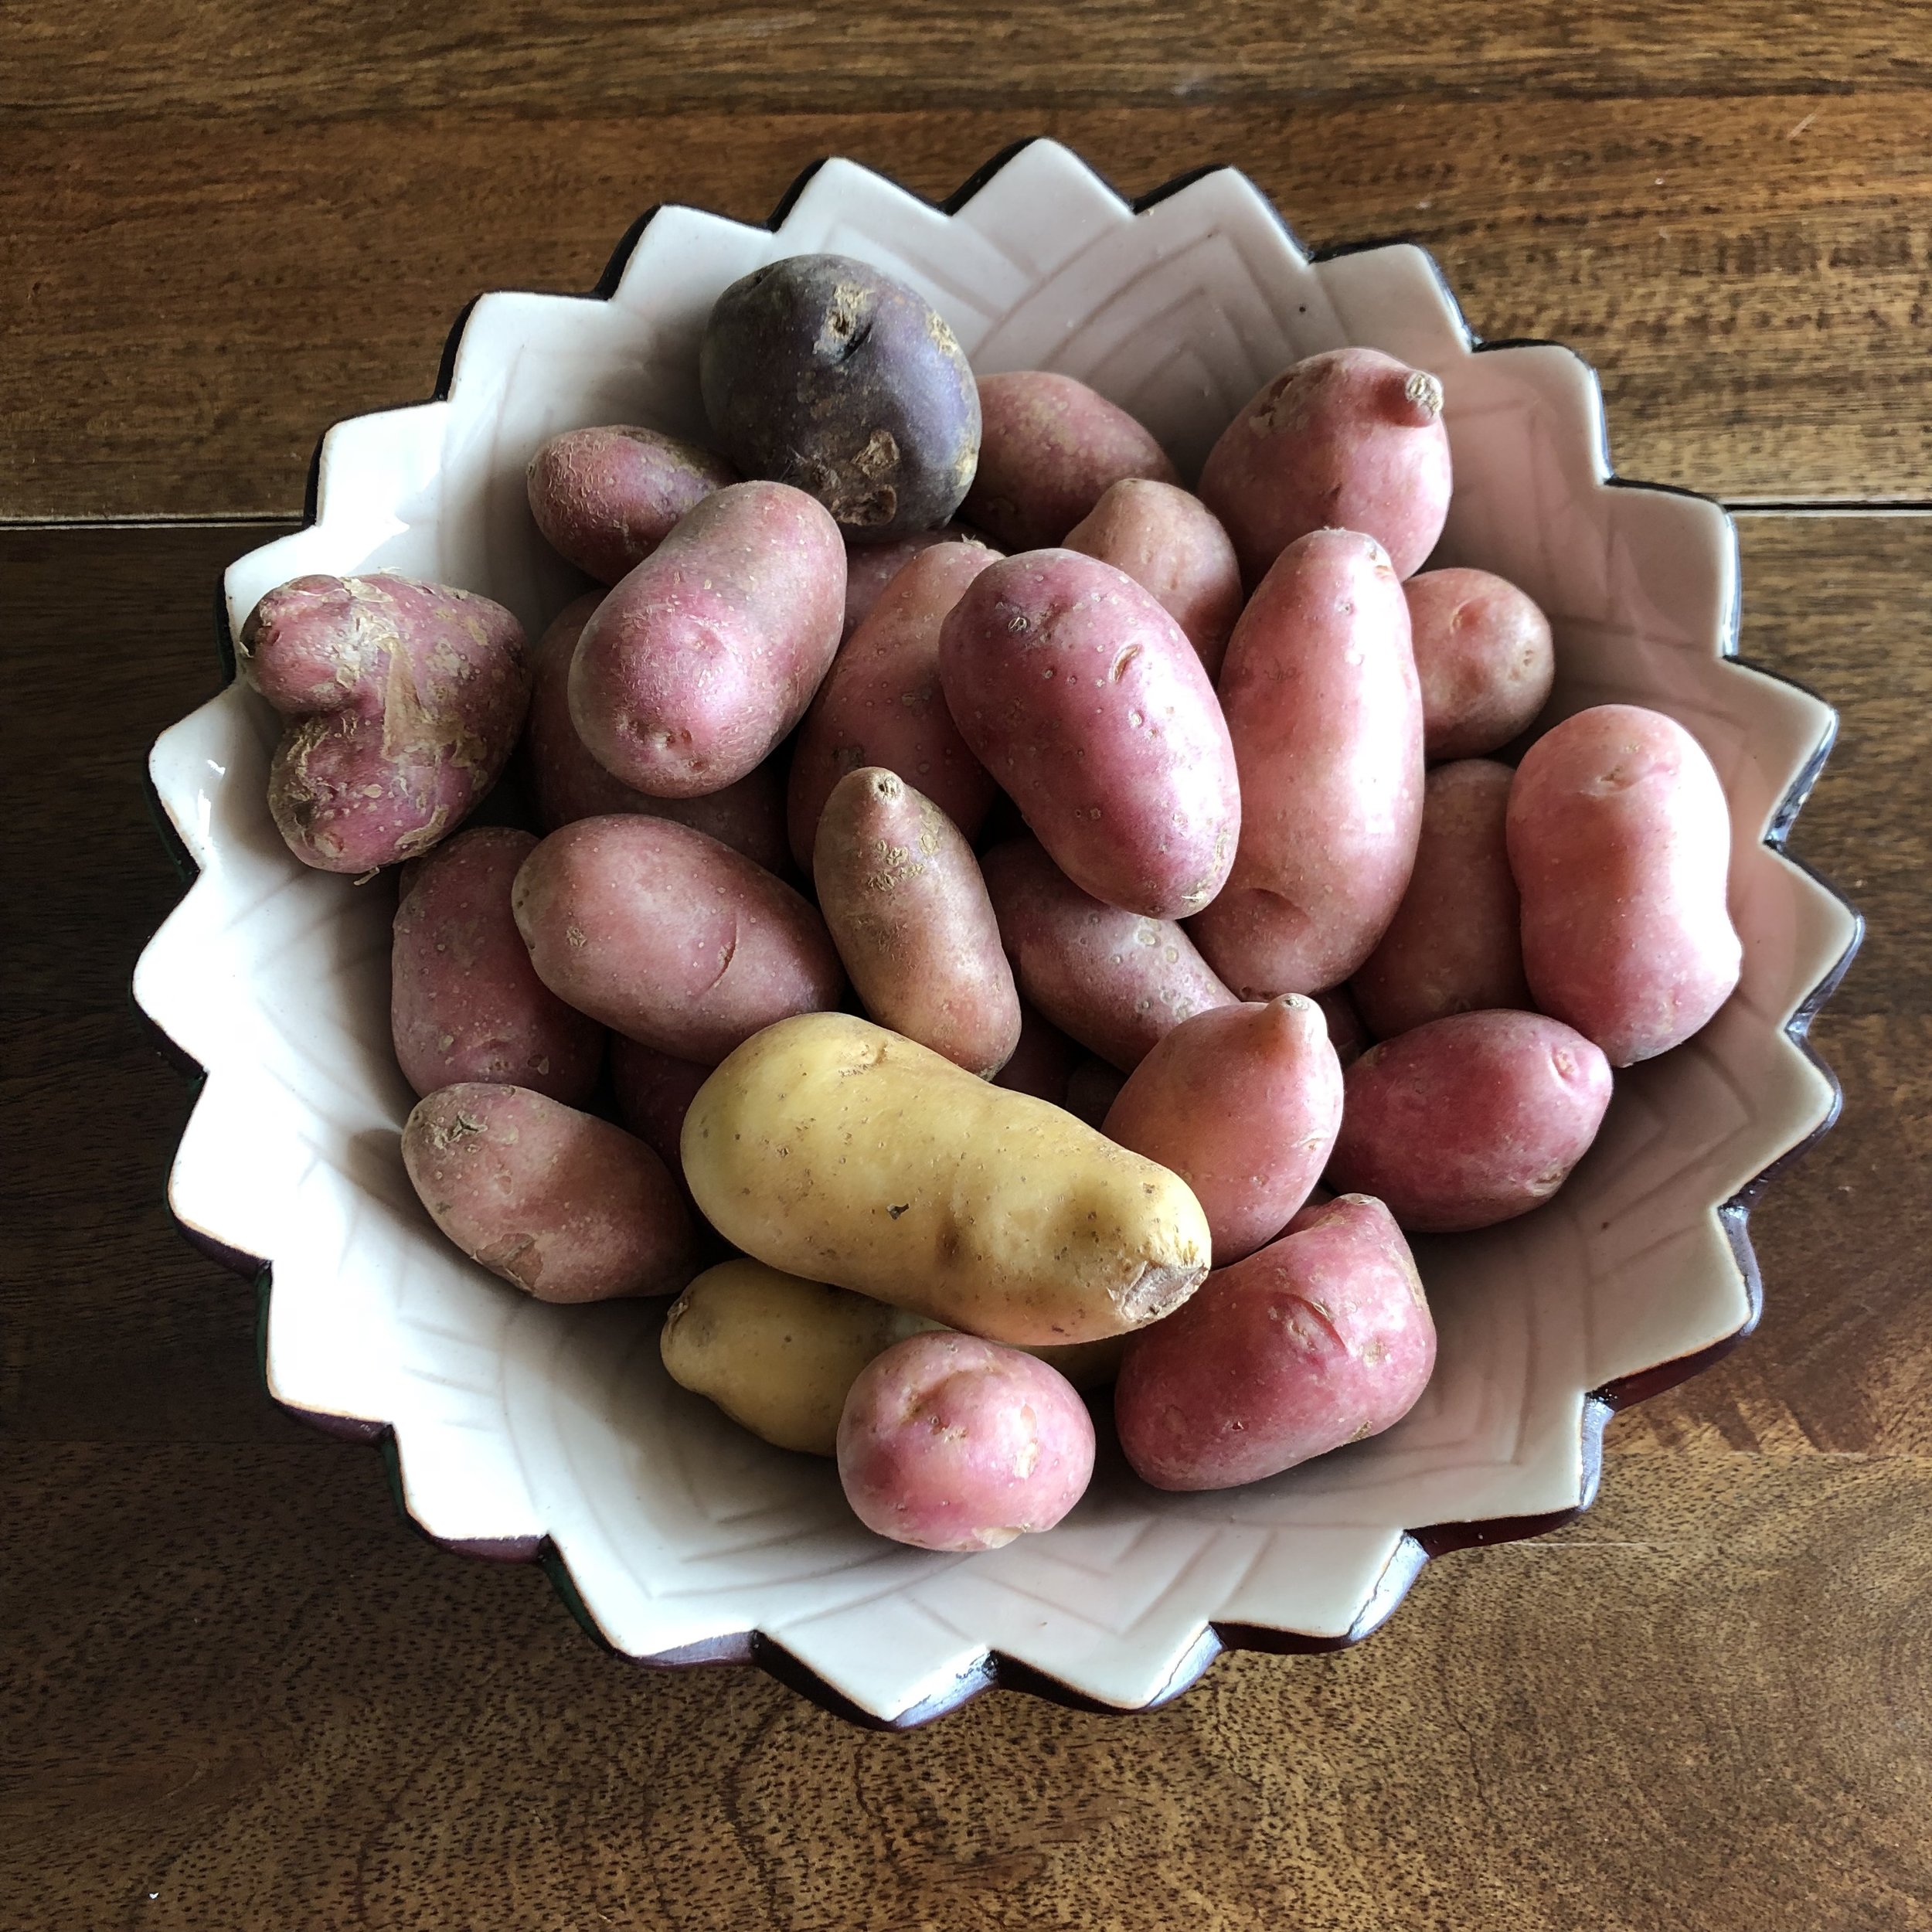
Farmer Ted (our CSA hero farmer from upstate NY) supplies at least 7 varieties each year, not even including the sweets and yams. I'm often asked, what's the difference between all of these spuds. I mean, a potato is a potato, right? Right. Um sorta. So why do I need all of these different varieties?

Well, each variety provides different nutrients and things we need for optimal health. You could read up on it in Jo Robinson's impeccably researched book, "Eating on the Wild Side" or you could just take my word for it. Okay, so variety of potatoes, yah, yah, yah, can I just cook them all the same way? Sure, you could. Potatoes are delicious pretty much any way you slice 'em, or roast them or boil them or you get the picture, but in my kitchen experience, I have found that some potatoes just lend themselves better to certain things than others...

fullsizeoutput_44d3.jpeg

Fingerlings of all shapes and colors are best when halved (or kept whole if really tiny), tossed in olive oil and salt and roasted in a hot oven (say 400 degrees) until crisped on the outside. I like adding fresh or dried hearty herbs like rosemary, whole garlic cloves, and whole spices like cumin seeds to mine too. These are also the best variety for slicing thinly for a tart, to top a pizza or elevate a salad.

potatoes-1388512_640.jpg

Russet potatoes: there's a reason you often see these baked whole at steak houses. They make the best baked potatoes and vessels for all of those toppings, like butter, sour cream, cheese, broccoli, bacon, and of course they are great for twice baked or stuffed potato skins. But what you might not realize is that leftover baked Russet potato flesh is perfect to form into gnocchi, or mix into croquettes or veggie burgers. They don't add too much moisture and their starches are useful for binding other ingredients together.

fullsizeoutput_44db.jpeg

I use Yukon golds and red potatoes in pretty much everything else, like all sorts of mashed potatoes - garlic mashed, sour cream and chives, with gravy, I'm drooling for Thanksgiving now. Justifiably so, they go by the term “creamer” potatoes in some places. They are also my go to for chowders, all stews including My Dad’s Beef Stew, my Auntie Sheila's Puerto Rican Rice and Beans recipe, latkes, and for filling pierogi. 

As we near Thanksgiving 2018, I feel compelled to provide an important public service announcement in regards to potatoes. Whichever variety you use for your mashed potatoes (although I recommend the yukon golds or reds), please DO NOT whip those potatoes with an electric mixer nor put them into a food processor. You may think this will help get a smooth and creamy consistency, it WON’T. While your potatoes may end up “lump free” they’ll be so gummy and gluey that you won’t be able to appreciate the absence of lumps. If you really want to make a mash in a food processor, then consider Creamy Mashed Cauliflower instead.

Cooking Beans from Scratch

Okay, so I’ll admit it, this post is not at all sexy, or even trendy and it might elicit some juvenile jokes about gas. But, I promise that if you learn how to cook beans properly and commit to making your own from scratch, you will actually keep that flatulence at bay…

Of course I use canned beans. They’re a fantastic convenience and as far as health is concerned, they are just as good for you as homemade, with the one distinction being sodium content. But scratch made beans — meaning cooked beans that started as dried — taste better and have superior texture. Cup for cup, they also cost less, and as an added bonus for us city-dwelling schleppers, dried beans are not as heavy to lug home from the grocery store. You can subtract the weight of the can and the cooking liquid. I know, but these are factors Brooklynites consider when it comes to making foods like beans and stock.

And since making beans from scratch is so simple and only requires a little advanced planning, water and a pot, why not? Go ahead, give your can opener a rest.

Steps to Cooking Beans from Scratch

Tips to cooking beans:

  • Soaking beans is essential. You will reduce cooking time, help them cook more evenly, and make them more digestible, eliminating the gassy effects many people experience with beans. Soak most beans for a minimum of 6 hours or overnight. If you’ll be soaking them longer than that (whoops, no time to cook them!), then give them fresh water, transfer to the fridge if they were out, and use within 2 days max. The idea is to get them to double in size after soaking. See image below.

fullsizeoutput_4471.jpeg

red kidney beans in 3 stages

1. The beans on the left are dried.

2. The beans in the middle were soaked overnight.

3. The beans on the right were pressure cooked for 5 minutes.

  • Adding salt at the beginning of the cooking process will make them more flavorful and more tender and will reduce the amount of salt you use in the dish later. Use 1/4 teaspoon to 1 cup DRIED beans (before soaking). There is much debate about salting beans during cooking. If you’re interested, read up here and here. So long as beans soaked before hand (and do not salt the soaking liquid), they will be soft enough to absorb salt from the cooking liquid and cook evenly from the beginning of the cooking process.

  • Use spices in bean dishes to help counteract flatulence. I told you that if you cook beans correctly, starting with soaking and finishing with seasoning, you can control how they are digested. Some spices that relieve flatulence include: cardamom, cinnamon, ginger, cumin, black pepper, cloves, allspice, and fennel.

  • Bay leaf helps to tenderize the beans and also aids digestion.

  • Water should just cover the beans in a pressure cooker or go twice as high as beans in a conventional pot. In the latter, add more liquid as needed while beans are cooking.

  • Pressure cookers (or those instant pots everyone has now) are great for cooking beans in a fraction of the time. See chart below. To use: seal lid, turn burner on high and bring to pressure (when pin pops up and hisses), reduce heat to low and set timer for lower end of estimated cooking time. At time, remove pressure cooker from heat and allow pressure to release on its own (pin pops down). Check beans, taste and repeat in 1-2 minute increments as needed. In a conventional pot, bring water to a boil with beans, bay leaf and salt. Reduce heat to medium and gently cook until beans are tender.

  • Cooking times will vary. Below is a very loose guideline for how long it takes to cook some common dried beans in both a pressure cooker (first number) and a typical pot with loosely fitting lid (second number), but there are so many factors that will affect how long it will take your beans to cook. And so, really, they are done when, well…they are done. You must taste to find out. Some of those factors include:

    • if/how long beans were soaked and at what temperature

    • age of the beans, which determines how “dry” they really are, and how “strong” their skins

    • variations on stove top heat

    • your personal preference and intended use of the bean: Do you like it softer or with a little firmness or chew? Do you want the beans to be creamy for a puree or stew or firm for use in a salad or pasta dish?

    Estimated cooking times (bean: pressure cooker time or conventional pot cooking time)

    • chickpeas and adzuki beans: 4-5 minutes or 3 hours

    • black beans and red kidney beans: 6-8 minutes or 90 minutes

    • black eyed peas and pidgeon peas: not recommended or 1 hour

    • navy beans and cannellini beans: 5-7 minutes or 90 minutes

    • green or french lentils, green split peas, & yellow split peas: 5 minutes or 45 minutes

    • red lentils: not recommended or 20 minutes

Green Tomato Envy

As the longer days and warm weather winds down, the final baskets of heirloom red tomatoes and rainbow colored cherry tomatoes are available at farmer’s markets. Scoop them up while you can. However, you can rest assured that green tomatoes will appear over the next couple of weeks. I’ve got you covered for what to do with those green tomatoes - and it goes beyond frying ‘em.

Acknowledging their fate, I plucked quarts of green tomatoes from my tomato plants last weekend. They will never realize their potential colors promised on the seed packets. And that’s okay. I’m appreciative for the shorter days and cooler temps, especially when I dream up all of the good eats from these firm and punchy green ovals. I started with this tangy and spicy green tomato chutney. Over the weekend, we ate it with grilled pork chops, but it’s also delicious alongside this Bengali Red Lentil Dal or just slathered on bread.

Tangy and Spicy Green Tomato Chutney

Yield: 1 ½ - 2 cups

What you need:

  • 4 cups green tomatoes, chopped into about ⅛ inch pieces

  • ¼ cup sugar (I used turbinado or raw sugar)

  • 2 teaspoons salt

  • 3-6 serrano chilis, jalapenos or other small green chilis, halved, seeds removed & thinly sliced

  • 2 teaspoons coconut oil (optional)

  • ⅓ cup honey

  • 1 whole star anise

  • 8 cardamom pods

  • 2 tablespoons to ¼ cup lime juice

What you do:

  1. Combine the tomatoes, sugar and salt. Allow to sit for 30 minutes to 1 hour, stirring occasionally.

  2. Strain the liquid from the tomatoes. Discard the liquid and transfer the tomatoes to a medium saucepan.

  3. Add the sliced chili peppers, coconut oil, honey, star anise, and cardamom. Stir and bring to a boil. Reduce heat and simmer for 45 minutes.

  4. Add lime juice to taste. Simmer another 10 minutes or until lime juice is reduced.

If chutney is not your jam, you might try these other ideas for an abundance of tomatoes, equally delicious with green tomatoes as well as their peak season rainbow colored cousins:

+ryqBjmSRPGQ0JtAAvbCMw.jpg

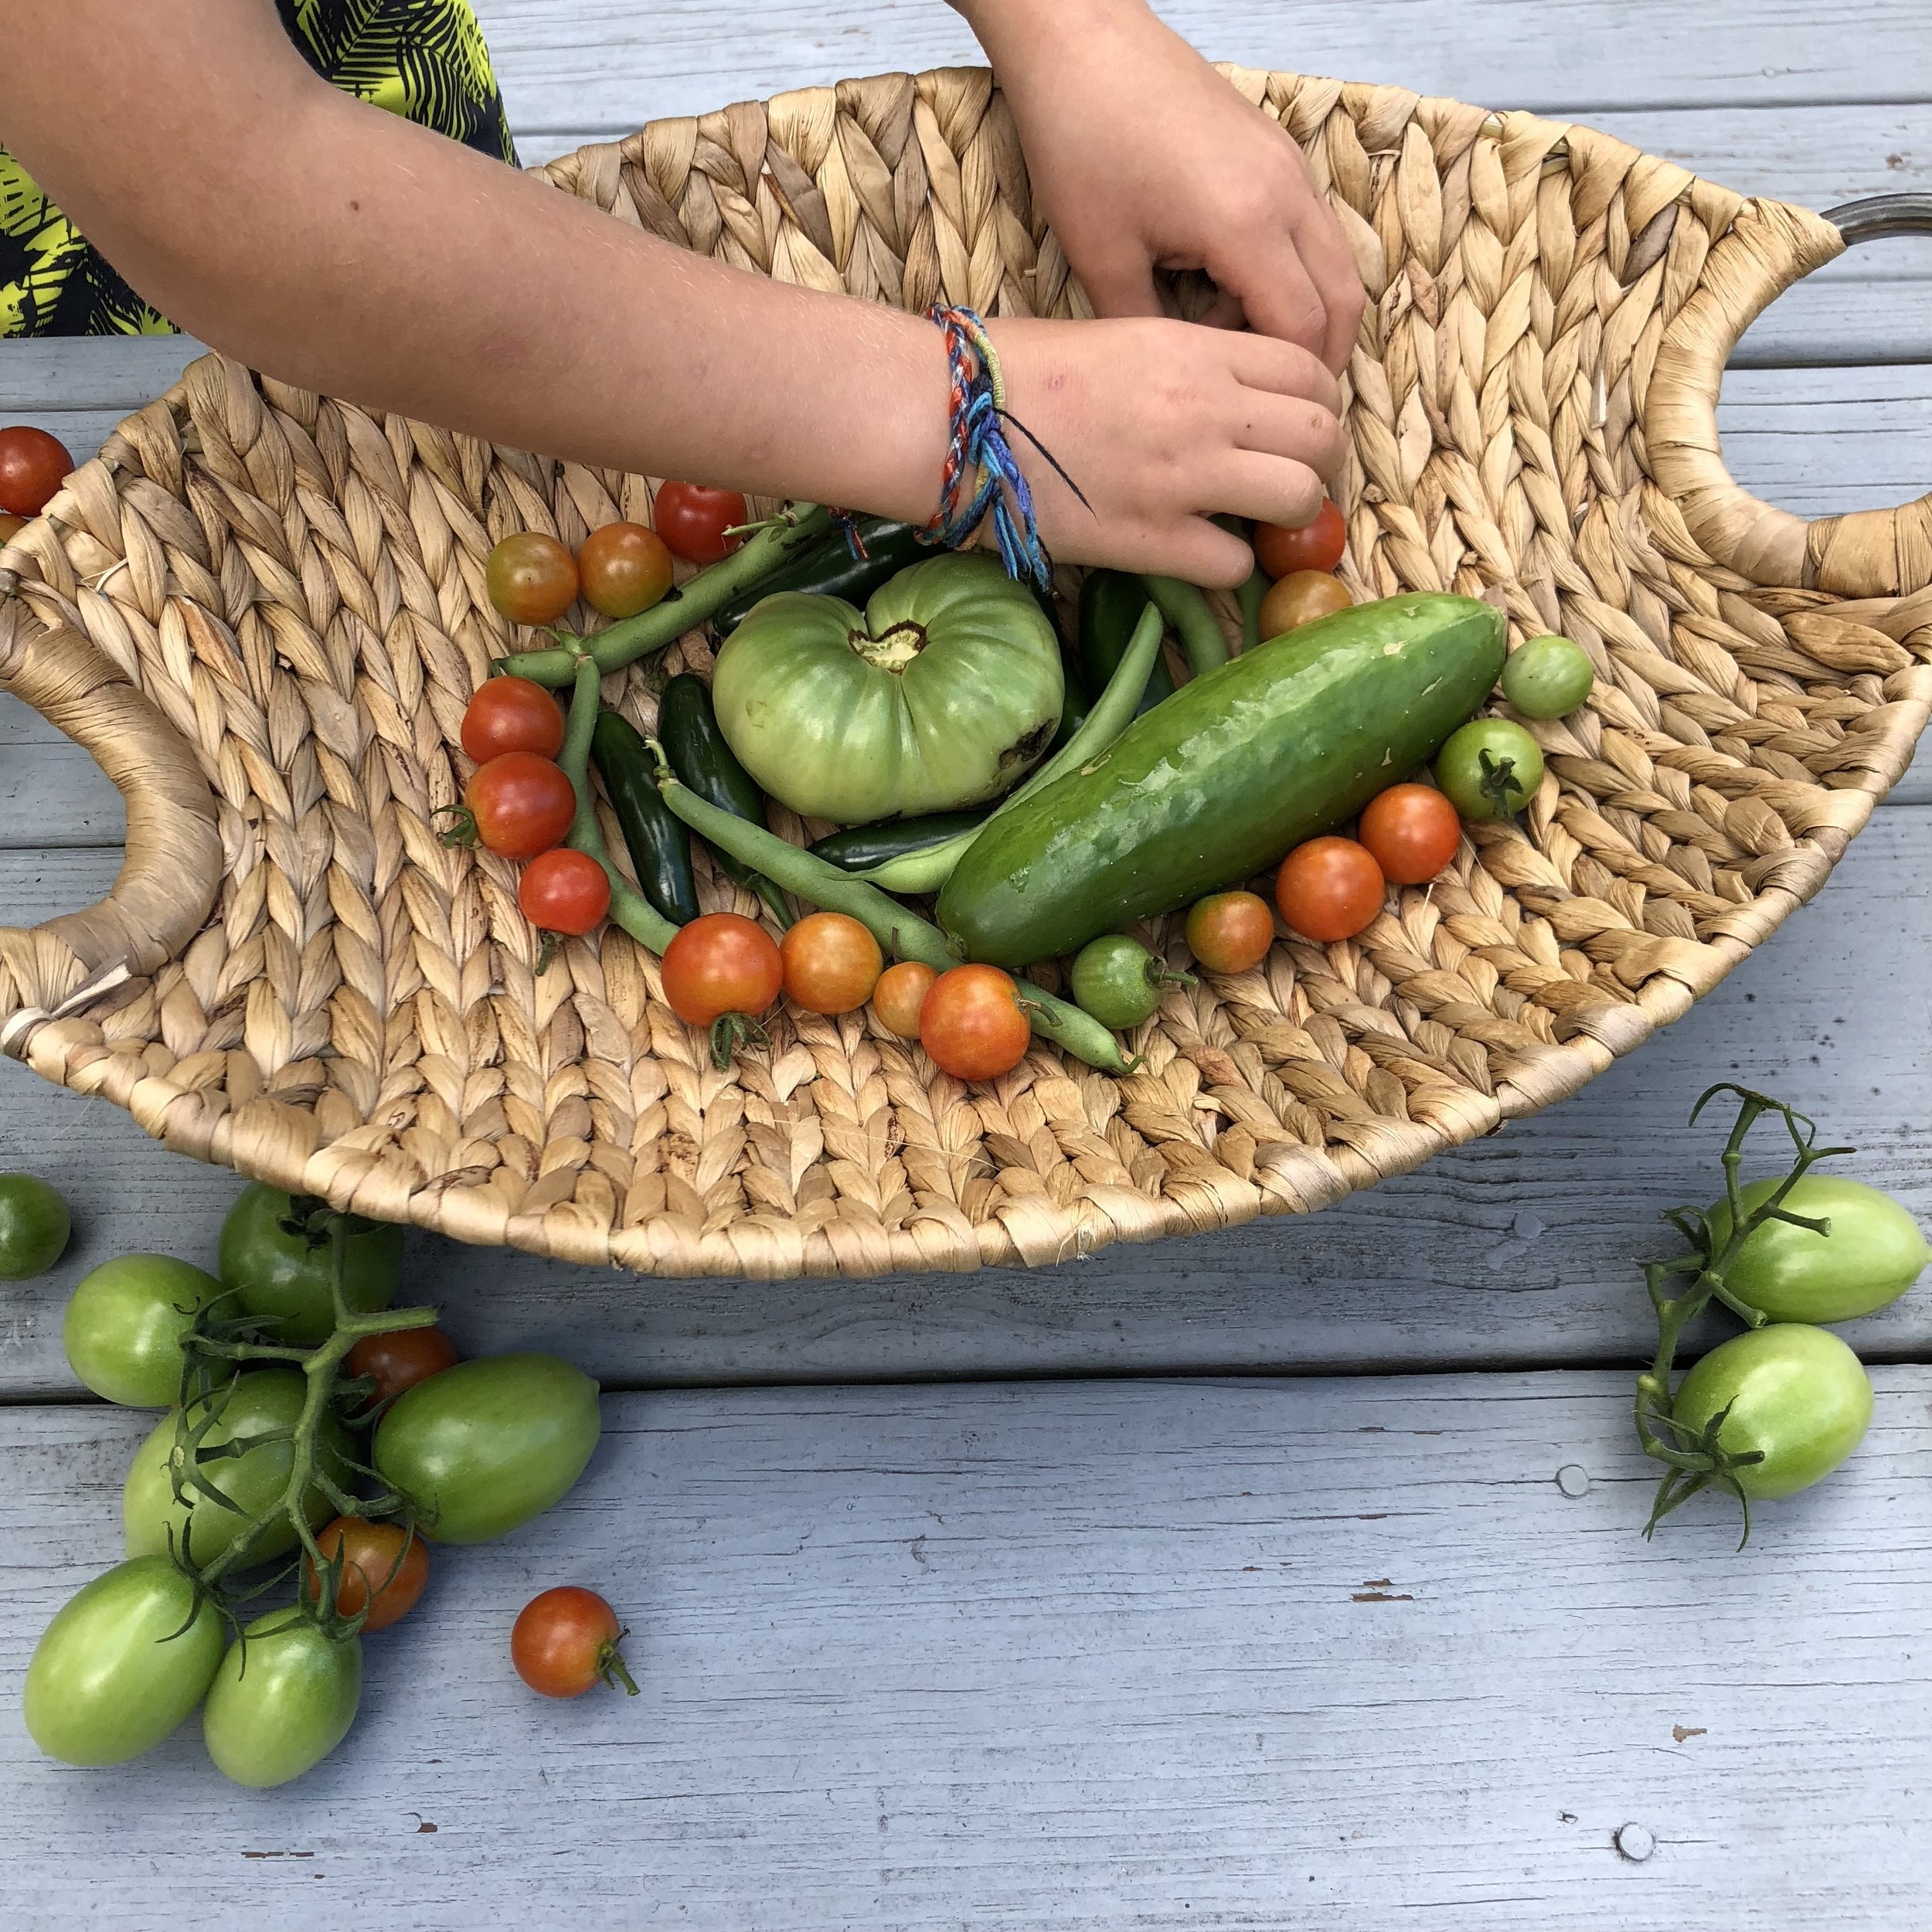
Emory enjoys arranging the bounty baskets even more than he enjoys picking produce from the garden

Here’s one of his arrangements.

Slow Oven Dried Tomatoes:

What you need:

  • tomatoes (any and all colors)

  • extra virgin olive oil

  • kosher salt or sea salt

  • garlic, dried oregano, dried basil, red pepper flakes (optional)

What you do:

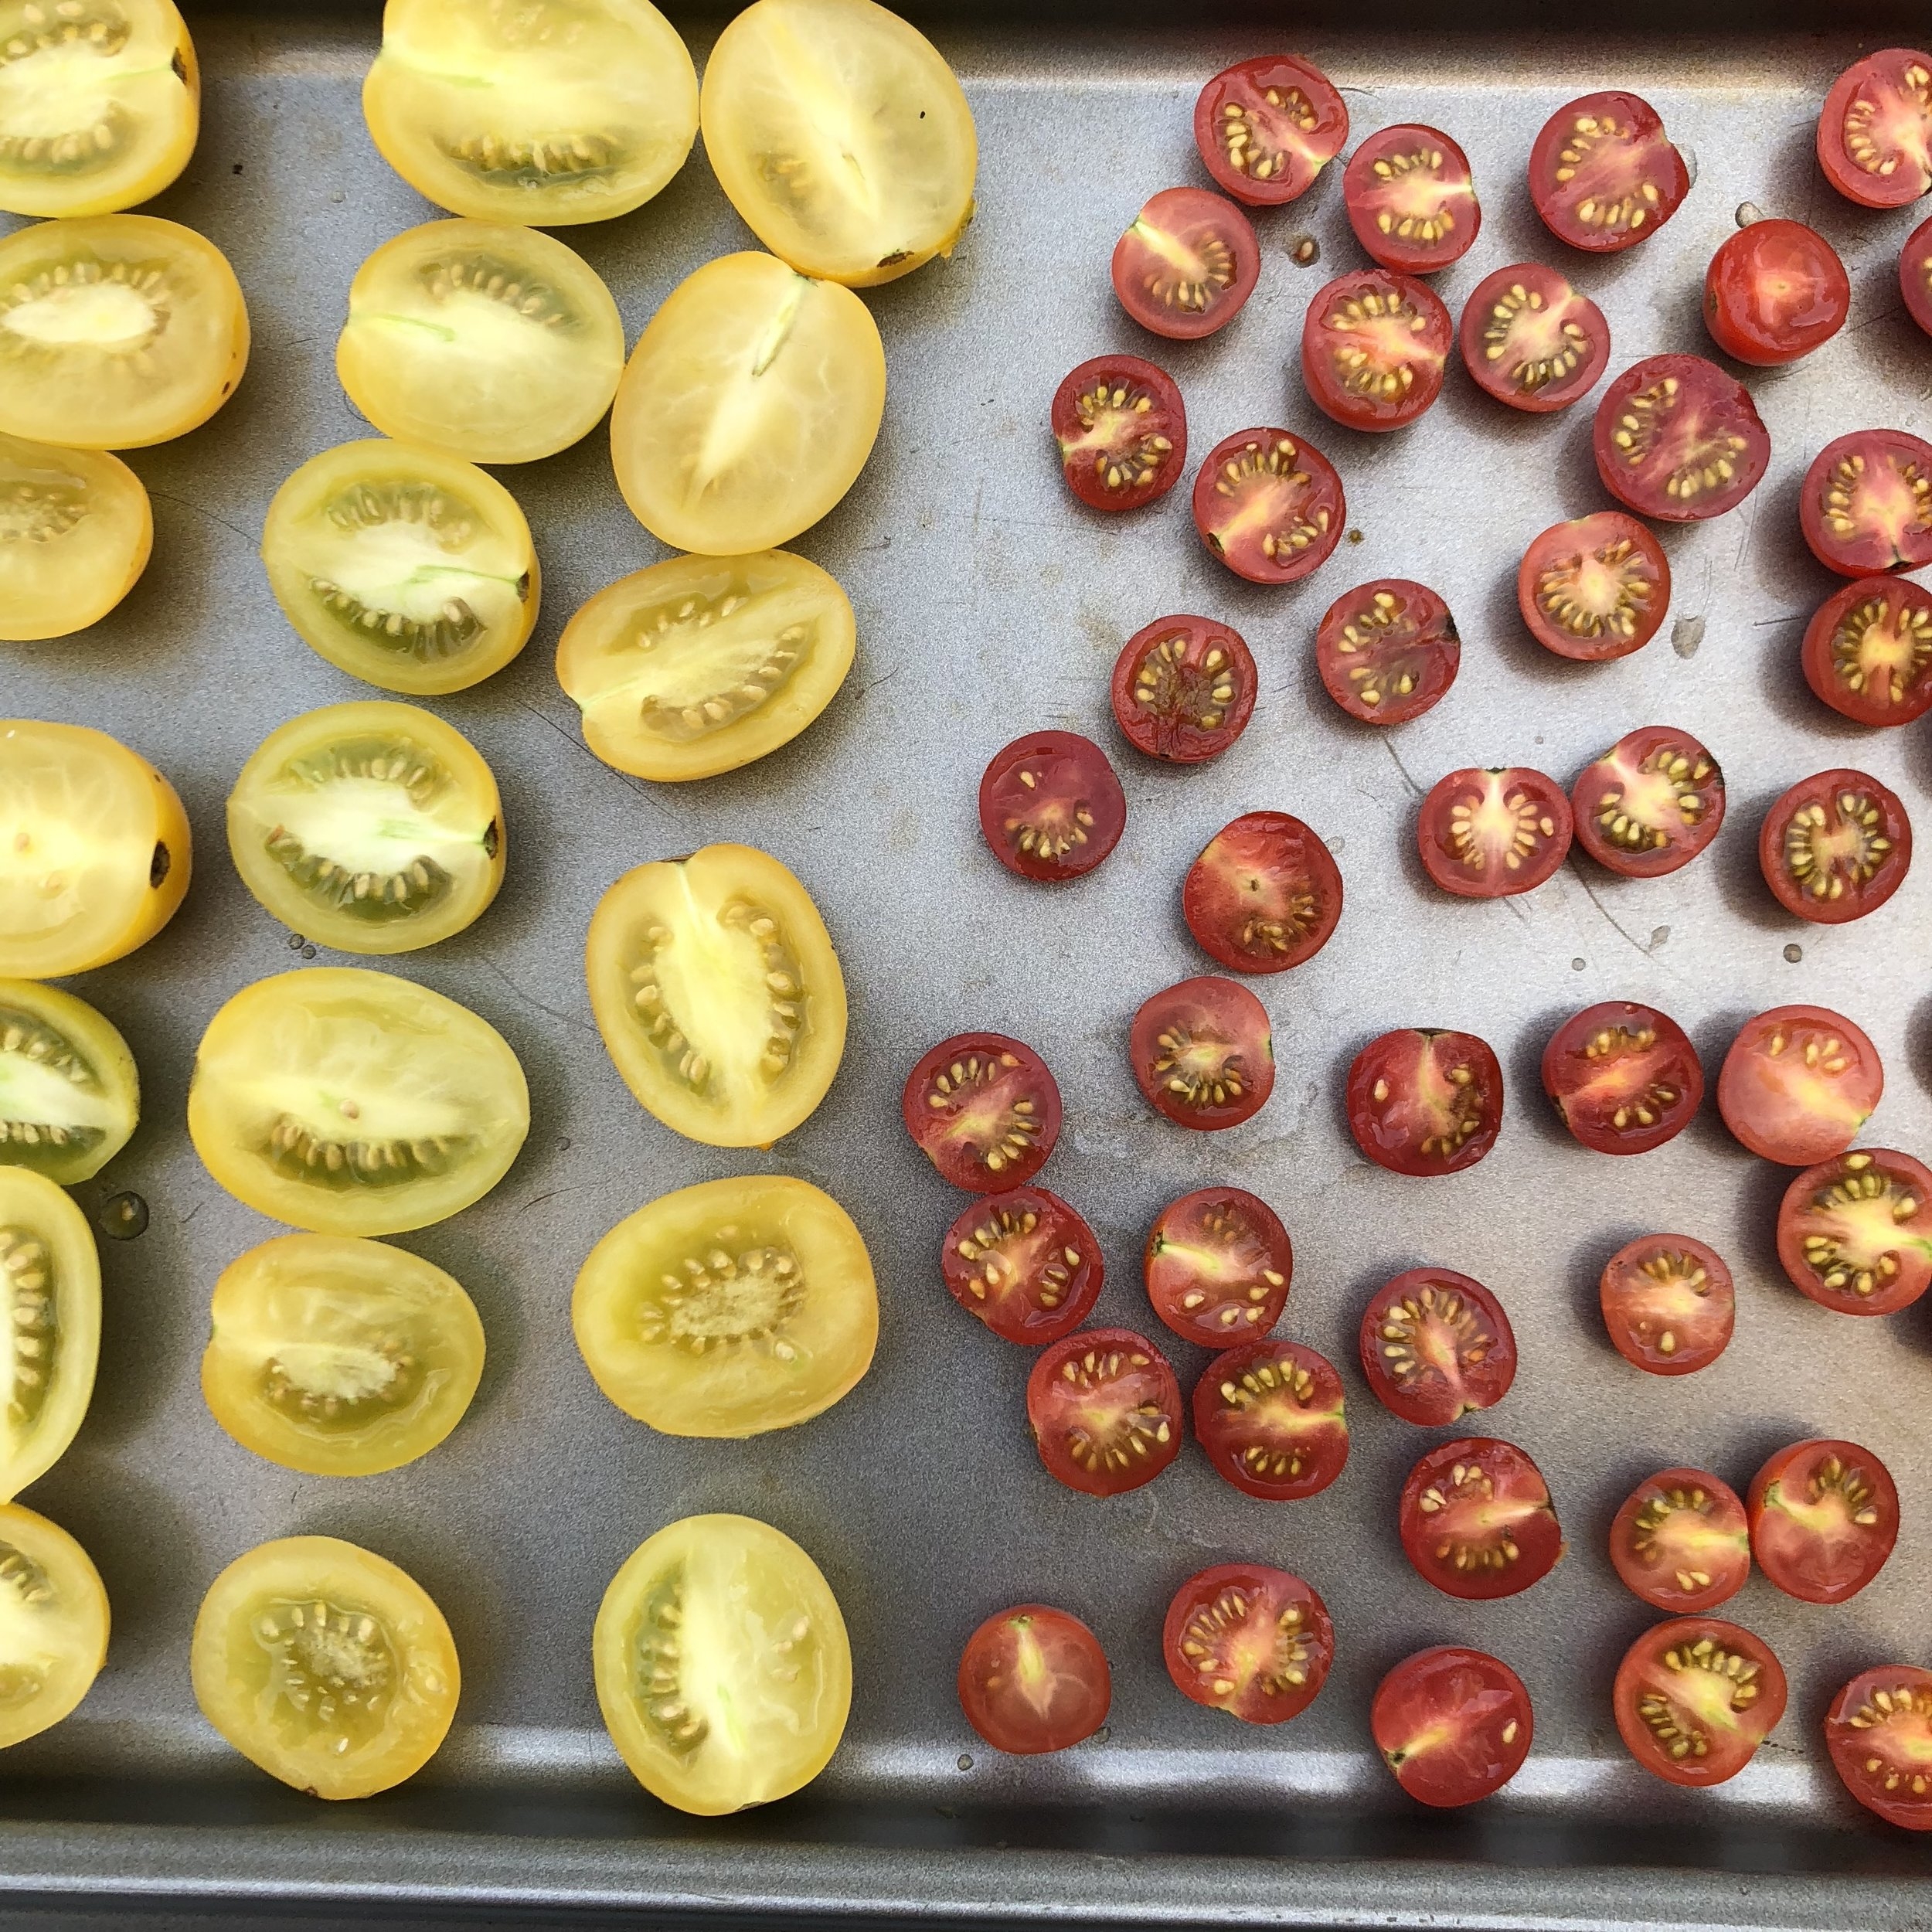
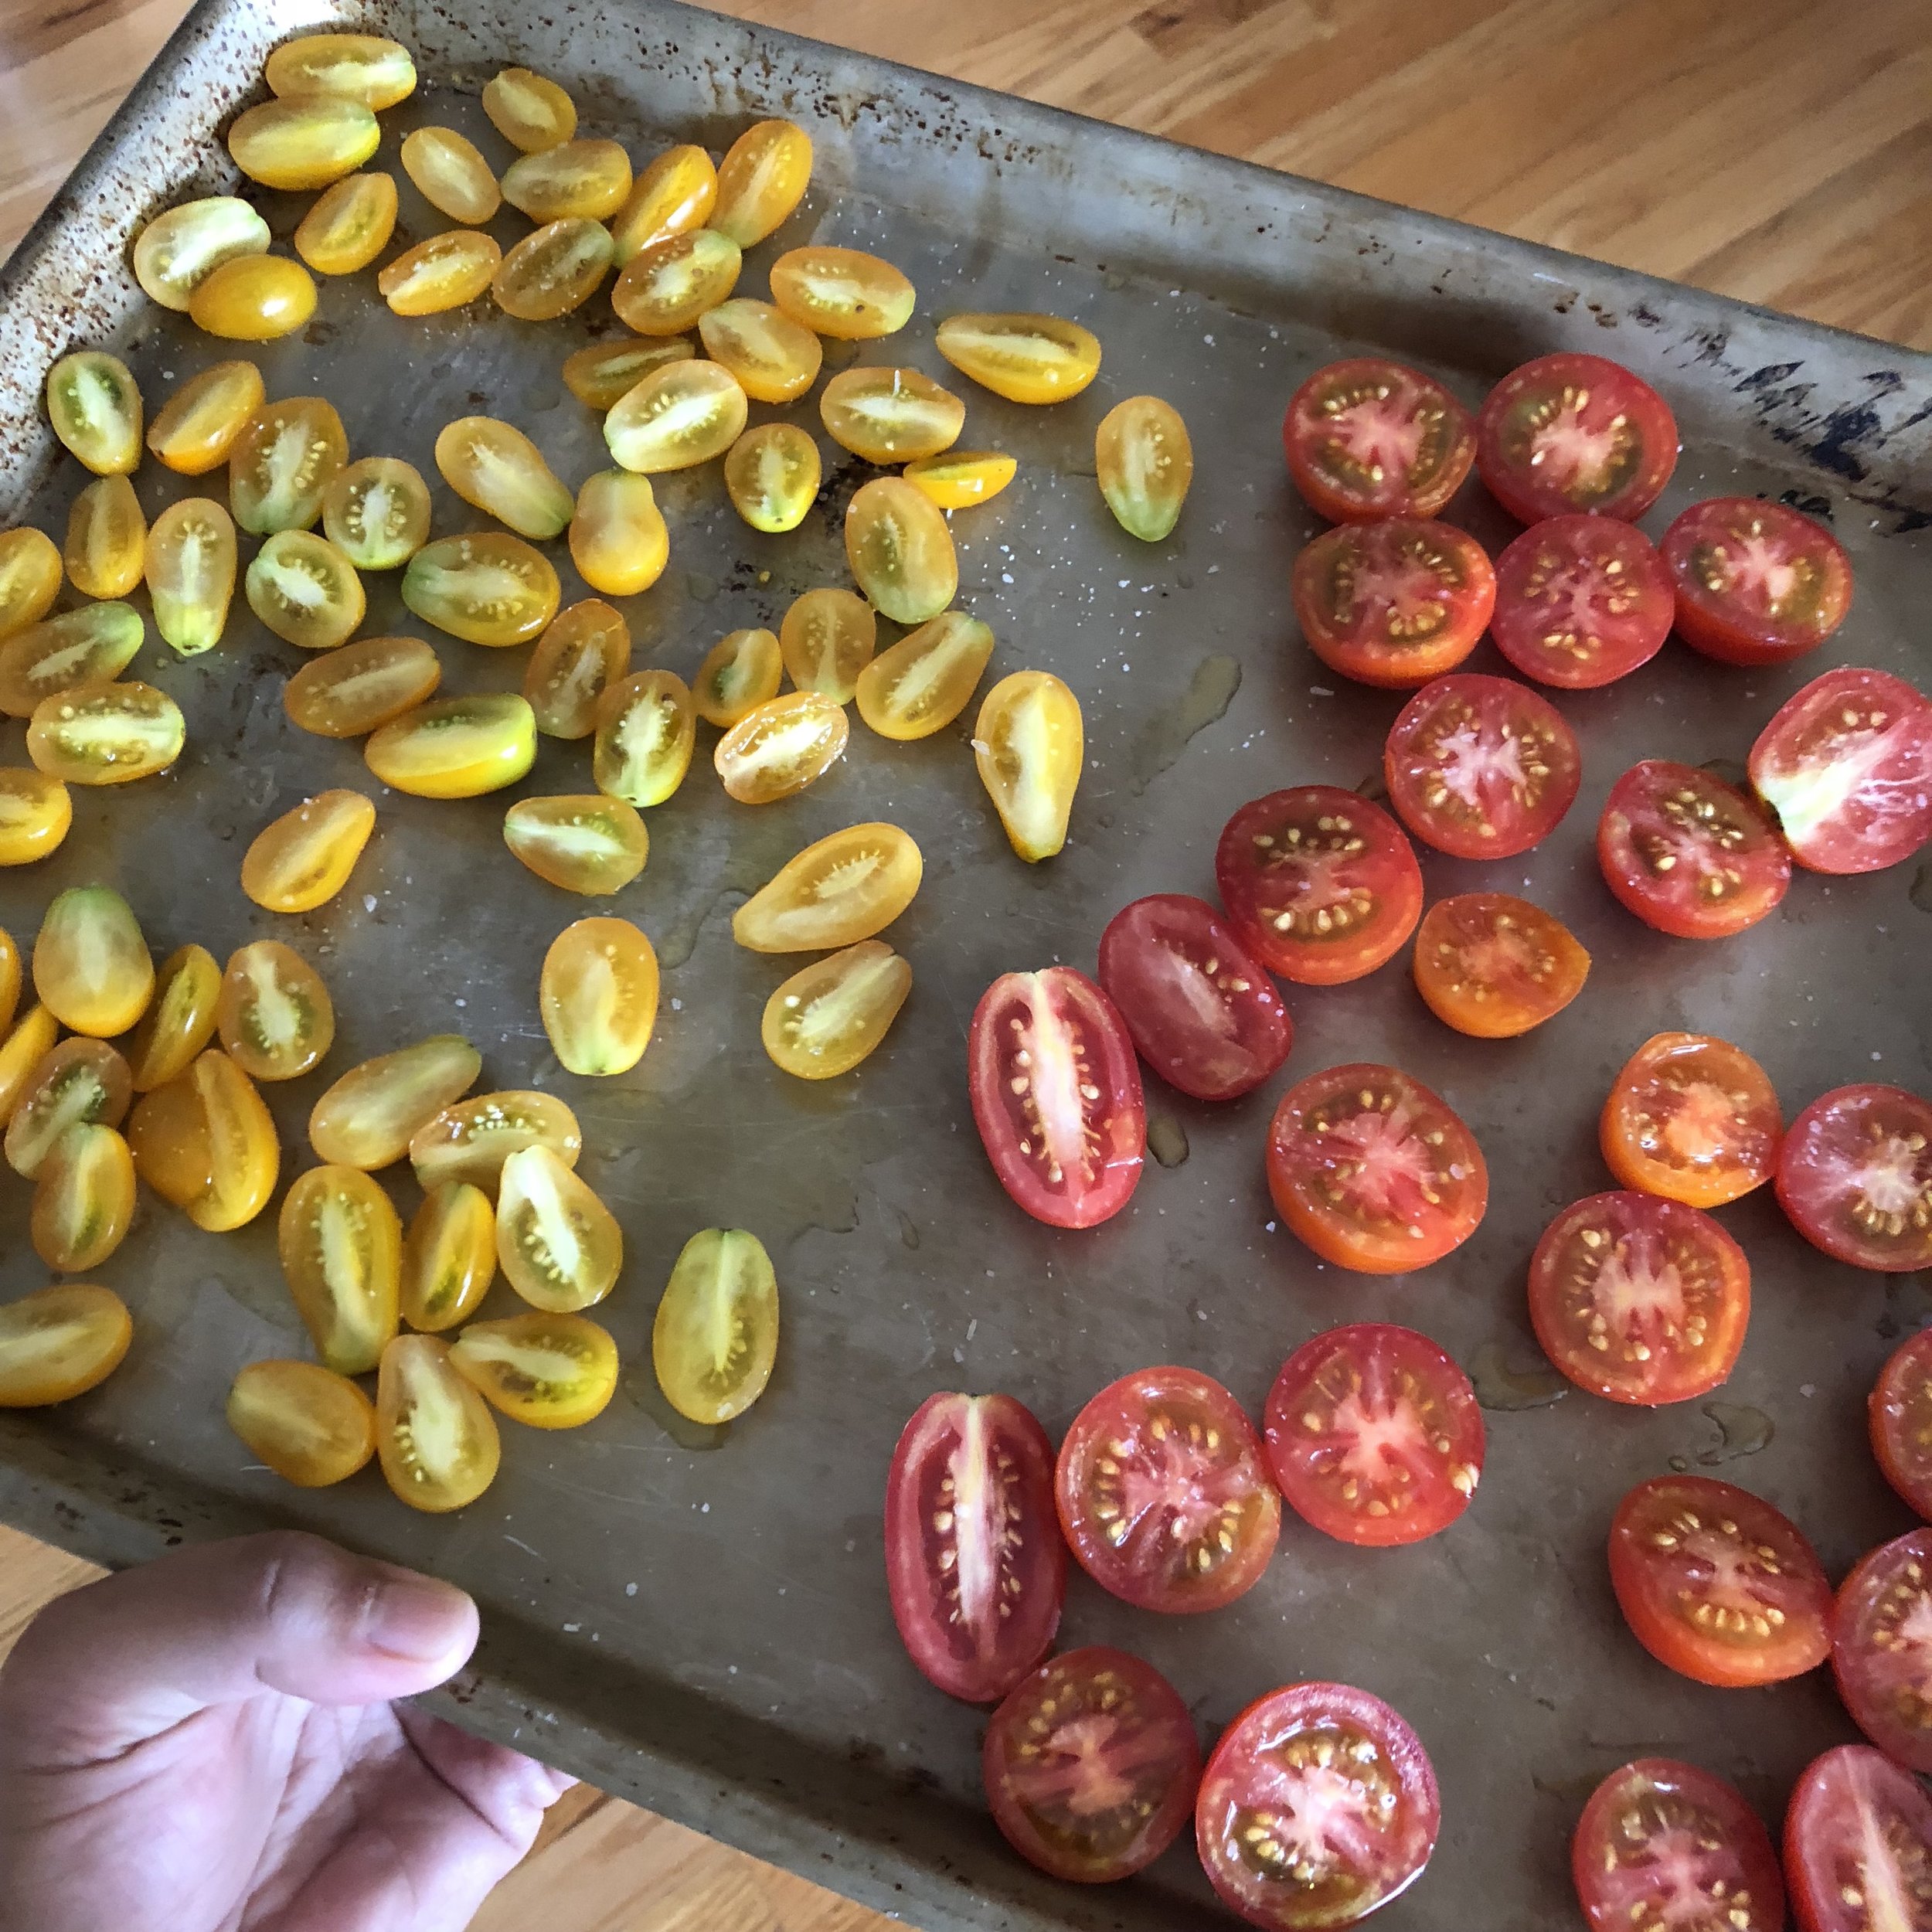
  1. Slice cherry and grape tomatoes in half.

  2. Arrange in a single layer cut side up on a baking sheet. Drizzle with olive oil. Tip: If your olive oil comes out too fast or doesn’t drizzle nicely from the bottle, transfer some to a spoon or small liquid measuring cup and drizzle from that.

  3. Sprinkle with kosher salt or sea salt.

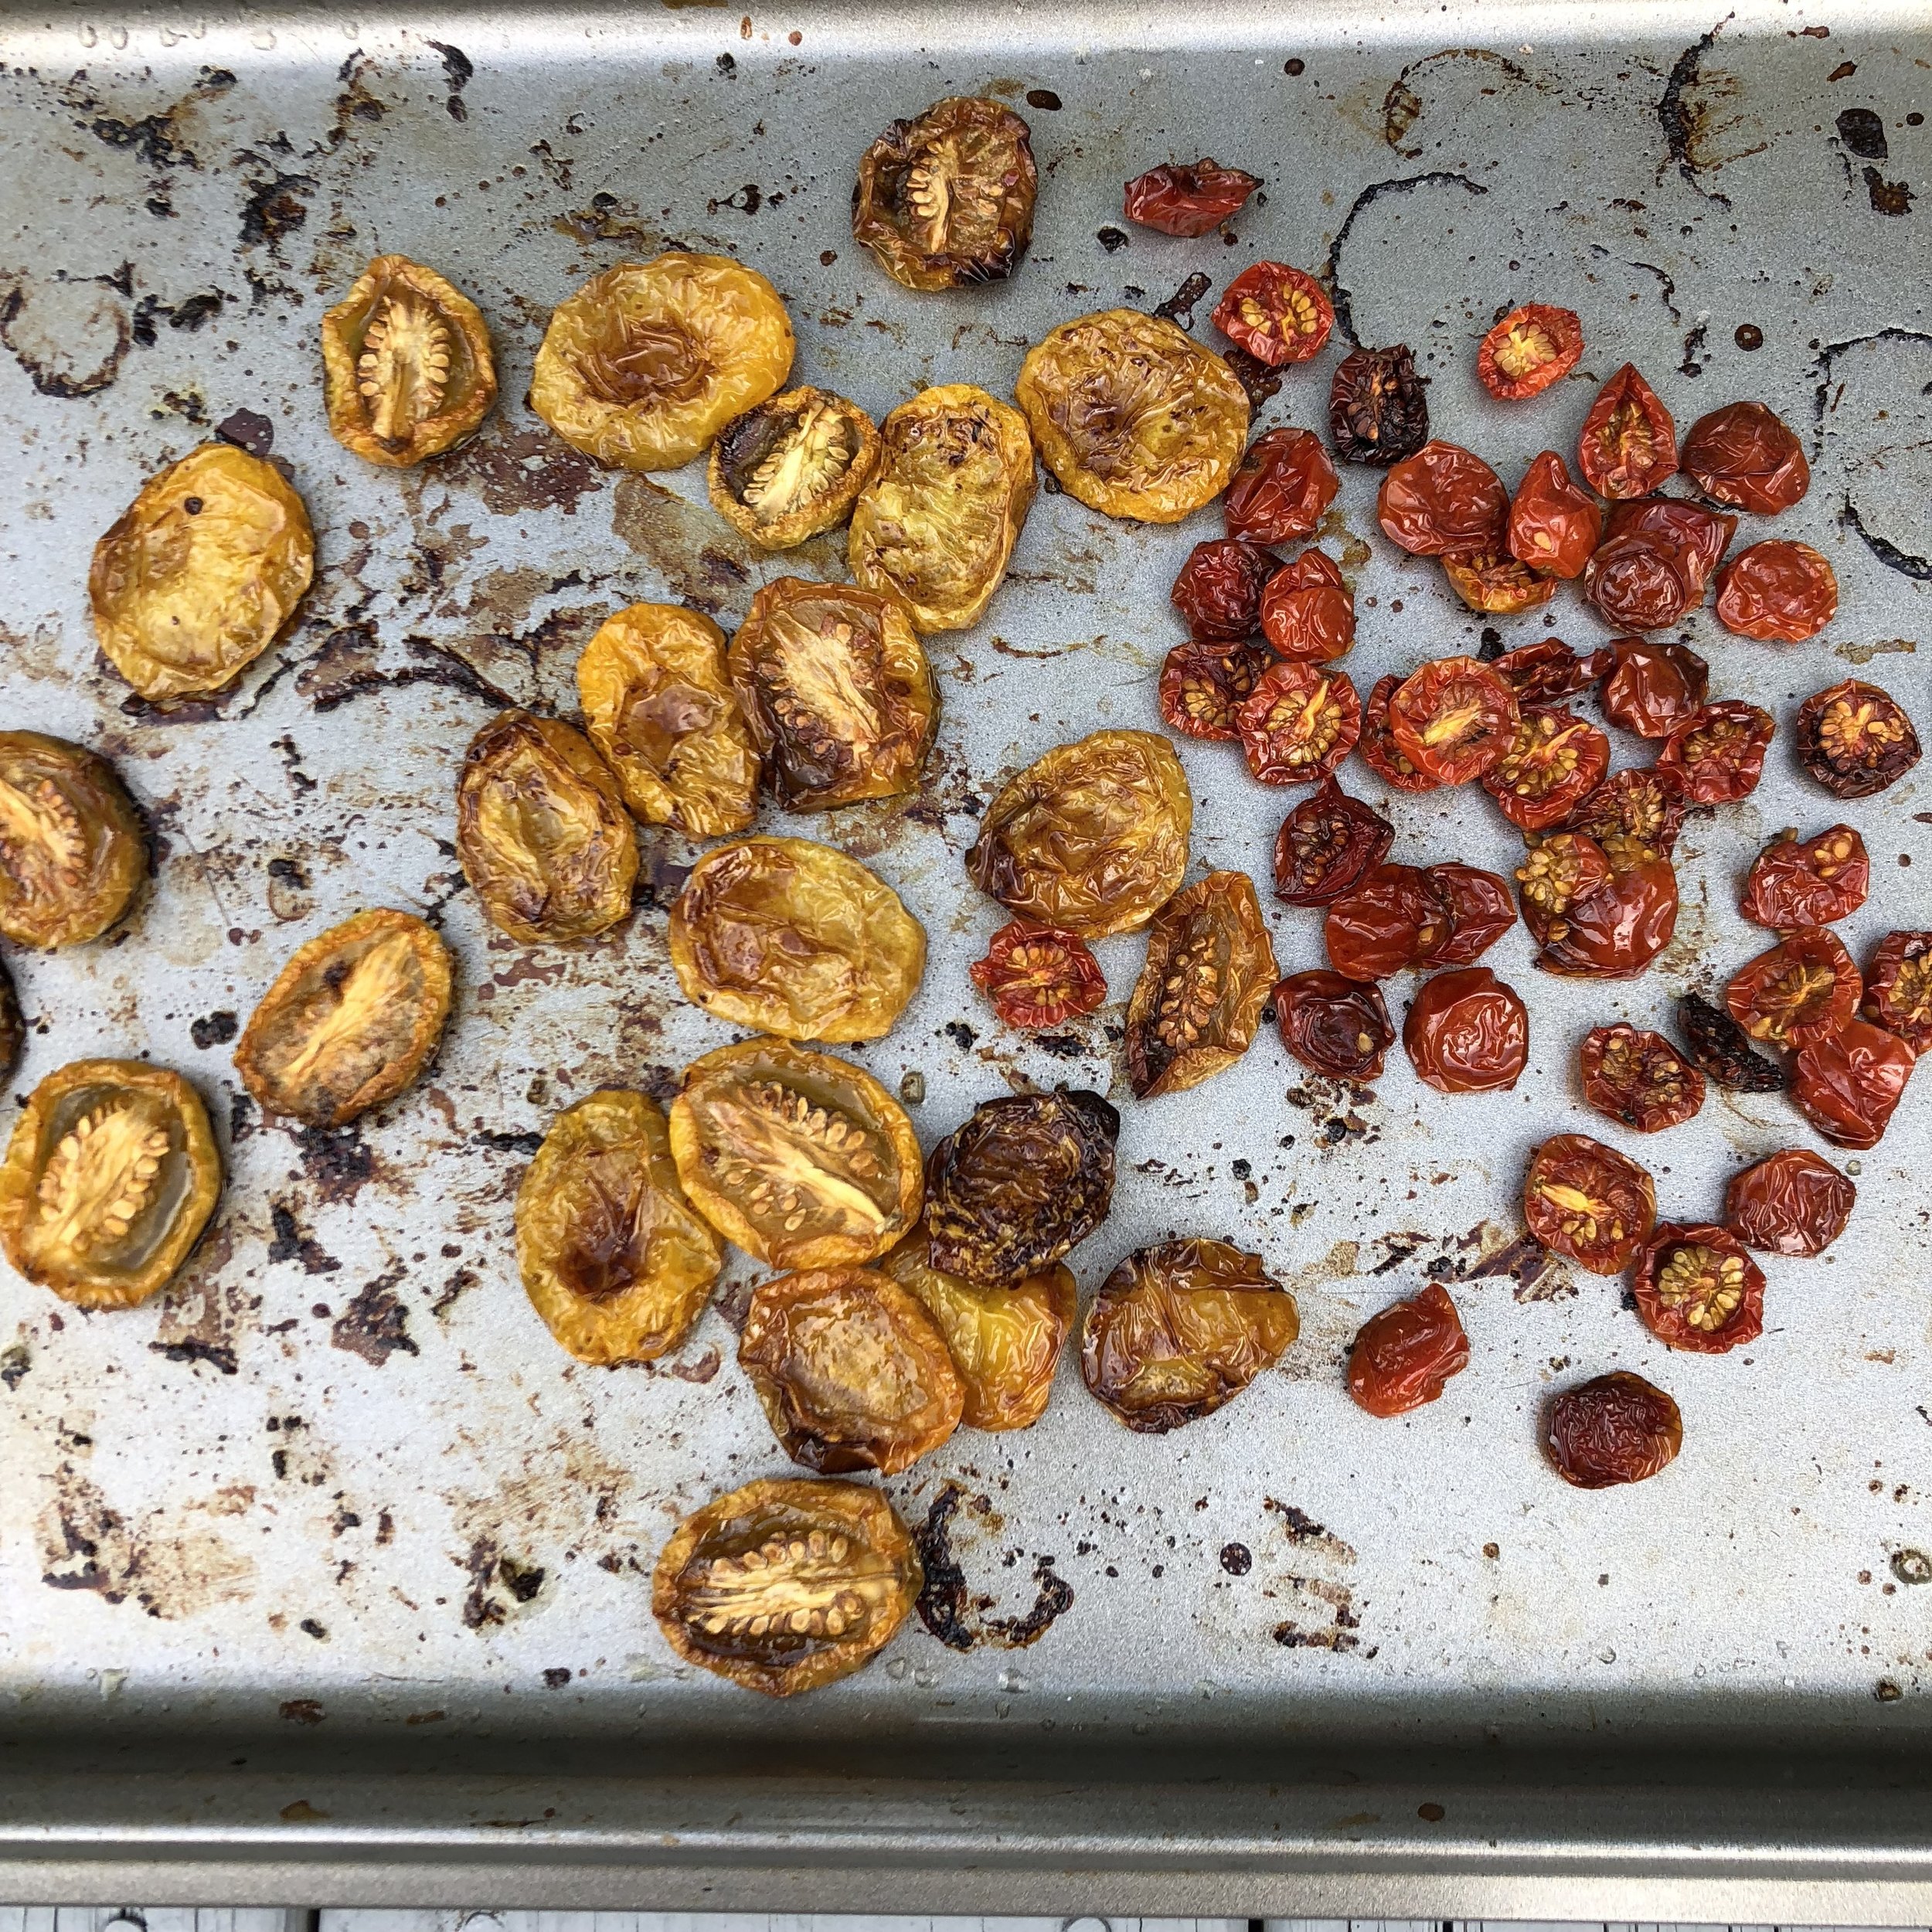
  4. Roast in oven at 200-225 degrees for at least 2 hours. Check at 2 hours. You want tomatoes to be shriveled and dried (see bottom photo on right). They should move easily around the pan when you shake it. Continue roasting, checking every 15-30 minutes until you reach this state. You can store in the fridge up to 3 weeks as is or in a jar of olive oil, with or without additional seasoning, like roasted garlic cloves, dried oregano, red pepper flakes or dried basil. You can also freeze the roasted tomatoes in oil for up to 6 months.

Dxvj14ccT6uOK+ozVCQ2Lg.jpg

Tomato Jam:

I made a version of this sweet and spicy tomato jam, but I used about 3 lbs of tomatoes because that’s what I had. I reduced the amounts of other ingredients accordingly. In addition to tomatoes, my jam has ¼ cup apple cider vinegar, ½ cup Mike’s hot honey, ¼ cup orange blossom honey, ¼ cup turbinado sugar, ¼ cup white sugar, and ¼ teaspoon crushed red pepper. I basically followed the procedure and got 16 oz of jam (or four 4 oz ball jars). I want more! Increase the sugar if you use green tomatoes, unless you like a more tart jam.

Fresh Tomato Tart:

A classic tomato tart, like this one from Ina Garten is a beautiful picnic or fall potluck take along. Or try this one using green tomatoes that really seems more like dessert than a savory dish.

Fried Green Tomatoes:

There is no substitute for fried green tomatoes, so make some this weekend and share. I’m pretty sure I’m available. Call me. To make: Slice large green tomatoes into 1/4 - 1/2 inch thick rounds. Put them through a three step dredge: 1. Flour seasoned with salt and cayenne pepper, 2. Egg whisked with salt and black pepper, and 3. Coarse ground cornmeal (with more cayenne if you’re feeling spicy). Fry in canola oil until golden brown on each side, remove and set on paper towels to drain, and sprinkle with salt immediately.

IMG_0296.JPG

Just a chef showing off her tomatoes, and getting some sun on her guns.

What's in my pantry?

Local seasonal cooking or the “use what you have method” is reliant upon a well-stocked pantry of easily adaptable staples. Since I often talk about what I find in my pantry to combine with unexpected pounds of fresh produce to assemble a quick dinner, many of you have asked, “what should be in my pantry?” As a chef, baker, and overall food enthusiast, my pantry is abnormally stocked with 6 types of rice, 8 varieties of flour, an assortment of oil and vinegar bottles and nearly 70 spices and dried herbs, and counting. What can I say, I love spices! However, for the purposes of this post, I asked myself, “what 10 items would you keep if you had to limit your ingredient indulgence?” In other words, below are the top 10 items I always have on hand.

Note: Your well-stocked pantry is going to have a lot to do with the type of cooking you do and the diet you eat [or aspire to eat]. This is my version.

Red Lentils (and Bengali Red Lentil Dal)

Red Lentils (and Bengali Red Lentil Dal)

Freekeh

Freekeh

Dried Cranberry Beans

Dried Cranberry Beans

  1. High Quality Extra Virgin Olive Oil - Mediterranean diet, need I say more?

  2. Canola oil - sometimes you need a health supportive cooking oil that won’t impart olive flavor

  3. Apple Cider Vinegar - when I thought about it, this is the vinegar I use most in sauces, dressings, marinades, and even stews and bone broth

  4. Dry Pasta - with my Italian roots and carbohydrate loving family, we’re often one box of pasta and some veggies away from dinner

  5. Coconut Milk - for a quick curry, a creamy soup, “nice” cream, or overnight oats, it’s good to have this stuff around

  6. A variety of Spices but only those you’ll use within a year. In the spirit of this post, if I had to choose one and only, I’ll take crushed red pepper flakes, since I use them nearly every day.

  7. Red Lentils - fast cooking, no soaking required, endless possibilities…

  8. A whole grain, and if I had to choose right now, it would be Freekeh, because it’s freaking delicious

  9. Dried Cranberry Beans - New England favorite, they work in chili, make kick-ass beans and rice, and can be puréed into a smooth dip

  10. Canned Chickpeas - I often cook my own chickpeas but having canned beans on hand for unplanned uses is critical and chickpeas are of the most useful

Okay, so ten items is extremely limiting; I’m including a bonus 5 items for bakers:

Turbinado Sugar

Turbinado Sugar

  1. Unbleached All Purpose Flour - I bake with a variety of flours and meals, but you can’t beat all purpose, because, well it’s for all purposes, and I usually combine that with another variety like spelt or whole wheat

  2. Turbinado Sugar - This raw version is less refined and offers more texture and flavor than its white counterpart, but it’s also versatile and can be used in most baking recipes that call for white and/or brown sugar. It can also be ground if you need it finer.

  3. Baking Powder - Sometimes you need a leavener…and this works more often than baking soda which requires acid in the mixture. Admittedly, this baker uses both regularly.

  4. Rolled Oats - these can also be ground into oat flour using a spice grinder or food processor

  5. Pure Vanilla Extract - usually can’t go wrong with this addition to most sweets…

I forgot salt?! Bonus item: Kosher Salt. So, there you have it. 16 required items in my pantry.

Masala Chai Latte Ice Cream

9fJac7wDSzuXqQjTOvb4nw.jpg

I had just made a large batch of my masala chai tea latte when I remembered that I was about to go out of town for a while. There was no way I would drink it all before leaving for my trip. My first thought was “oh no, chai latte down the drain.” But my second thought, with a mischievous smirk, was “there’s only one thing I can do about this situation”. I promptly put the ice cream machine bowl into the freezer and began turning that chai into an ice cream base.

I consulted my go-to guide in ice cream making, local favorite Ample Hills Creamery cookbook. Their Walt’s Dream base and overall ice cream making instructions were a fantastic starting point for this batch of Masala Chai Latte ice cream. One great tip provided by Ample Hills is to use skim milk powder in place of some of the milk. They consider it their secret ingredient because it provides creaminess without adding too much water, which would lead to dreaded ice crystals. It’s perfect when making an ice cream from a mixture already containing a bit of water, like tea. If your grocery store doesn’t sell skim milk powder, you can easily buy it online.

So, if you ever find yourself with an excess of chai latte (ah, when does that ever happen?) you can quickly churn that into a creamy caffeinated frozen treat. Or you could also make yourself a batch of masala chai, drink a cup with a friend and use the remainder for this sweet & spicy afternoon pick me up. To me, it’s like coffee ice cream but way better! It pairs nicely with a sugar cone, oat cookies or biscuits, but can also make a decadent sundae with hot fudge, whipped cream, and bruléed peaches.

YwF+9VGYRYas7CPNf5QOYw.jpg

What you need:

  • 2 cups prepared masala chai latte, strained, chilled or hot

  • 1/4 cup turbinado sugar

  • 1/2 cup dry non-fat/skim milk powder

  • 1 1/2 cups heavy cream

  • 3 egg yolks

What you do:

  1. As per the instructions of your ice cream maker, put your ice cream bowl into the freezer to chill.

  2. Pour prepared masala chai latte into a medium saucepan and whisk in the turbinado sugar and milk powder until they are fully dissolved and there are no lumps. Stir in the heavy cream.

  3. Heat mixture over medium high heat until it just begins to steam, about 5 minutes (or when temperature on instant read thermometer reads 105 degrees). Turn off the heat.

  4. In a bowl, whisk the egg yolks while simultaneously streaming in about 1/2 cup of the hot chai mixture in a very slow drizzle.

  5. Slowly whisk this egg yolk mixture back into the pot. Heat on medium low heat until mixture thickens to coat the back of a rubber spatula and tiny bubbles appear (or when temperature on instant read thermometer reads 165 degrees) about 7-10 minutes, stirring frequently.

  6. Remove from heat and set pot into an ice bath (a larger pot or container filled with ice water). Alternatively, transfer the hot mixture to a heat proof bowl or pitcher to place into ice bath. Avoid getting ice and water into your ice cream mixture. Chill in ice bath for about 20 minutes, stirring every 4-5 minutes.

  7. Strain mixture through a mesh strainer to remove any lumps and transfer to a container with a tightly fitting lid. Chill in the refrigerator for 6 hours, or until your ice cream machine bowl is ready, or up to 3 days.

  8. Freeze in your ice cream machine according to the machine's directions.

New England Corn Chowdah

I'm from New England. This IS how you say it and spell it.

Here’s a recipe for a New England classic made vegetarian and gluten free. Of course, you can still use bacon for the extra richness or add lobster for a decadent summertime delight. See variations below. A traditional chowder might use a roux -- equal parts butter and flour cooked to a paste -- for thickening, but I’ve found that a purée of fresh corn kernels plus potatoes cooked down into the broth create the exact same result and help the chowder maintain it’s fresh light consistency rather than becoming gelatinous. Note: this chowder will also work well with leftover previously cooked corn on the cob. Just remove kernels from cobs and use both as if they were fresh. You might not extract as much flavor from the previously cooked cobs and the kernels won’t be as crunchy in the chowder but it’s certainly a great use for leftover corn on the cob.

What you need:

  • 5 ears of corn

  • 1 bay leaf

  • 3 teaspoons sea salt, divided

  • 2 tablespoons olive oil or unsalted butter, plus more butter for serving if desired

  • 1 onion, medium dice

  • 4-5 medium red potatoes, small dice

  • ¼ teaspoon dried thyme (optional)

  • pinch cayenne pepper (optional)

  • 3 cups half-n-half, whole milk or combination

  • ¼ cup fresh thyme leaves (from about 6-7 sprigs)

  • 1 teaspoon minced parsley leaves

  • black pepper to taste

What you do:

1. Cut corn kernels from cobs. Using the back of your knife, scrape the remaining kernels and juices from the cob. Set aside.

2. Boil 3 cups water with 2 teaspoons sea salt and add cobs (with kernels removed) and bay leaf. Simmer for 10 minutes. Drain and reserve liquid. Discard the cobs and bay leaf.

3. In a soup pot, heat the olive oil on medium high heat until it shimmers. Add diced onion and a pinch of salt and sauté until soft, about 3 minutes.

4. Add potatoes, another pinch of salt, dried thyme, and cayenne if using, and reduce heat to medium. Cook for about 5 minutes or while you prepare the liquid.

Blend about 1/3 of the fresh corn kernels with stock (or water) before adding to chowder to create a sweet and creamy base. (see step 5)[yup, my dad's jar of corks in the background]

Blend about 1/3 of the fresh corn kernels with stock (or water) before adding to chowder to create a sweet and creamy base. (see step 5)

[yup, my dad's jar of corks in the background]

5. Put about a cup of the reserved corn stock and 1 cup of the corn kernels into a blender. Blend until smooth. Alternatively, you could just add the corn kernels to the liquid in a large measuring cup and purée with an immersion blender. Add this liquid to the pot and simmer for about 20 minutes or until potatoes are very tender. Season to taste with salt and black pepper.

6. Add remaining corn kernels and cook for about 4 minutes.

7. Add milk and thyme, and warm until liquid just begins to steam. Be careful not to boil the milk. Season to taste with salt and pepper. Serve with an additional pat of butter, if desired, and minced parsley leaves.

IMG_9868.JPG

Variations:

With Bacon: At step 3, render the bacon until crispy in the soup pot. Remove bacon strips and lay on paper towels. Drain excess grease so that you are left with about 2 tablespoons in bottom of pan. Sauté diced onion in the 2 tablespoons of bacon fat and continue with recipe. Add roughly chopped bacon bits to the chowder just before serving.

With Lobster: At step 7, add previously cooked and shelled lobster meat, cut into bite sized pieces, with the milk and thyme.

To freeze: After adding the corn in step 6, remove from heat and allow to cool. Freeze the partially finished chowder at this point. To reheat and finish, simply defrost in the fridge or in a pot over low heat. Bring to a simmer and ensure potatoes are heated through. Add milk and thyme and continue with step 7.

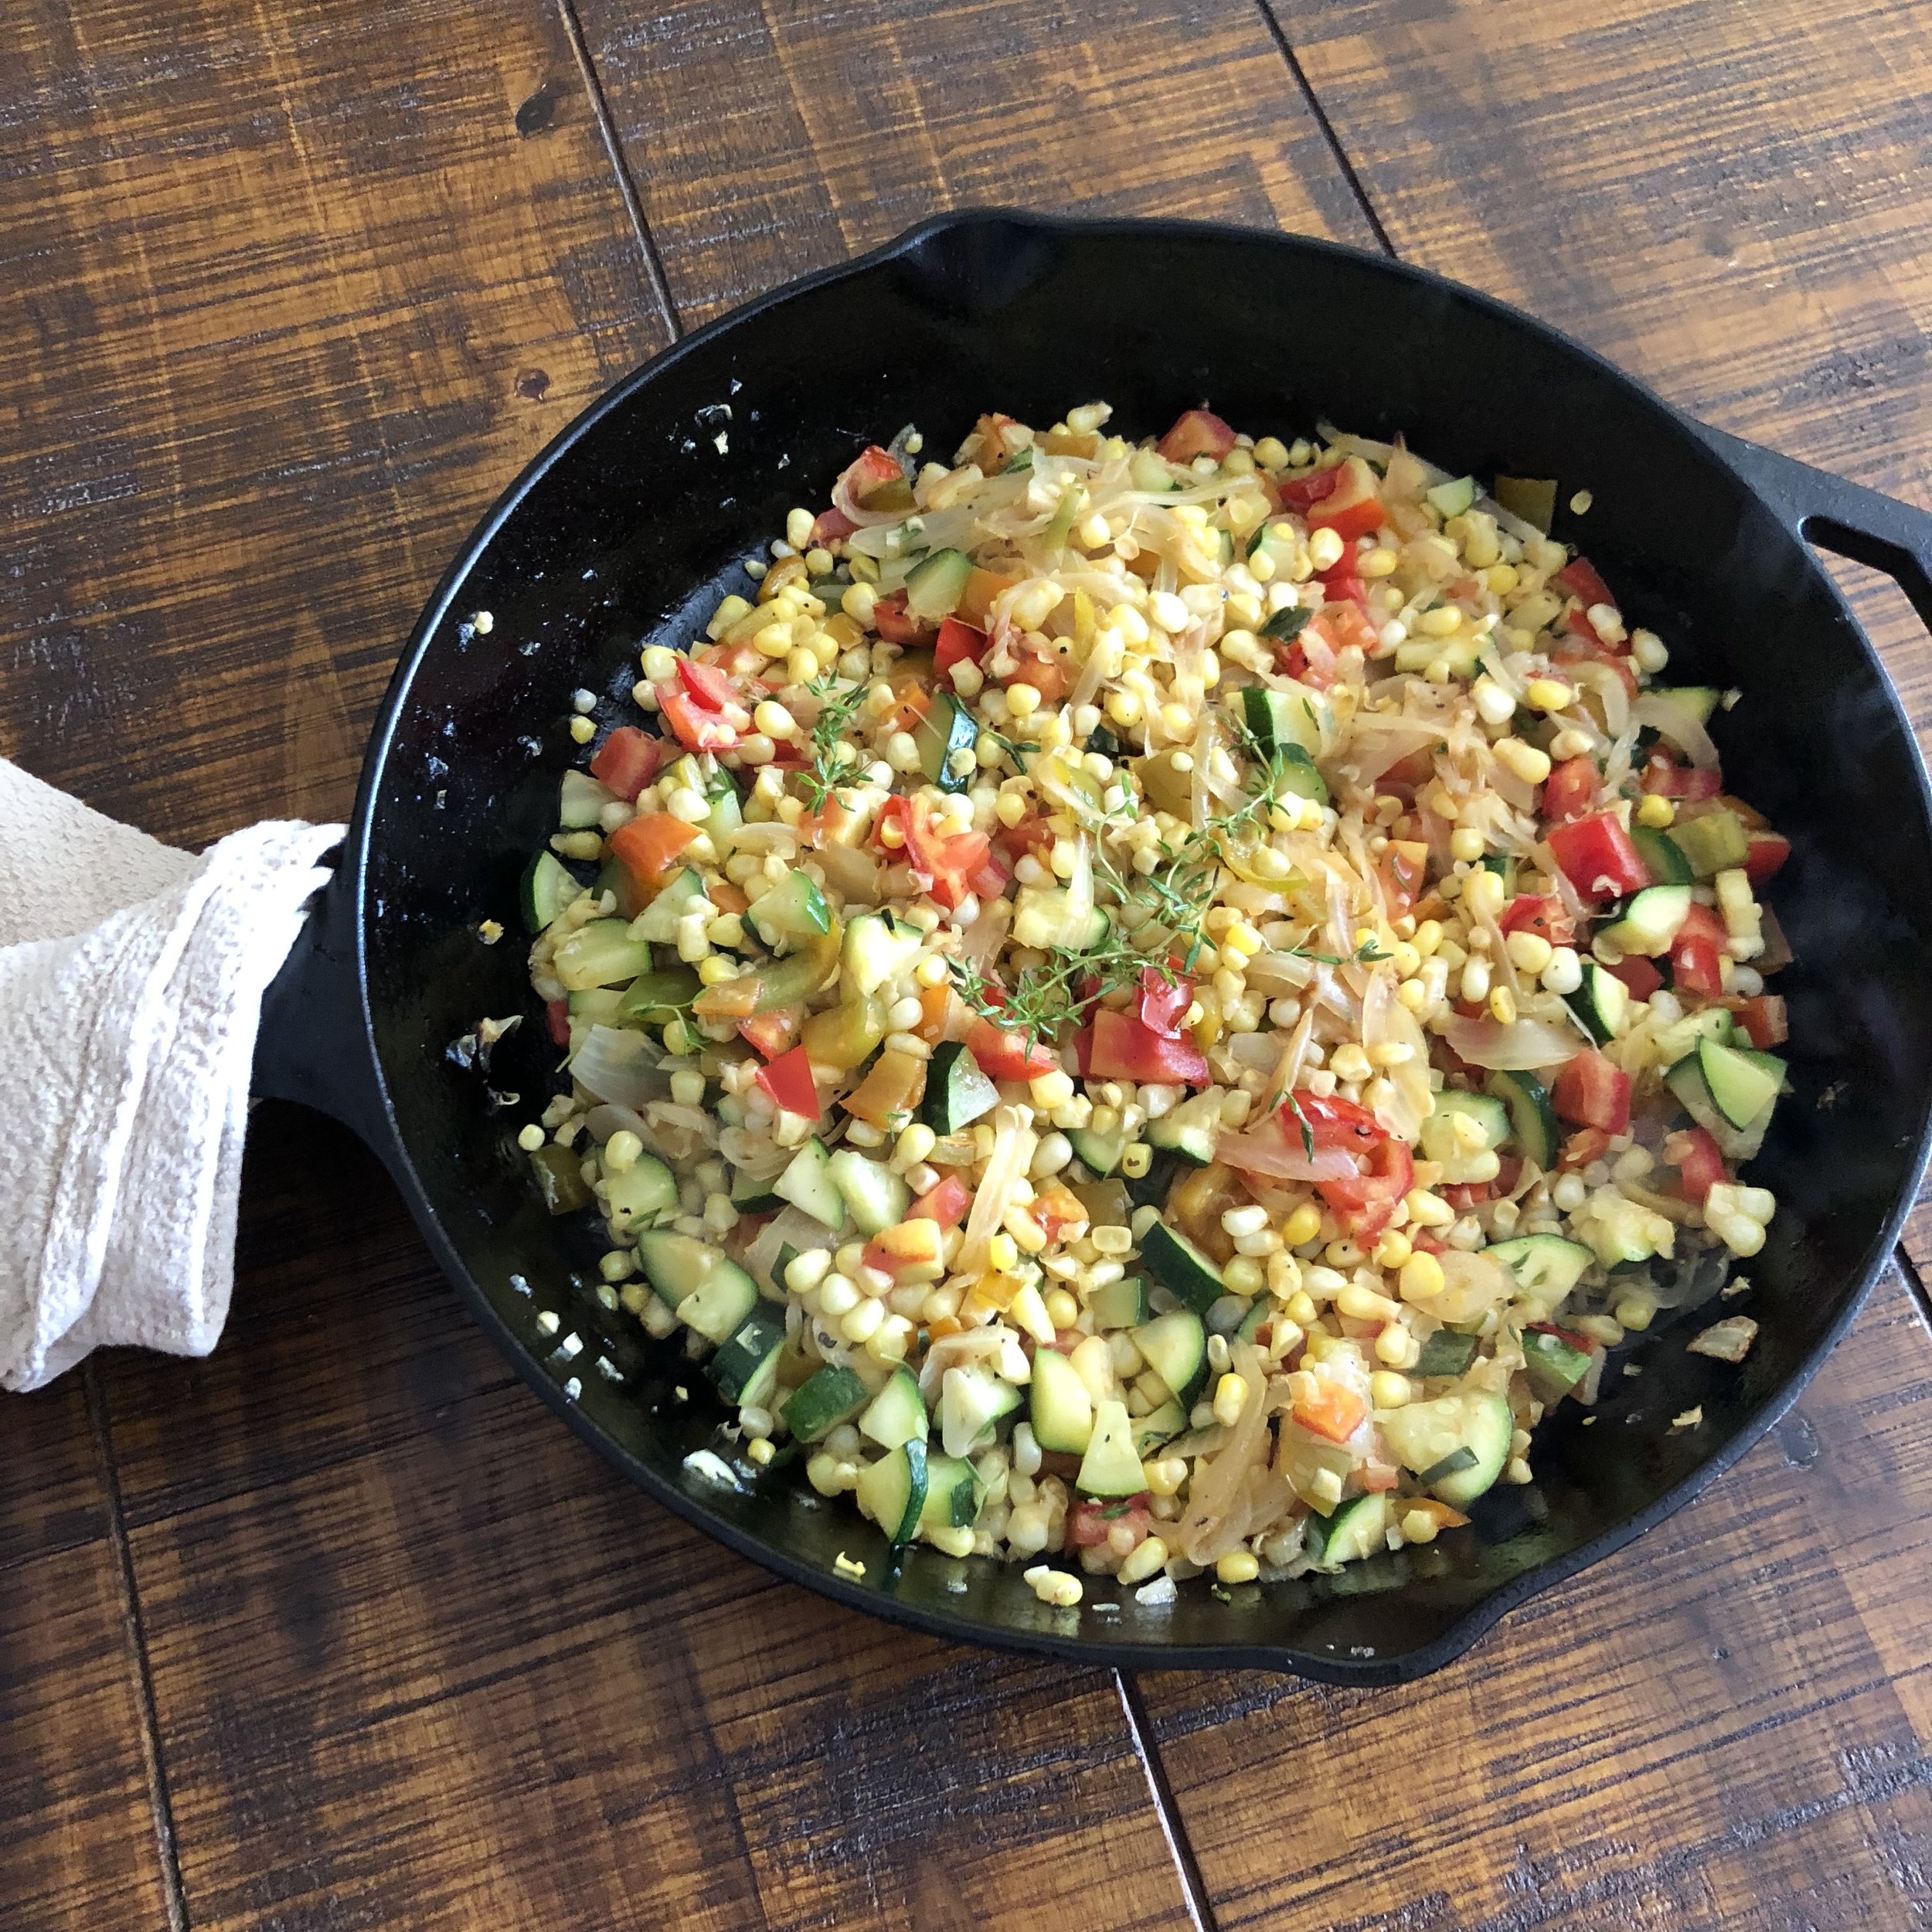
Summer Succotash - New England Style

IMG_9345.JPG

It does not get more American than succotash, one of the first dishes Native Americans shared with settlers. The word, meaning "broken corn kernels" comes from the Narrangansett people, who lived in the area that is now Rhode Island. There are many ways to make succotash and an American southerner might eloquently debate a Yankee on both contents and process. I favor the New England variety, with a few tweaks, but also just assumed succotash translated to "every vegetable from the garden" or "the entire contents of your produce drawer dumped into a skillet."

Succotash is the whatever you have at the time kind of dish. Actually -- and perhaps I should put this into the procedure itself -- when making succotash, I open all drawers of my fridge, hunt behind jars and open every container of leftovers, stacking every possible vegetable that can be used on the cutting board along with the tomatoes ripening on the counter. As far as I'm concerned, the only required ingredient in summer succotash is fresh local sweet corn previously cooked or raw. The others you can take or leave or substitute, depending on what you have and what you like.

New England Summer Succotash

Yield: Serves 4-6

fullsizeoutput_1962.jpeg

What you need:

  • 2 tablespoons extra virgin olive oil or butter

  • 1 onion

  • sea salt or kosher salt

  • dried ground spices (e.g. smoked paprika, garlic powder, cayenne, optional)

  • 2 sweet peppers (any color bell, anaheim, cubanelle)

  • 3-5 cloves garlic

  • 1 cup beans (see note)

  • 2 medium zucchini or summer squash

  • 2-3 cups fresh corn kernels*

  • 1/4 cup water

  • 1-2 medium tomatoes or handful of cherry tomatoes

  • 1-2 tablespoons fresh herbs (thyme, parsley, basil, oregano, chives, rosemary), chopped

What you do:

  1. Cut all vegetables into a similar size and shape.

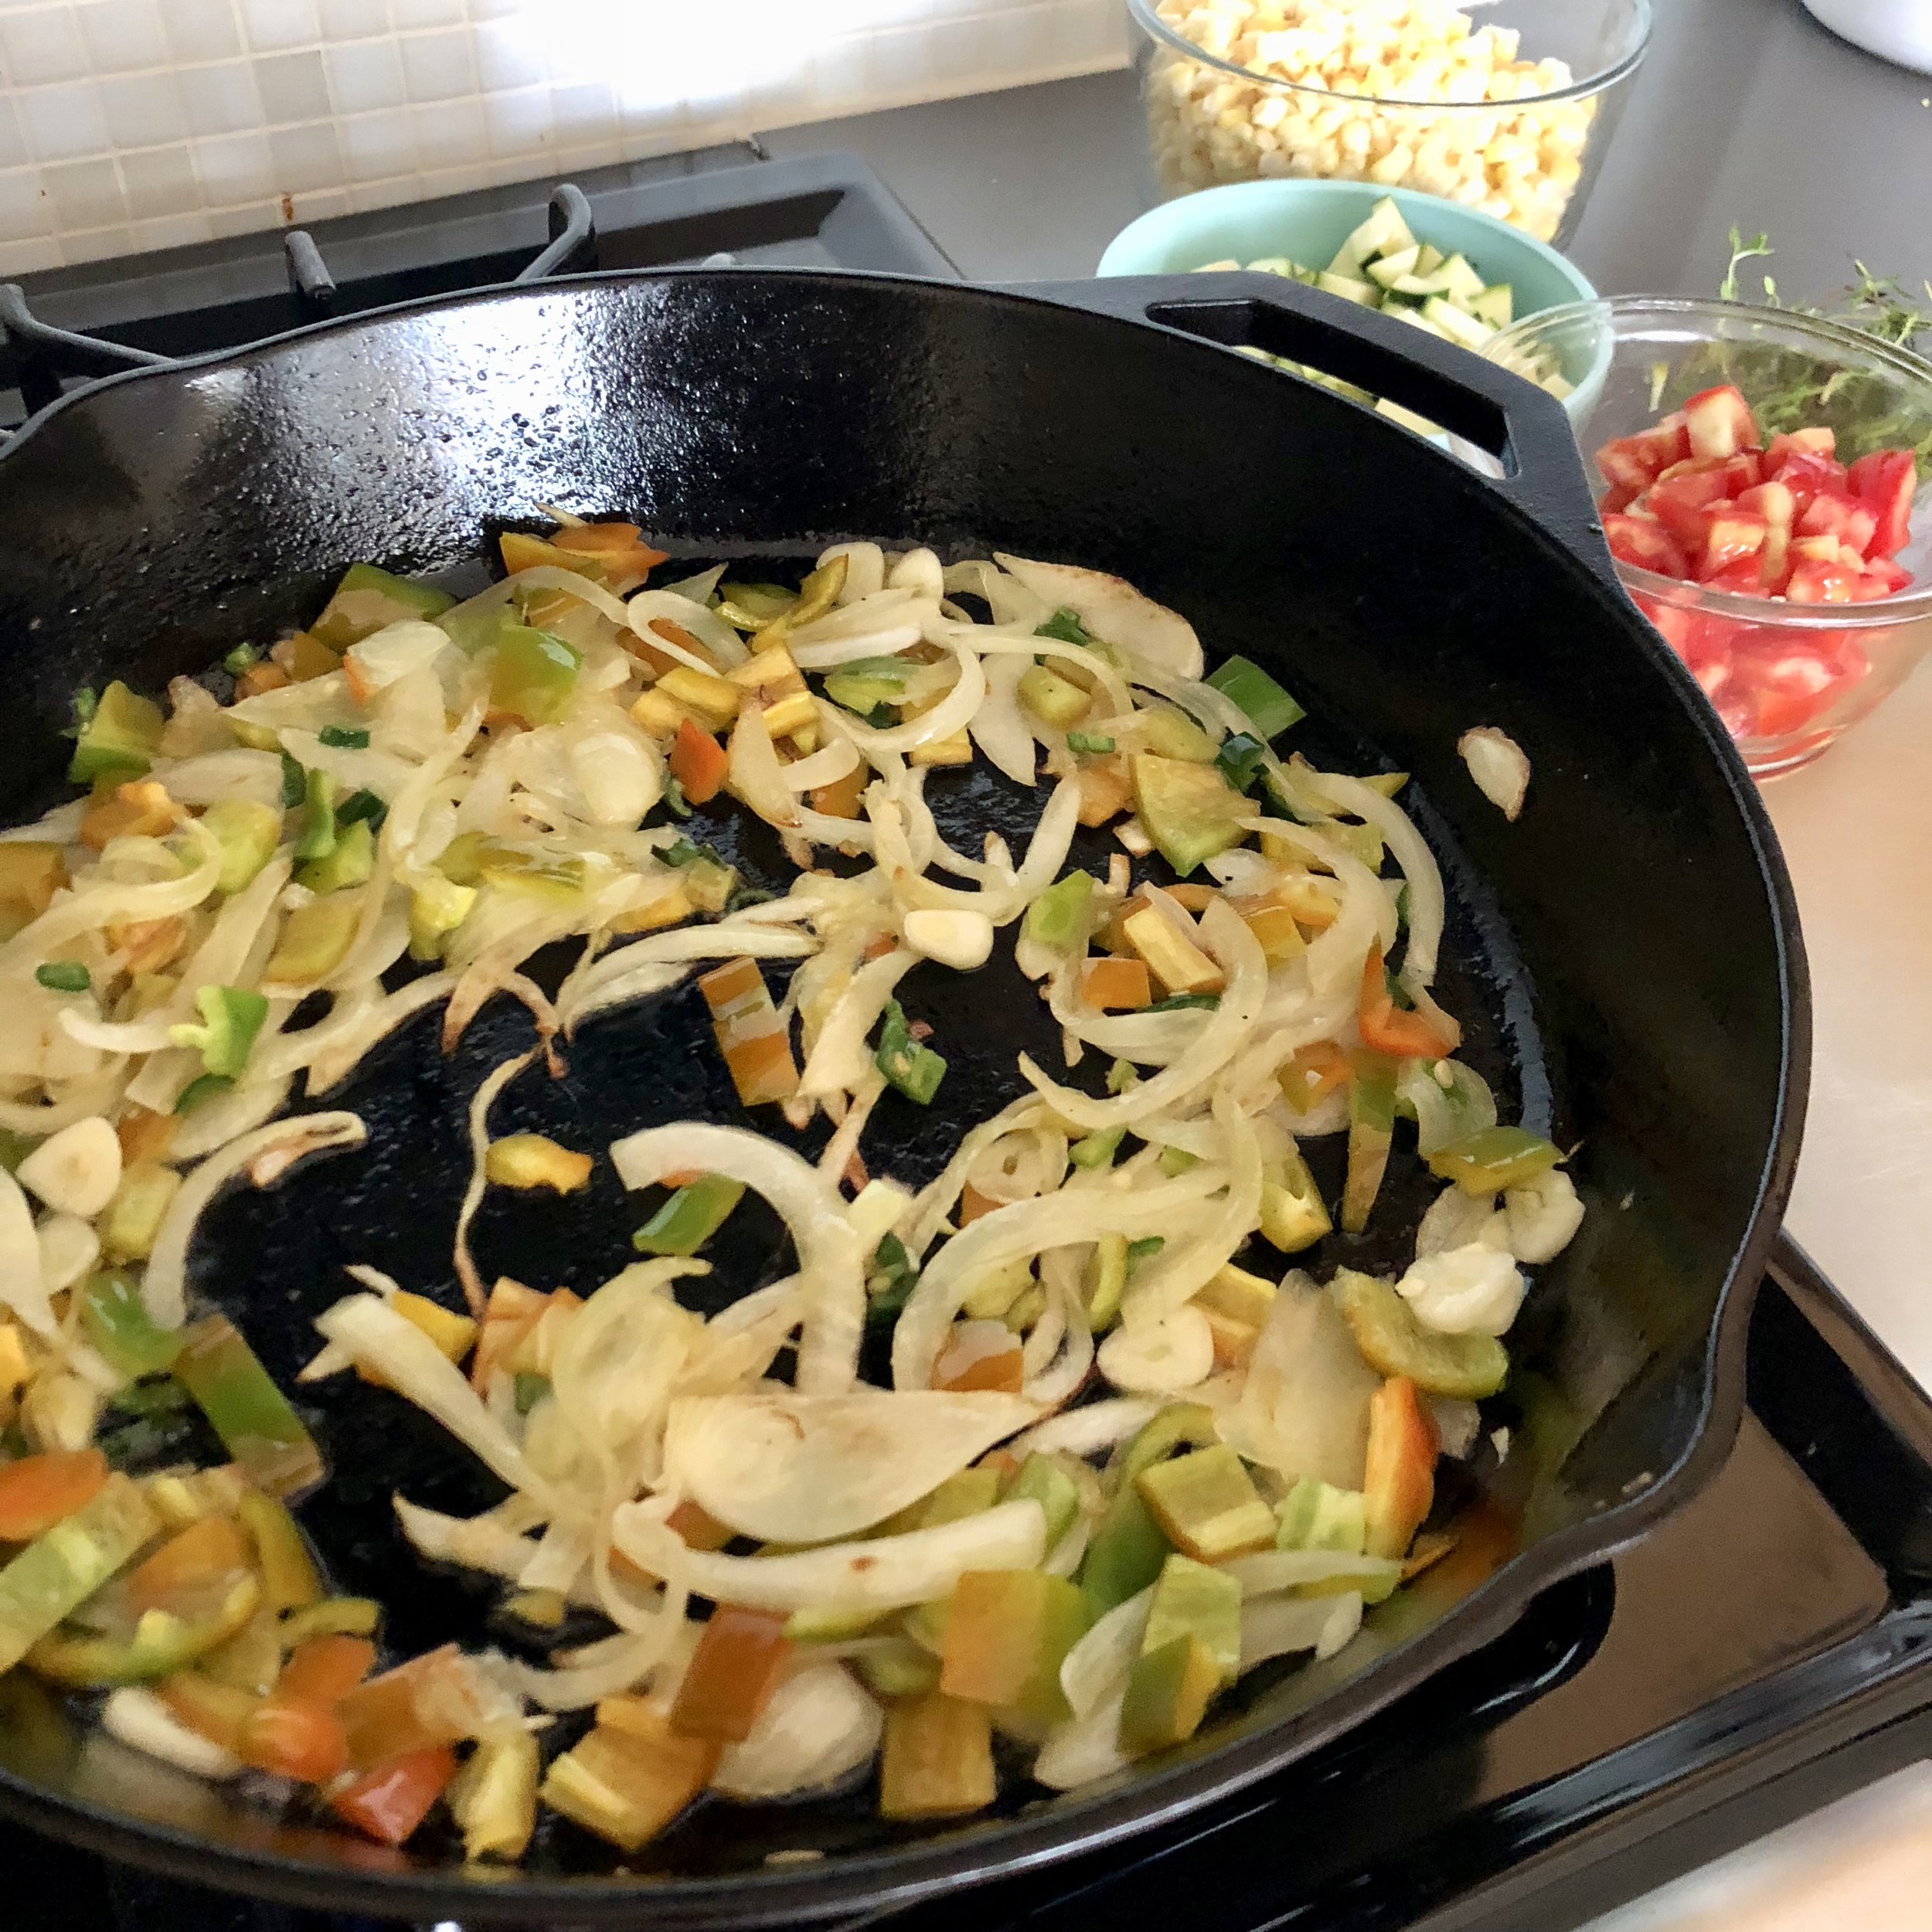
  2. Heat a large heavy bottomed skillet (cast iron if available) over moderately high heat. Heat the oil or butter and add the onion with a few pinches of salt. Sauté until soft and lightly browned, about 5-8 minutes.

  3. Add spices if using and sauté about 1 minute.

  4. Add the peppers, garlic, a pinch of salt and sauté until peppers are softened.

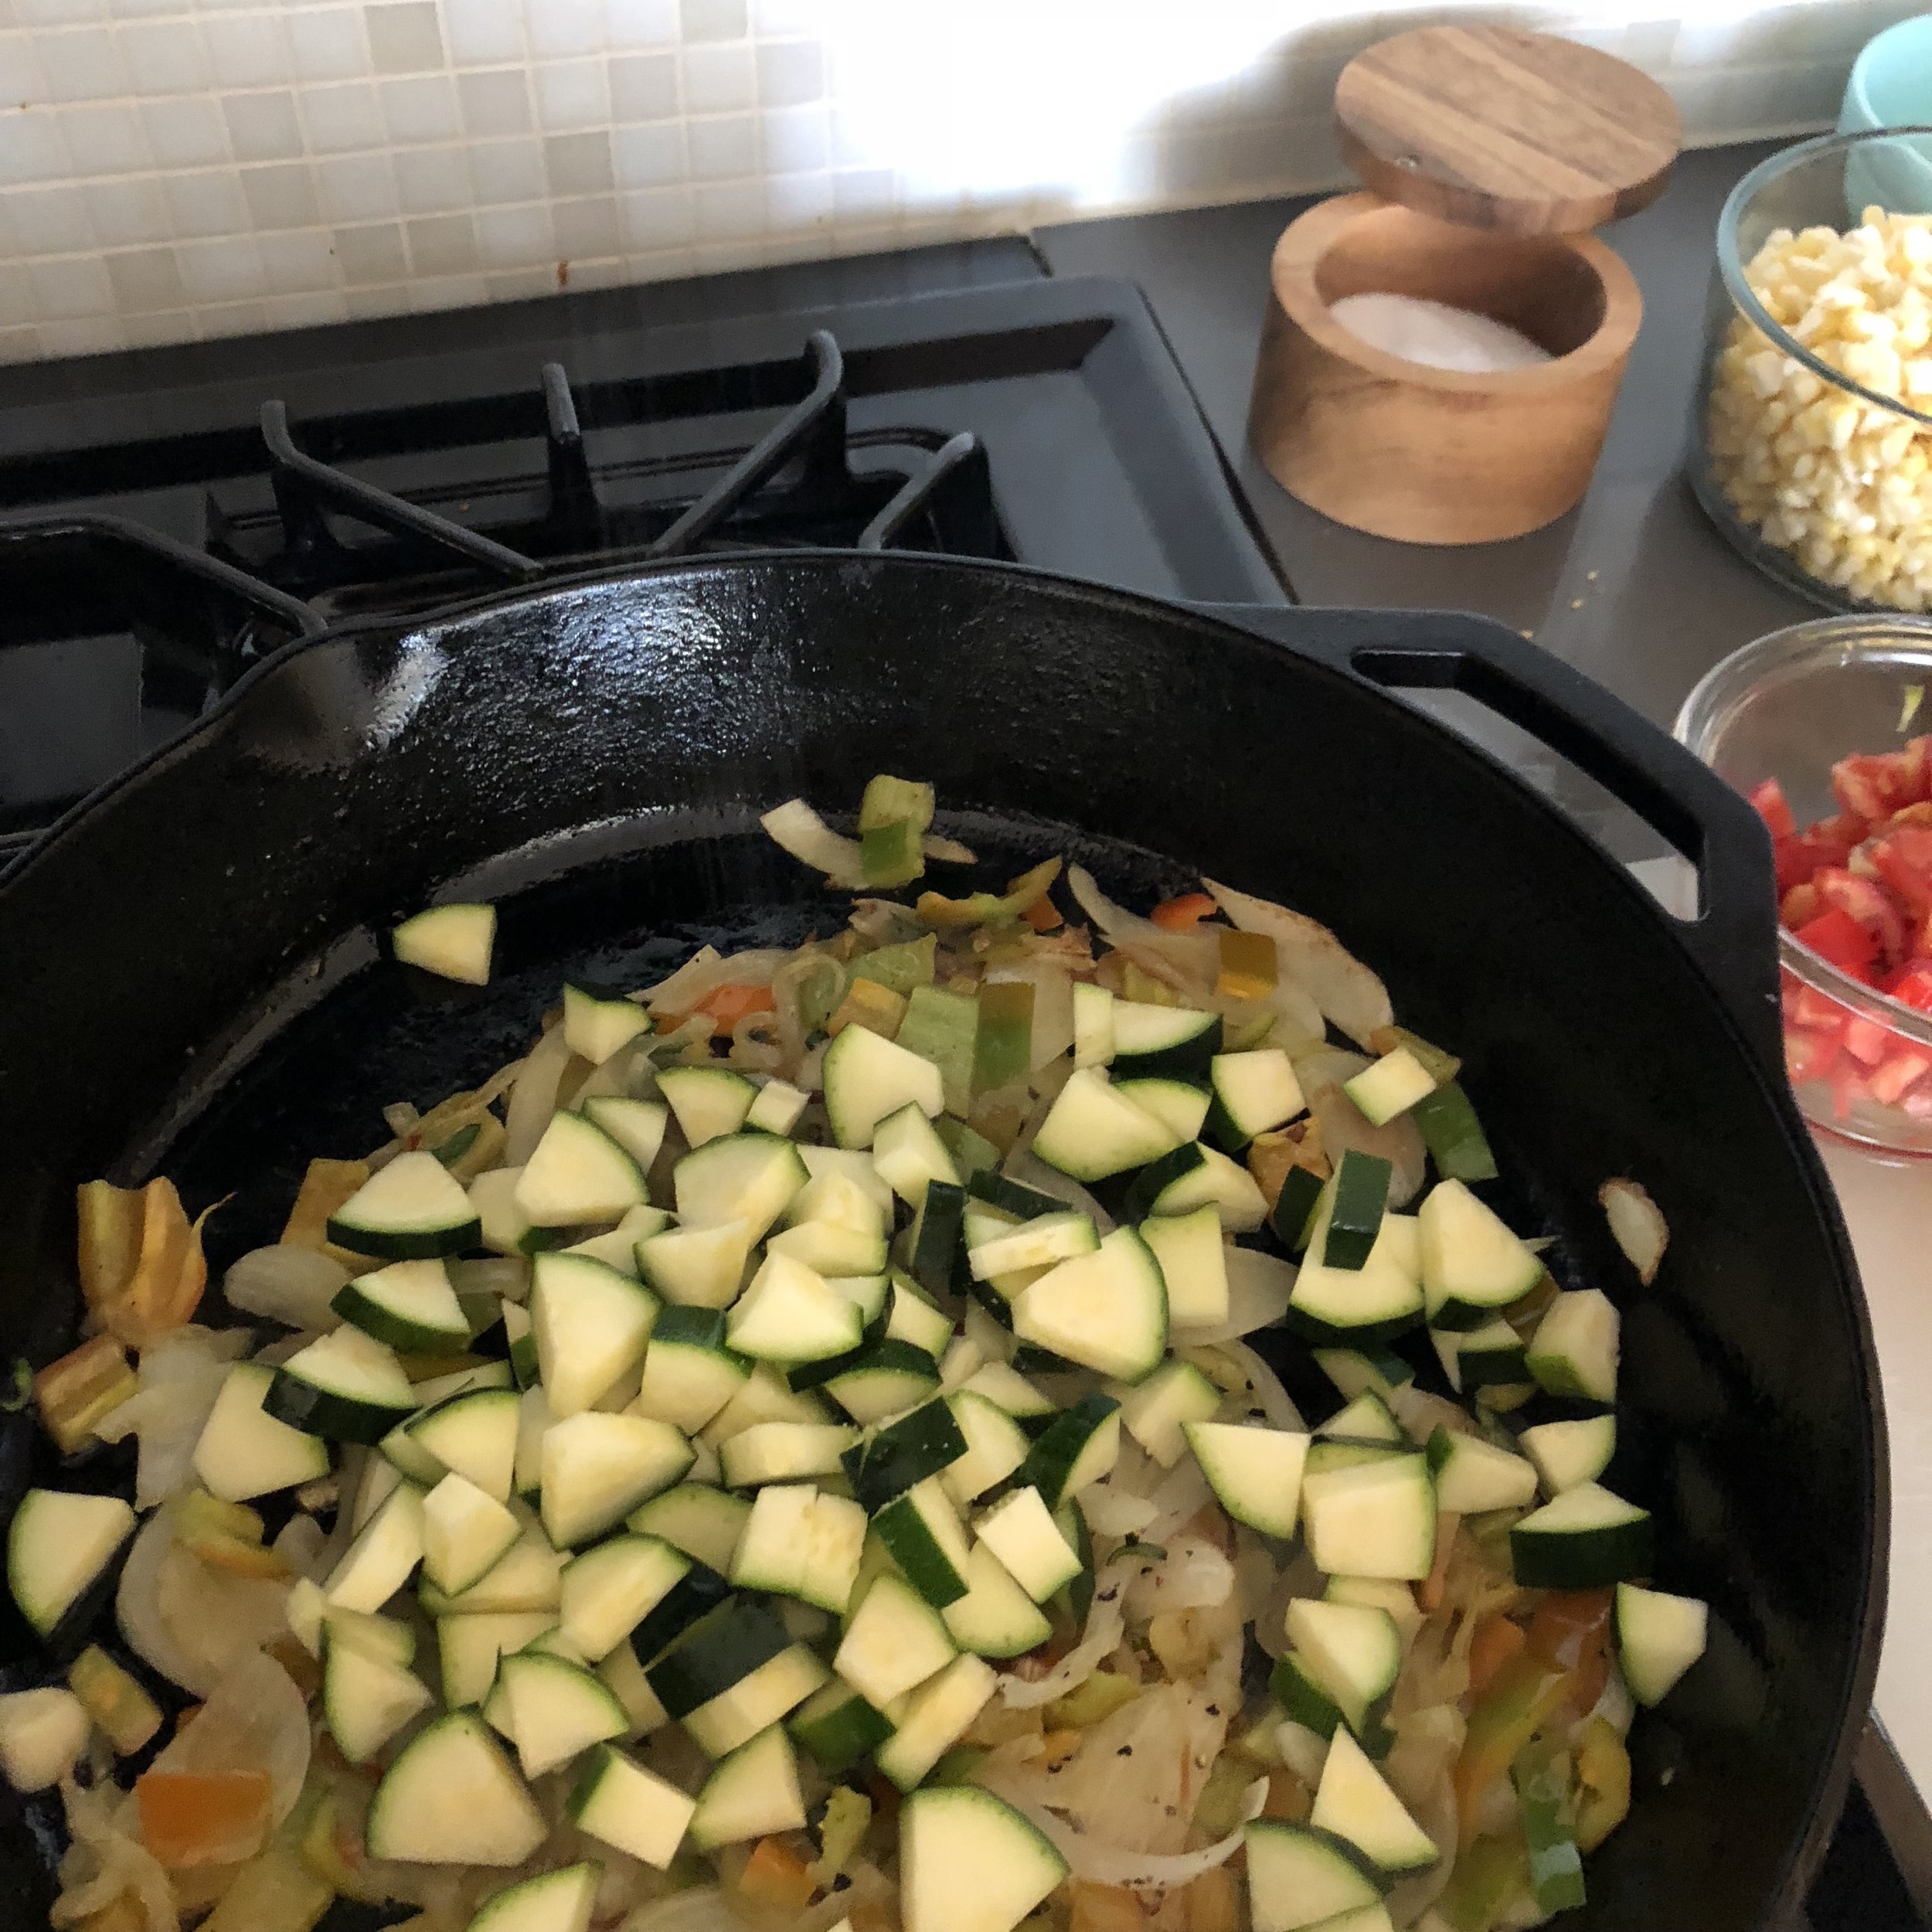
  5. Add fresh beans (if using), zucchini and corn kernels with a few more pinches of salt. Sauté 1-2 minutes. Add the water and cook until liquid is absorbed.

  6. Add the tomatoes and cook until they break down. Add cooked dried beans if using.

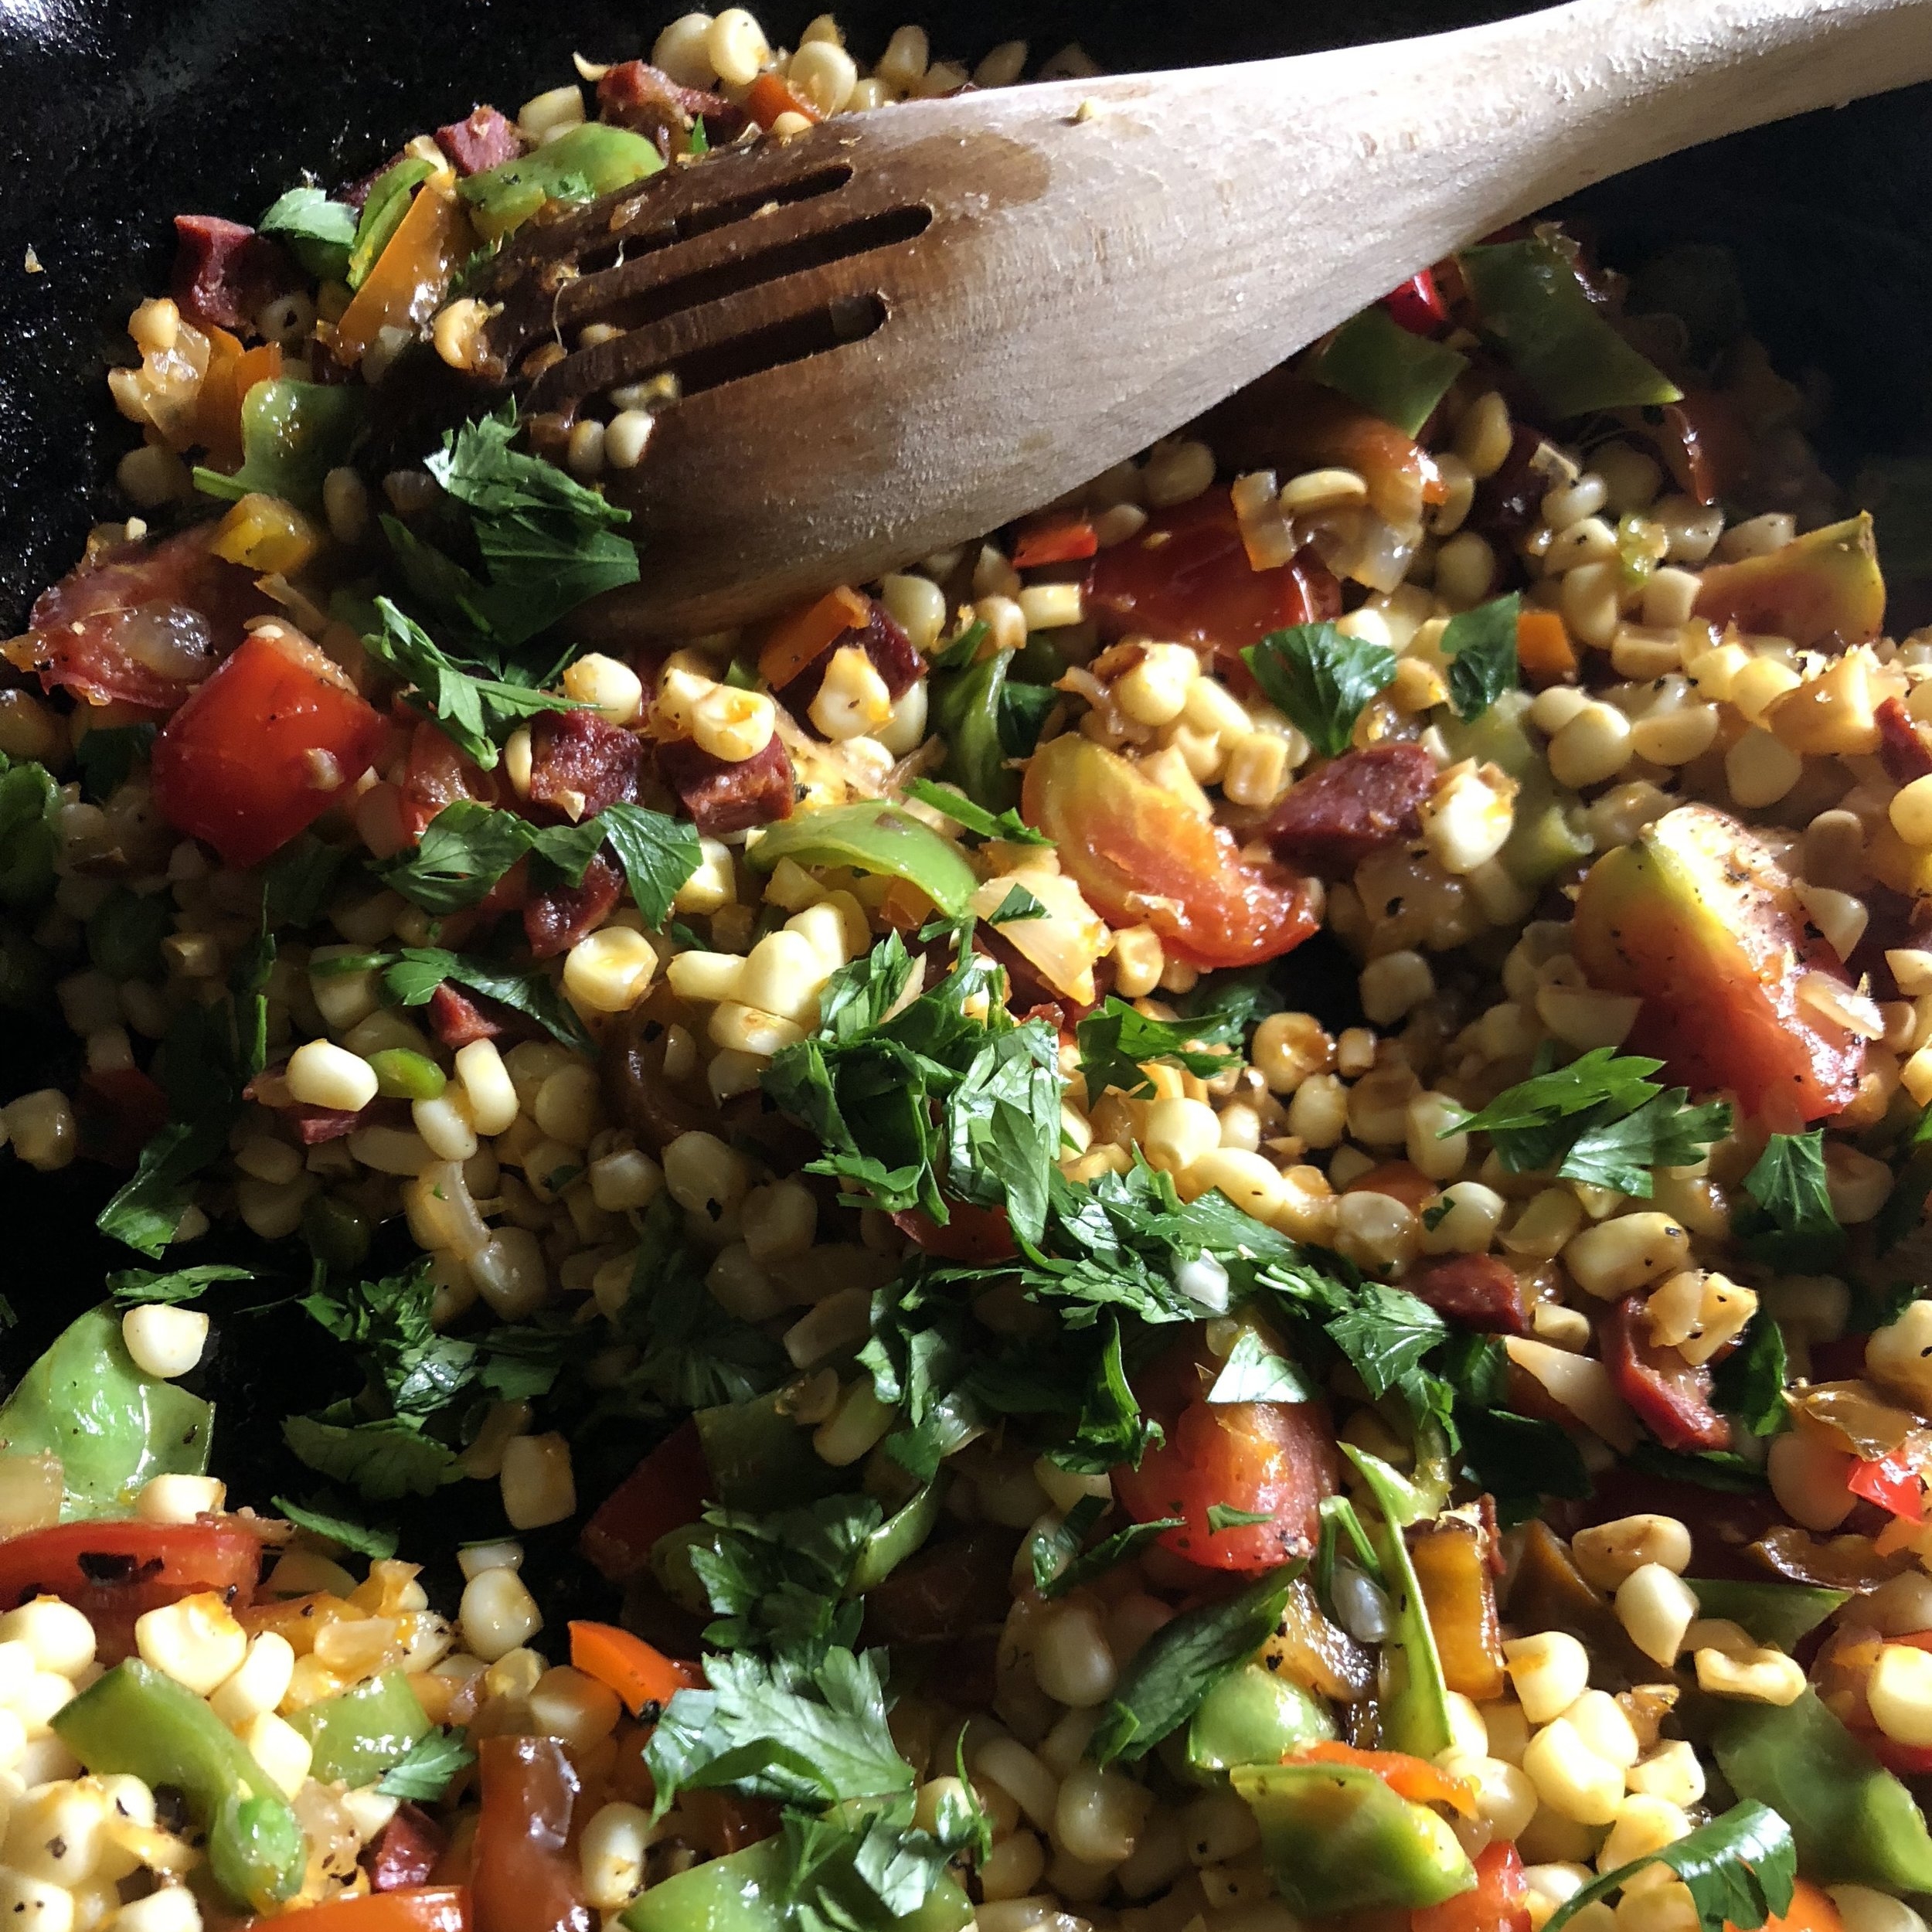
  7. Right before turning off the heat, add the fresh herbs.

Note on beans: Traditional New England succotash uses cranberry or "cattle beans" like the ones pictured here. See that beautiful cranberry color marbled throughout? If you can get fresh cranberry beans straight from the shell for your summer succot…

Note on beans: Traditional New England succotash uses cranberry or "cattle beans" like the ones pictured here. See that beautiful cranberry color marbled throughout? If you can get fresh cranberry beans straight from the shell for your summer succotash, that is ideal. Or substitute fresh shelling peas, snap peas, green beans, or lima beans. You can also cook up the dried ones, like you make any dried bean and add to the succotash at the very end.

Variations:

  • Use leftover already cooked vegetables, such as corn boiled on the cob or grilled zucchini and squash. Simply reduce the cooking time for the already cooked vegetables. Add them to the succotash a little later than the recipe calls for, omit the water and reduce the salt.

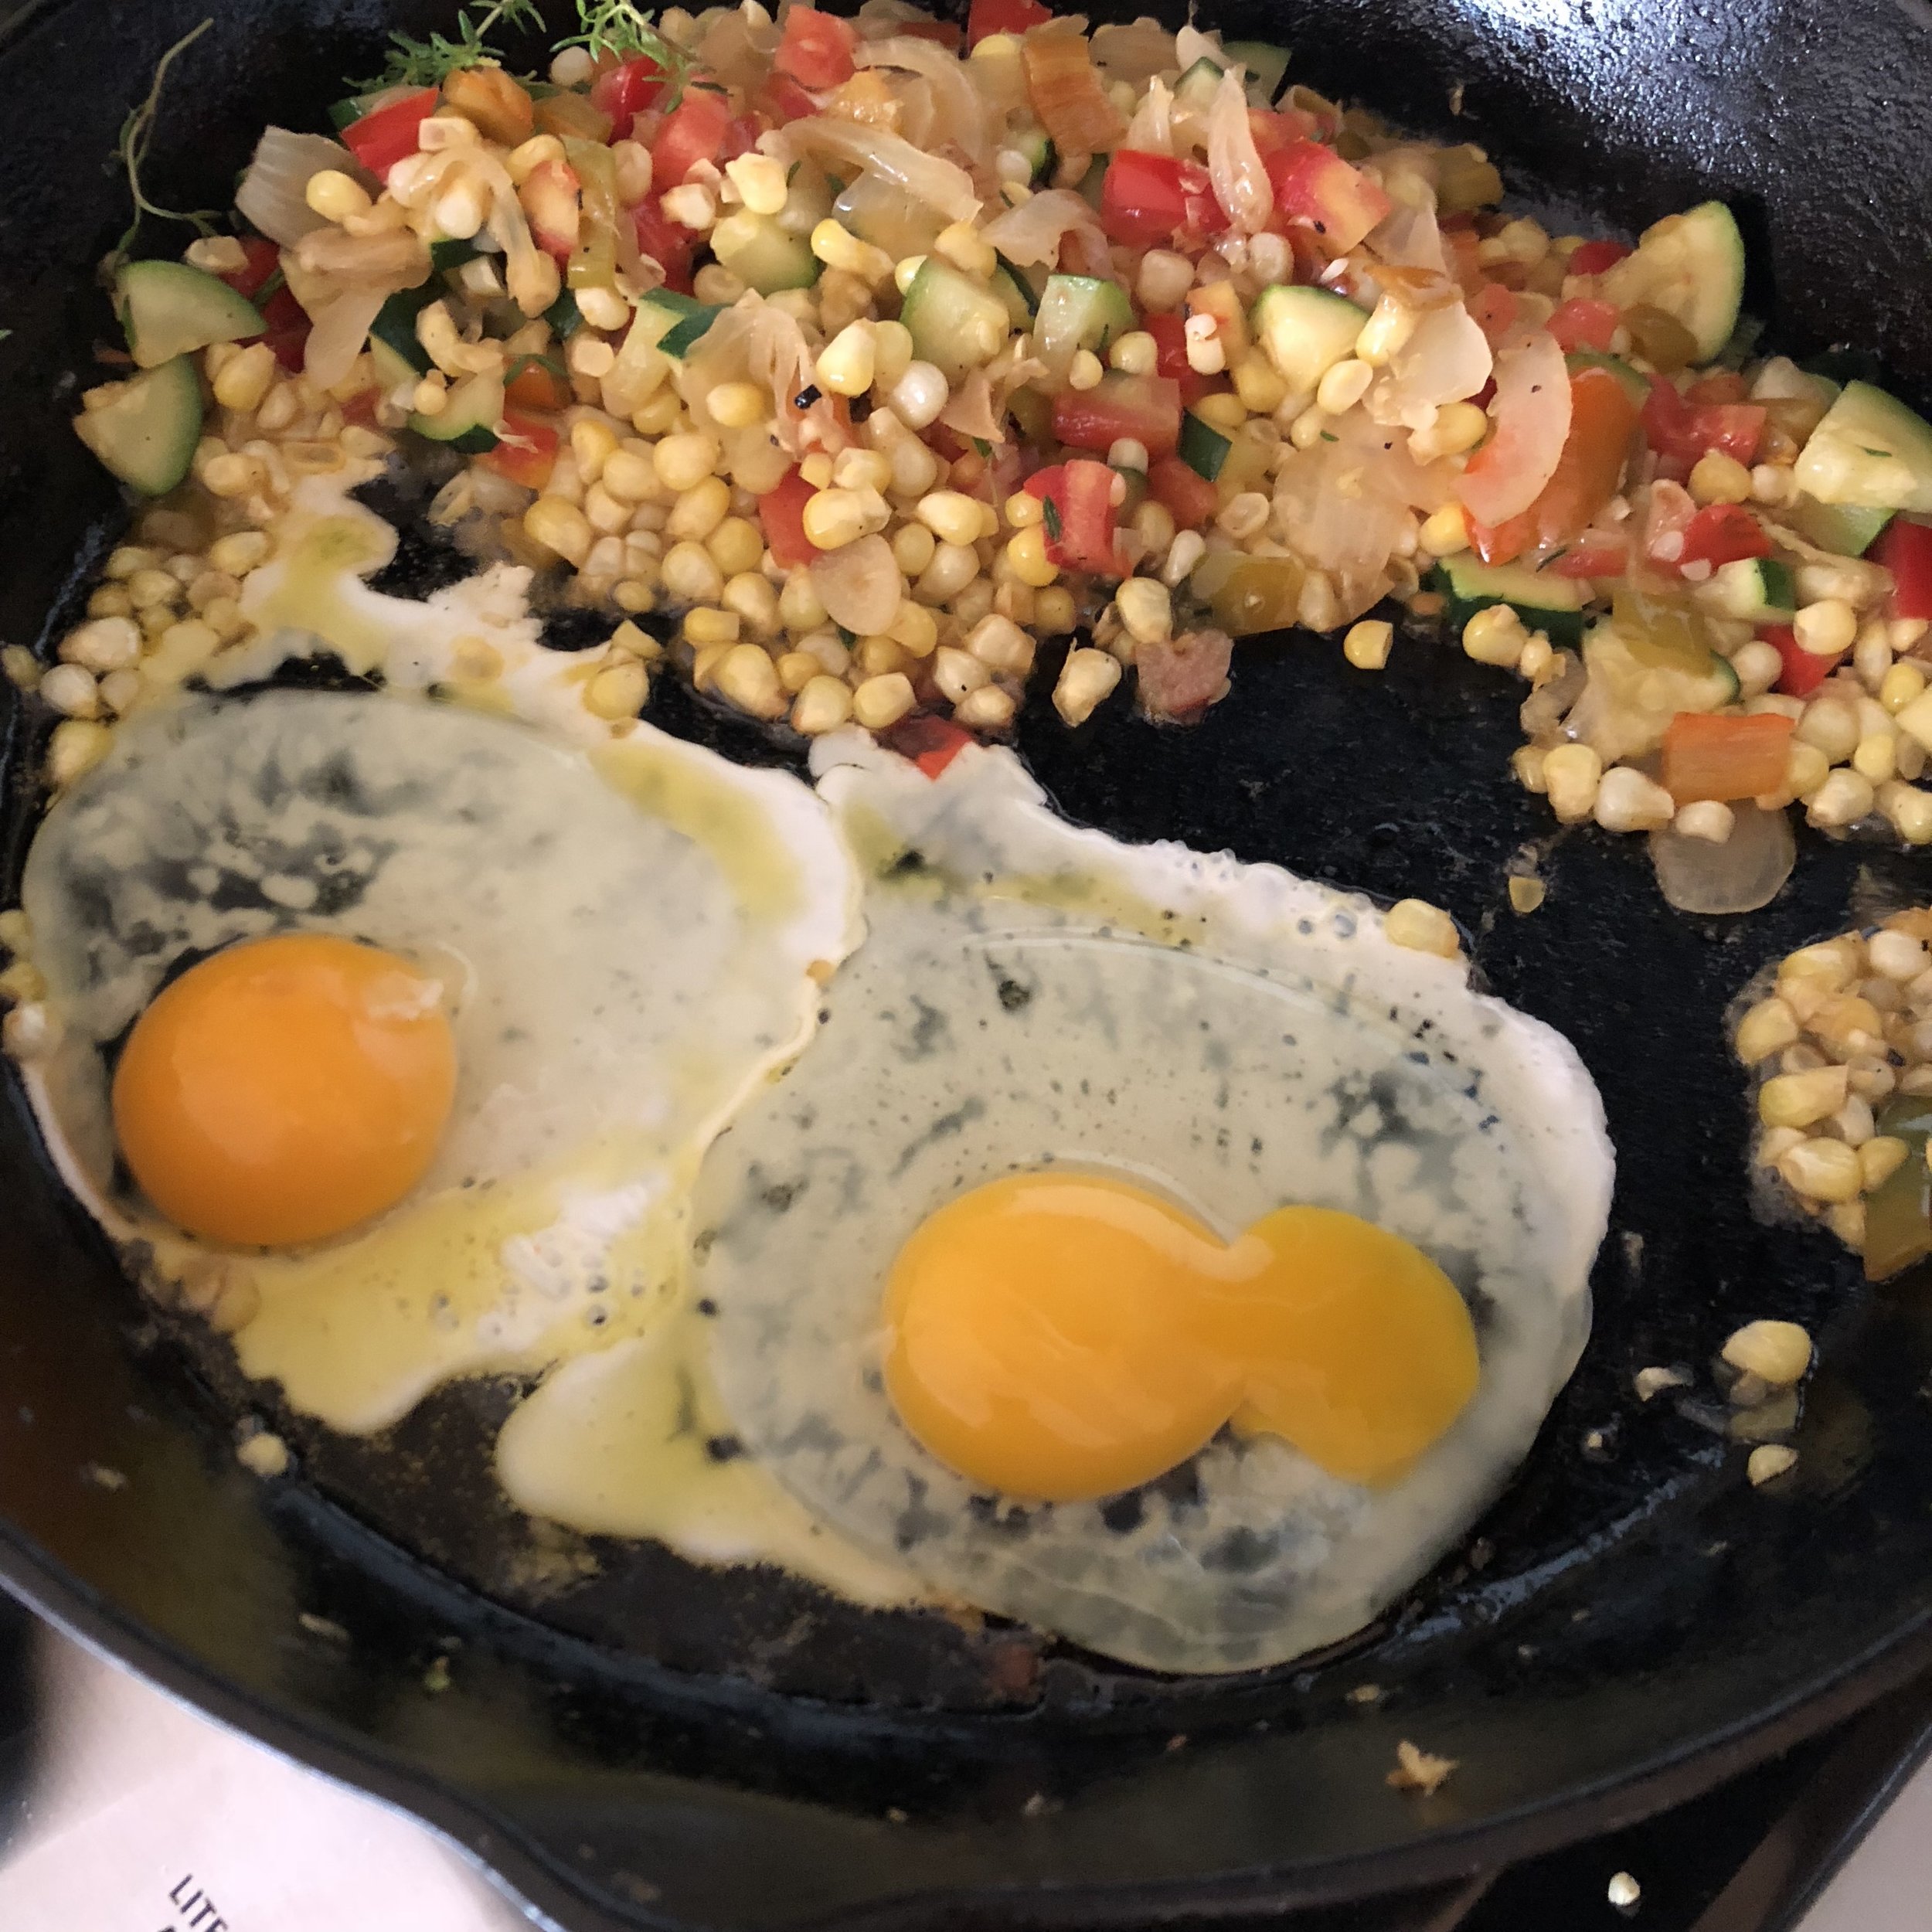
  • Serve the succotash as a brunch hash topped with crispy fried eggs. Push the succotash to the side, add a touch more oil and fry the eggs in the same skillet.

  • In place of tomatoes, try a tablespoon or two of apple cider vinegar or other vinegar.

  • Use salt pork or bacon for the fat. Render the fat in step 2 in place of oil or butter. Add the onion to the rendered fat and bacon pieces.

  • Crisp up small slices of dry salami in the oil. Remove before adding the onion, set aside and return to the dish at the end.

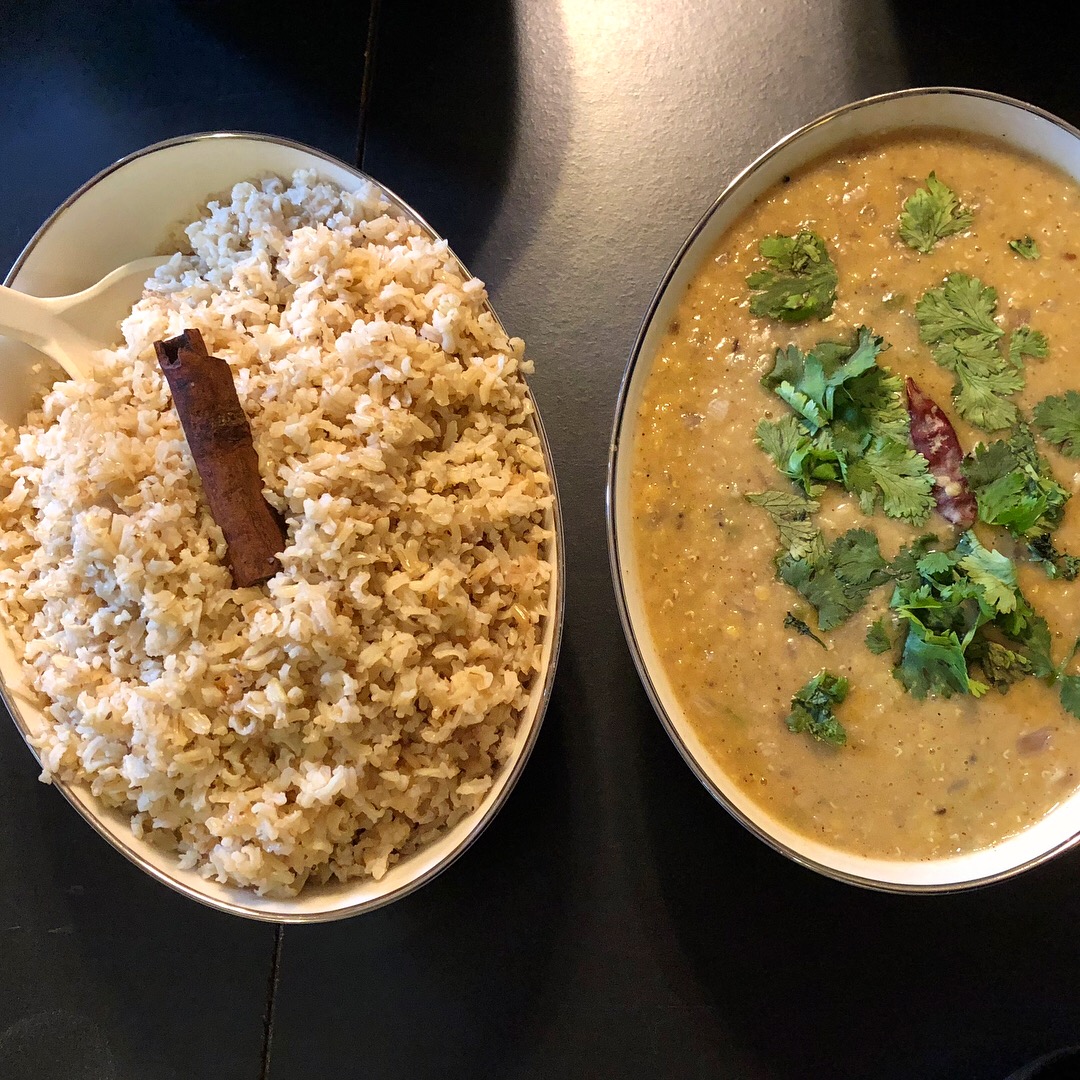
Bengali Red Lentil Dal

Do you need an "I've been out of town all weekend and have nothing in my fridge but want to put a healthy meal on the table pronto and have lunch for the week" kind of dish? For me, that dish is my 100% plant-based and pantry-sourced dhal and rice. It also get cheers from every single eater in my family. We make different variations of dhal, changing up the lentils, spices, aromatics and even the oil, but this Bengali Red Lentil Dhal cooks up quickest and uses the fewest ingredients. If you have them handy, you can brighten it up with chopped fresh tomatoes, cilantro leaves and slices of serrano or jalapeno peppers, luckily all things available from the garden this time of year. But those additions are not even necessary.

I have my Bengali-American friend, Ritu, to thank for this recipe. She taught it to me years ago before [tear] moving West. This dish comes closest to replicating the staple meal I ate daily while studying abroad in Nepal, half a lifetime ago. My quest for mastering dhal-bhat ended when Ritu showed me the ropes and her mom's recipe. While I'm at it, I guess I should also thank Ritu for providing fierce competition in office cooking challenges, forcing me to step up my game, and ultimately propelling me to culinary school.

What is dhal exactly? The word dhal comes from Sanskrit meaning "to split" and refers to a wide array of lentils, peas and beans (or pulses) that can be used to make dhal. But what distinguishes dhal from any other lentil soup or stewed pot of legumes is the tarka or tadka. This hot aromatic oil seasoned with onions, garlic, ginger, chilies, and toasted and ground spices is added to the cooked lentils toward the end of the cooking and adds dramatic flavor, color, digestive fire, and healing properties to the dish.

BENGALI RED LENTIL DAL

Yield: ~5 cups

What you need:

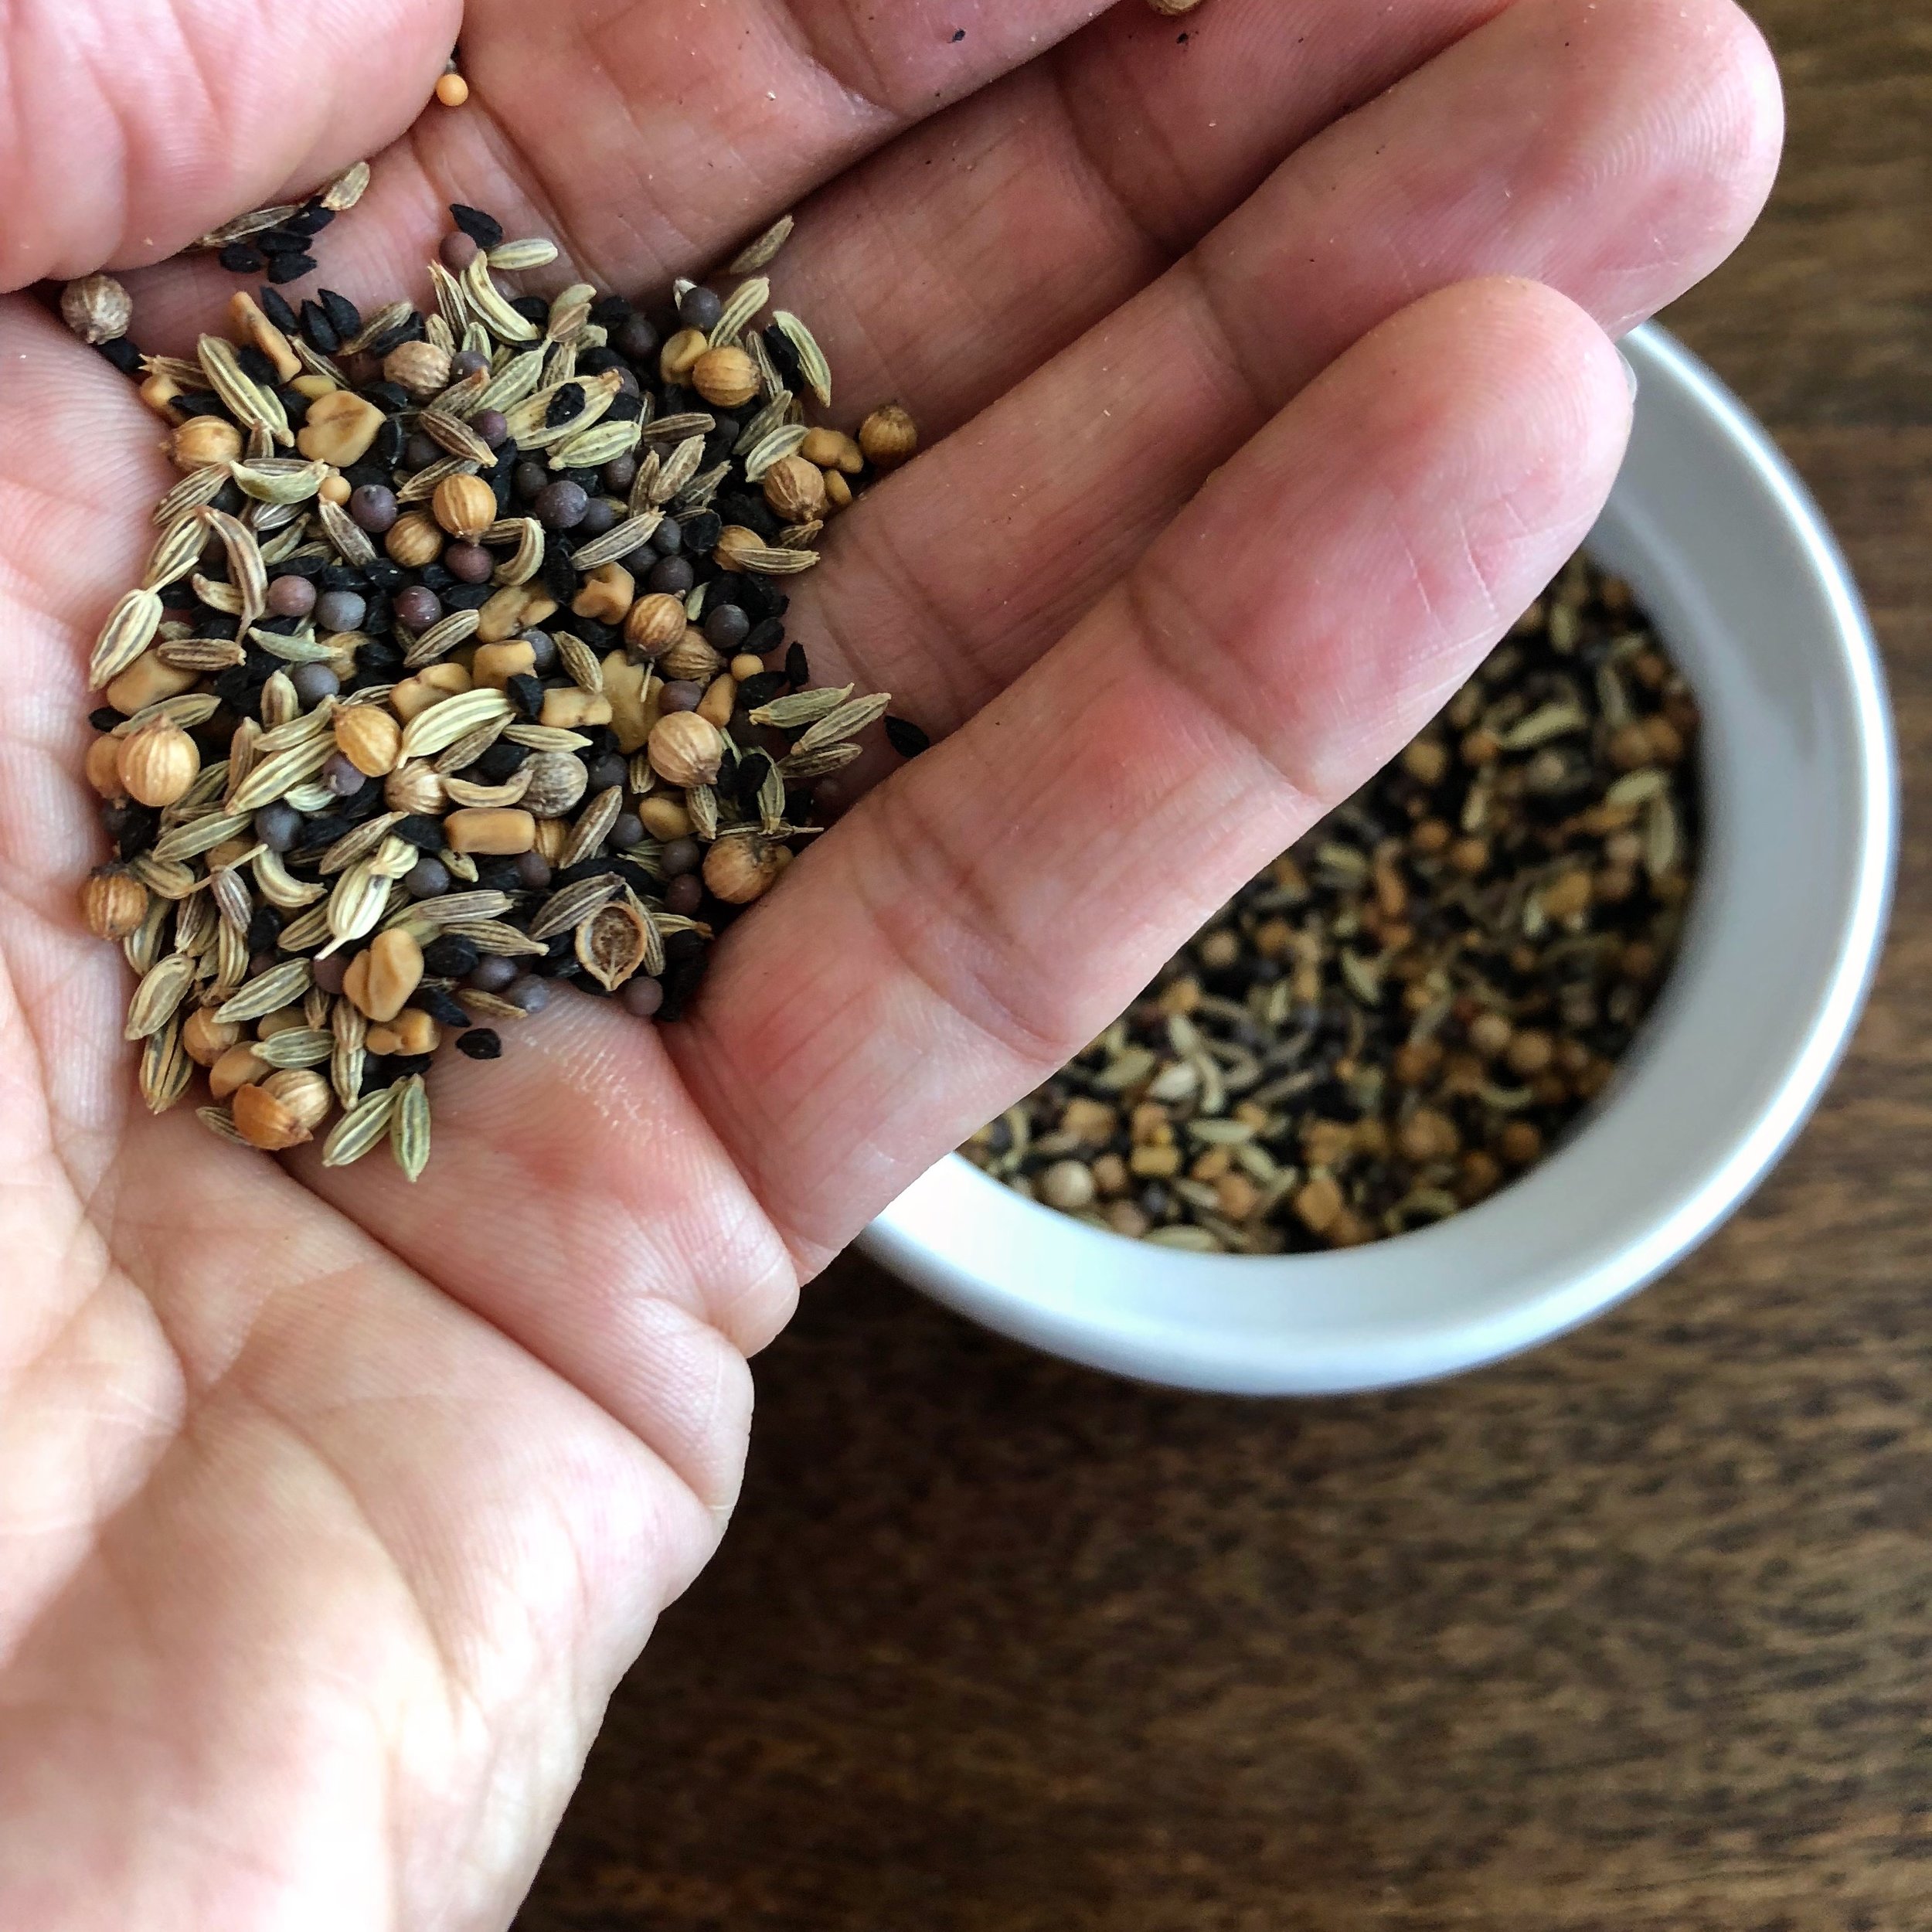
Panch Proon translates to "five spice" and includes equal parts fennel seeds, cumin seeds, whole fenugreek, black mustard sees and nigella (onion or black carraway) seeds. My panch proon blend is featured here with coriander seeds also used in this …

Panch Proon translates to "five spice" and includes equal parts fennel seeds, cumin seeds, whole fenugreek, black mustard sees and nigella (onion or black carraway) seeds. My panch proon blend is featured here with coriander seeds also used in this dhal.

The dhal:

  • 2 cups red lentils

  • 4 - 5 cups water

  • ½ teaspoon kosher or sea salt

The tadka:

  • 2 tablespoons panch proon (see left)

  • 1 teaspoon coriander seeds

  • 2 tablespoons ghee or coconut oil

  • 1 onion, small dice

  • 3 cloves garlic, minced

  • 3 tablespoons ginger, julienned

  • 1 dried kashmiri chili, chopped, optional

  • 1 tomato, chopped, optional

  • Sea salt to taste

The garnish:

  • Cilantro leaves

  • 1 jalapeno or serrano chili, minced

  • 1 tablespoon ginger, thinly sliced

IMG_3053.JPG

What you do:

Soak the lentils in a large pot of cool water for a minimum of 20 minutes (optional). Rinse thoroughly until water runs clear (not optional). Return the lentils to the pot and cover with 4-5 cups water.

Bring the water to a rolling bowl, add the salt, reduce heat and simmer until lentils are tender.

iAdX08zbRrqfBY9E5yG8QQ.jpg

In a separate sauté pan, toast the spices until fragrant and lightly browned, about 30 seconds. Remove from heat. Allow to cool and then grind coarsely in a spice grinder or mortar and pestle.

0iSWcN1TQ8K5vWTaTafjMA.jpg

Make the tadka. In the same sauté pan, heat ghee or coconut oil over medium high heat. Add the onions and a pinch of salt. When onions are soft, add the garlic, ginger, chili and ground spices. Sauté about 1 minute longer.

Pour tadka into dal. Add the diced tomato, if using. Simmer an additional 10 minutes or up to 2 hours. Thin dal with additional water if needed.

Garnish with cilantro leaves and jalapeno. Serve with spiced brown basmati rice.

fullsizeoutput_1966.jpeg

Lunchbox Challenge: Vegetarian Camp Lunches

After nearly 2 weeks of cobbled together childcare, camp mom, and family "vacation" my older son is finally back at day camp. So I'm sifting through the options of lunches to pack for my little vegetarian. PB & J is off the table since this camp has a no-nuts policy. Uh oh!

As a natural foods chef instructor who handles special diets and occasionally cooks in very limited facilities (i.e. classes in conference rooms!), I've overcome some unique menu challenges. I often feel like I'm on one of those chef sabotage game shows, a la Alton Brown, in which he ties contestants' hands behind their backs and asks them to make bouillabaisse in 20 minutes. But day camp lunch poses my most challenging set of menu parameters to date. Meals must be:

  1. vegetarian per order of the child

  2. nut-free per order of the camp

  3. balanced per order of the mom, i.e. containing all food groups

  4. portable, durable and not too perishable to stand up to field trips and miles of hiking in the great outdoors before lunch time

  5. eaten at room temperature or as cold as the mini ice-pack will keep them

  6. eaten without utensils

  7. made in batches or in advance

  8. varied from day to day

Challenge accepted. Since we've been down this road before and had to get pretty creative in summers past, I thought I'd share some of these ideas with you. Links to some of the recipes mentioned are also below when you click the photo. Now if only I had accurate photography for all of this. The boxed lunch is rarely photogenic and there is rarely time to snap a pic when hustling out the door. In the comments, please share your favorite vegetarian nut-free camp lunches with us! Also, if you think your kid won't eat many of the items listed here, just try it. You never know what they'll start to like because they were starving and had no other option but to eat what was in their lunchbox while at camp.

Scallion Surplus Solutions

Why am I writing about scallions? It's not merely to highlight my alliteration abilities. I was recently reflecting on the fact that many of my spring recipes include a sauce that purees scallions beyond recognition. Each spring, I find myself with a surplus of scallions. Not one to gobble raw onions of any variety, these beautiful green alliums pile up in my fridge. Before they can wilt however, I whip them into a marinade or sauce. Some marinades get put to use immediately and others are stored in my freezer, with or without protein for a quick fall or winter meal.

Here are seven solutions for your scallion surplus followed by my recipe for Spring Jerk Marinade to be used in Jerk Lamb Shepherd's Pie (featured below) or to marinate some chicken wings or tofu steaks. All other recipes will be featured on the blog eventually or write and I'll send you the no-frills version pronto.

  1. Korean Beef Marinade

  2. Shrimp Scampi

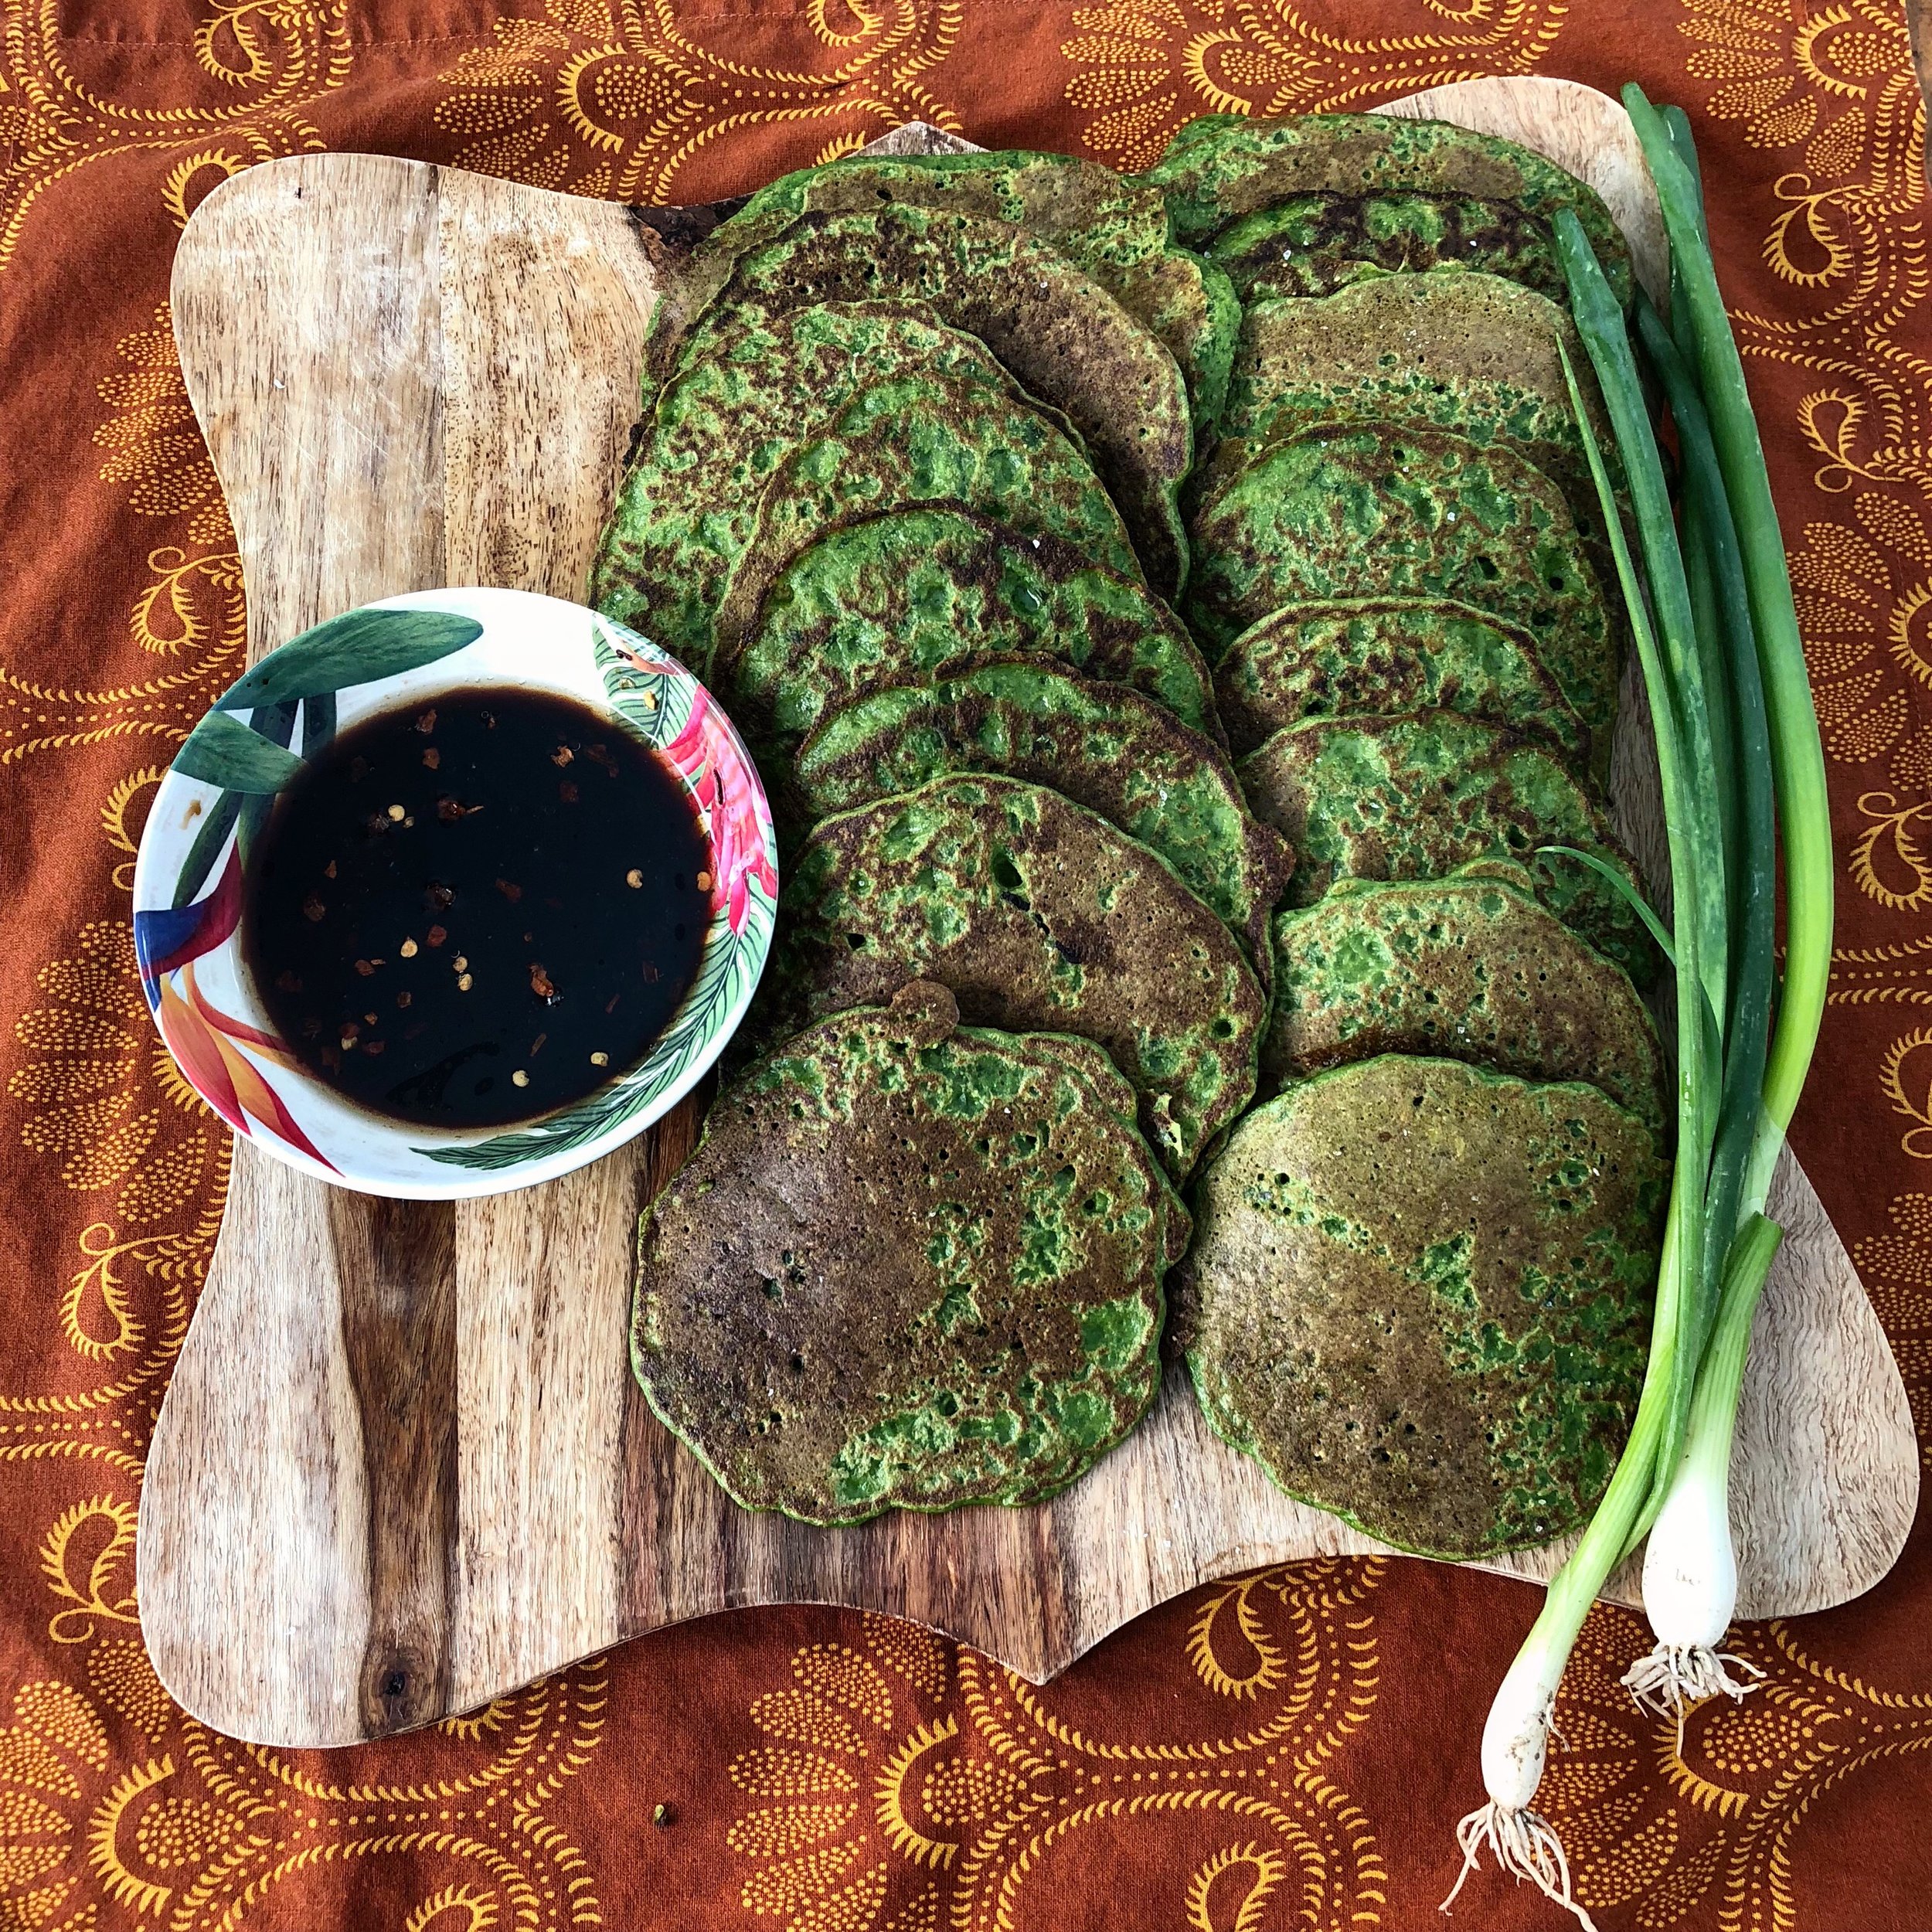
  3. Scallion Pancakes

  4. Scallion Tart or Pizza

  5. Salsa

  6. Cheese and Scallion Biscuits

  7. When all else fails, add them to a crudité platter for dipping or drizzle with olive oil and grill.

Now on to the piece de resistance. I can't get enough of this jerk marinade and once you try it, you'll be making it in big batches again and again as well. This spring jerk marinade came about because two of the earliest plants available to me in the northeast are thyme (which often survives the winter and regrows on its own) and scallions. Add some ginger, garlic, spices, and of course habañero chili peppers into the food processor and you are good to go.

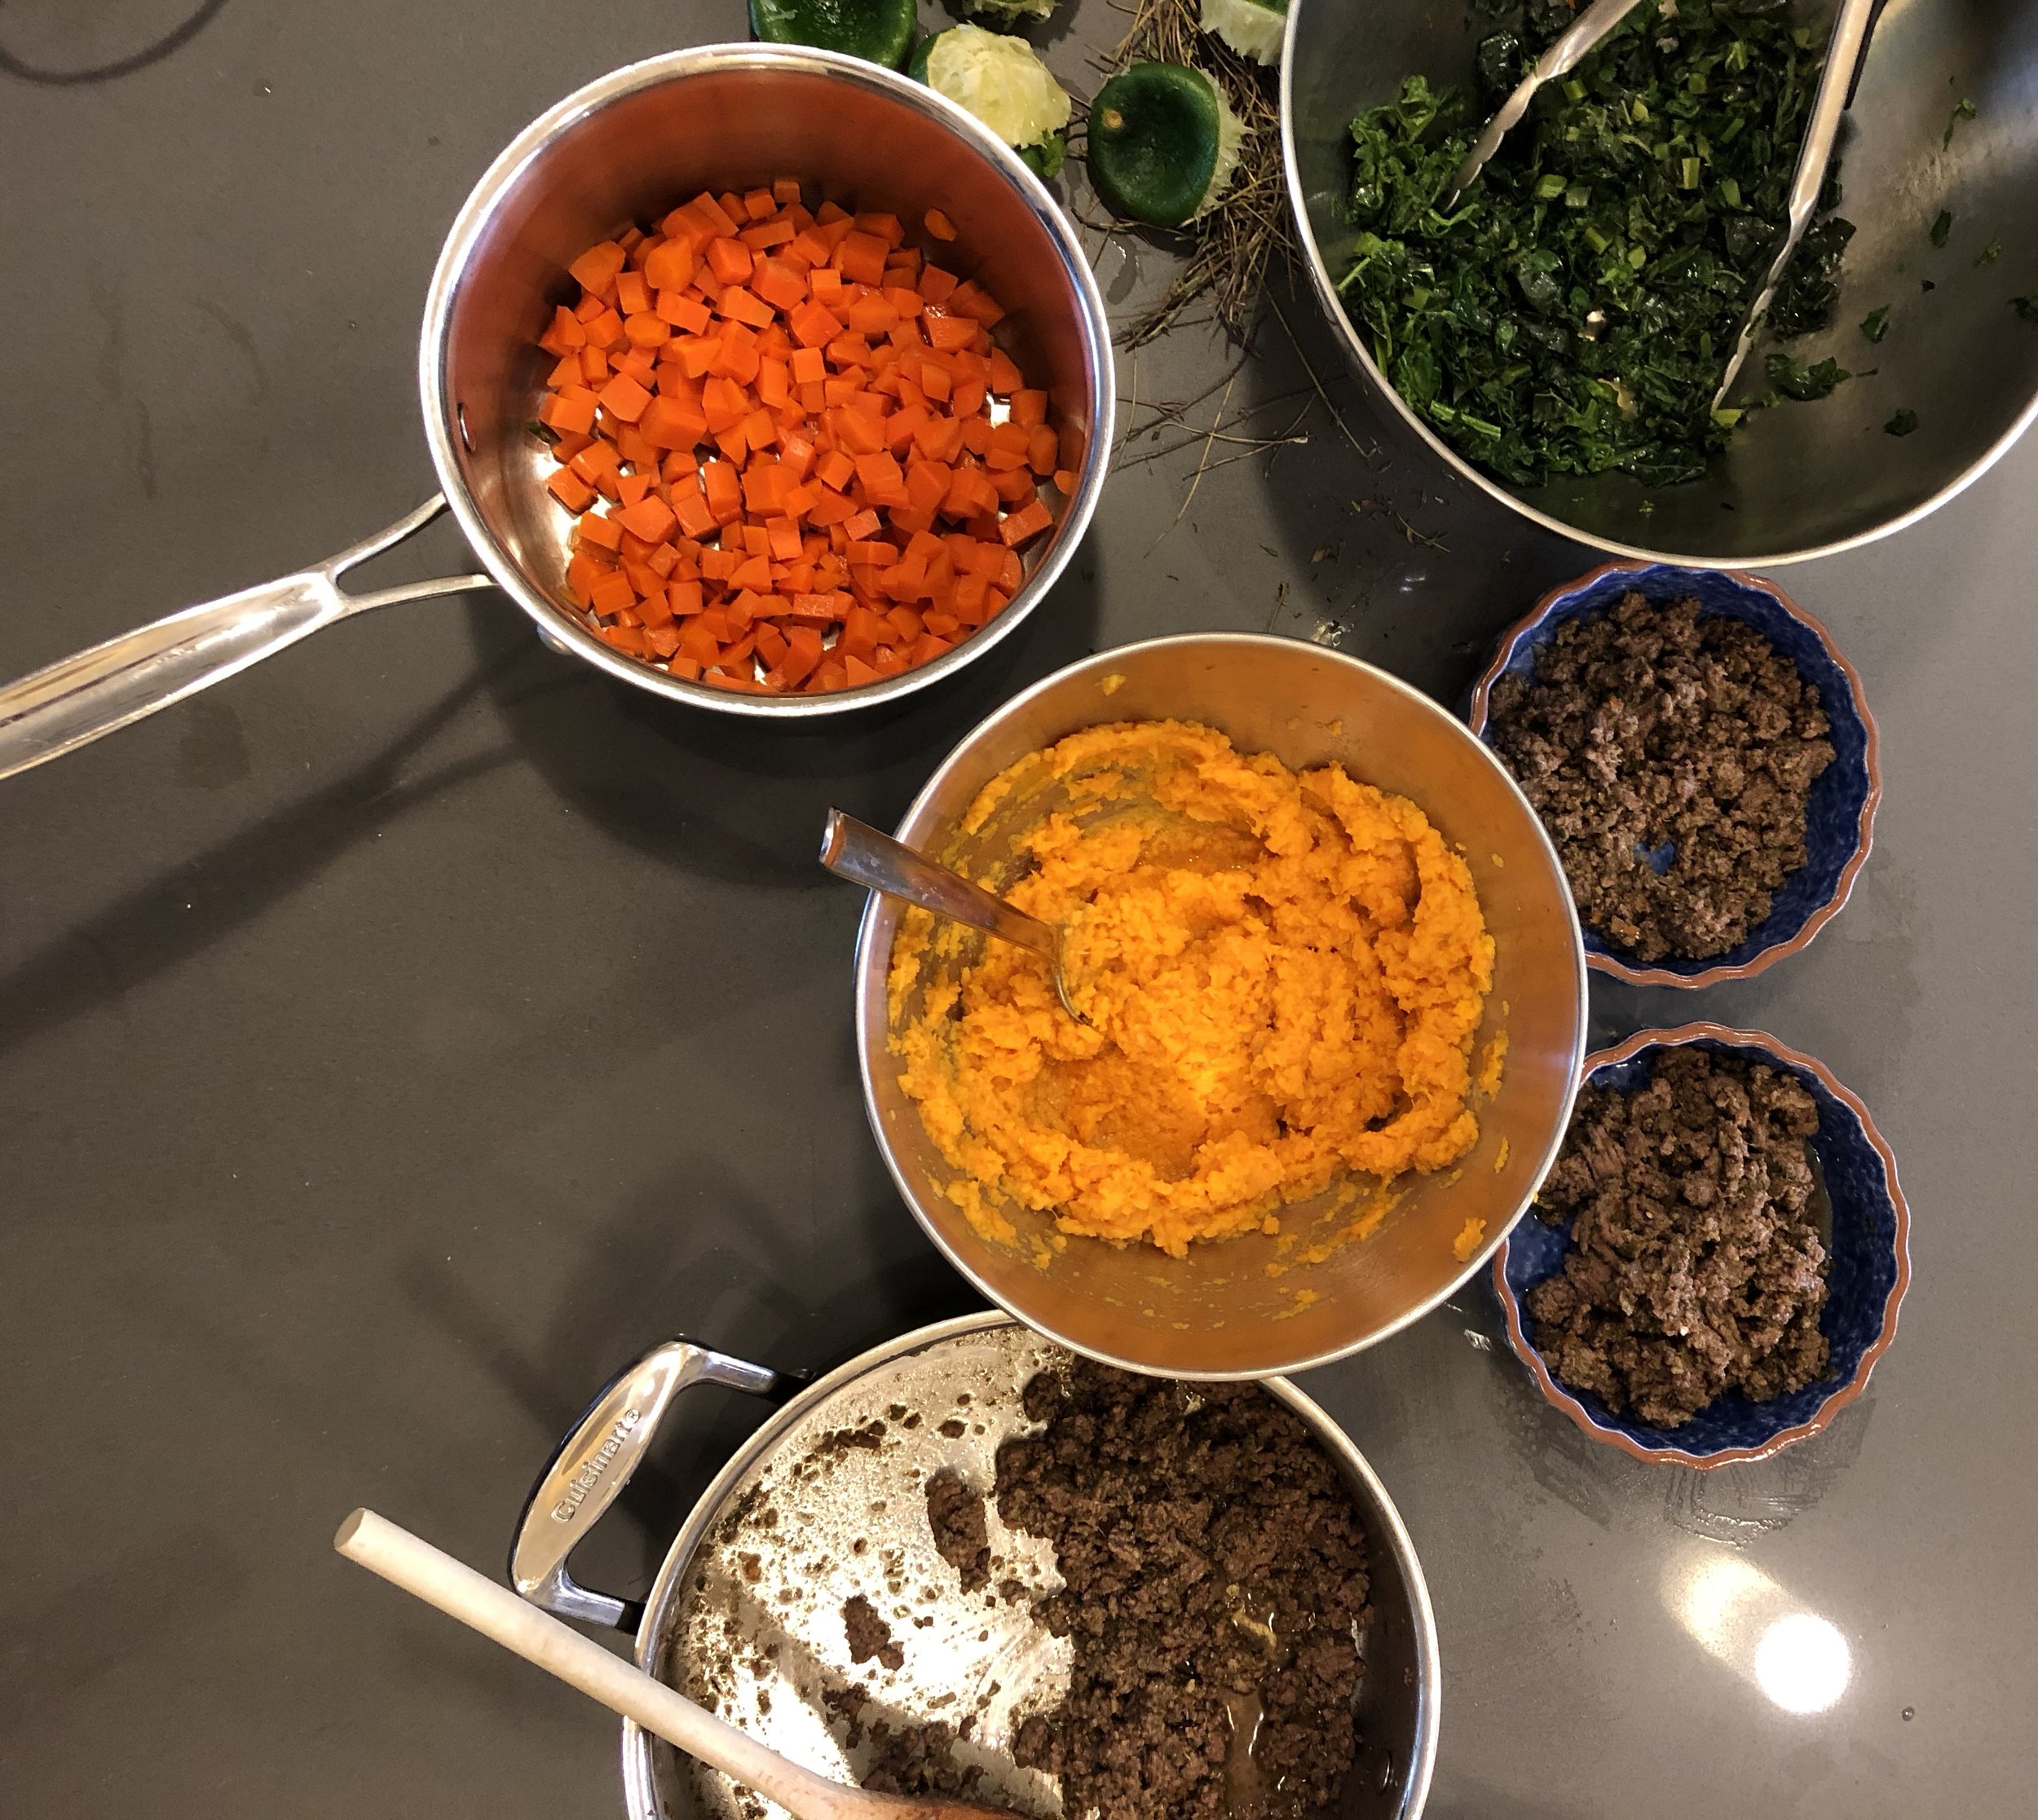
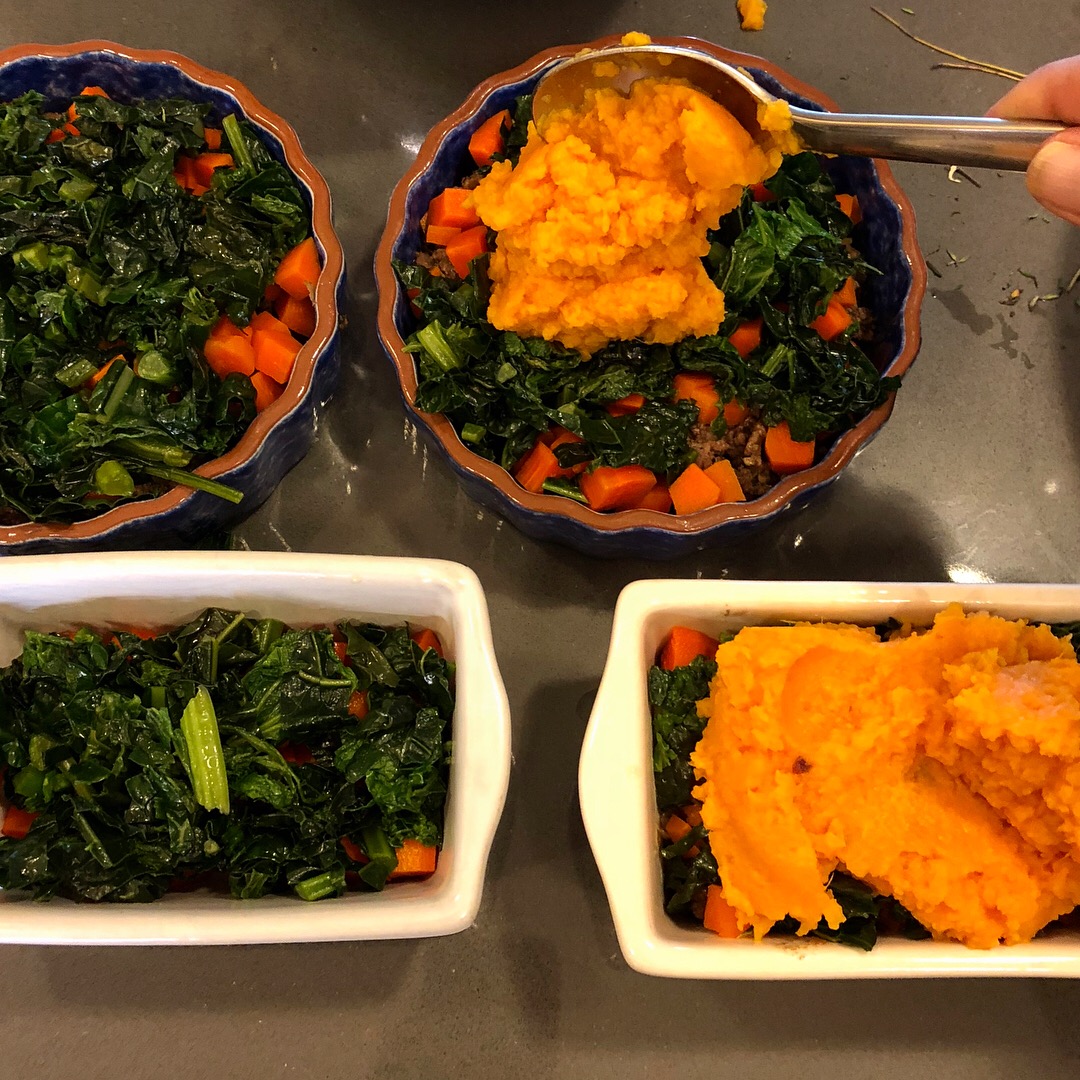
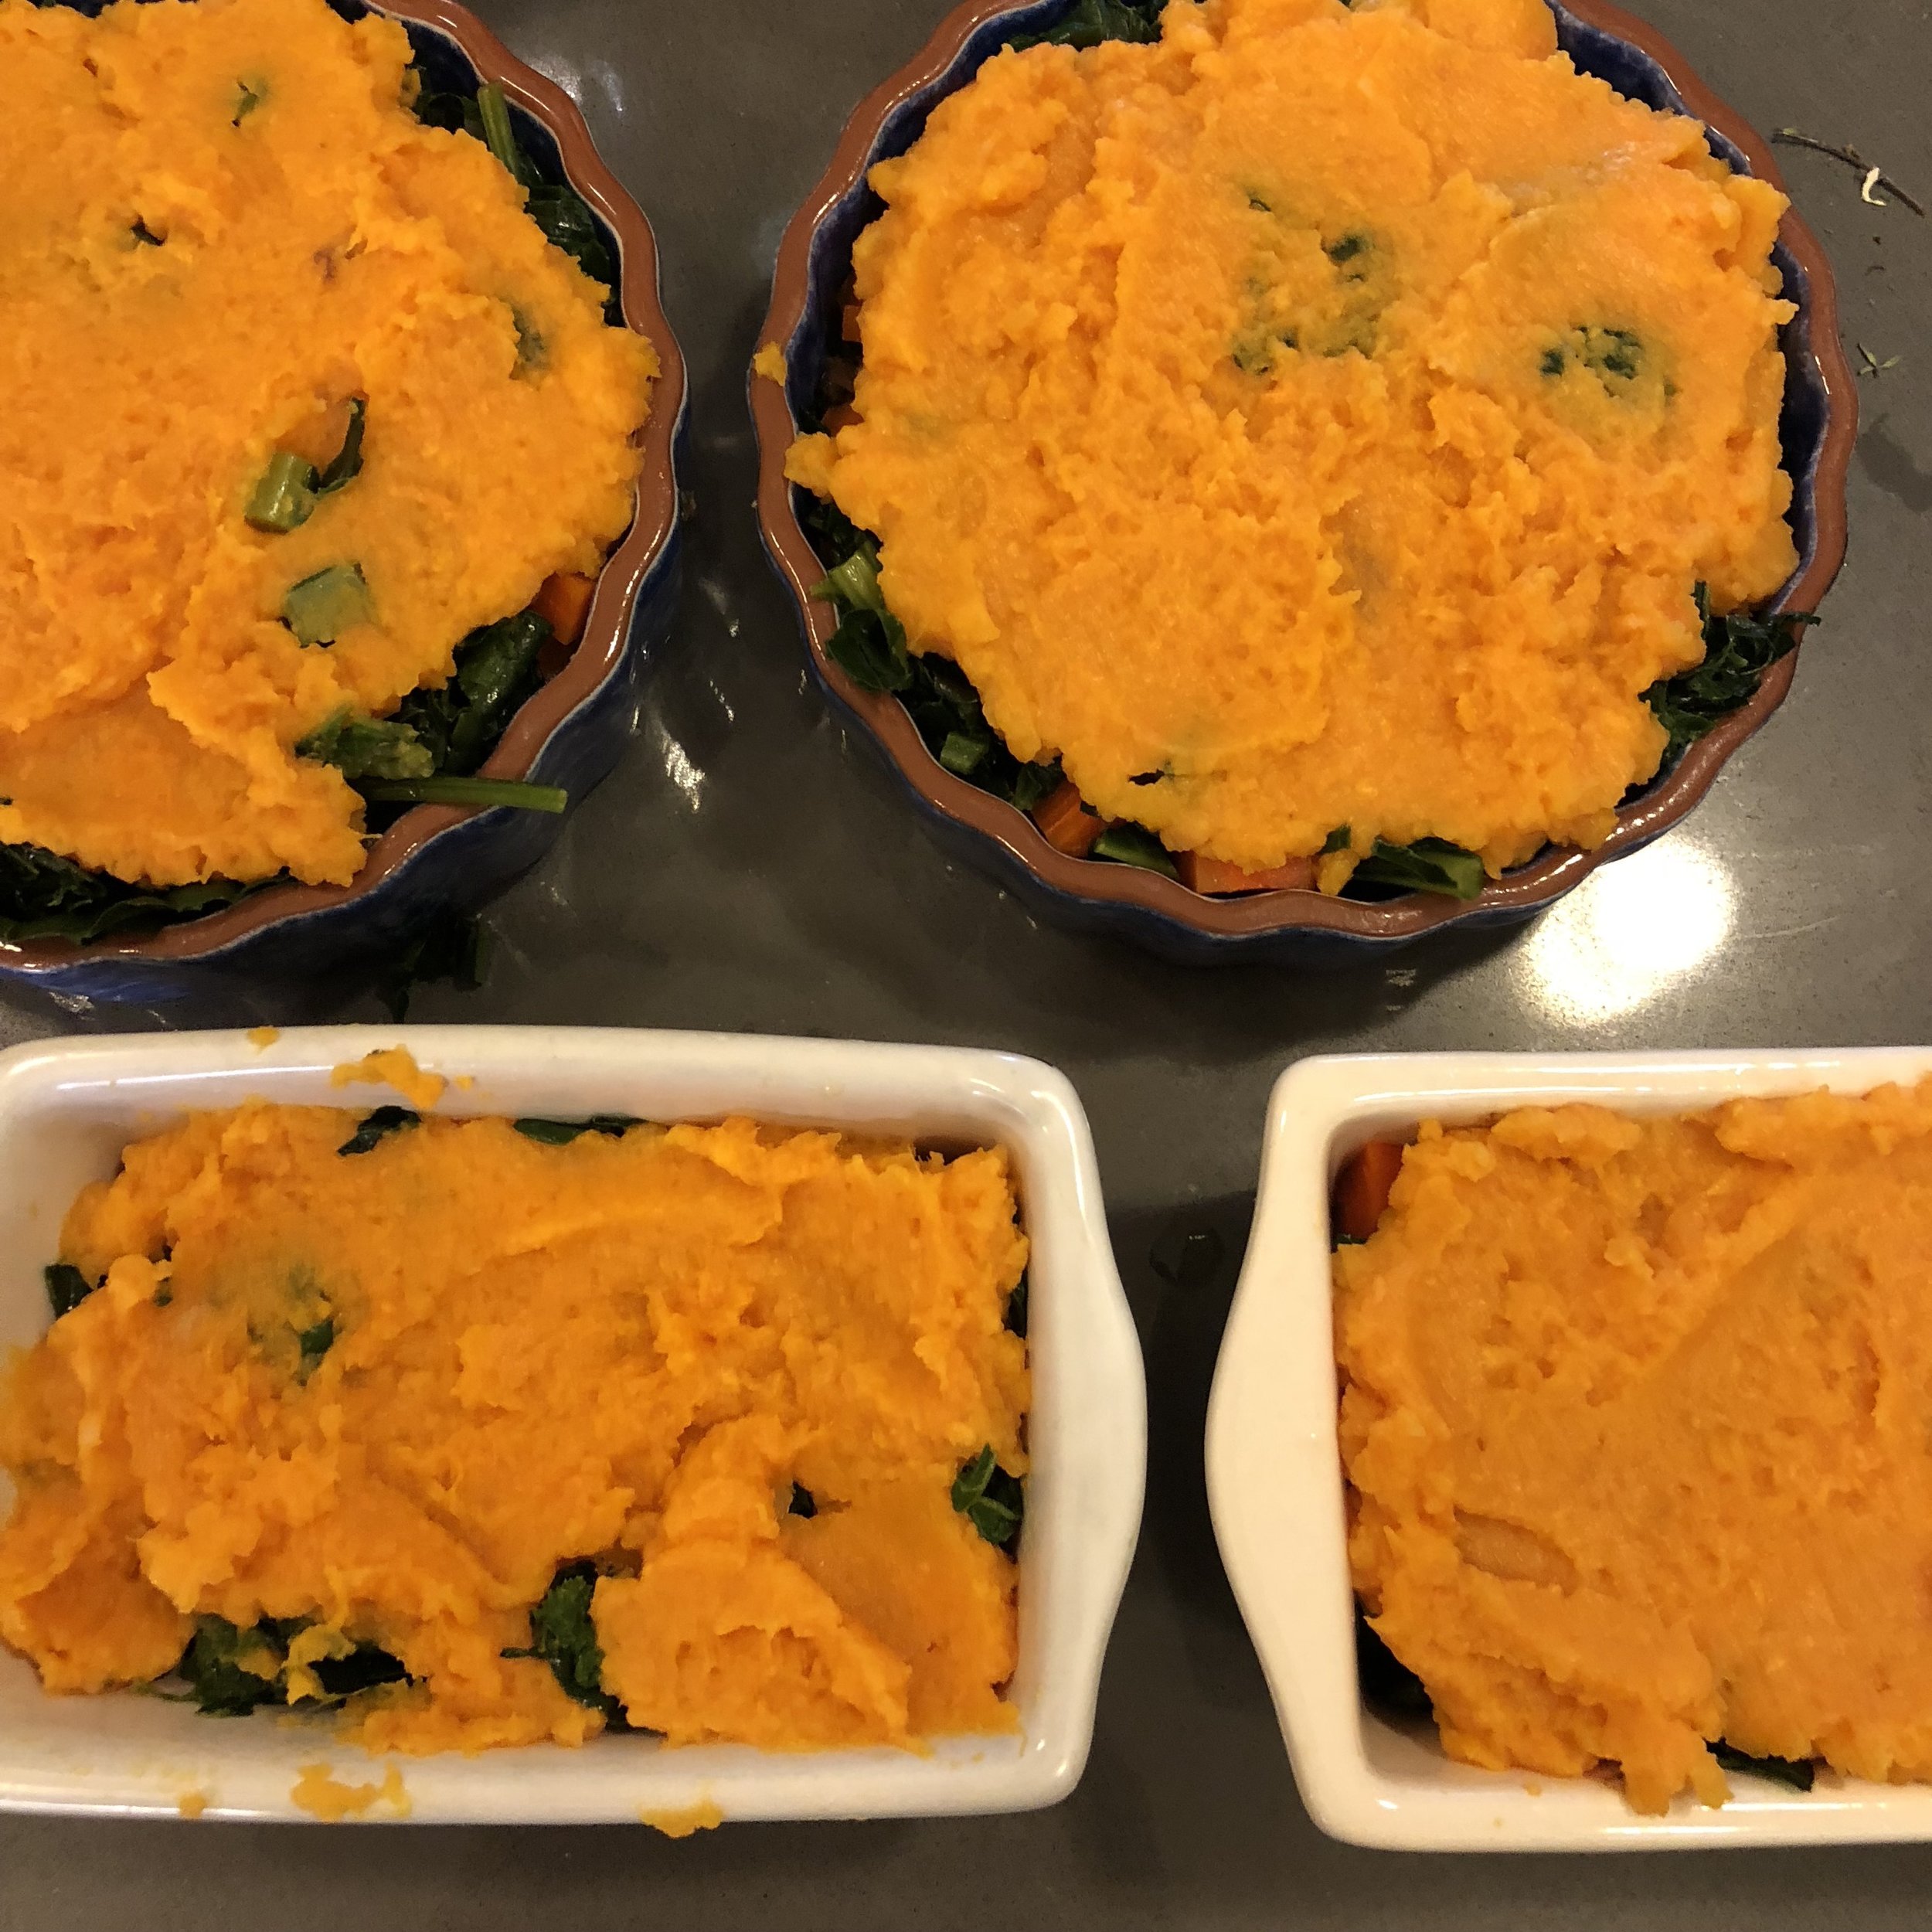
My jerk marinade has countless uses -- the expected chicken wings, marinating grilled vegetables and tofu, but my most unexpected and new favorite discovery has become Jerk Shepherd’s Pie. This creation was born out of a freezer clean out where I discovered some sautéed mixed greens, about a cup of jerk marinade and a 1lb package of ground beef. The resulting creation screams British pub food meets Caribbean beach BBQ. I since replaced the beef with ground lamb and have interchanged sweet potatoes for the red potatoes & yukon golds. If you use sweet potatoes or yams, I recommend baking those whole to soften them before mashing as boiling or steaming will add too much moisture.

Spring Jerk Marinade

Yield: ~ 4 ½ cups marinade

Teaching-Table-0750-1.jpg

What you need:

  • 2 shallots or small spring onions, about ½ cup large dice

  • 20 garlic cloves

  • 1 bunch scallions, top ⅓ of green removed, roughly chopped

  • 4 inch piece fresh ginger, peeled & roughly chopped, about ¼ cup

  • ½ cup brown sugar

  • ½ cup canola oil

  • 6 tablespoons tamari soy sauce or shoyu

  • ½ cup lime juice, approximately 4 limes

  • 2 bunches (1 ½ ounces) fresh thyme, leaves and tender stems only, approximately ½ cup

  • 4-8 habanero peppers

  • 5 tablespoons ground allspice

  • 2 teaspoons cinnamon

  • 1 teaspoon freshly ground pepper

  • 1 tablespoon kosher salt

  • ¼ cup water

Laura_Chef_Photos_July2017 (45 of 55).jpg

What you do:

  1. Put all ingredients, except the water, into the bowl of a food processor or blender. Process on high until completely pureed.

  2. Add water 1 tablespoon at a time, until it is the consistency of a runny sauce.

  3. Taste and adjust seasoning as needed. Be judicious with the chili peppers. The heat level will intensify over time.


Jerk Lamb Shepherd’s Pie

Yield: Serves 6

IMG_6337.JPG

What you need:

  • 3 red or yukon gold potatoes, about 1 ½ cups cut into ½ inch cubes

  • Kosher salt

  • 2 tablespoons butter (optional)

  • 3 medium carrots, small dice

  • 1 - 2 tablespoons olive oil or canola oil

  • 1 bunch cooking greens, chopped (such as mizuna, chard, kale, mustard greens)

  • 1 lb ground lamb (or beef)

  • 1 - 1 ½ cups jerk marinade (above)

What you do:

  1. Place the cubed potatoes in a large stock pot and cover with cool water. Add a generous handful of kosher salt. Bring to a boil, lower heat to medium and cook until potatoes are fork tender. Drain. Using a ricer or potato masher, mash the potatoes, adding butter if desired.

  2. In a medium pot fitted with a steamer basket, add water to just above the basket. Bring to a boil. Add the carrots and a few pinches of kosher salt. Steam until the carrots are tender but still firm, about 5 minutes.

  3. In a large skillet, heat oil on medium high heat. Add the chopped greens and a pinch of salt and sauté until they are soft. Remove greens from pan and set aside.

  4. Using the same skillet, heat another tablespoon of oil. Add the ground lamb, breaking it up with a spoon until you have ½ inch crumbles. Season with salt and freshly ground pepper and sauté until cooked through.

  5. Add the jerk marinade to the lamb. Cook about 5-7 minutes until the marinade is absorbed into the lamb and the lamb breaks down further into smaller crumbles.

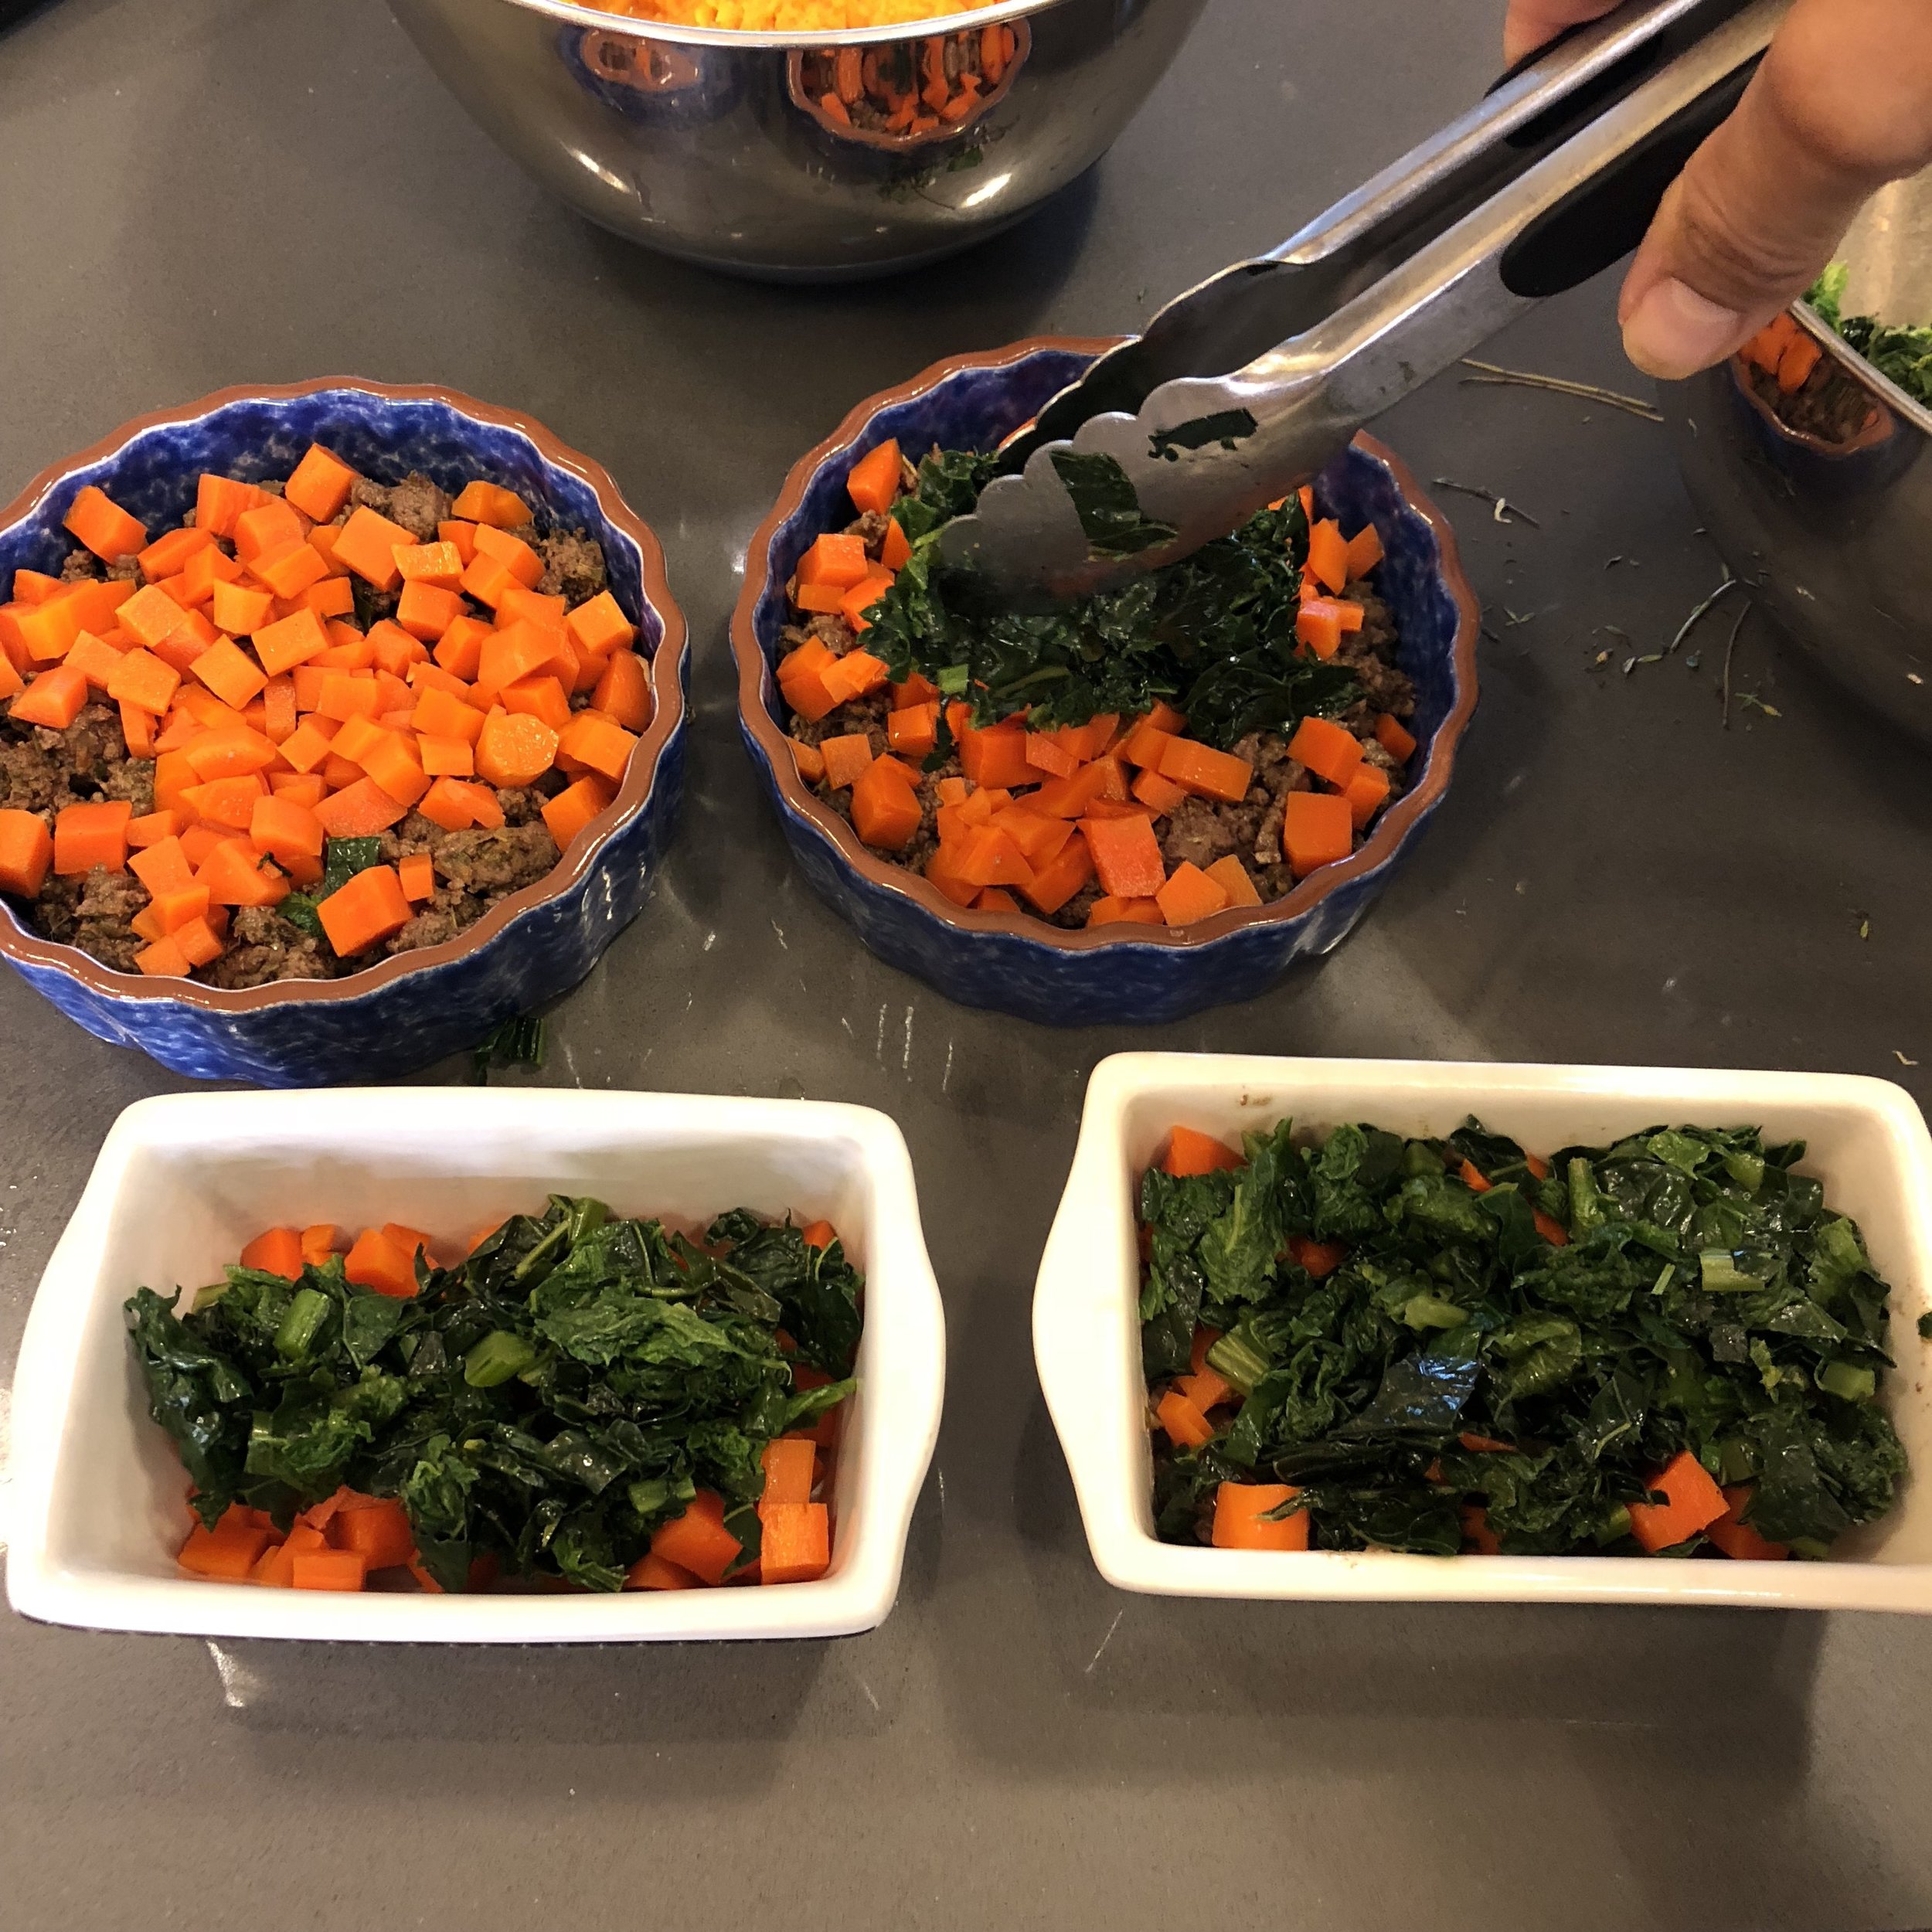
  6. Preheat the broiler. In an oven- proof casserole dish, layer the lamb, followed by carrots and greens and top with the mashed potatoes.

  7. Heat under the broiler on high for about 12 minutes or until the top is lightly browned and crisp.

To Freeze: Wrap casseroles tightly with plastic wrap. Label with contents and reheating instructions.

To Reheat: Thaw overnight or for at least 12 hours in refrigerator. Preheat broiler. Remove plastic wrap and broil under high for 12-15 minutes or until the top is lightly browned and crisp and the center is warmed.

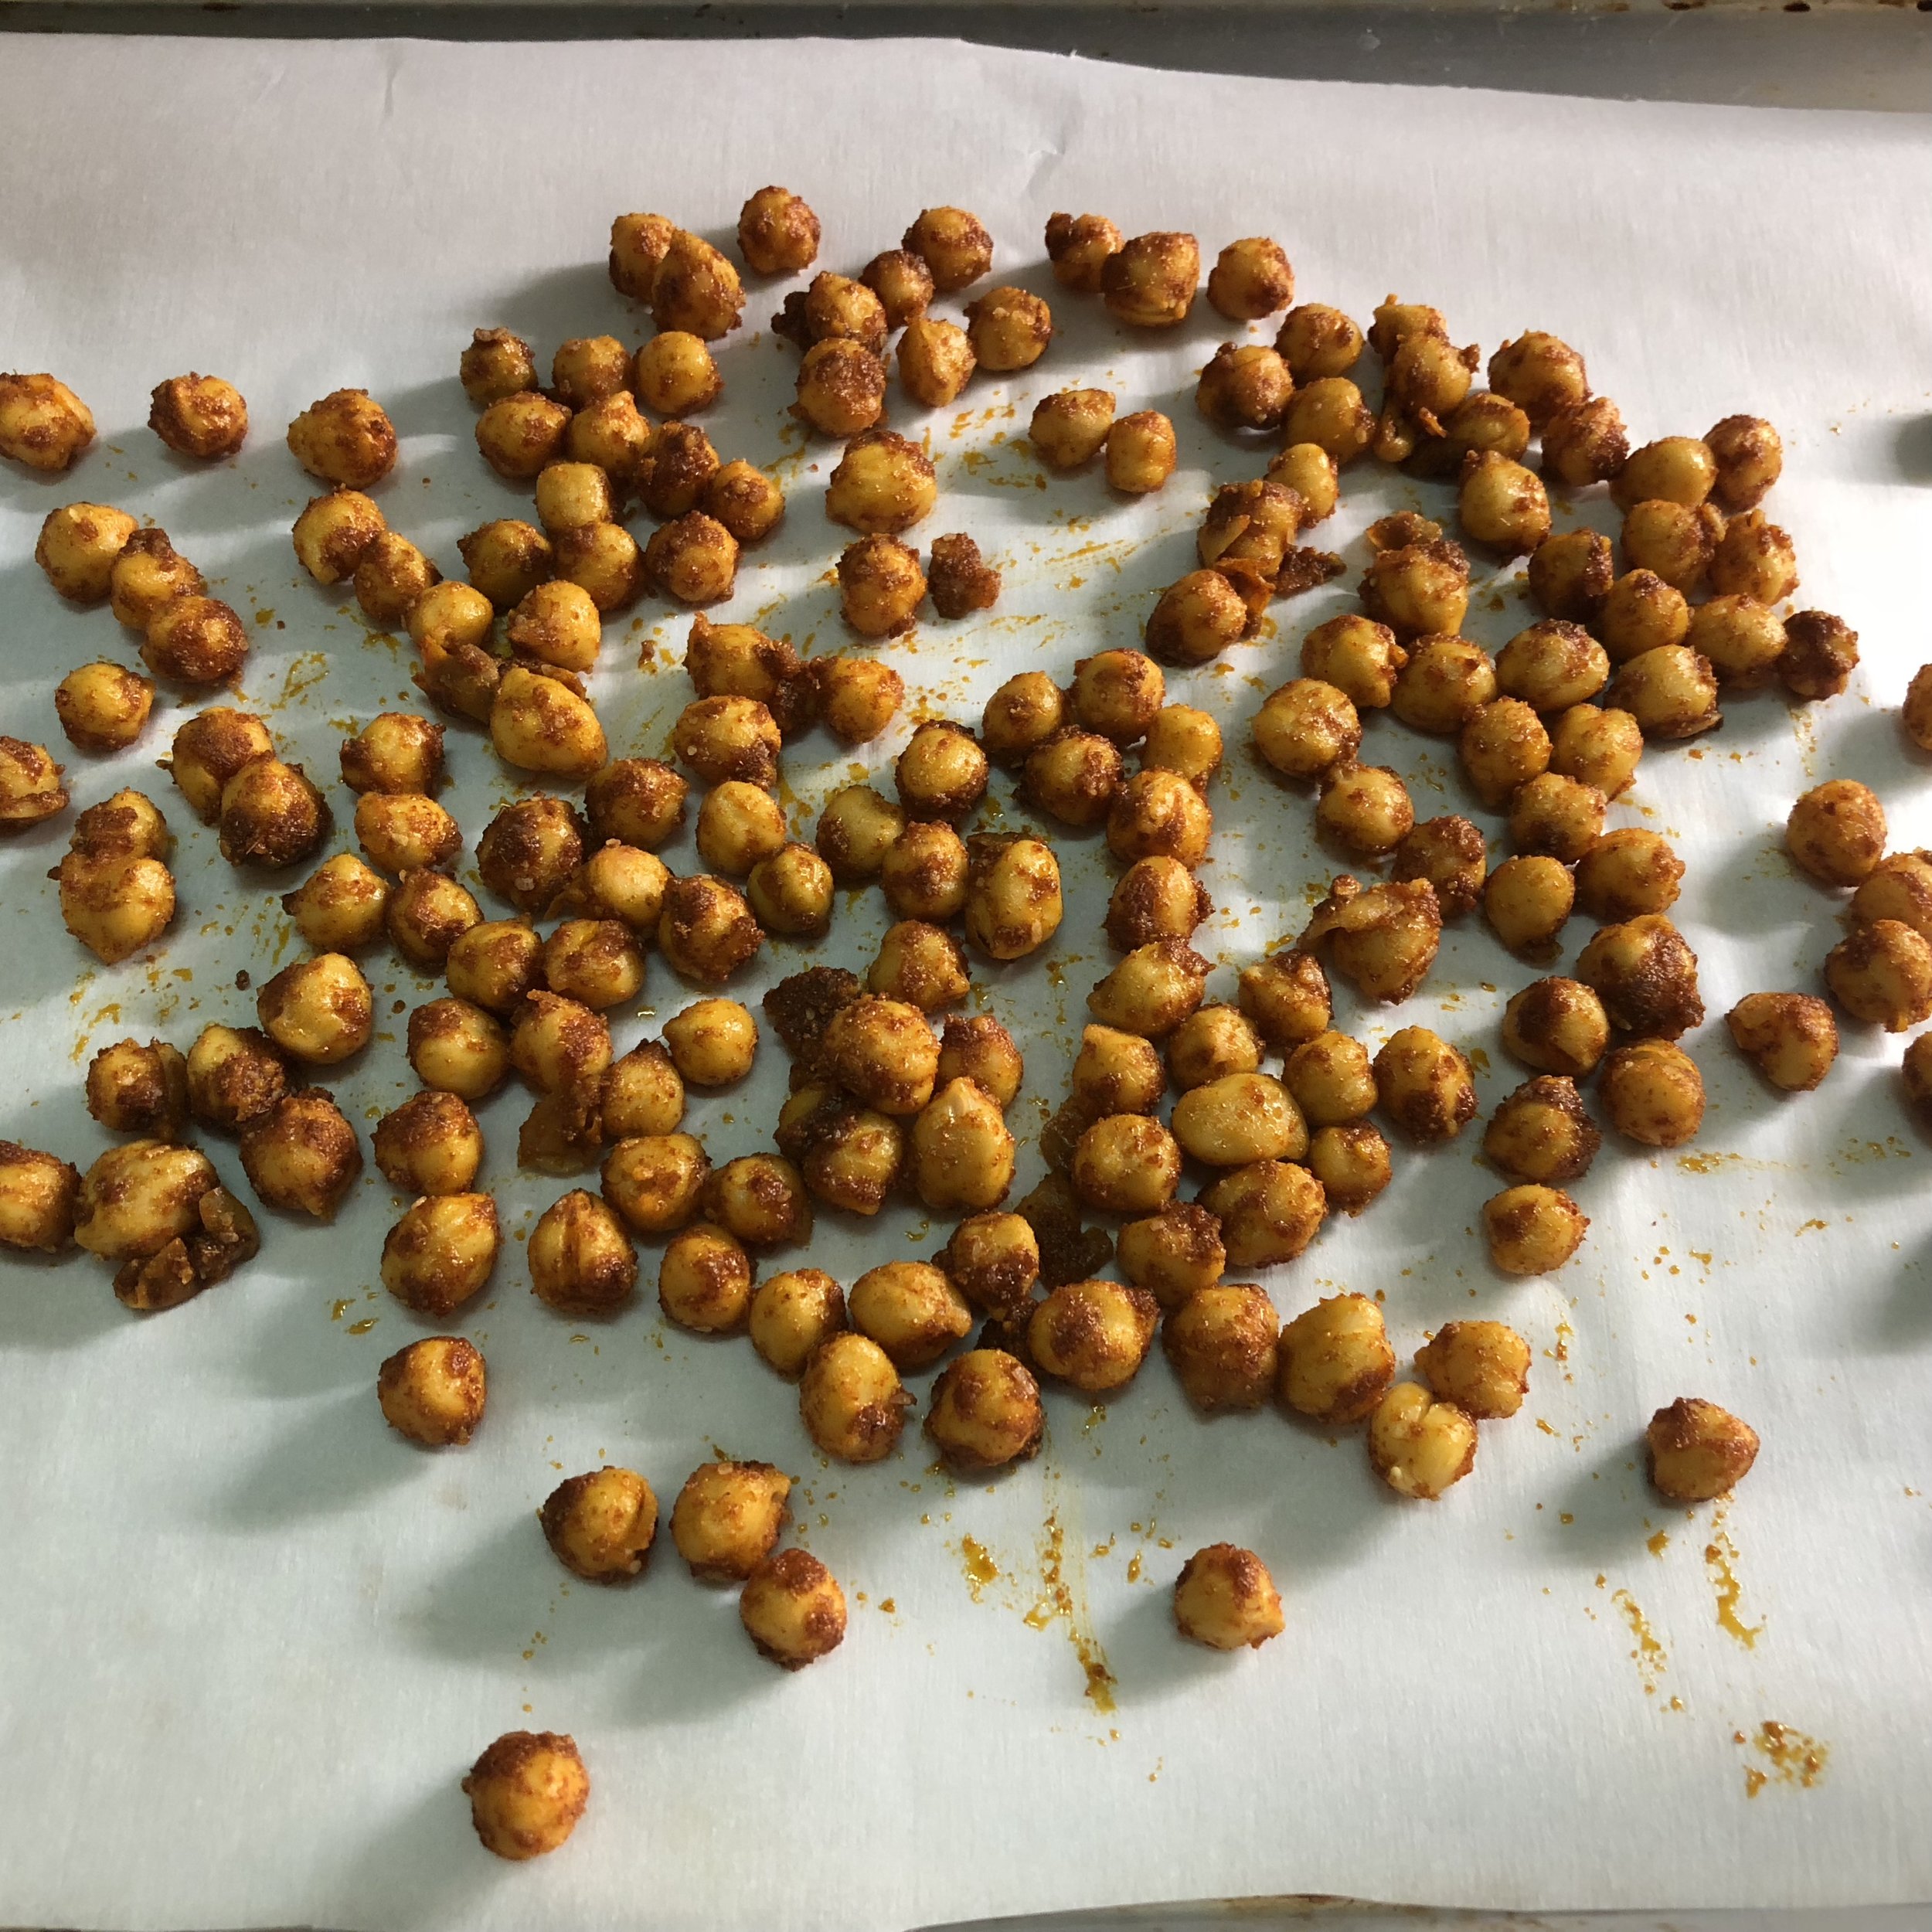
Spiced Roasted Chickpeas

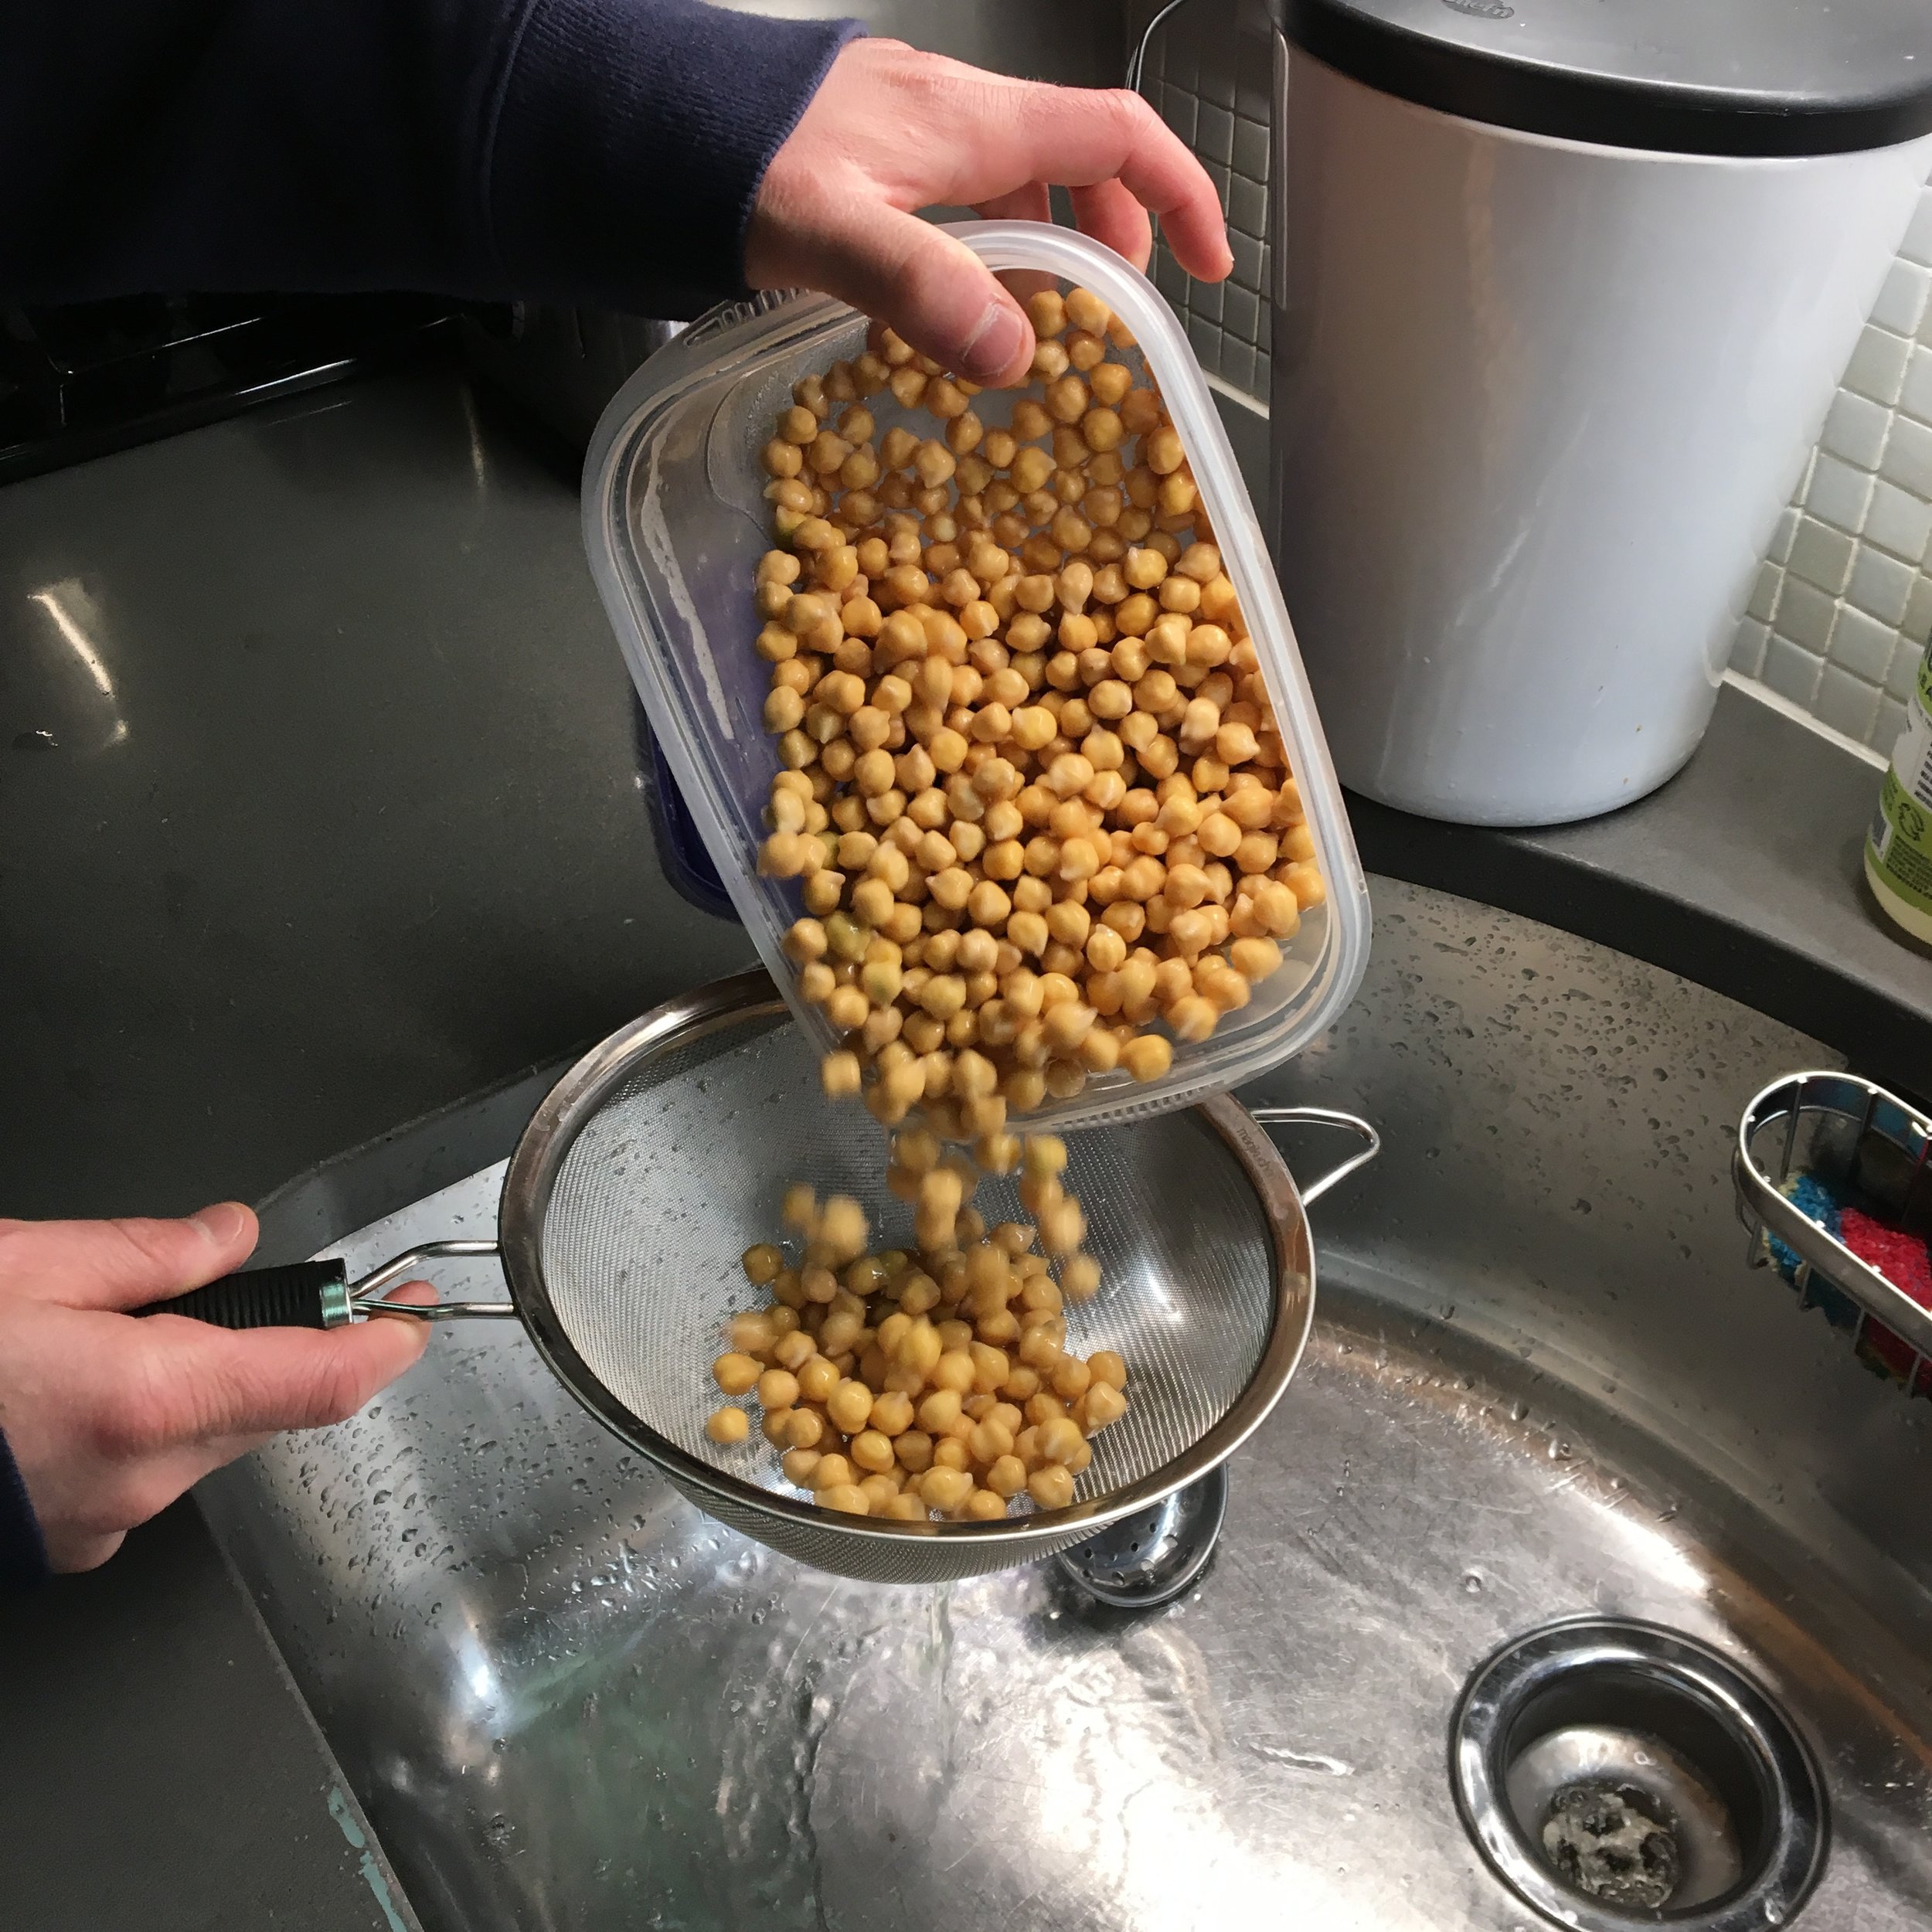
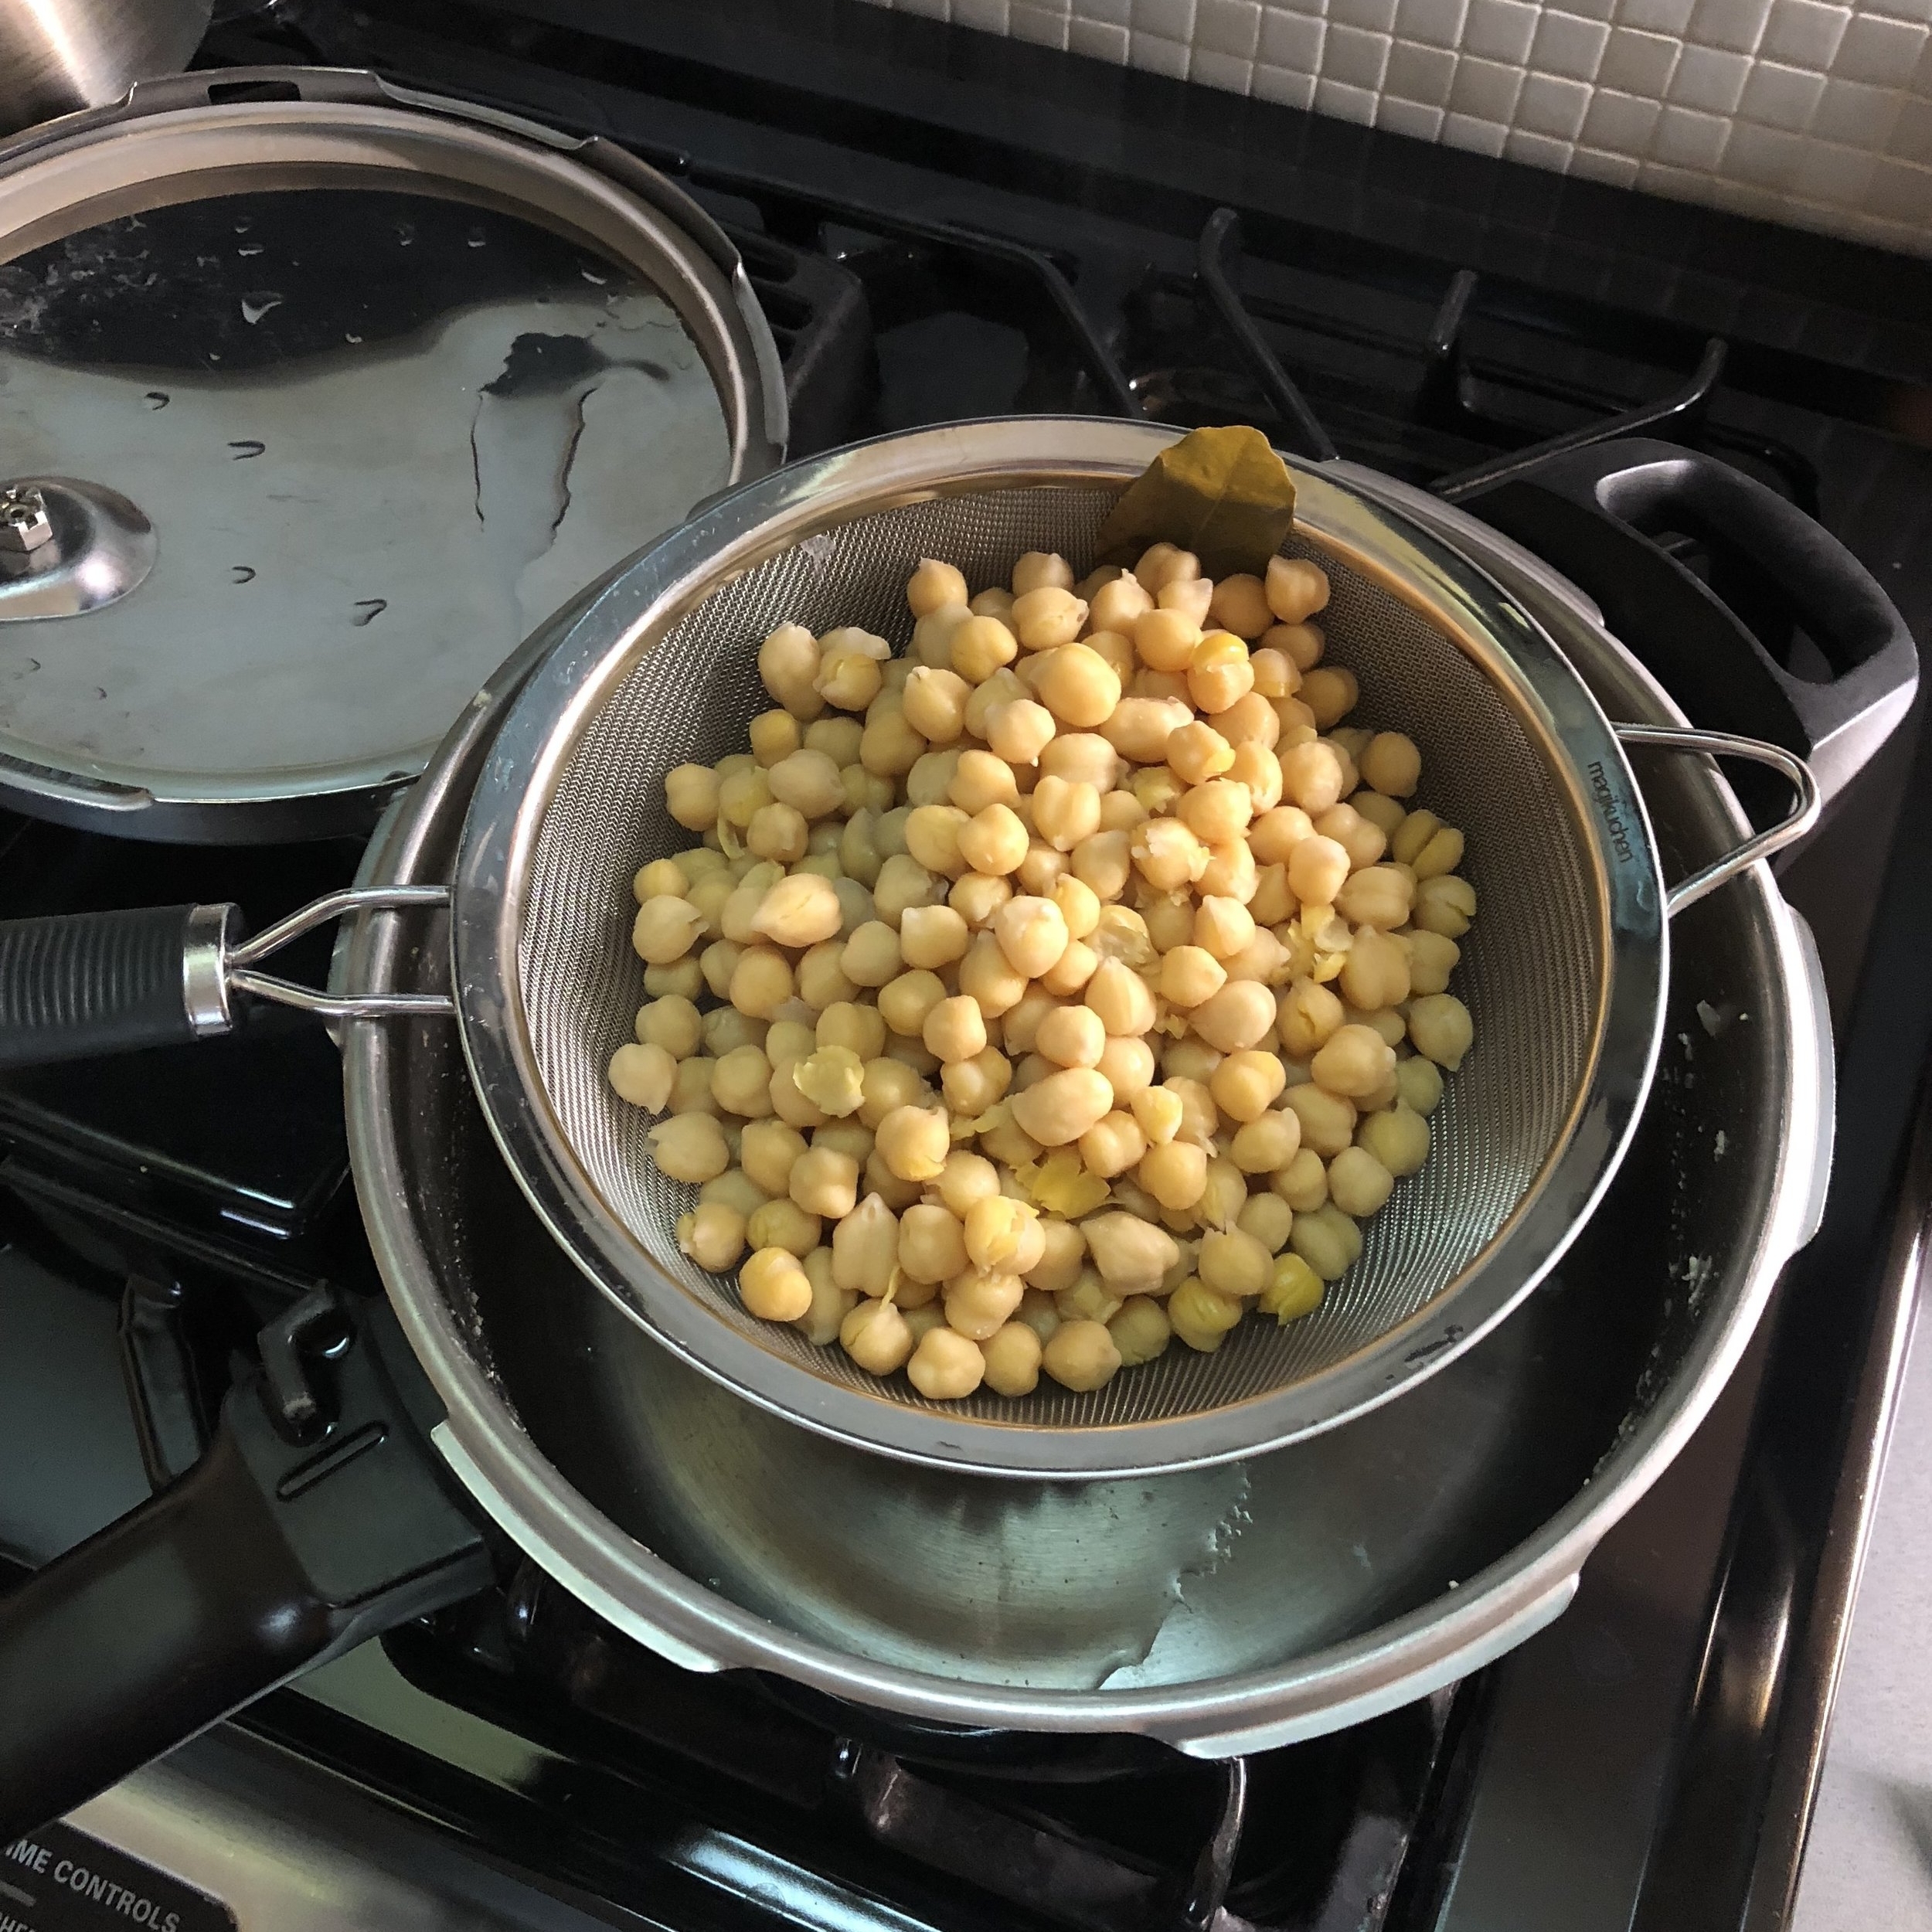
These spiced chickpeas are a staple of mine for a make-ahead snack on-the-go, main dish garnish, or salad topper. You can vary the spices to your taste and to pair with just about any other flavors. You can use whole and ground spices, or a combination. One of my favorite versions uses a blend of smoked paprika, cumin, garlic powder, and a pinch of cayenne that pairs nicely with Middle Eastern food, like on top of a tabouleh salad or with Indian food, adding crunch on top of a vegetable dish or dal. You can also serve them with this Shaved Brussel Sprout, Apple and Walnut Salad. If you’re game for cooking your own chickpeas, it’s not hard and here’s how.

Time saver tip: If you use a particular blend of spices often, make a batch and store it in reused spice jars. Often if I see a little bit of something left in a jar, I might add a few other spices to make a favorite blend. My funnels are re-purpose…

Time saver tip: If you use a particular blend of spices often, make a batch and store it in reused spice jars. Often if I see a little bit of something left in a jar, I might add a few other spices to make a favorite blend. My funnels are re-purposed shields from my old breast pump. Great for solids! When making spice blends, I often leave off the salt so I don't end up adding extra!

What you need:

  • 1 ¾ cups cooked (or canned and rinsed) chickpeas*

  • 1 tablespoon oil (olive, canola oil, coconut, etc.)

  • 3 pinches sea salt or kosher salt

  • 3-4 teaspoons spices or dried herbs**

* you can make this in any quantity you desire, but I write this for 1 ¾ cups since that is what you get out of a standard can of chickpeas.

** the herbs and spices are up to you, but here are some of my favorite combinations:

  • cumin + garlic powder + smoked paprika + cayenne

  • oregano + basil + garlic powder + red pepper flakes

  • cumin + coriander + garlic powder + ginger + turmeric

  • coriander + cumin + fennel + chili powder + garlic

  • Za'atar seasoning

fullsizeoutput_1729.jpeg

Step 1:

Using a clean kitchen towel, pat the chickpeas dry. Homemade or canned work equally well (rinse canned chickpeas first.)

fullsizeoutput_172a.jpeg

Step 2:

In a bowl, mix together your selected spices.

fullsizeoutput_1728.jpeg

Step 3:

Add the olive oil to make a paste. It should pass the spoon test on left.

fullsizeoutput_172d.jpeg

Step 4:

Add the chickpeas to the bowl and toss to coat.

fullsizeoutput_172f.jpeg

Step 5:

Roast the chickpeas in one of two ways:

Spread the chickpeas in a single layer on a baking sheet and bake in oven at 425 degrees until lightly browned and toasted, about 15 minutes.

Heat a large skillet over medium high heat. Add the chickpeas and toast until lightly browned, about 7 minutes. Stir or shake the pan occasionally.

Rhubarb & Oat Cream Scones

Rhubarb season in the northeast is so fleeting that I must find ways to preserve this tart treasure for year round enjoyment. Enter baked goods that can be frozen! Side note - I was shocked and a touch envious to learn that fresh rhubarb is available practically year round in Iceland, of all places. And after a little more research, I've decided to plant a rhubarb bush this fall for harvesting next spring. On to the scones, which can be enjoyed today (in just about 40 minutes if you get to work right now) or a few months from now when you take them from your freezer and bake them...

Rhubarb & Oat Cream Scones

For dairy eaters, use the butter and heavy whipping cream. For a vegan version, substitute coconut oil for the butter and a combination of coconut cream and coconut milk for the heavy whipping cream and use maple syrup in place of honey. The result is almost identical in taste and texture. The vegan version is only missing its golden brown sheen from the egg wash. You can attempt to achieve a nice golden brown crust with a brushing of coconut cream, maple syrup or combination of the two, and a slightly higher oven temperature. These are delicious served with strawberry conserve or jam or this Rhubarb Strawberry Compote you can whip up in 15 minutes.

Makes: 8 scones

What you need:

  • 2 cups all purpose flour, plus more for dusting your board and shaping scones

  • 1 cup whole rolled oats, plus more for sprinkling

  • 2 1/2 teaspoons of baking powder

  • 1/2 teaspoon salt

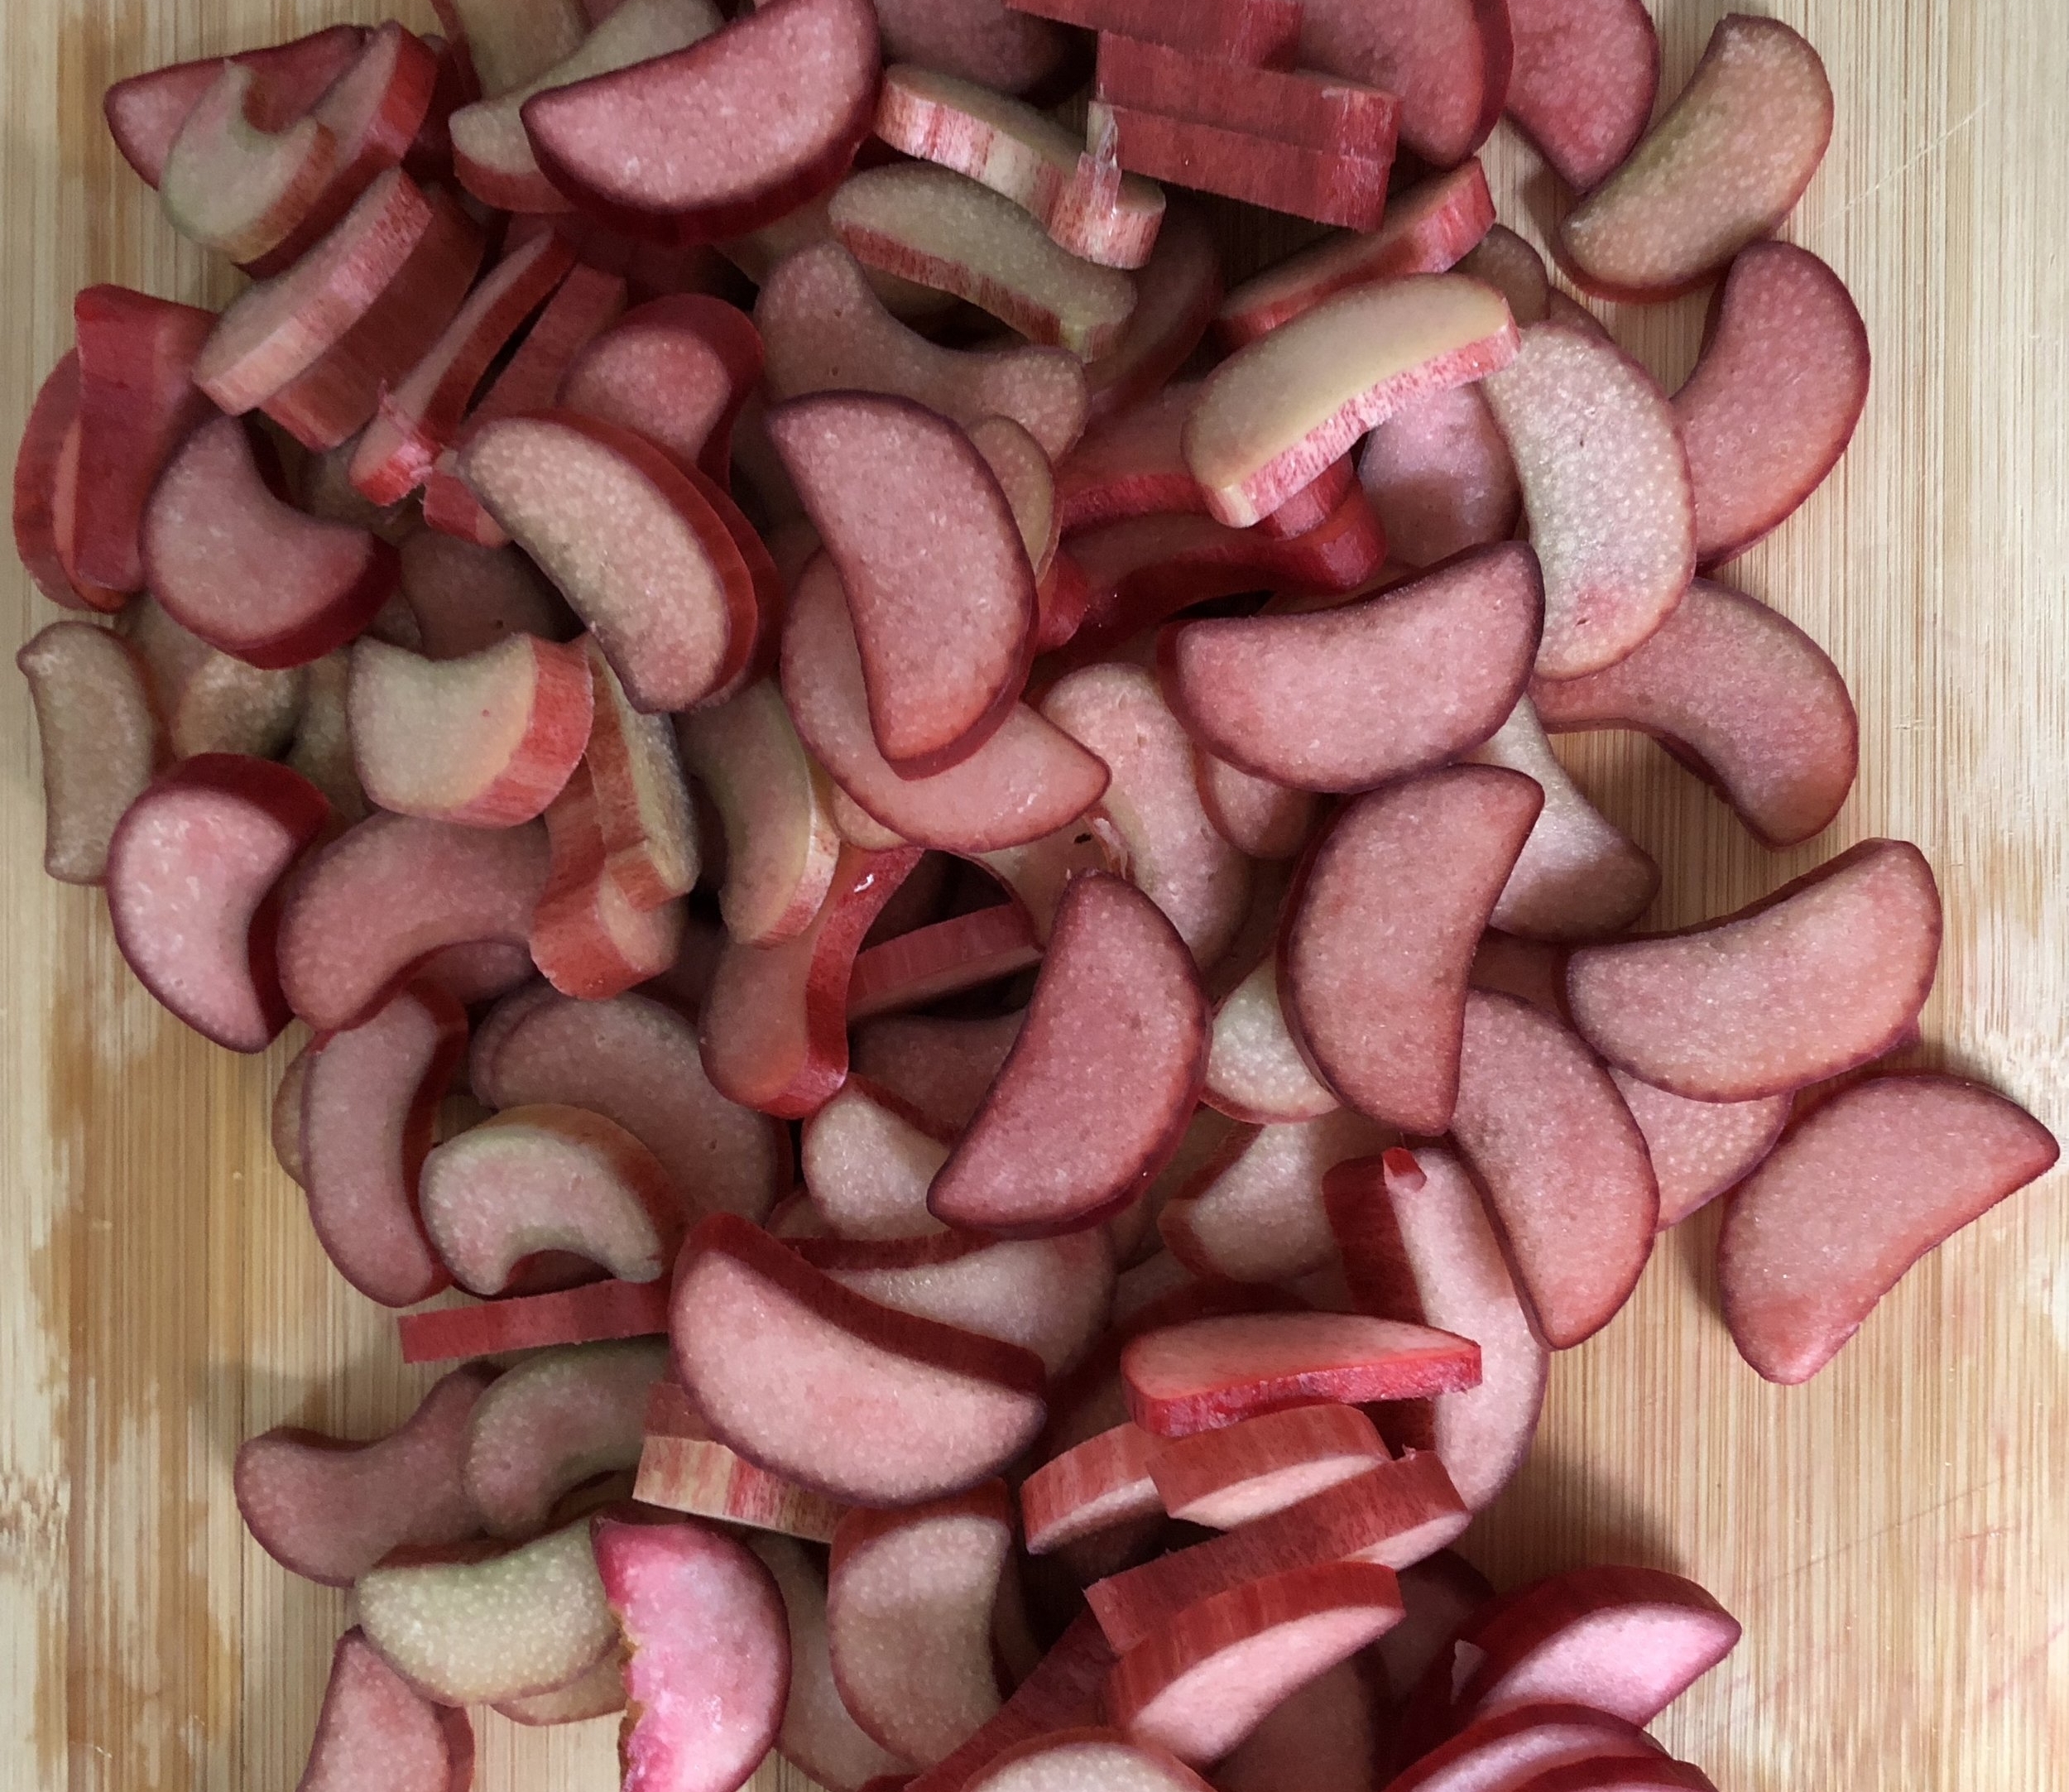
  • 1 1/2 - 2 cups rhubarb, diced into 1/4 inch pieces

  • 1 - 2 tablespoons turbinado sugar, plus more for sprinkling

  • 4 tablespoons unsalted butter, cut into small cubes (4 cubes per tablespoon) OR 1/4 cup coconut oil, chilled until solid

  • 1 1/4 cup heavy whipping cream OR 3/4 cup coconut milk + 1/2 cup coconut cream, plus more coconut cream for brushing

  • 1 tablespoon honey or maple syrup

What you do:

  1. Preheat oven to 425 degrees.

  2. In a medium bowl, stir together the flour, oats, baking powder and salt.

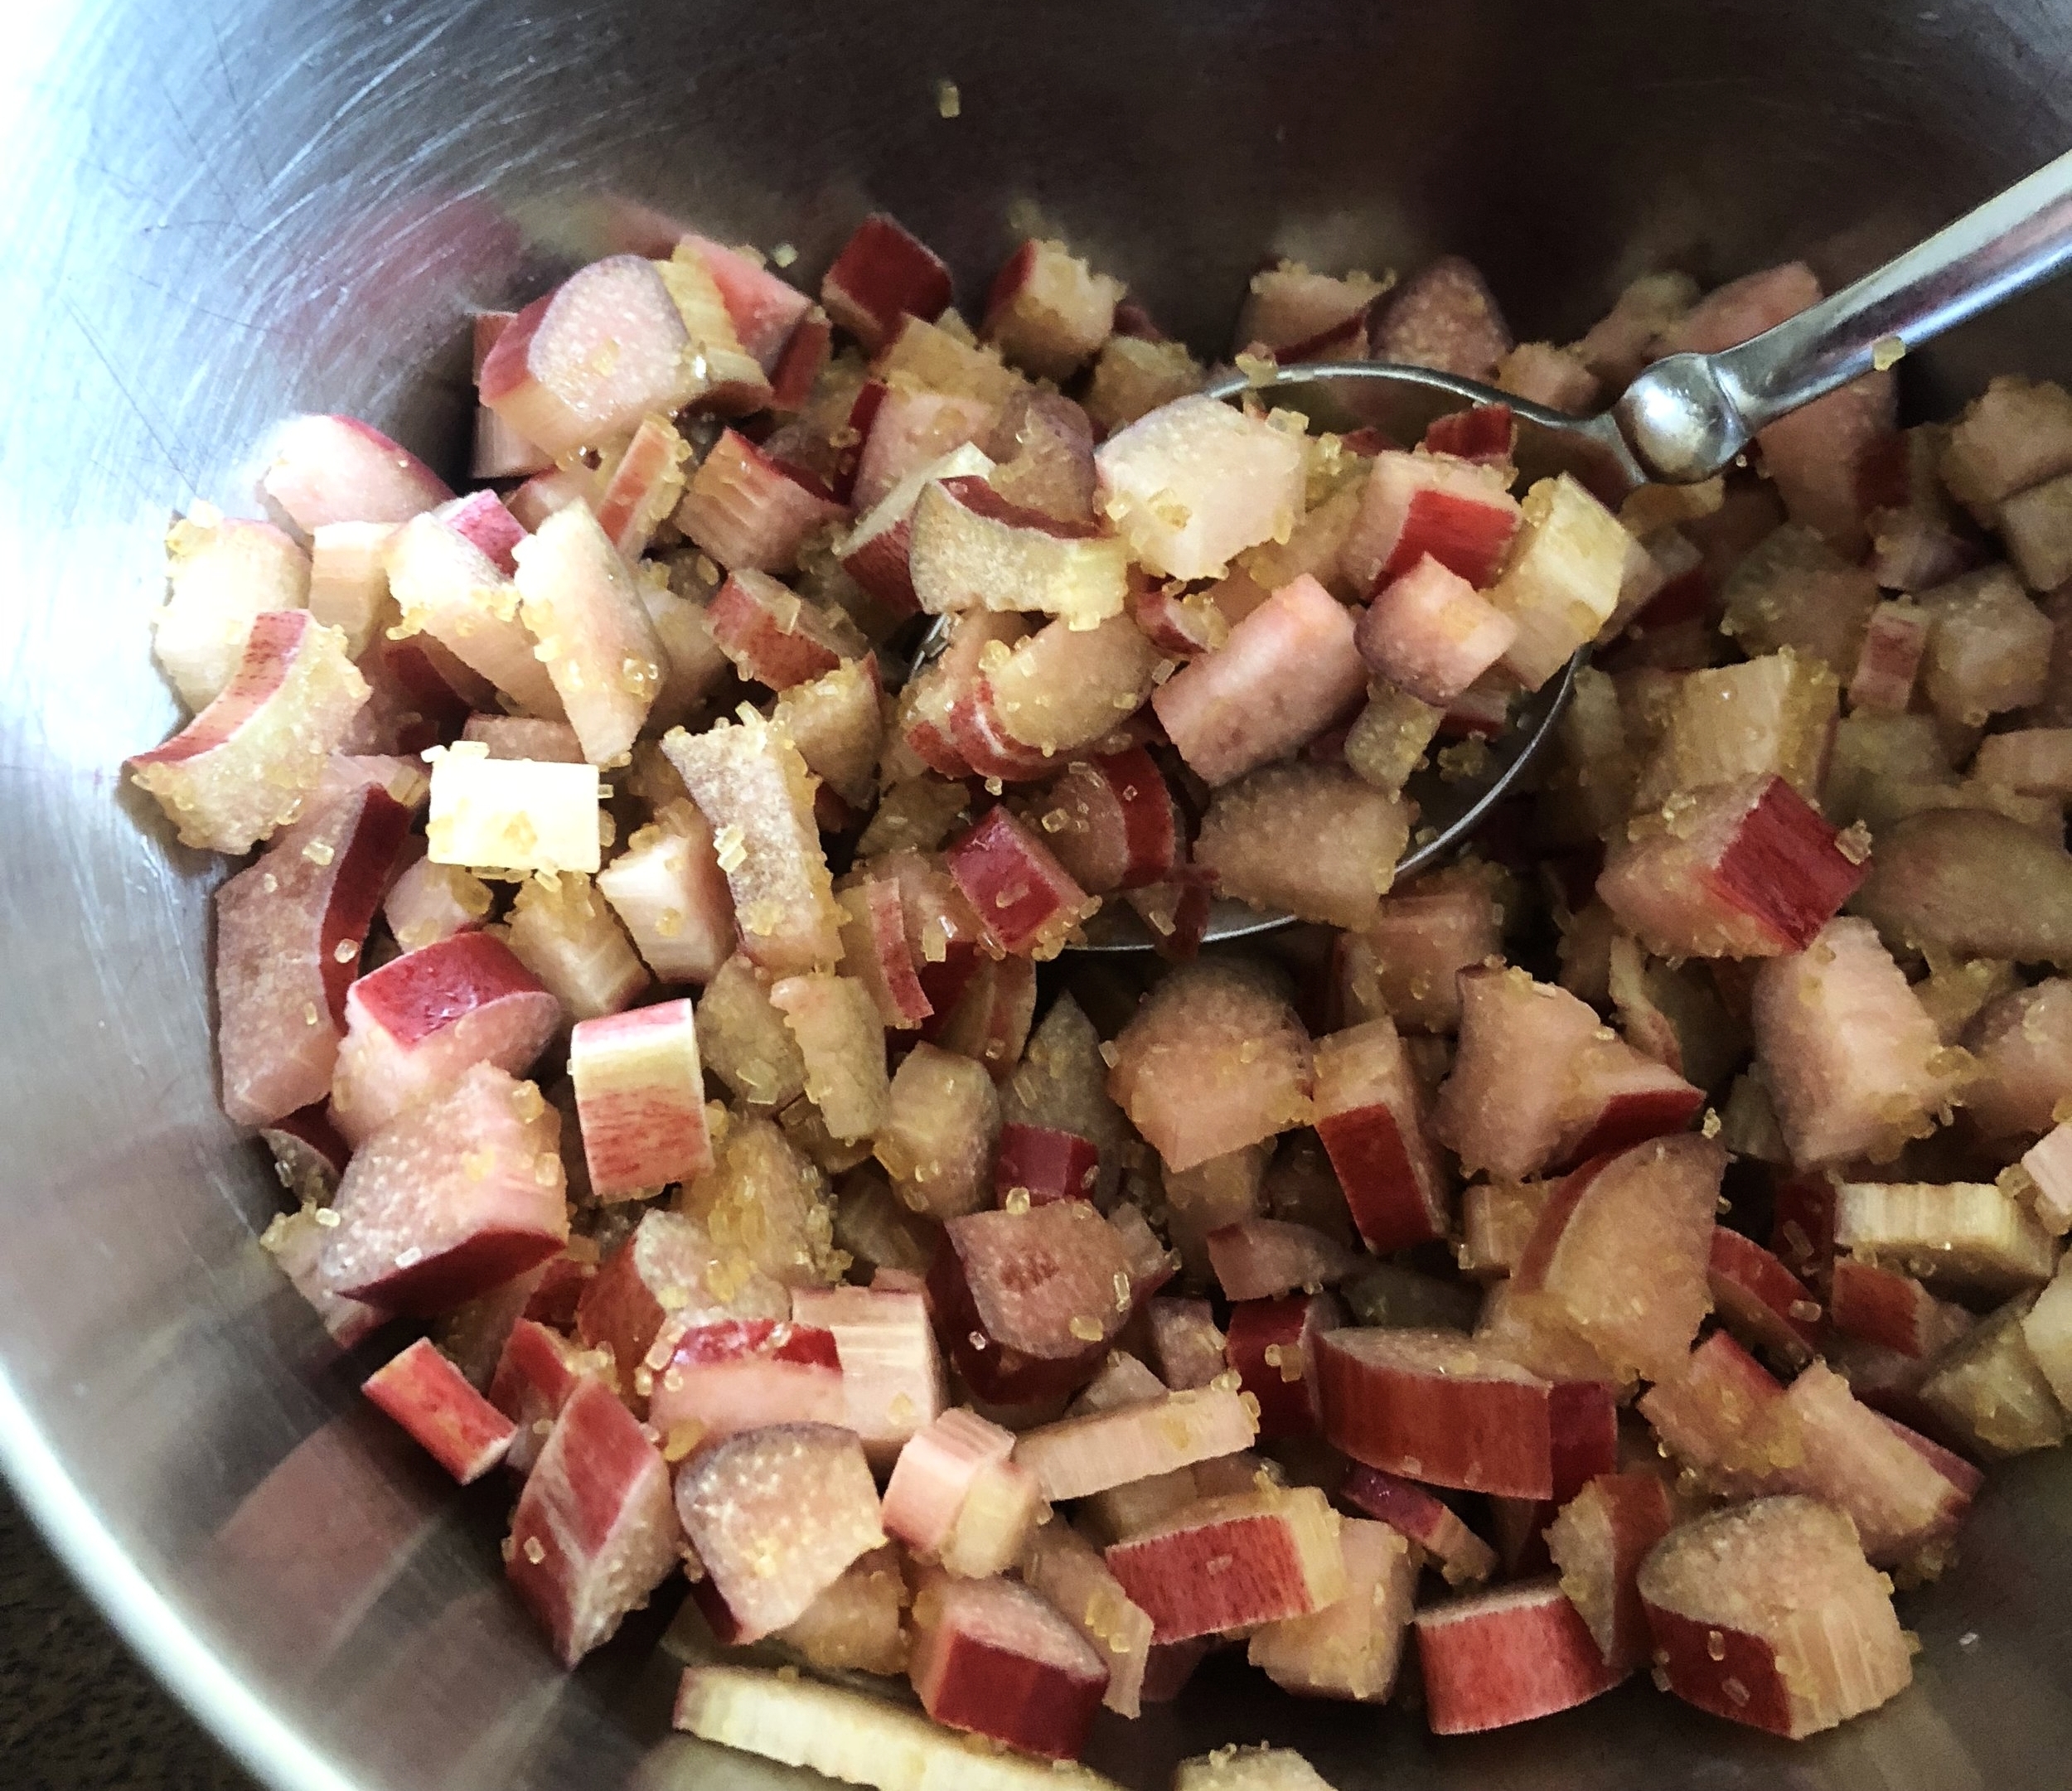
  3. In a small bowl, combine the rhubarb and sugar.

  4. With your fingertips, gently work the butter into the dry ingredients until butter pieces are coated with the flour mixture and none is larger than a raisin.

  5. In a large measuring cup or small bowl, whisk the whipping cream (or coconut cream and coconut milk) with the honey (or maple syrup) until smooth.

  6. Slowly stir the wet ingredients into the dry ingredients just until the dough starts to come together. At this stage, about 1/3 of the dry ingredients should be left unincorporated.

  7. Swiftly add the rhubarb to dough until nearly all of the dry ingredients are incorporated. Turn the dough onto a floured surface or piece of parchment and using your hands and a little more flour, pat it together until it holds together into one large disk, approximately 8 inches in diameter.

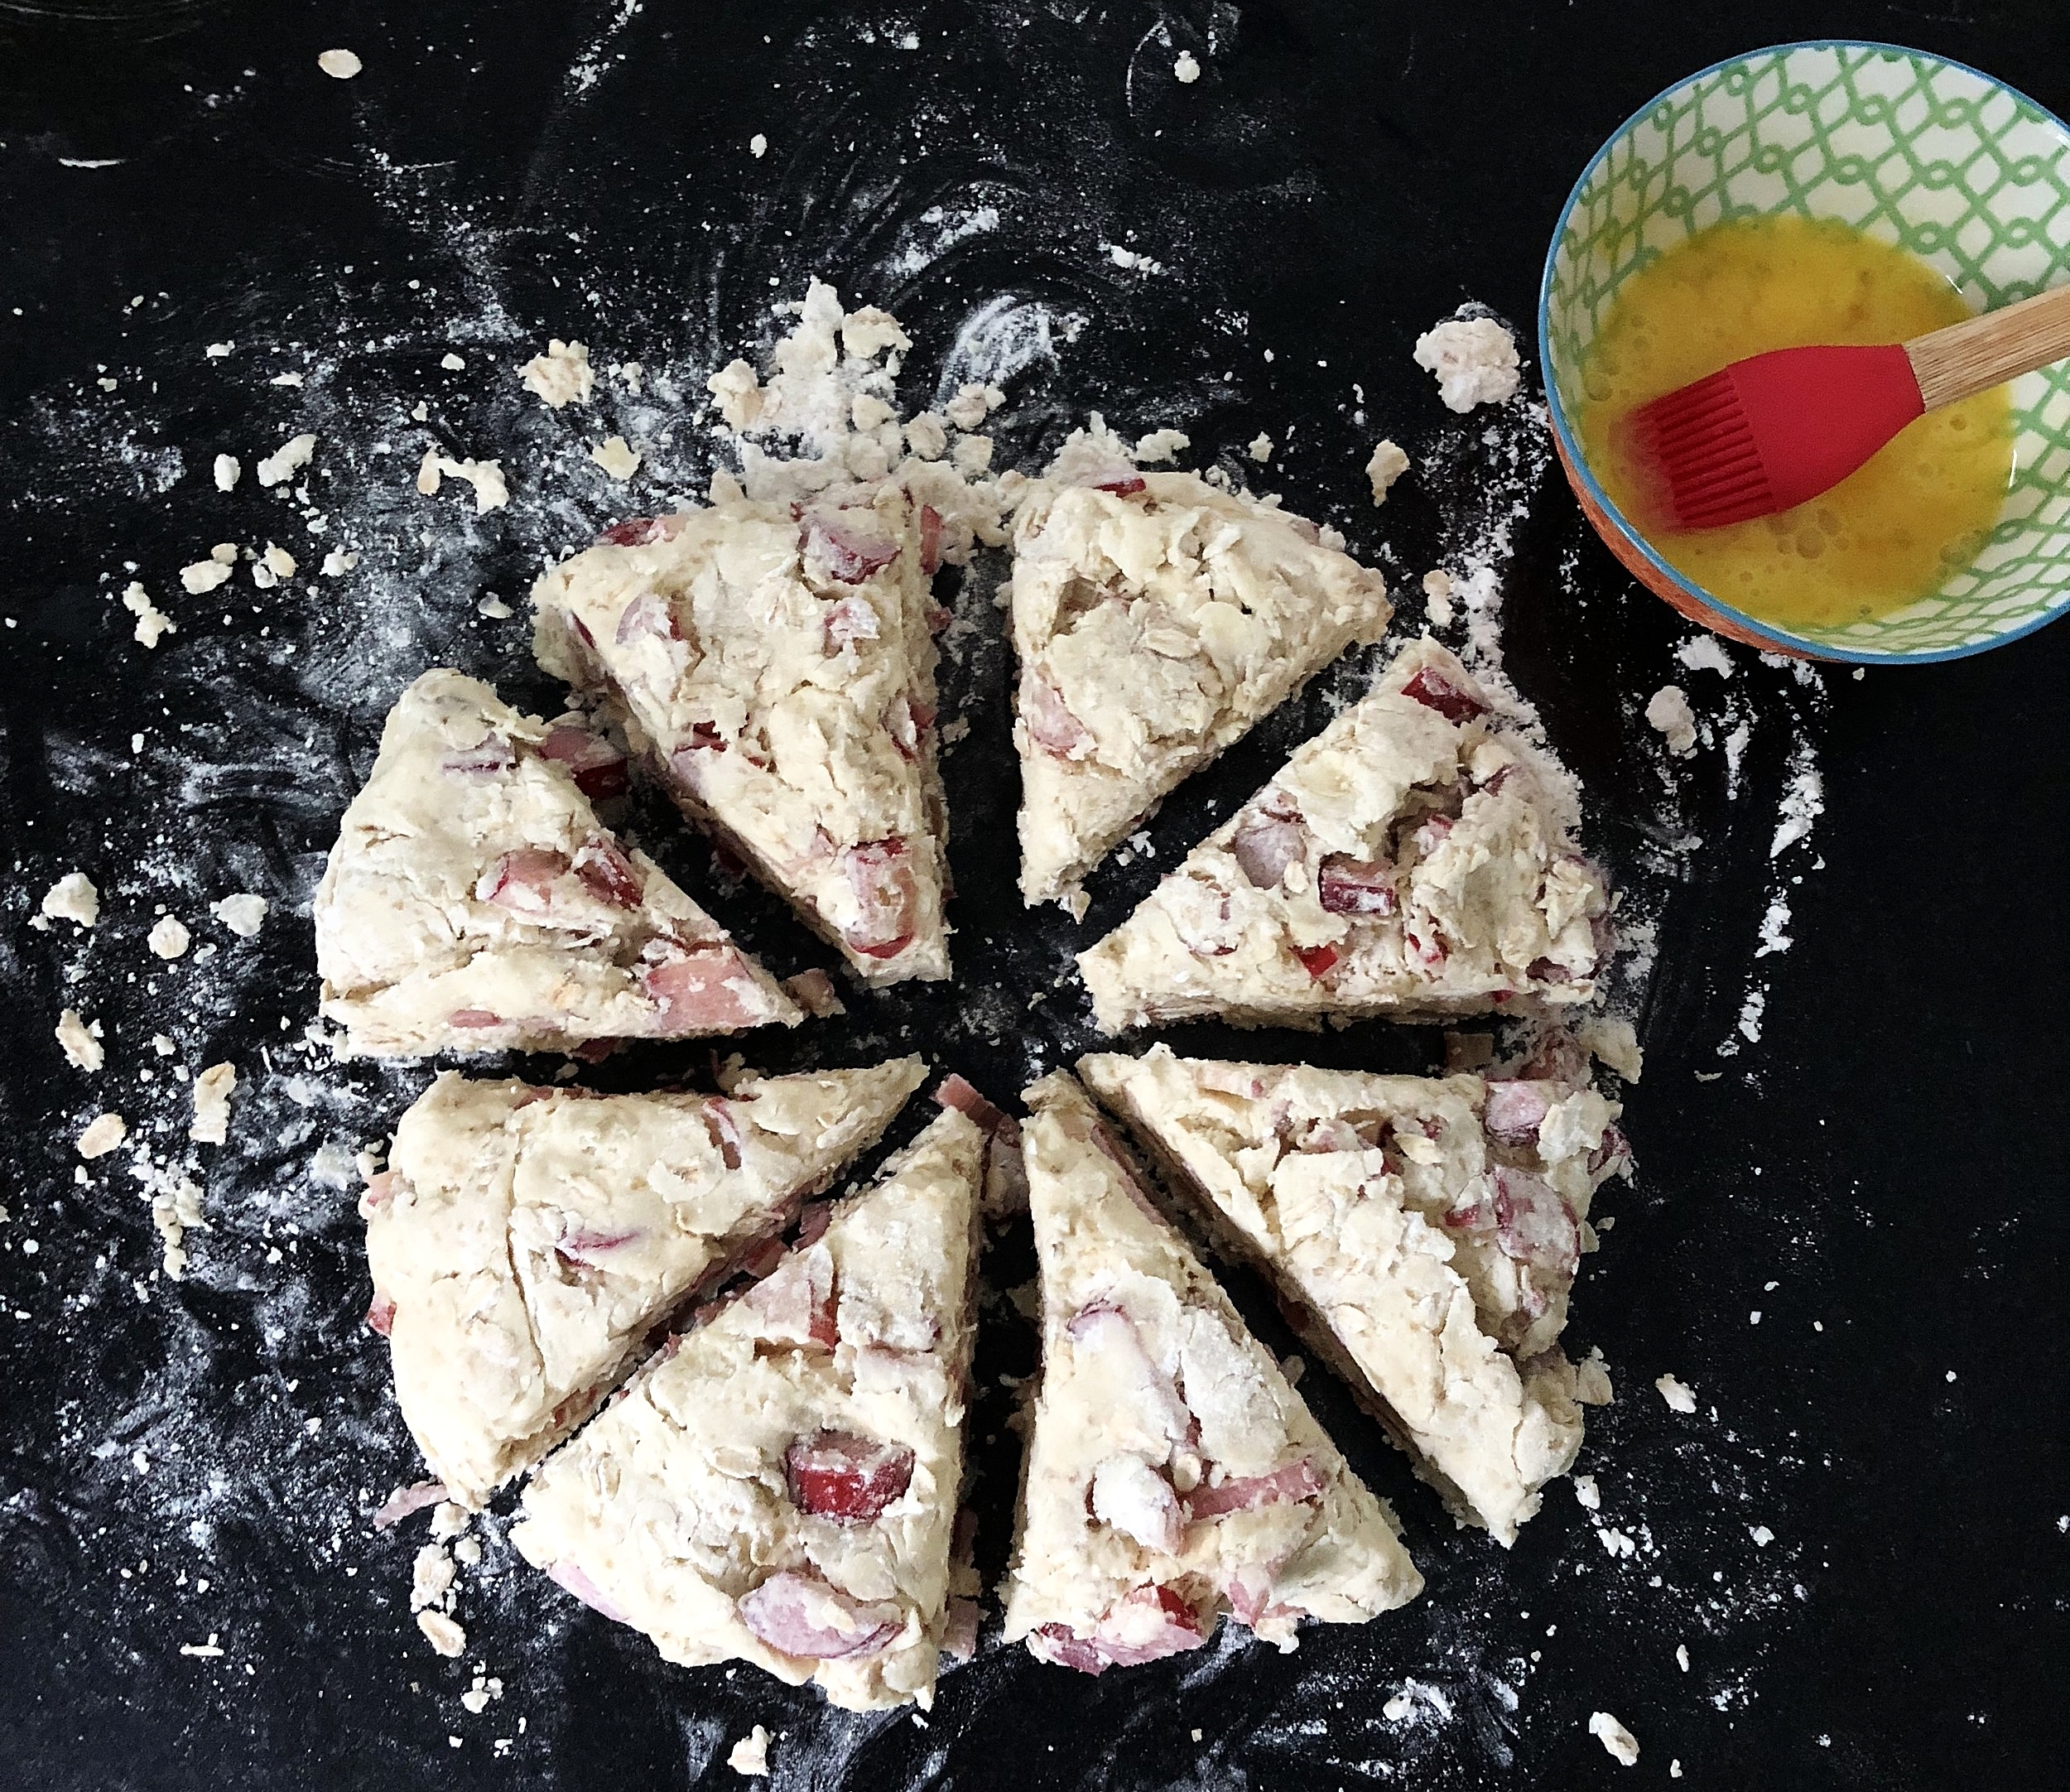
  8. Using a bench scraper or spatula, cut the disk into 8 equal triangles.

  9. Transfer to a baking sheet (on the parchment if you used it). Refrigerate for 10 minutes.

  10. Brush each scone with a lightly beaten egg, more cream, or coconut cream, maple syrup or coconut cream mixed with maple syrup. Sprinkle oats and turbinado sugar on top.

  11. Bake at 425 degrees for 18-20 minutes or until tops are lightly browned and scones are firm to touch. Allow to cool 5 minutes on baking sheet.

    To freeze: arrange the scones in a single layer on parchment-lined trays and when solid, transfer to parchment lined or flour-dusted air tight containers. If stacking, separate scones with a layer of parchment. To reheat: Remove from the freezer. Preheat oven to 425 degrees. Bake at 425 degrees for 8 minutes or toast in a toaster oven for 3 minutes.

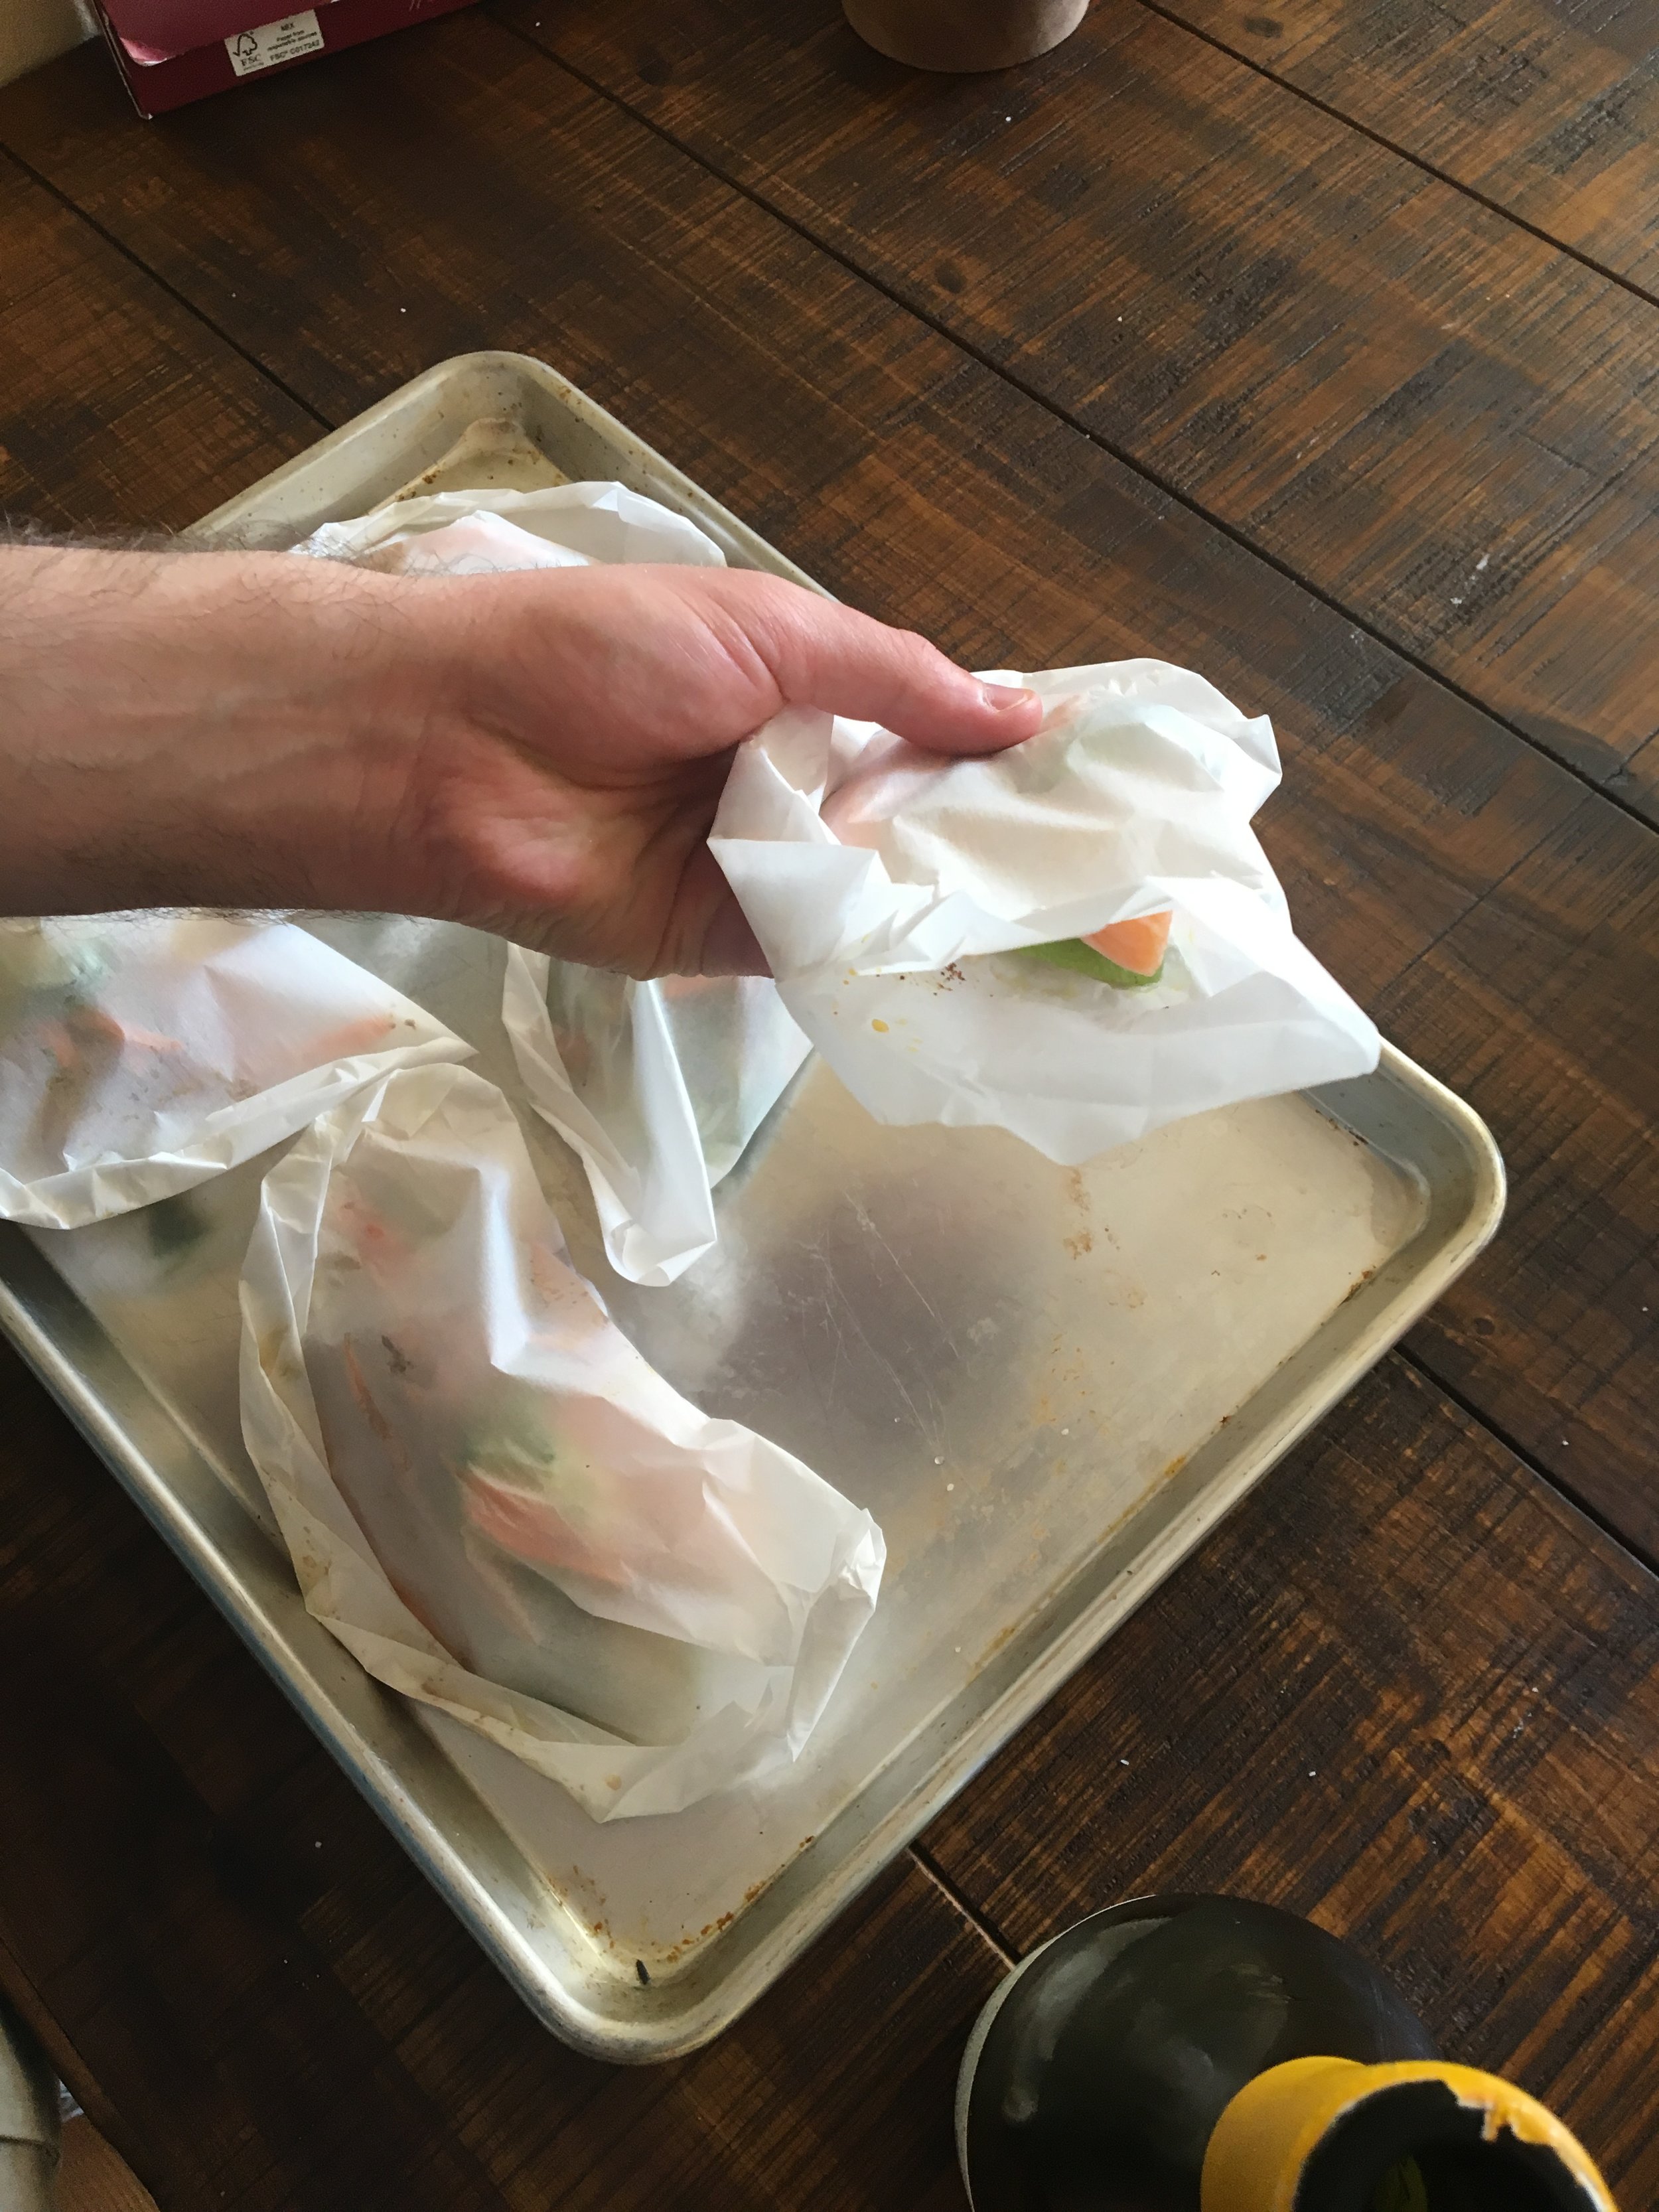
Fish En Papillote

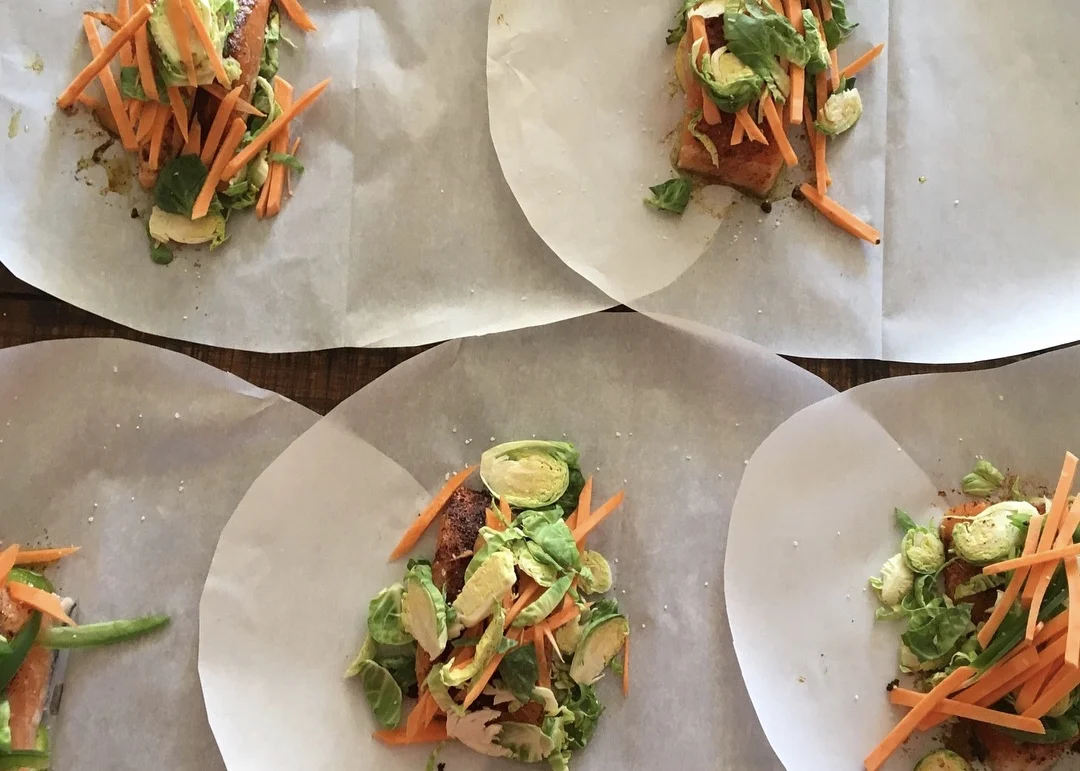
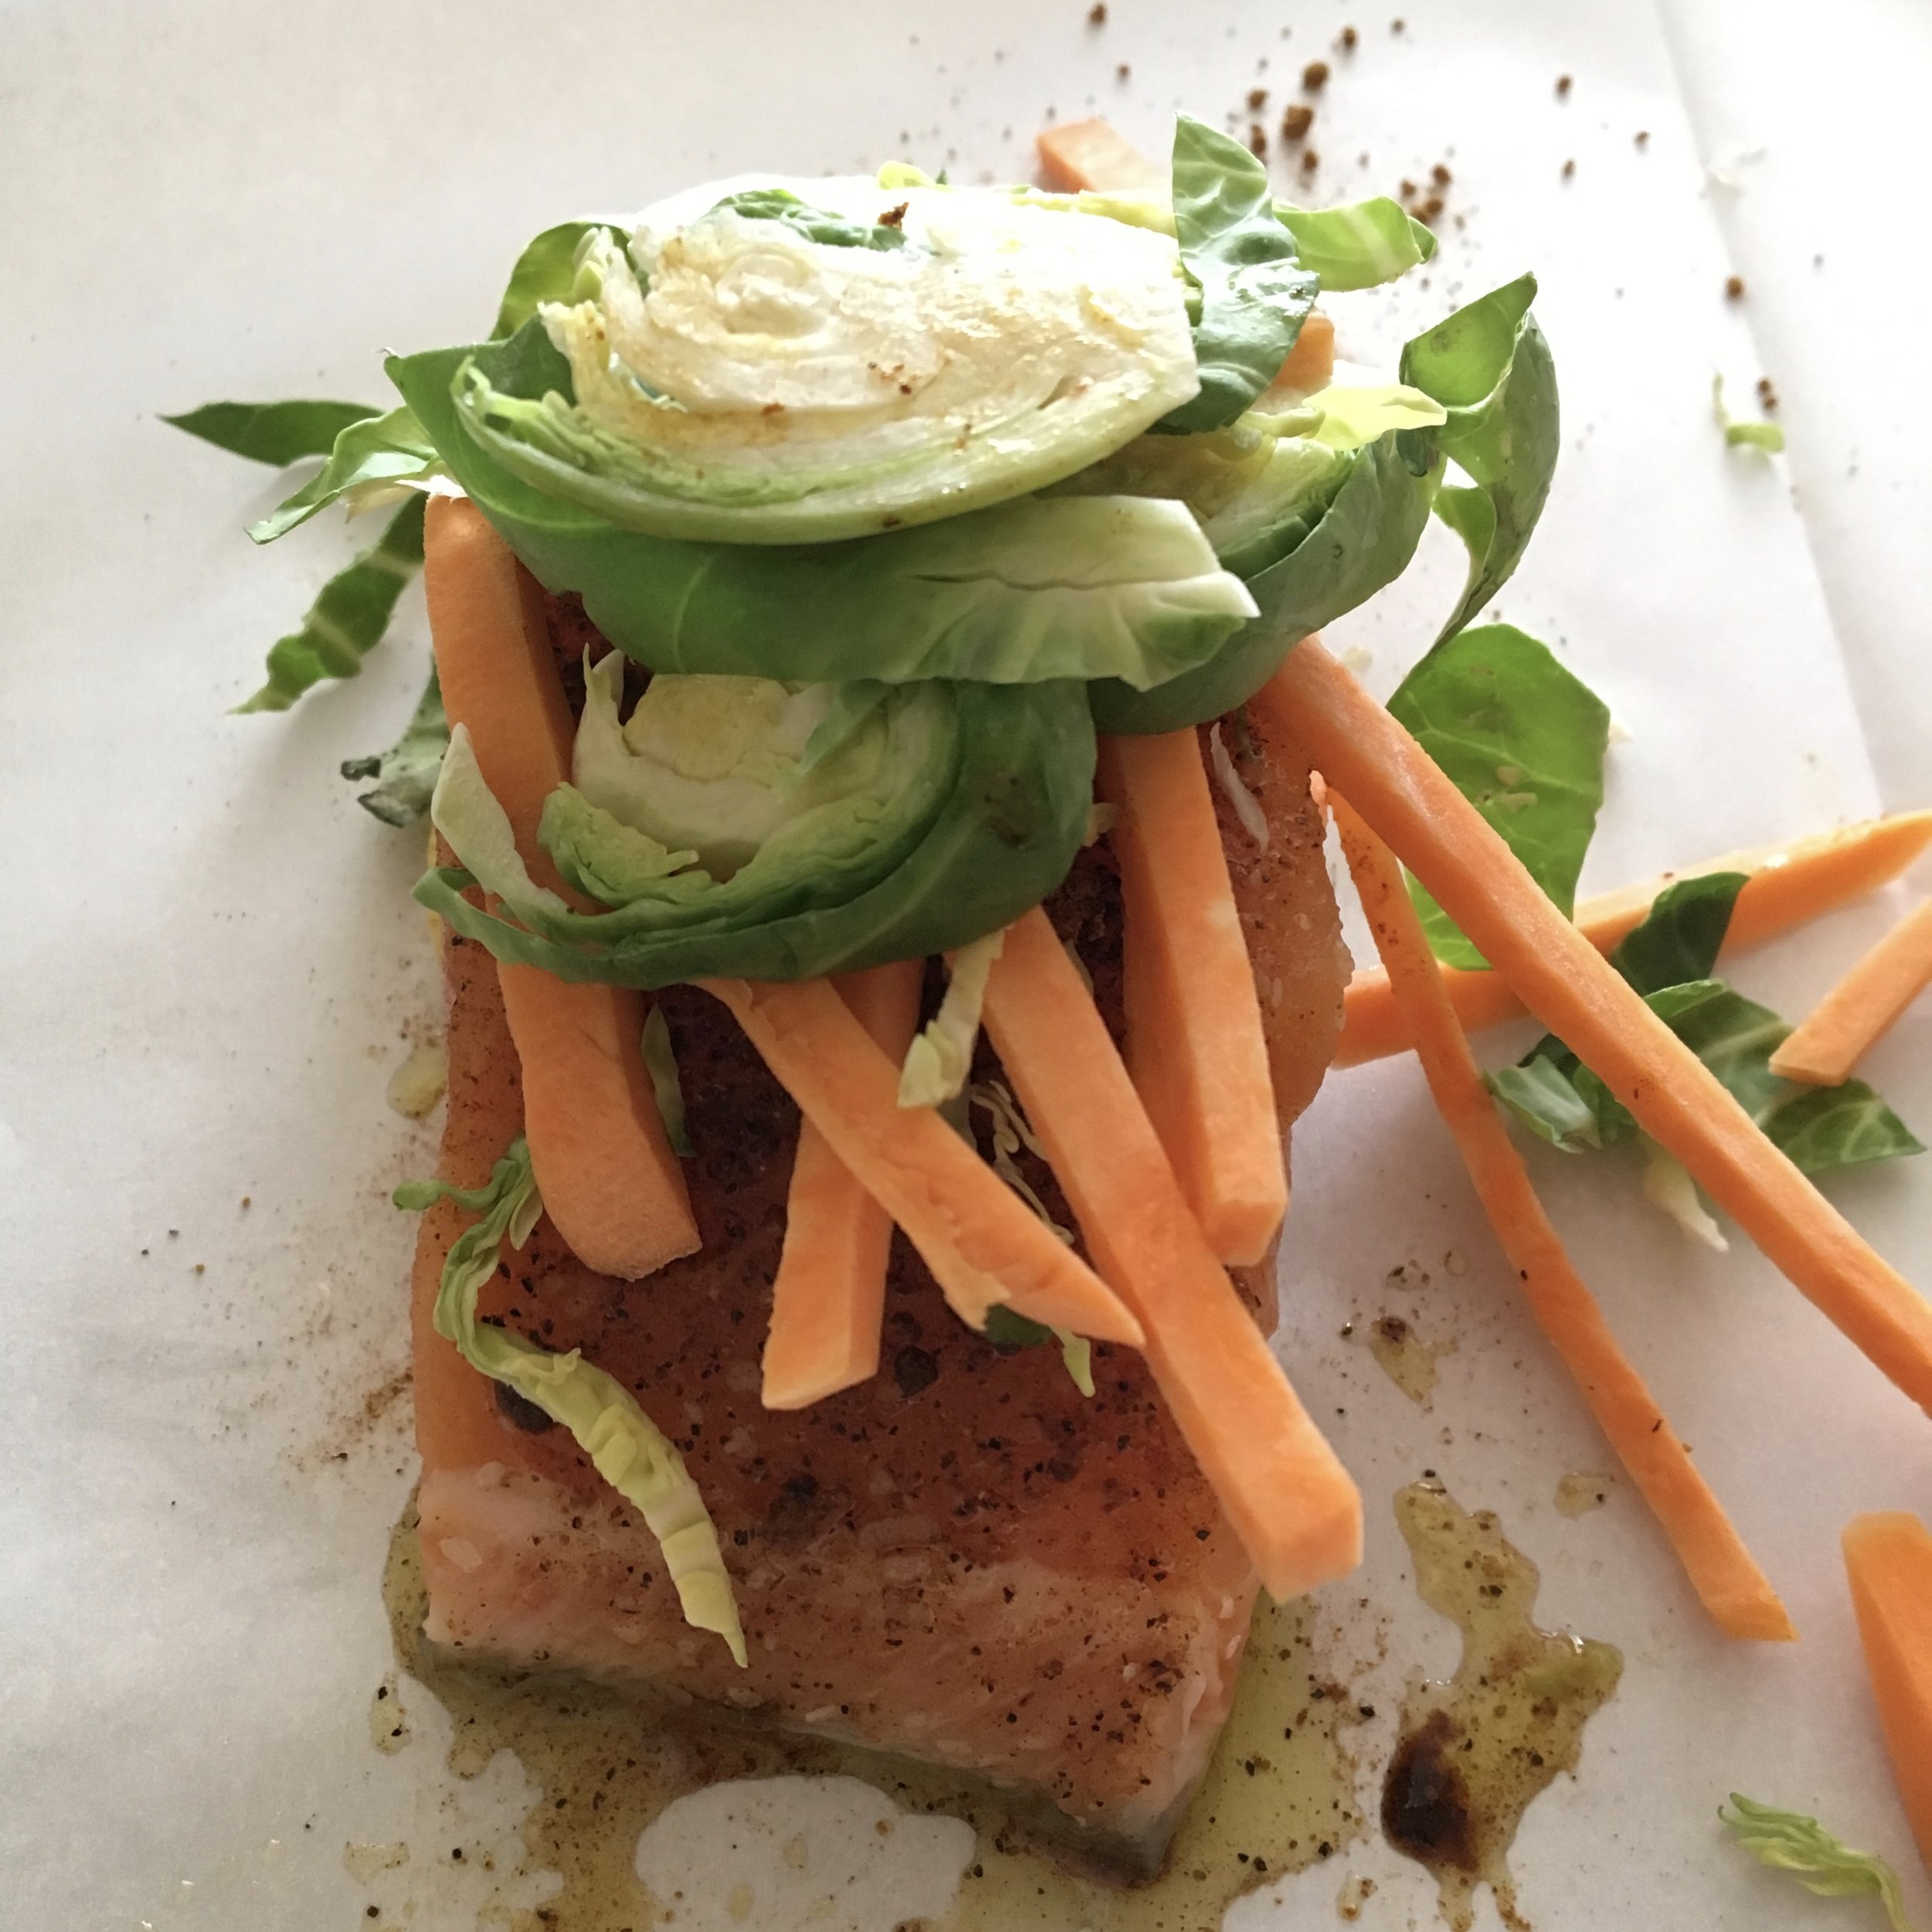
Fish en papillote or "fish steamed in a packet" is the perfect healthy weeknight-dinner-in-a-flash or prepare-ahead-presentation to amaze your fancy friends dish. I also love it because, like most of my techniques and formulas, it is versatile and can be completed with various types of fish and whatever vegetables, citrus and seasonings I have on hand or feel like using. It works in all seasons - just vary the contents. Spices and fats are optional. So versatile, in fact, everyone in the family can make a personalized version suited to his or her exact tastes and preferences. Last but definitely not least, it conveniently uses up that opened bottle of white wine hanging out in the fridge that no one is ever going to drink.

The amounts listed are for 1 serving or 1 papillote pouch. You can easily multiply to provide as many servings as you need, plus an extra for tomorrow's lunch. This provides a meal unto itself, but also pairs well with additional roasted, steamed or sautéed vegetables, roasted potatoes or steamed rice.

What you need:

  • 3-5 oz fish fillet (cod, arctic char, salmon, monkfish, trout are all good choices)*

  • 1/2 teaspoon extra virgin olive oil or melted butter, optional

  • 2-3 pinches sea salt or kosher salt

  • ground spices, such as black pepper, cumin, cayenne, garlic powder, crushed red pepper flakes, optional

  • 1-2 tablespoons liquid. I prefer a dry white wine, but beer, broth and even water do the trick.

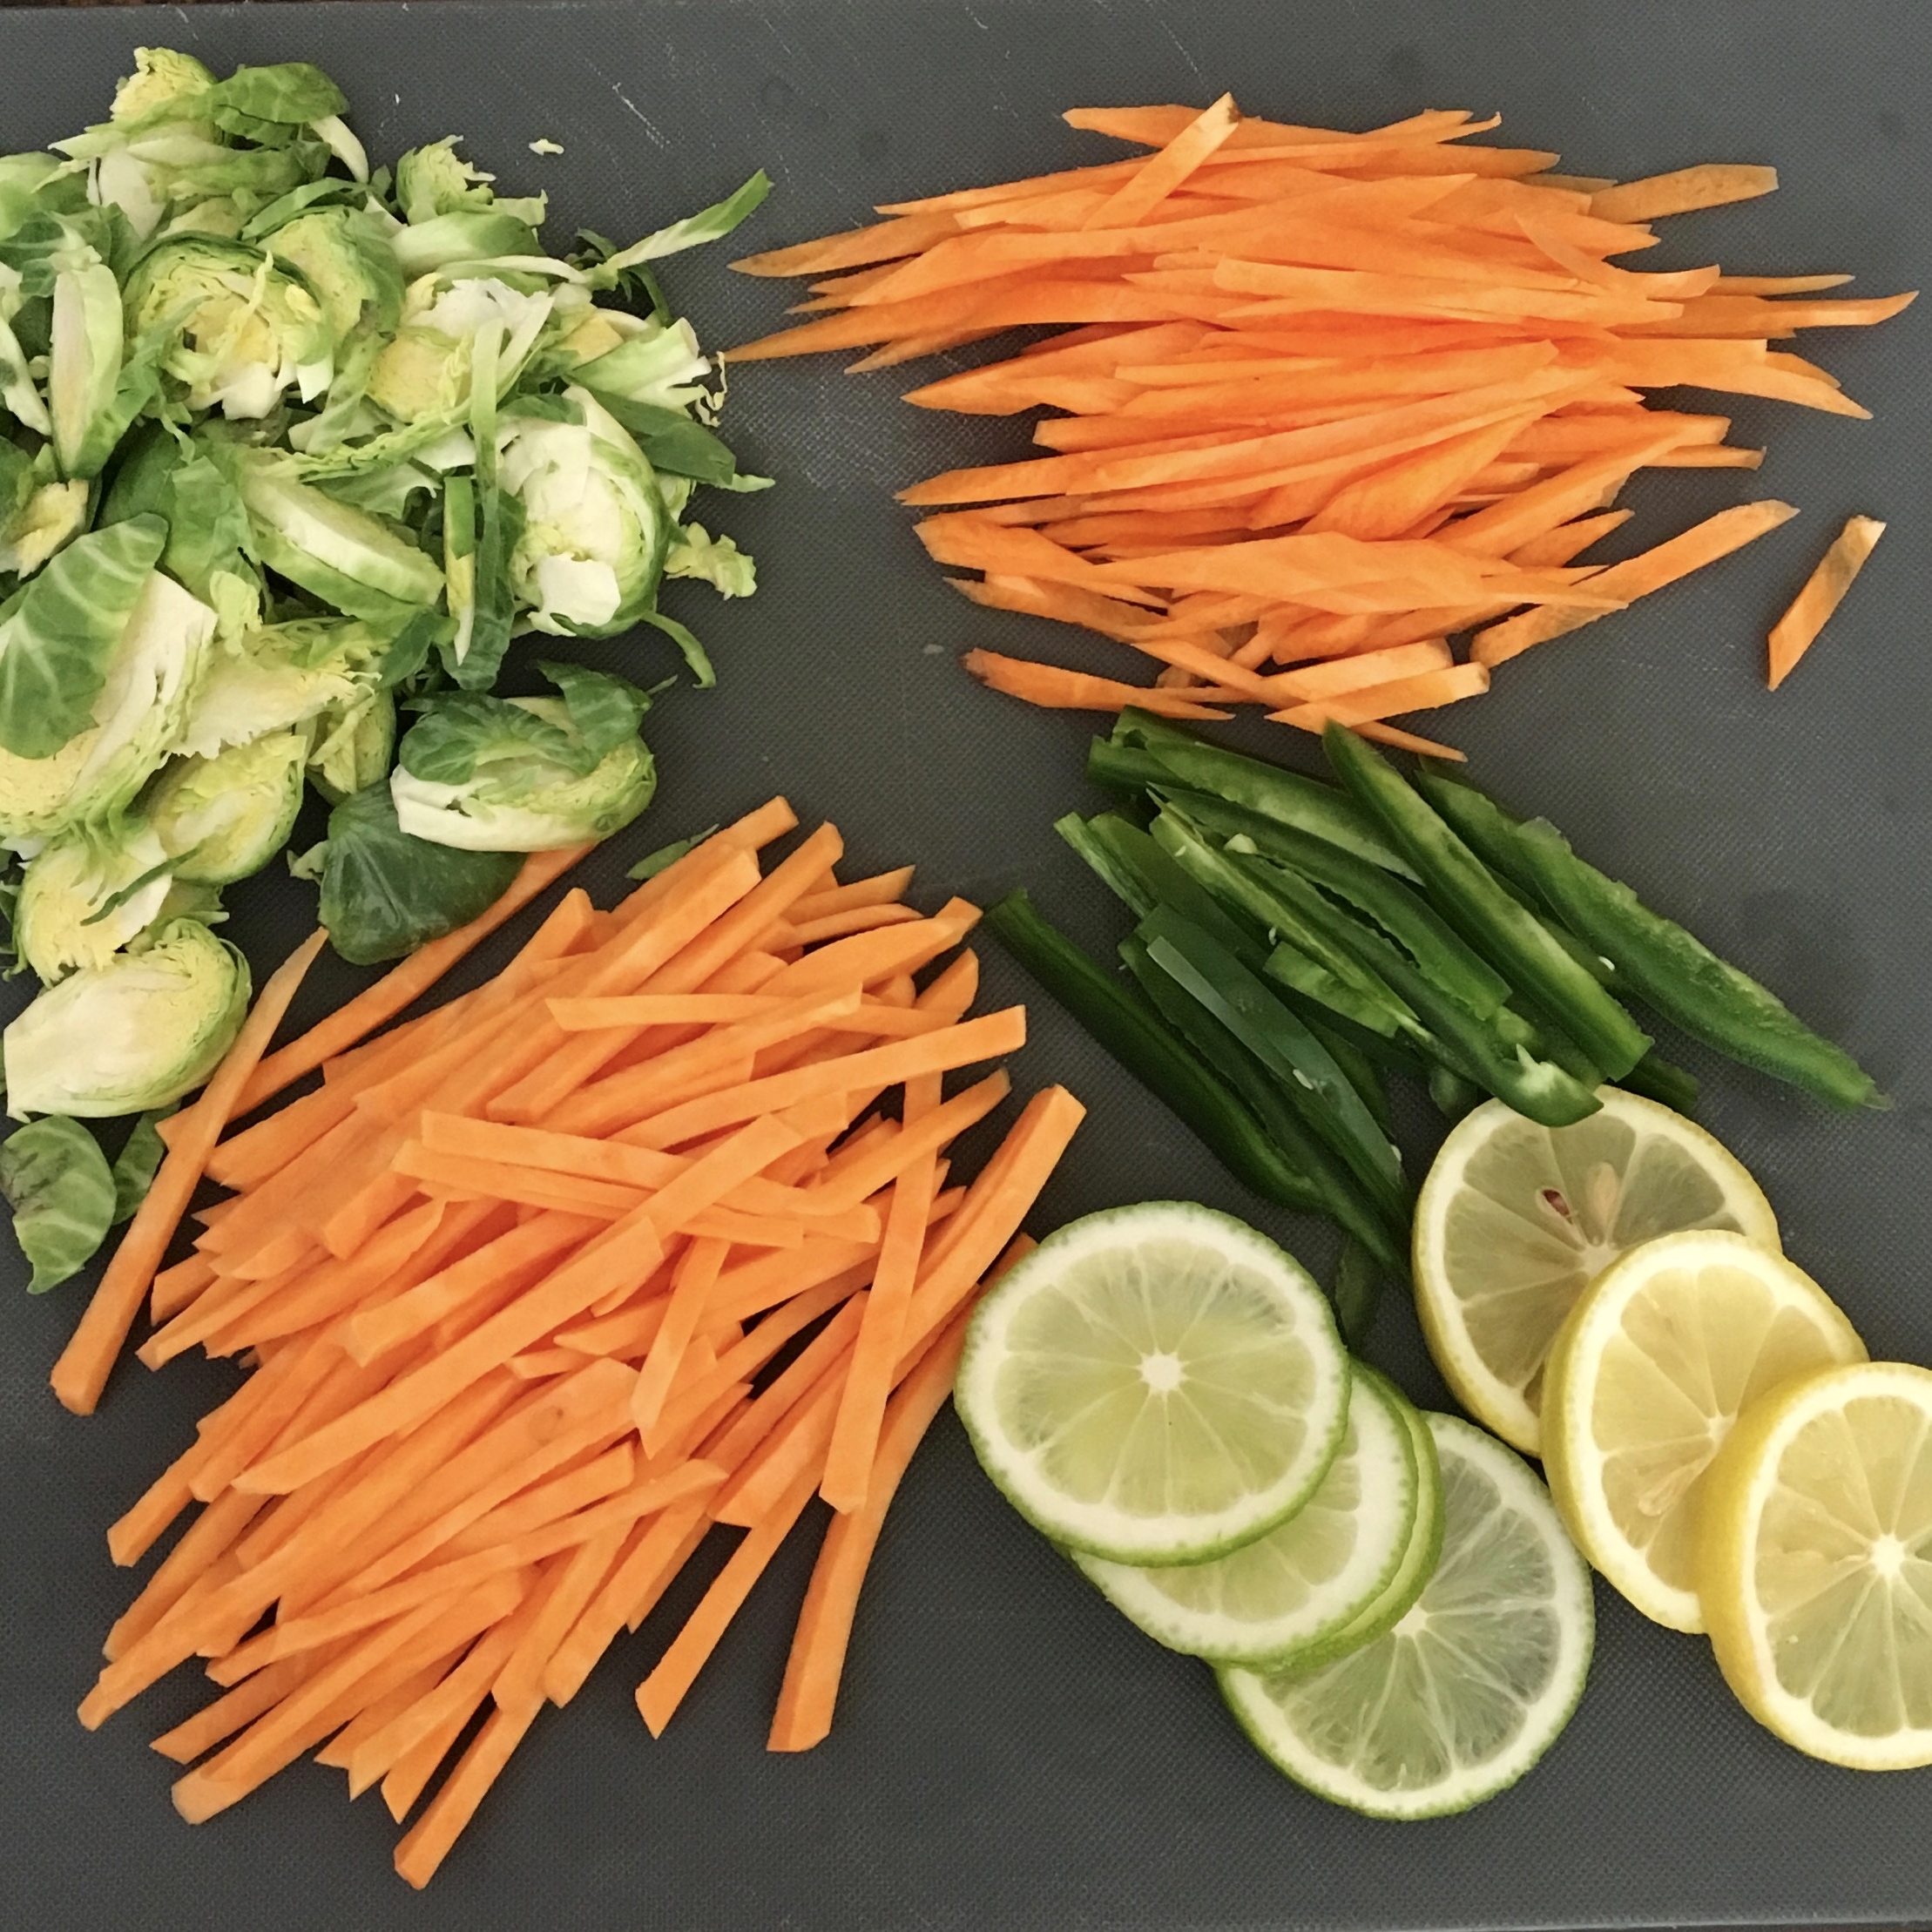
  • 1/4 cup finely sliced or diced vegetables. Use what you have on hand. Carrot, zucchini, bell pepper, cabbage, jalapeño, brussel sprout, and sweet potato are all great.

  • 1 slice of lemon, orange or lime

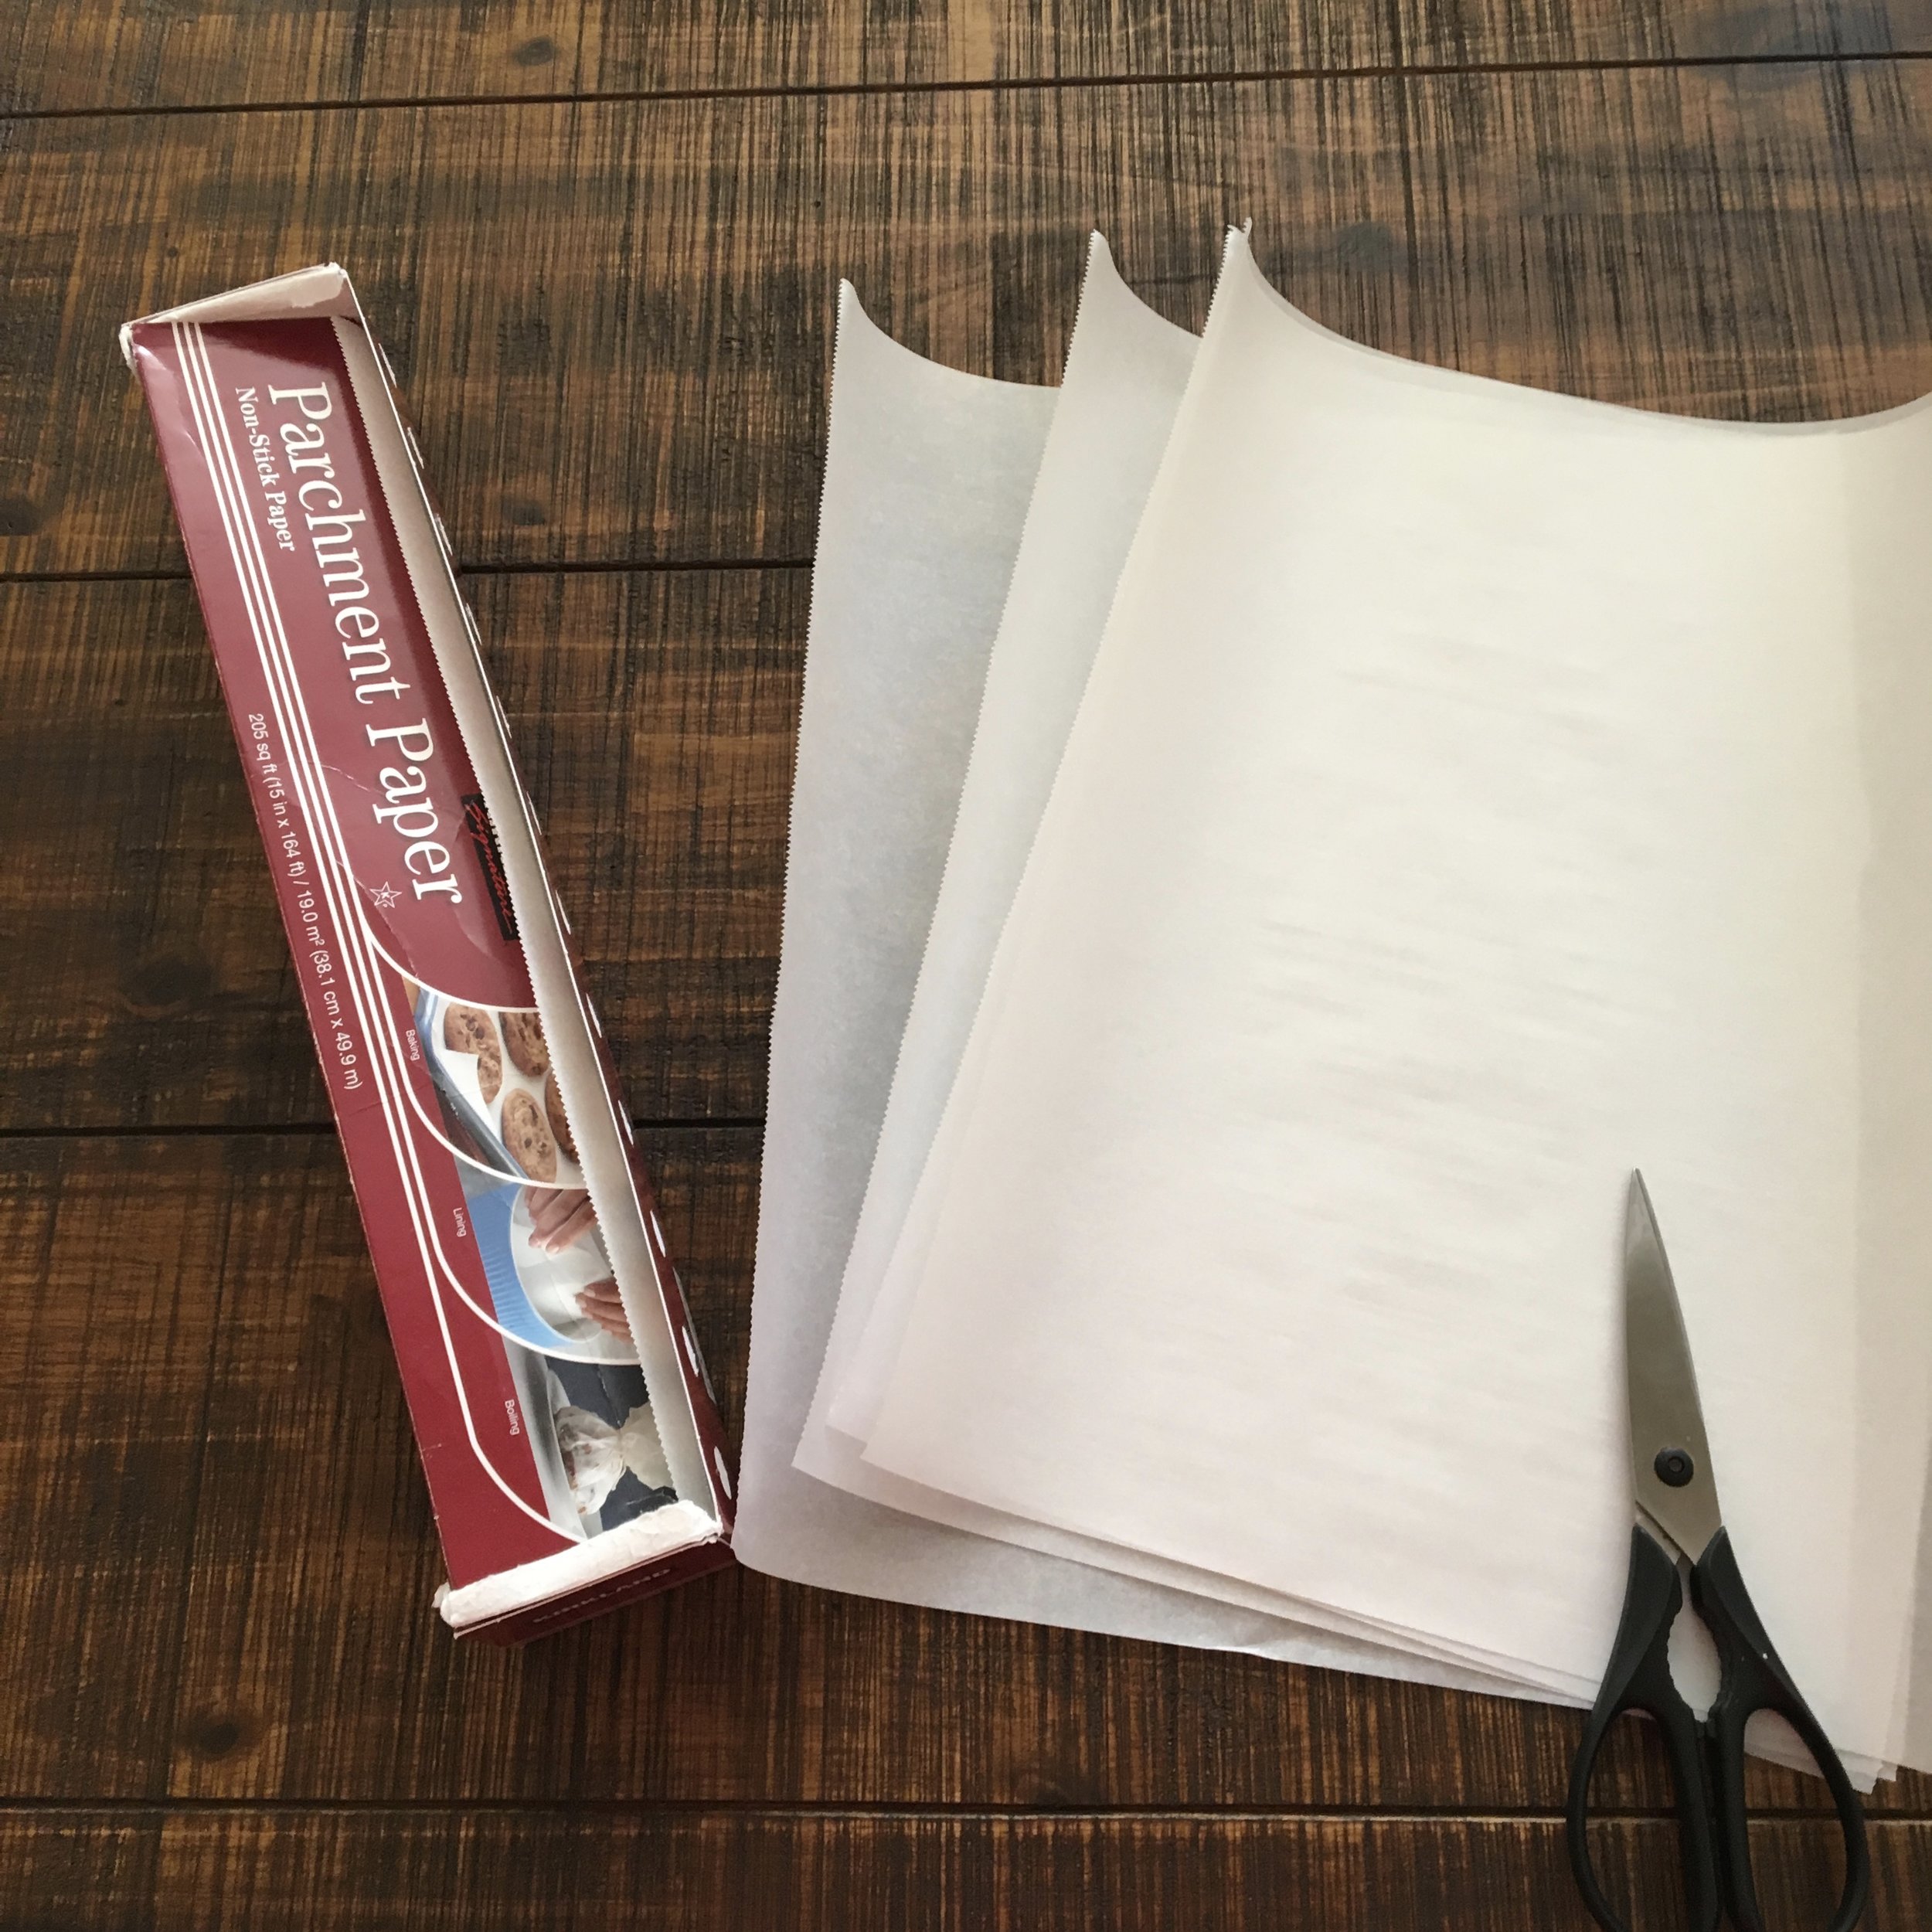
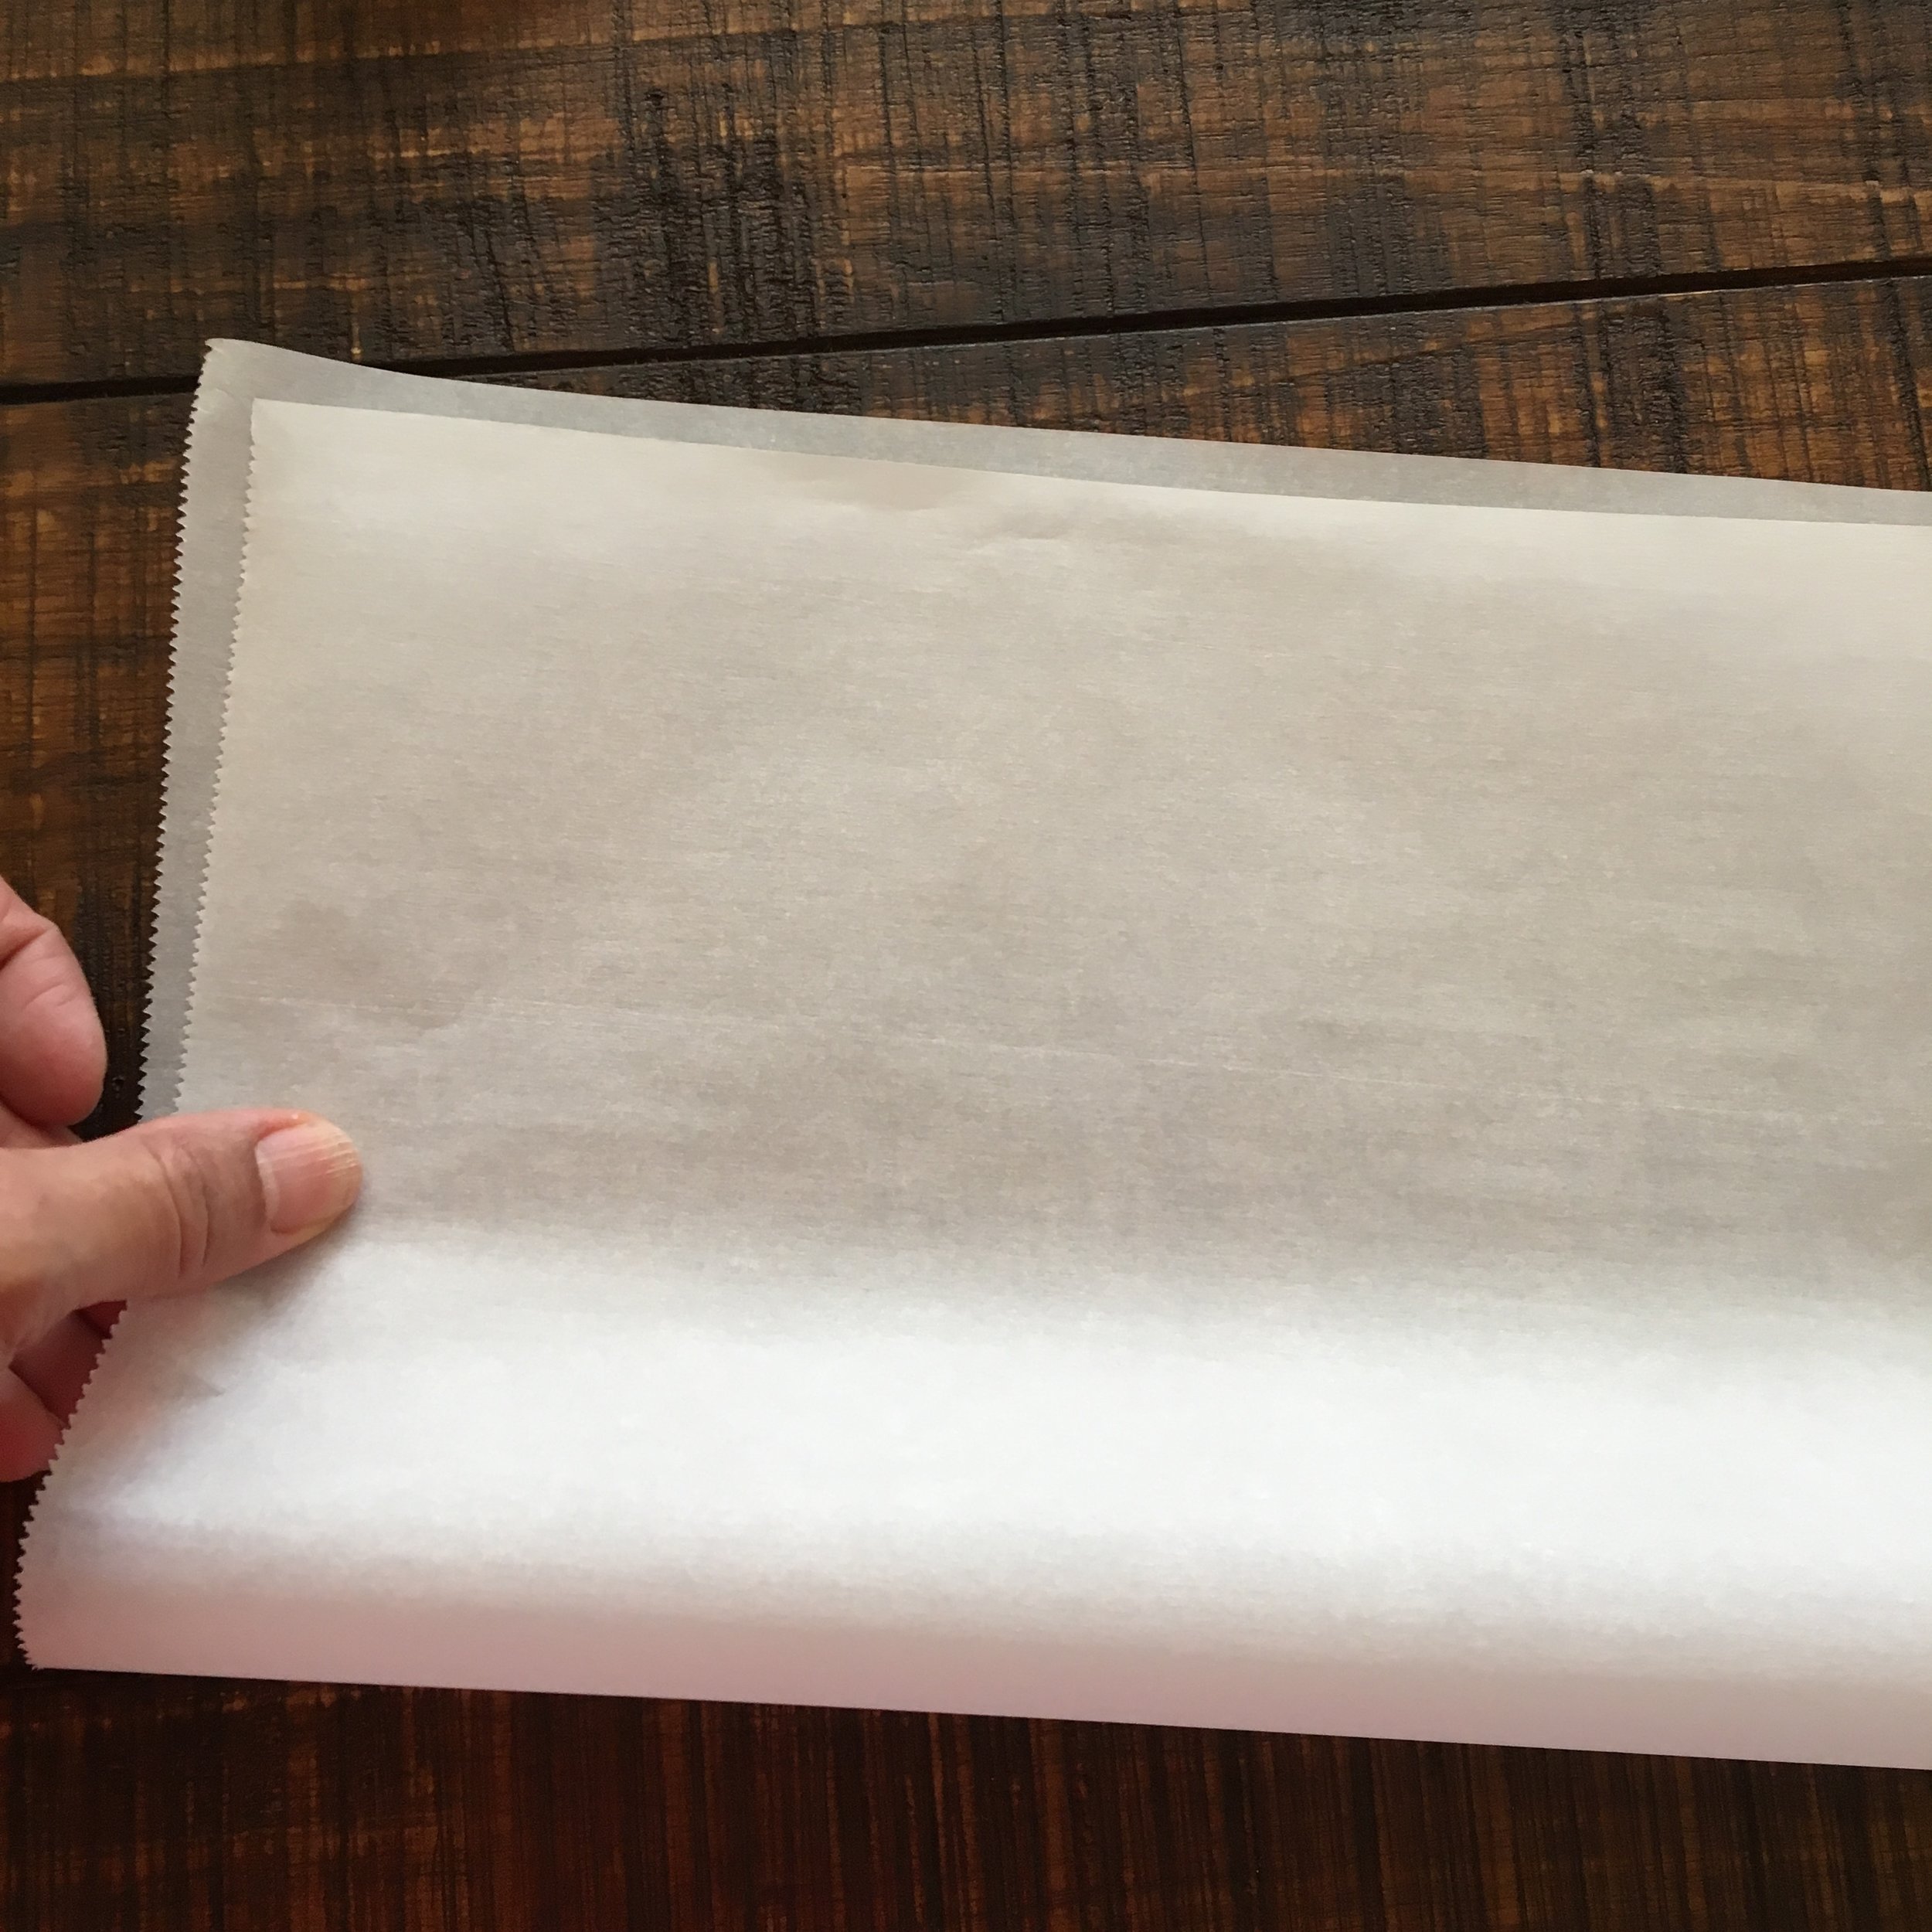
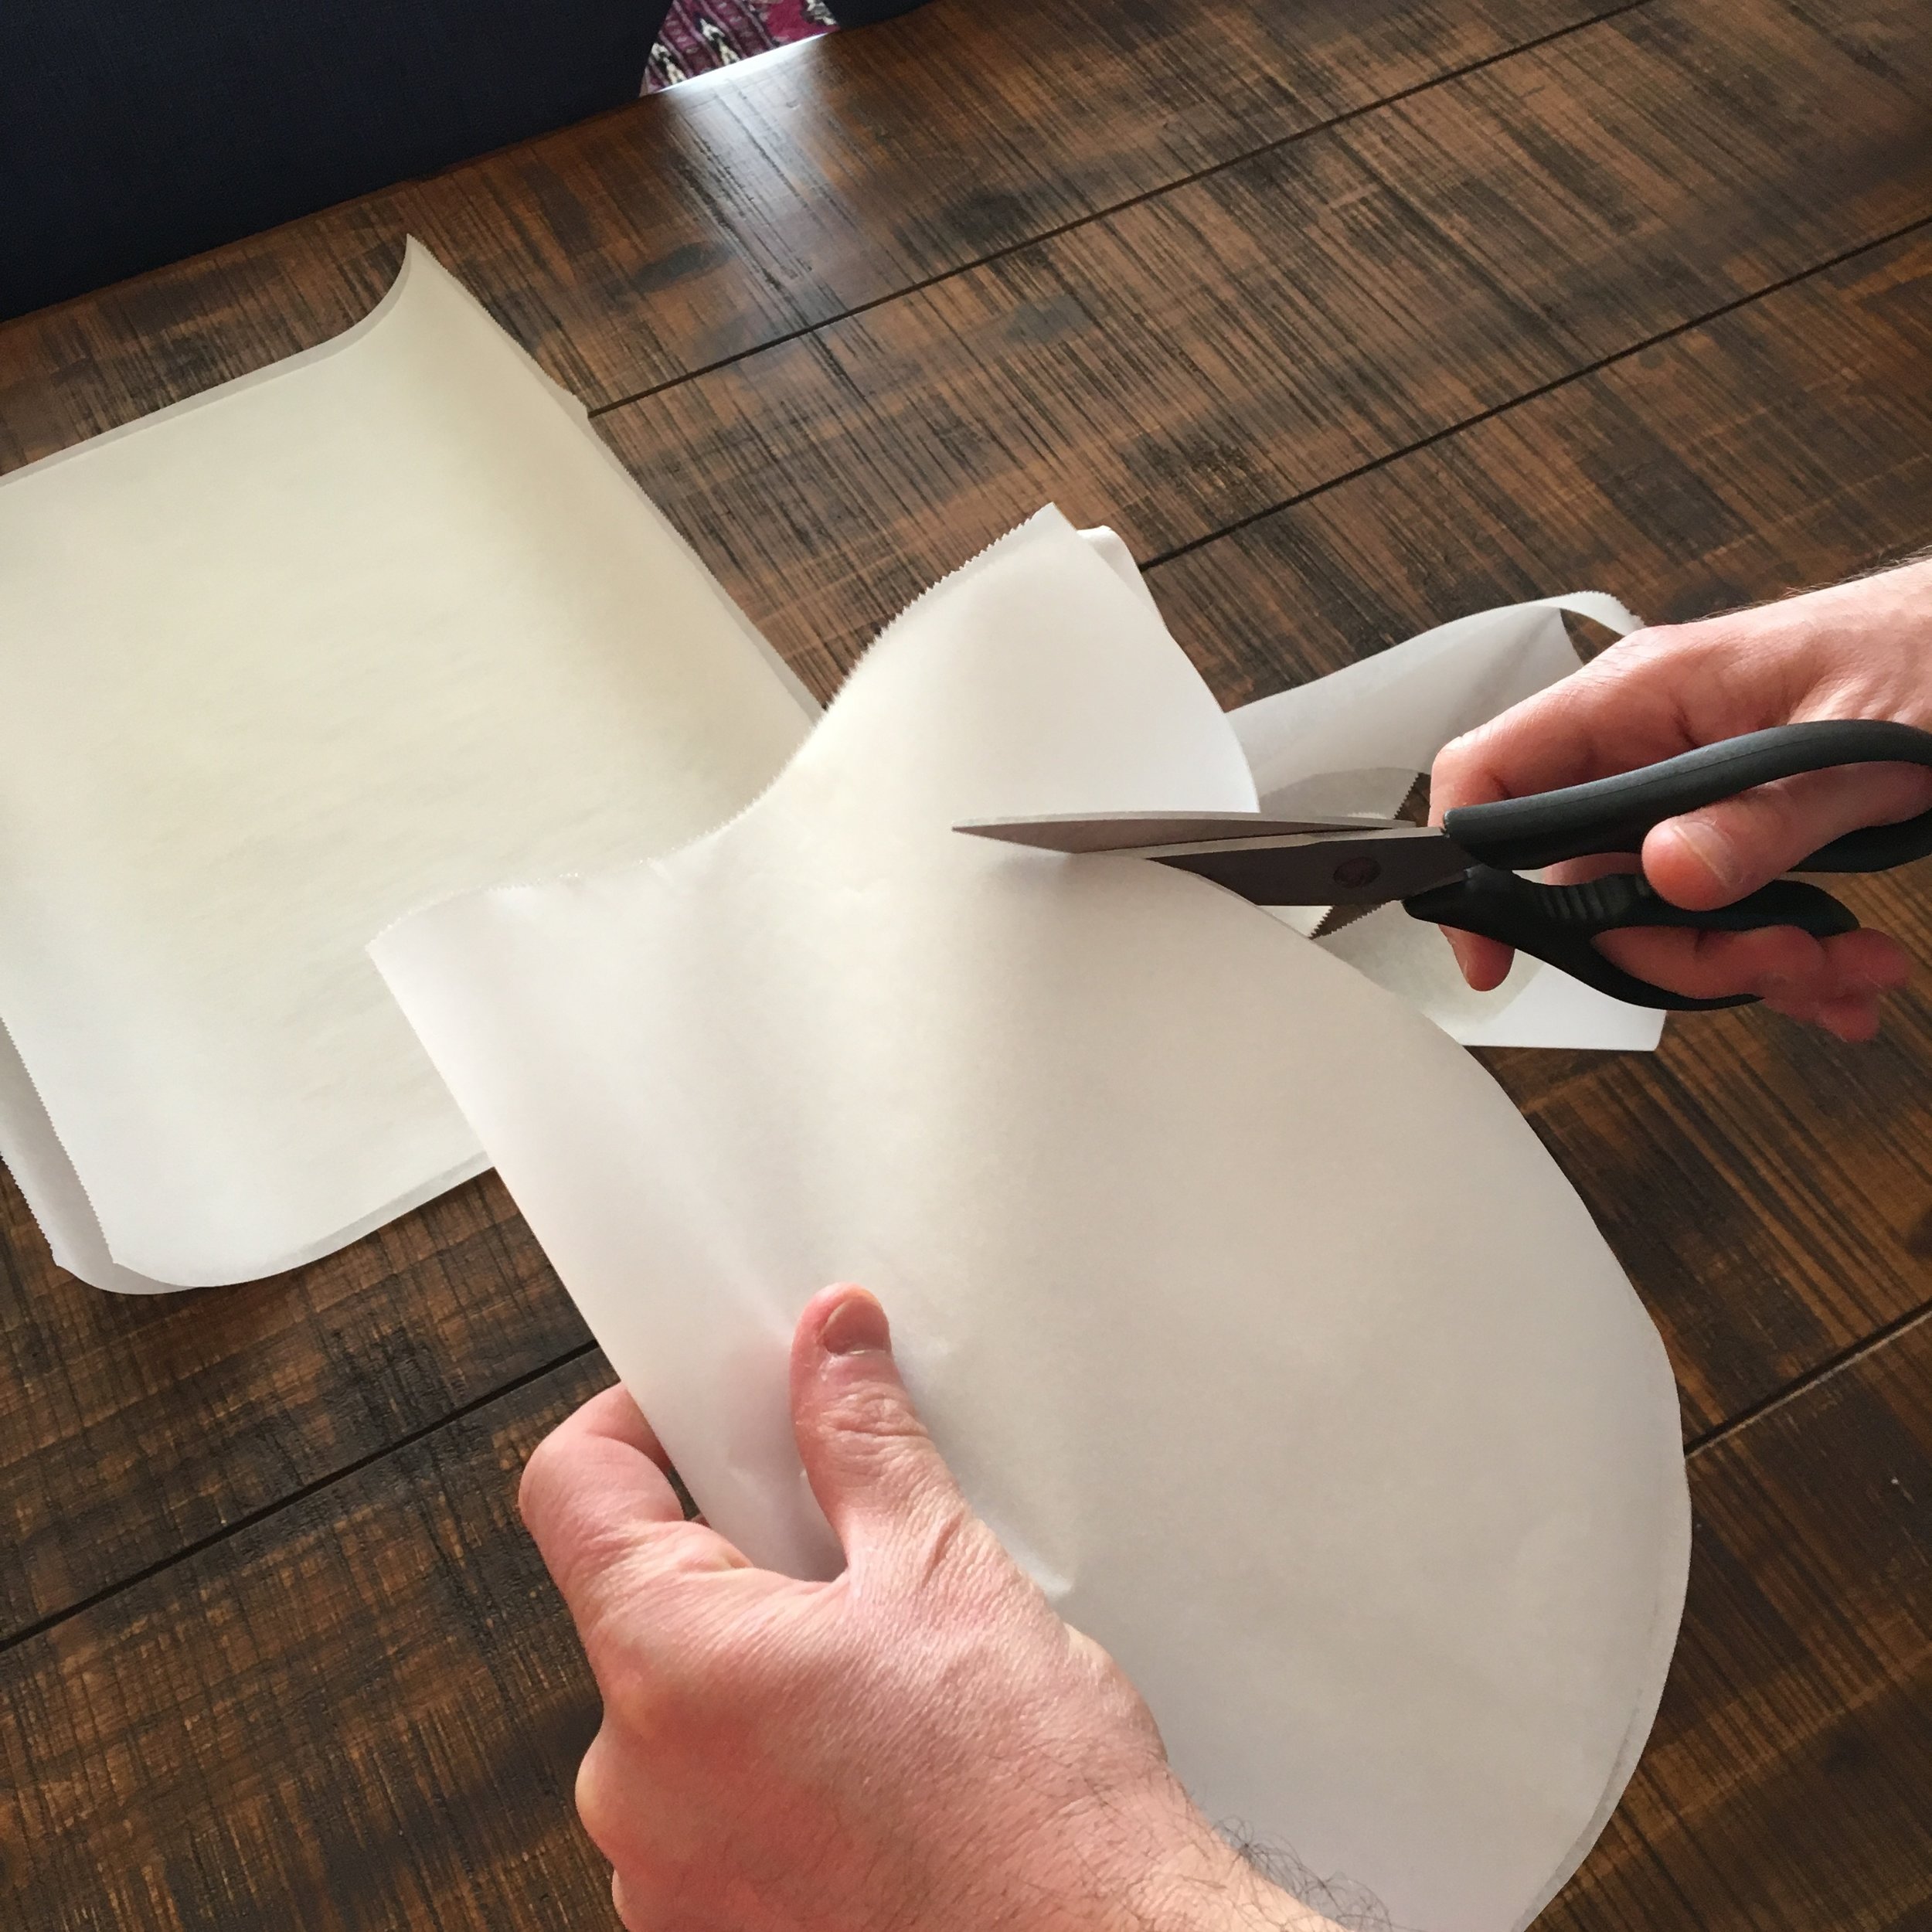
  • parchment paper cut into large "hearts"

How to prepare the parchment for papillote:

*Note on fish selection: Where you live will determine the best fish choices for you, for freshness and sustainability. Check out this resource by Oceana and Monterey Bay Aquarium's Seafood Watch for a guide on selecting fish. You can choose printable pocket guides that are specific to your region or download their nifty phone app.

What you do:

Note that fish cooked en papillote will cook faster than if you are roasting fish outside of parchment. The steam trapped inside the papillotte is hotter than your oven and will cook fish faster.

Vegetarian Dolmas: Grape Leaves Stuffed with Spiced Lentils and Rice

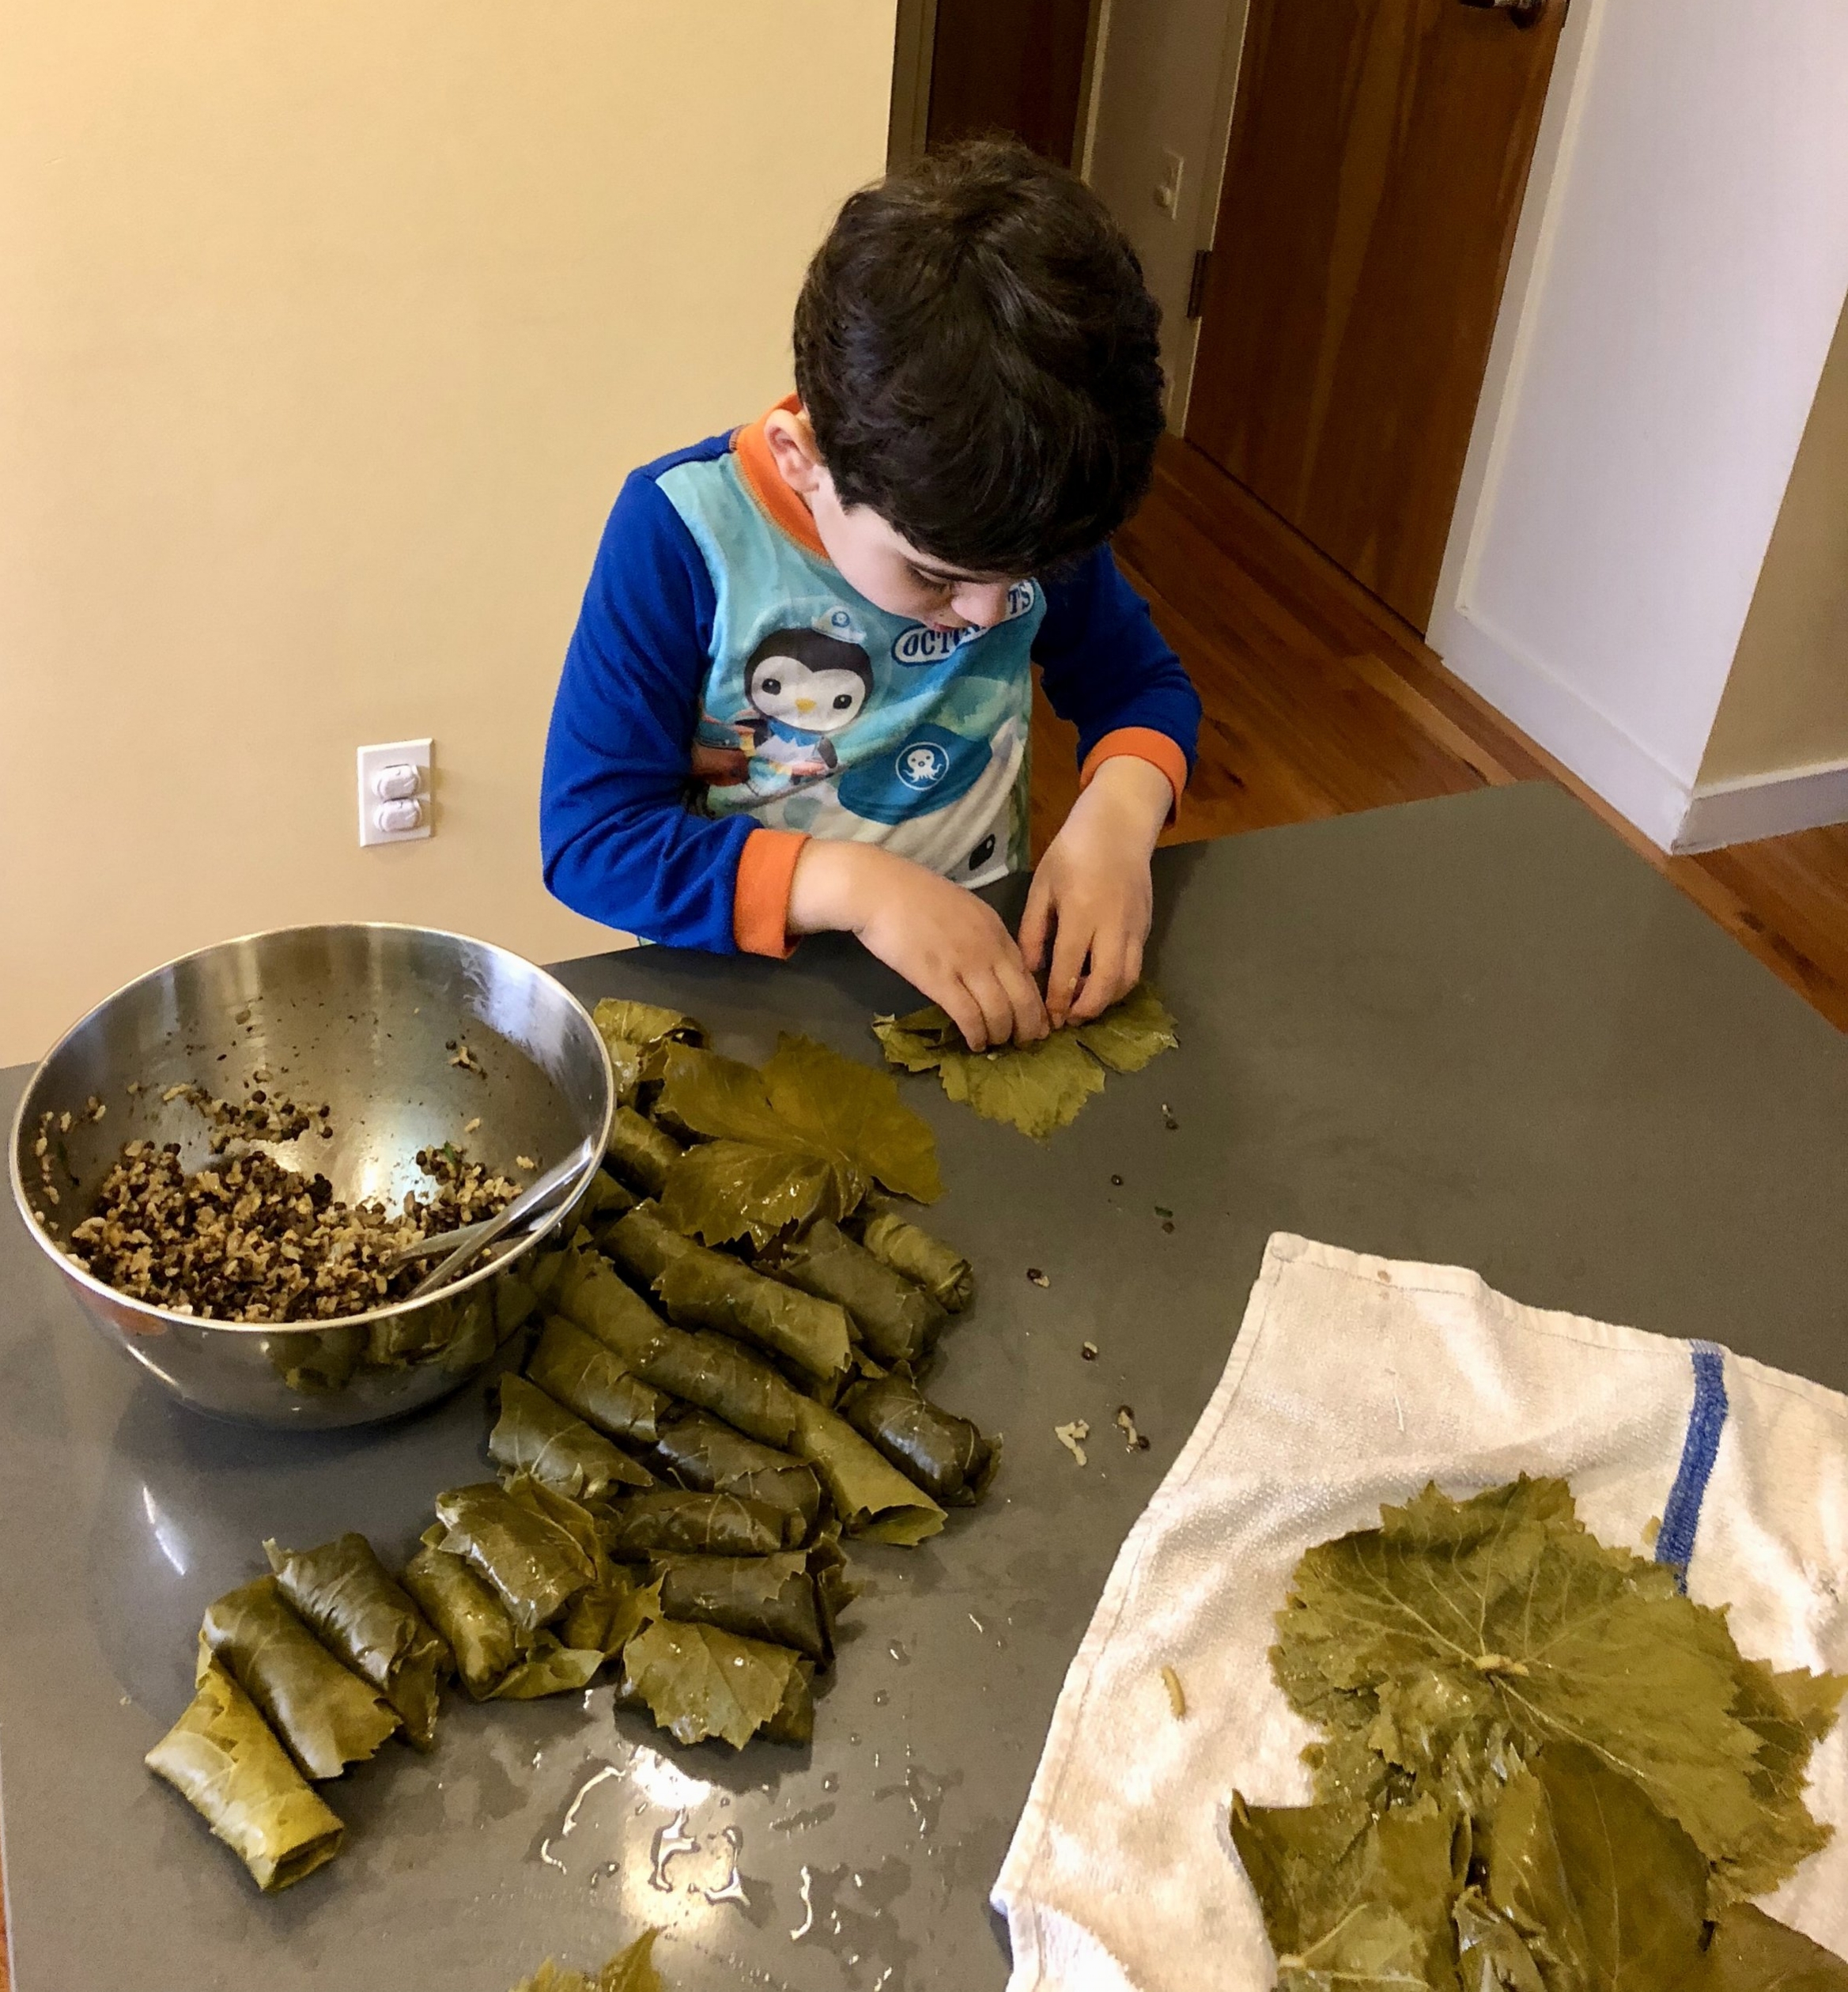
Wrapped and rolled foods are the ultimate kids-in-the-kitchen activity. After preparing all of the components, allow kids to help combine the filling. Then enlist their support to do all of the wrapping and rolling. After a brief demonstration, some coaching and practice, you can probably even walk away and allow your little one to complete the job.  Share this instructional video provided by 6-year-old Emory with your child.

Vegetarian Dolmas: Grape Leaves Stuffed with Spiced Lentils and Rice

Dolmas or stuffed grape leaves are often made with a combination of gently spiced ground lamb and rice. We make a savory and satisfying plant-based version using french lentils. I also choose brown basmati rice for additional fiber, nutrients and texture. Omit the honey entirely or substitute agave nectar to make this recipe suitable for vegans.

Yield: approximately 3 dozen

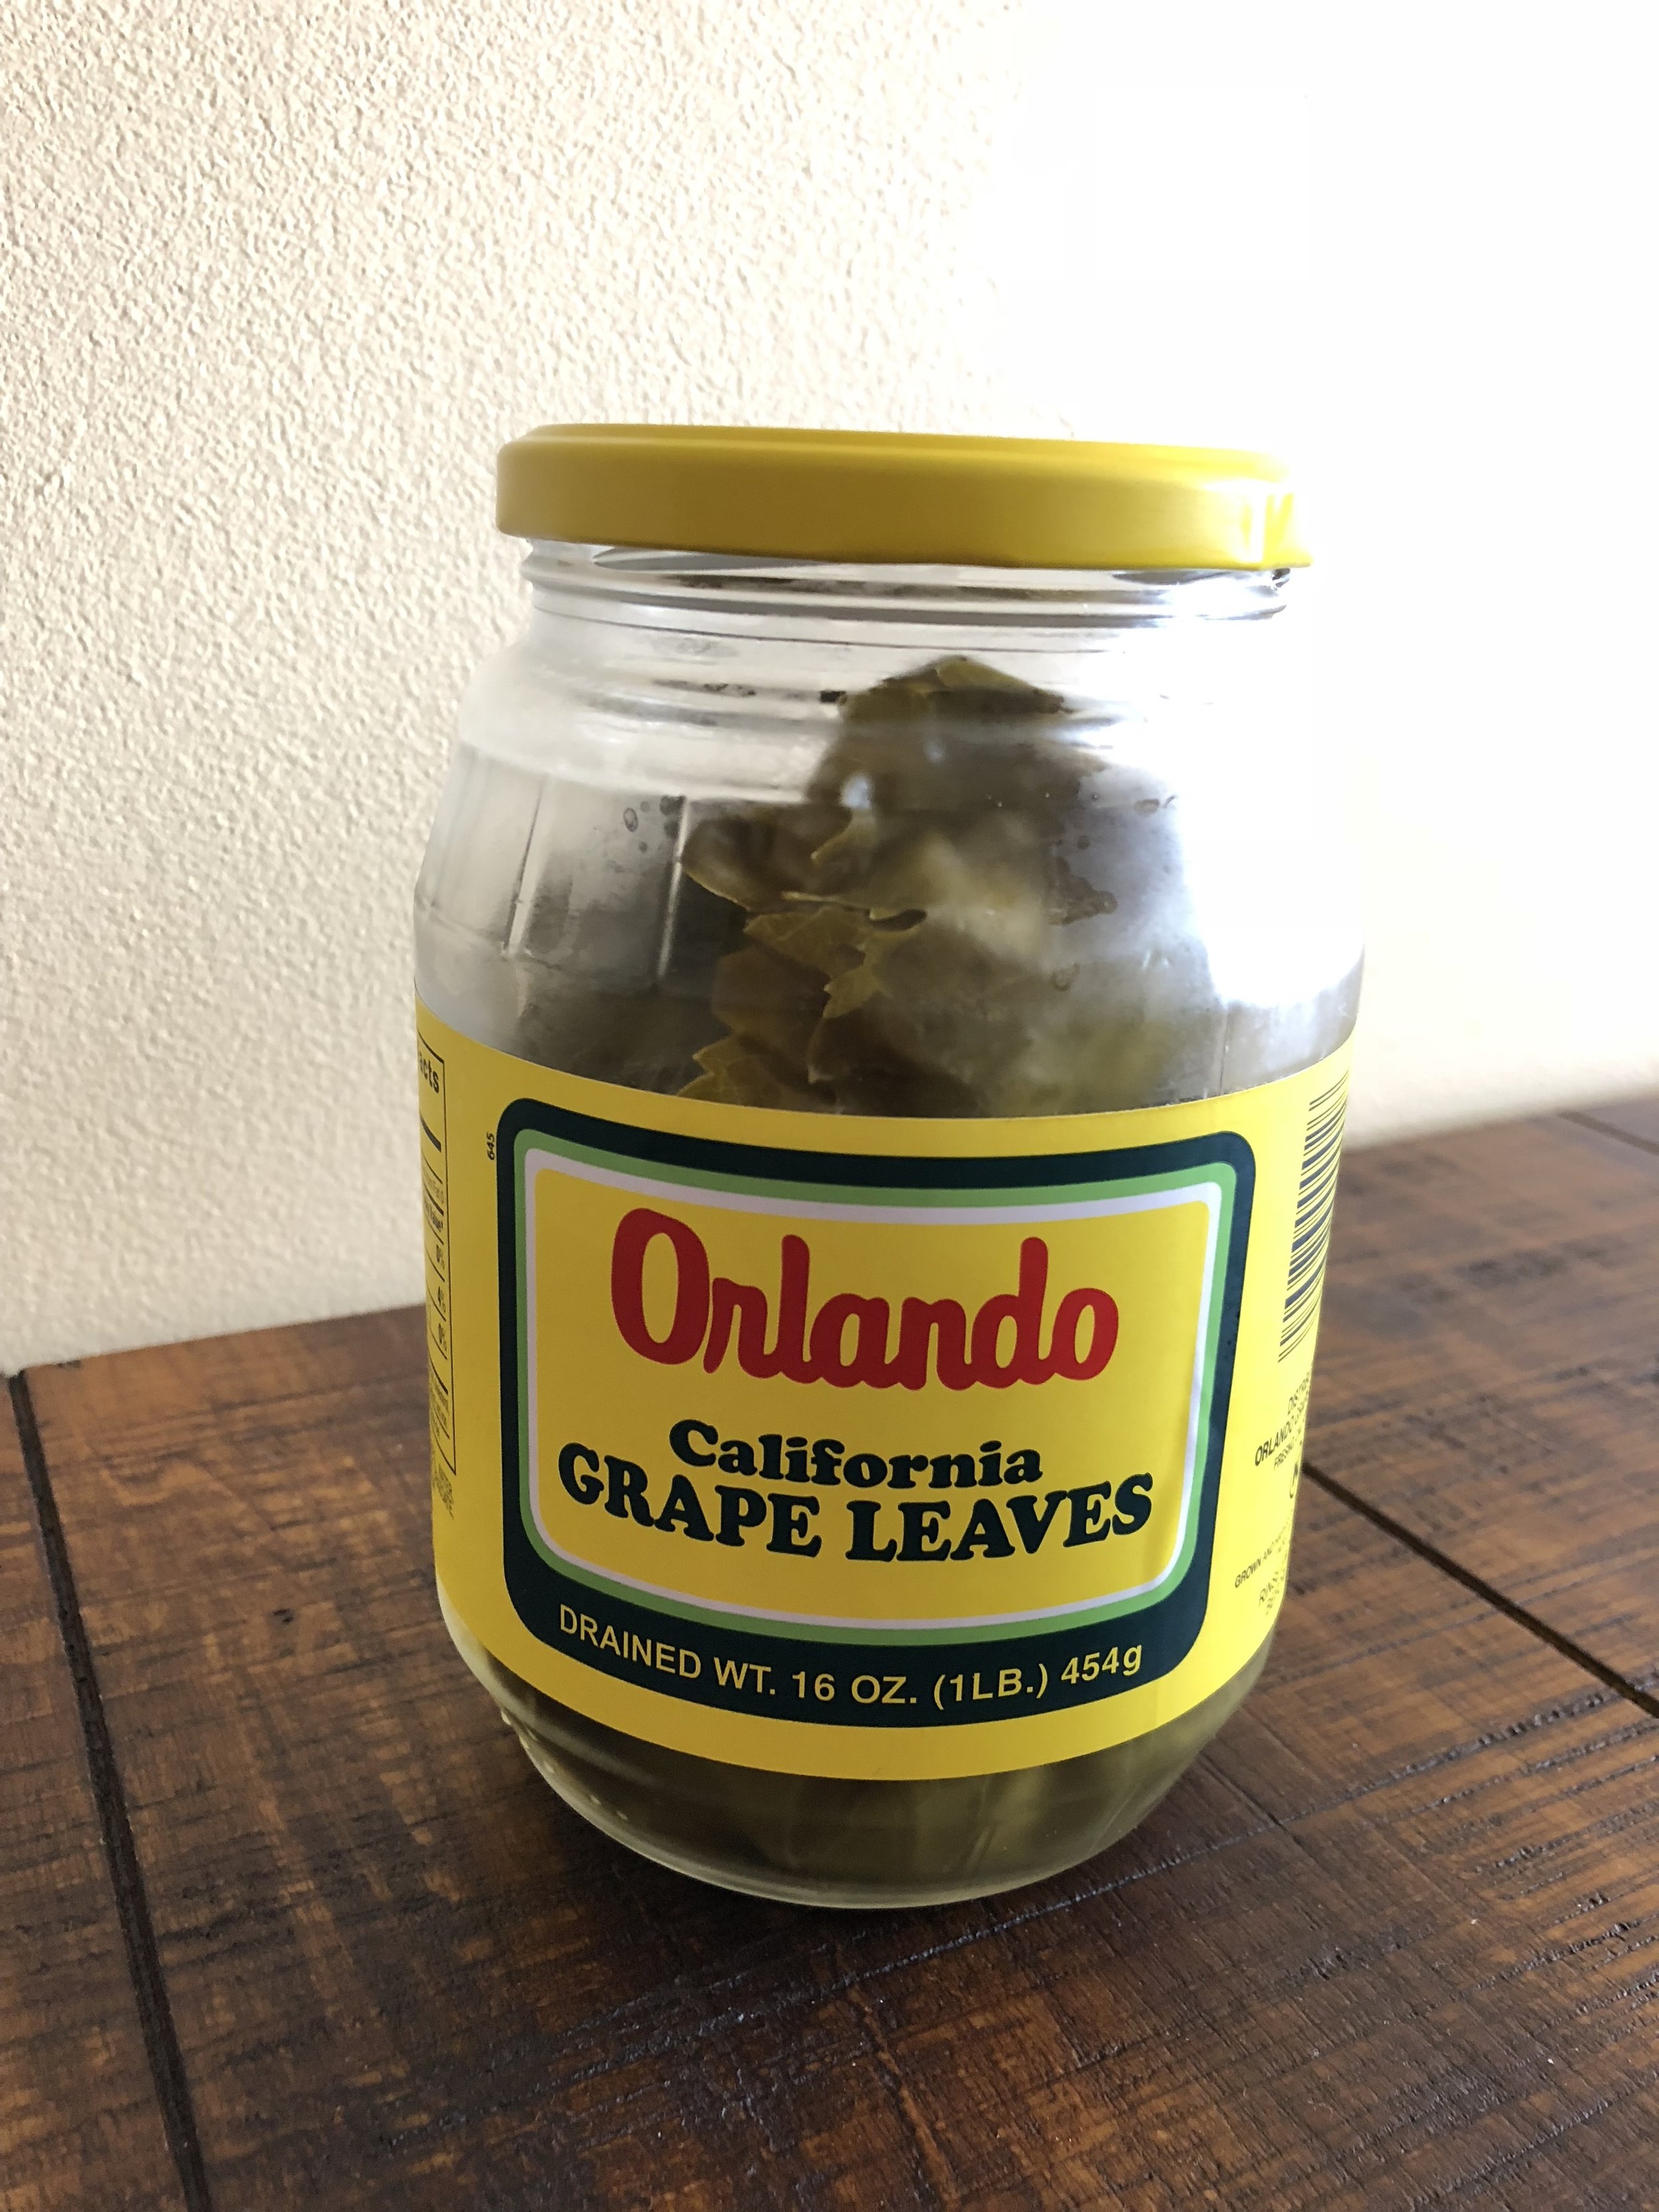
I generally use jarred grape leaves. They work just fine but, of course, if you are on the west coast or are fortunate enough to have access to fresh grape leaves when they are in season, use them. Just soak fresh leaves in hot water while you prepa…

I generally use jarred grape leaves. They work just fine but, of course, if you are on the west coast or are fortunate enough to have access to fresh grape leaves when they are in season, use them. Just soak fresh leaves in hot water while you prepare the filling.

What you need:

Grape leaves:

  • ½ pound fresh grape leaves, soaked in hot water or 1 pound jar preserved grape leaves, rinsed and drained well, picked through with broken or ripped leaves reserved for lining the bottom of the pot

Rice:

  • 2 quarts water

  • 1 cinnamon stick

  • ½ cup long grain brown rice

  • ¼ teaspoon salt

  • ½ cup mint leaves, minced

  • 2-4 scallions, minced

  • ⅓ cup pine nuts, chopped

  • ⅓ cup currants or raisins

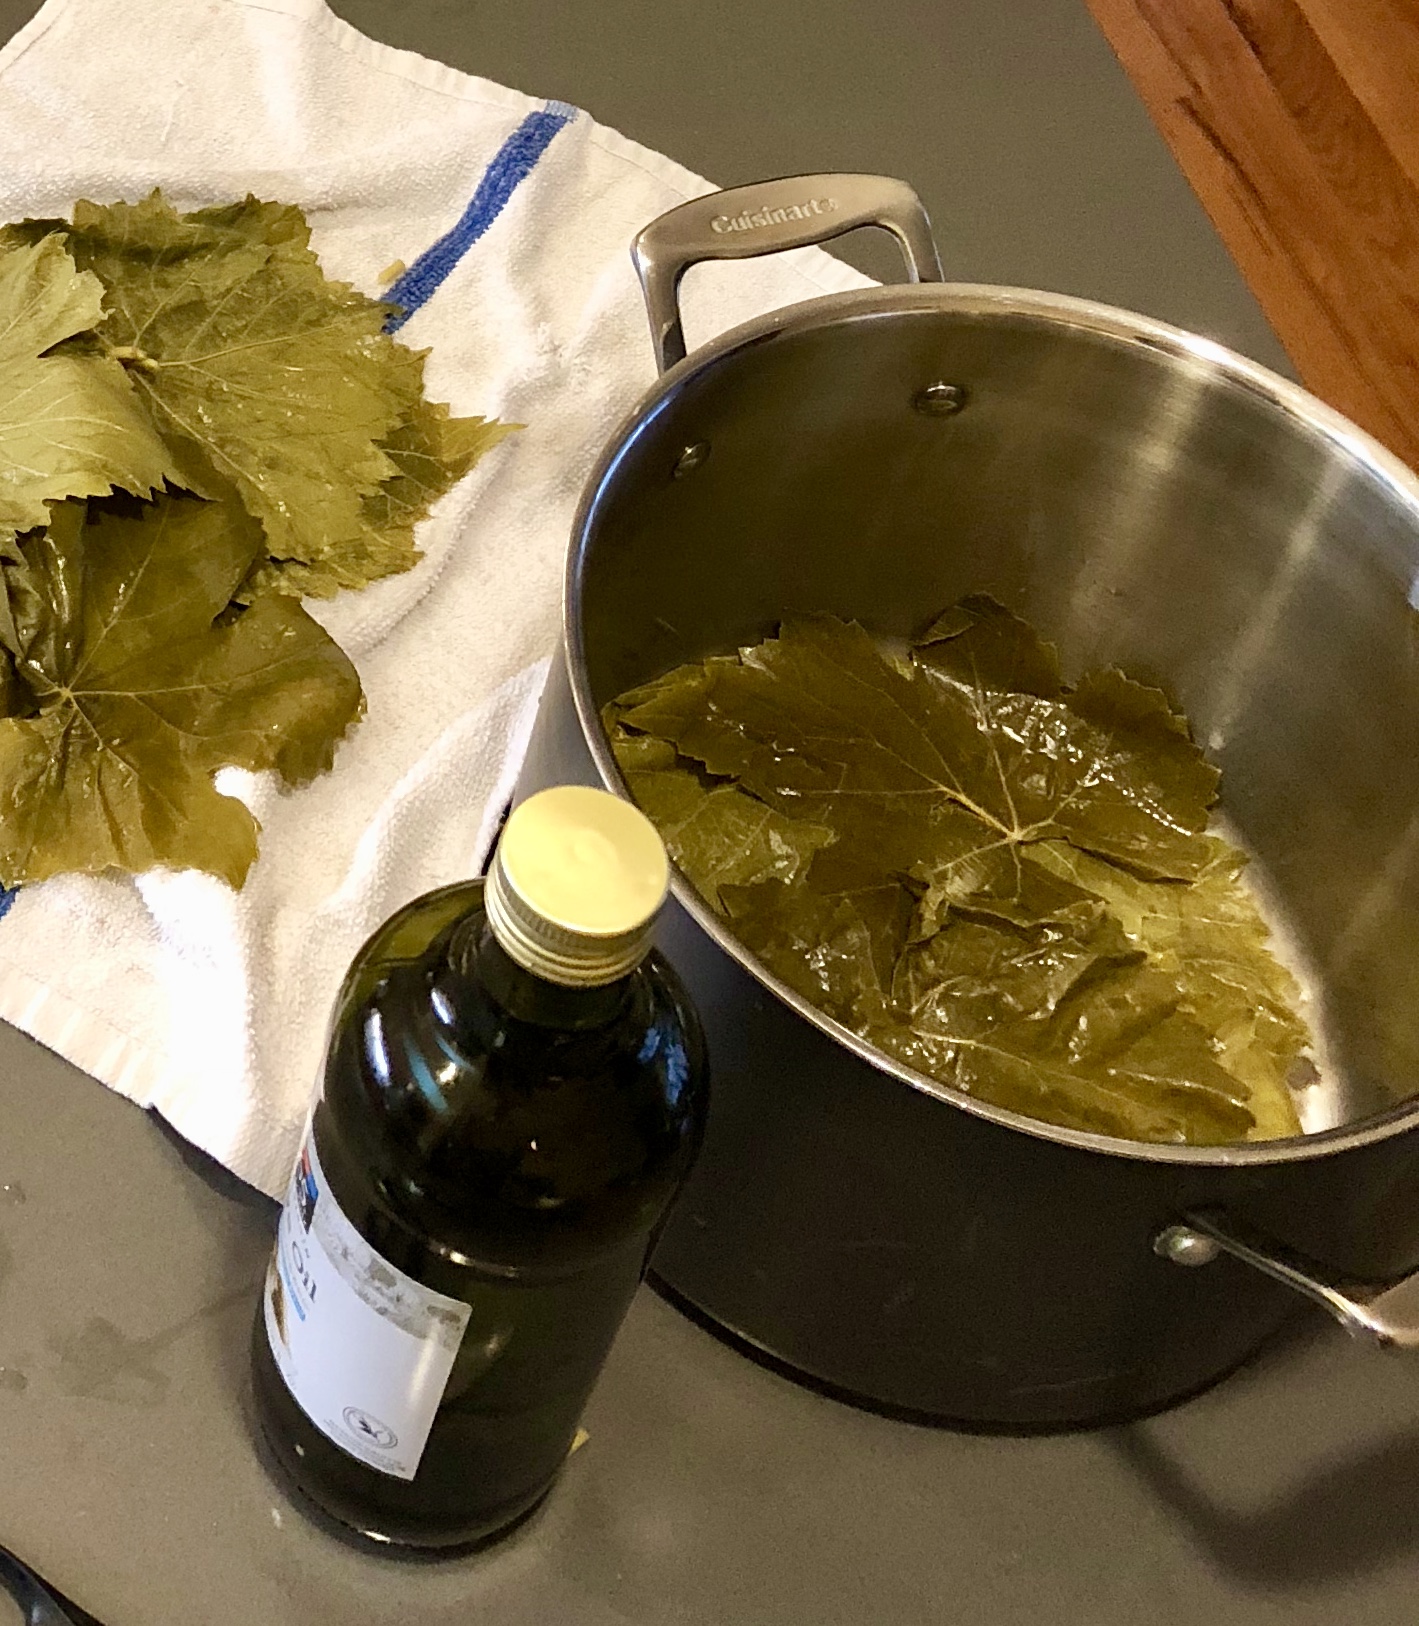
Line the bottom of the stock pot with grape leaves to prevent your dolmas from burning or browning. Use the broken or torn leaves.

Line the bottom of the stock pot with grape leaves to prevent your dolmas from burning or browning. Use the broken or torn leaves.

Lentils:

  • 2 tablespoons extra virgin olive oil

  • 1 small onion, small dice

  • 2 cloves garlic, minced

  • 1 ¾ cup cooked lentils (dark brown, green, or beluga)

  • 1 teaspoon nutmeg

  • ½ teaspoon cinnamon

  • 1 teaspoon cumin seeds

  • 1 teaspoon dried oregano

  • ½ teaspoon allspice

  • 1 tablespoon dried mint (or one mint tea packet)

Simmering Liquid:

  • ¼ cup lemon juice

  • ½ cup olive oil

  • 2 teaspoons honey (omit or agave for vegan)

  • 1 cup water or vegetable broth

  • ½ teaspoon salt

  • freshly ground black pepper

Roll tightly, but gently, so as not to tear the leaves, pushing in the sides as you go. Walk away, and let the kids do all the rolling while you do the dishes...or take a nap.

Roll tightly, but gently, so as not to tear the leaves, pushing in the sides as you go. Walk away, and let the kids do all the rolling while you do the dishes...or take a nap.

What you do:

  1. Bring 2 quarts (8 cups) water to a boil. Add cinnamon stick, rice and ¼ teaspoon salt. Reduce to a rolling boil and cook 20 minutes or until just tender. Drain and rinse in cold water.

  2. Combine cooked rice with fresh mint, scallions, pine nuts, and currants.

  3. Heat olive oil in a large sauté pan over medium high heat. When it shimmers, add onion and a pinch of salt. When onion is soft, add garlic and sauté 1 minute. Add lentils, nutmeg, cinnamon, cumin, oregano, allspice, and dried mint/tea. Combine with rice mixture. Allow to cool slightly.

  4. Set aside the 36 best leaves for stuffing. Line the bottom of a heavy stock pot with the remaining leaves. Stuff each with about 1 to 2 teaspoons of rice/lentil mixture. Place leaf smooth side down, with stem close to you. Trim long or thick stems. Fold stem end over rice and hold in place. Fold in sides and roll away from you. Use any broken leaves for lining the bottom of the pot. Arrange dolmas (stuffed leaves) snugly in the pot, in layers if needed.

  5. In a medium bowl, whisk together the lemon juice, olive oil, honey or agave, water or stock, salt and pepper. Pour this mixture over the leaves, cover with a plate to hold dolmas down.

  6. Cover, bring to a simmer, and cook 1 1/2 hours, basting occasionally.

Note: Use the "pasta method" for cooking the rice used in dolmas. Rather than steaming rice with an exact ratio of water, you will boil the rice in a large pot of salted water until al denté and then drain. You could certainly use leftover rice that was made using the standard rice cooking method but the texture may be slightly mushy in the grape leaves.

Tip 1: The simmering liquid makes a delicious soup or broth after the dolmas are done simmering in it. Use it to store dolmas in the fridge up to one week, drink it or serve as soup!

Tip 2: When I don't have fresh mint available, I just increase the amount of dried mint used. Just add all of the dried mint together to the lentil mixture to sauté before adding to the rice. I've also successfully substituted chives for the scallions in a pinch.

Shopping in your Freezer

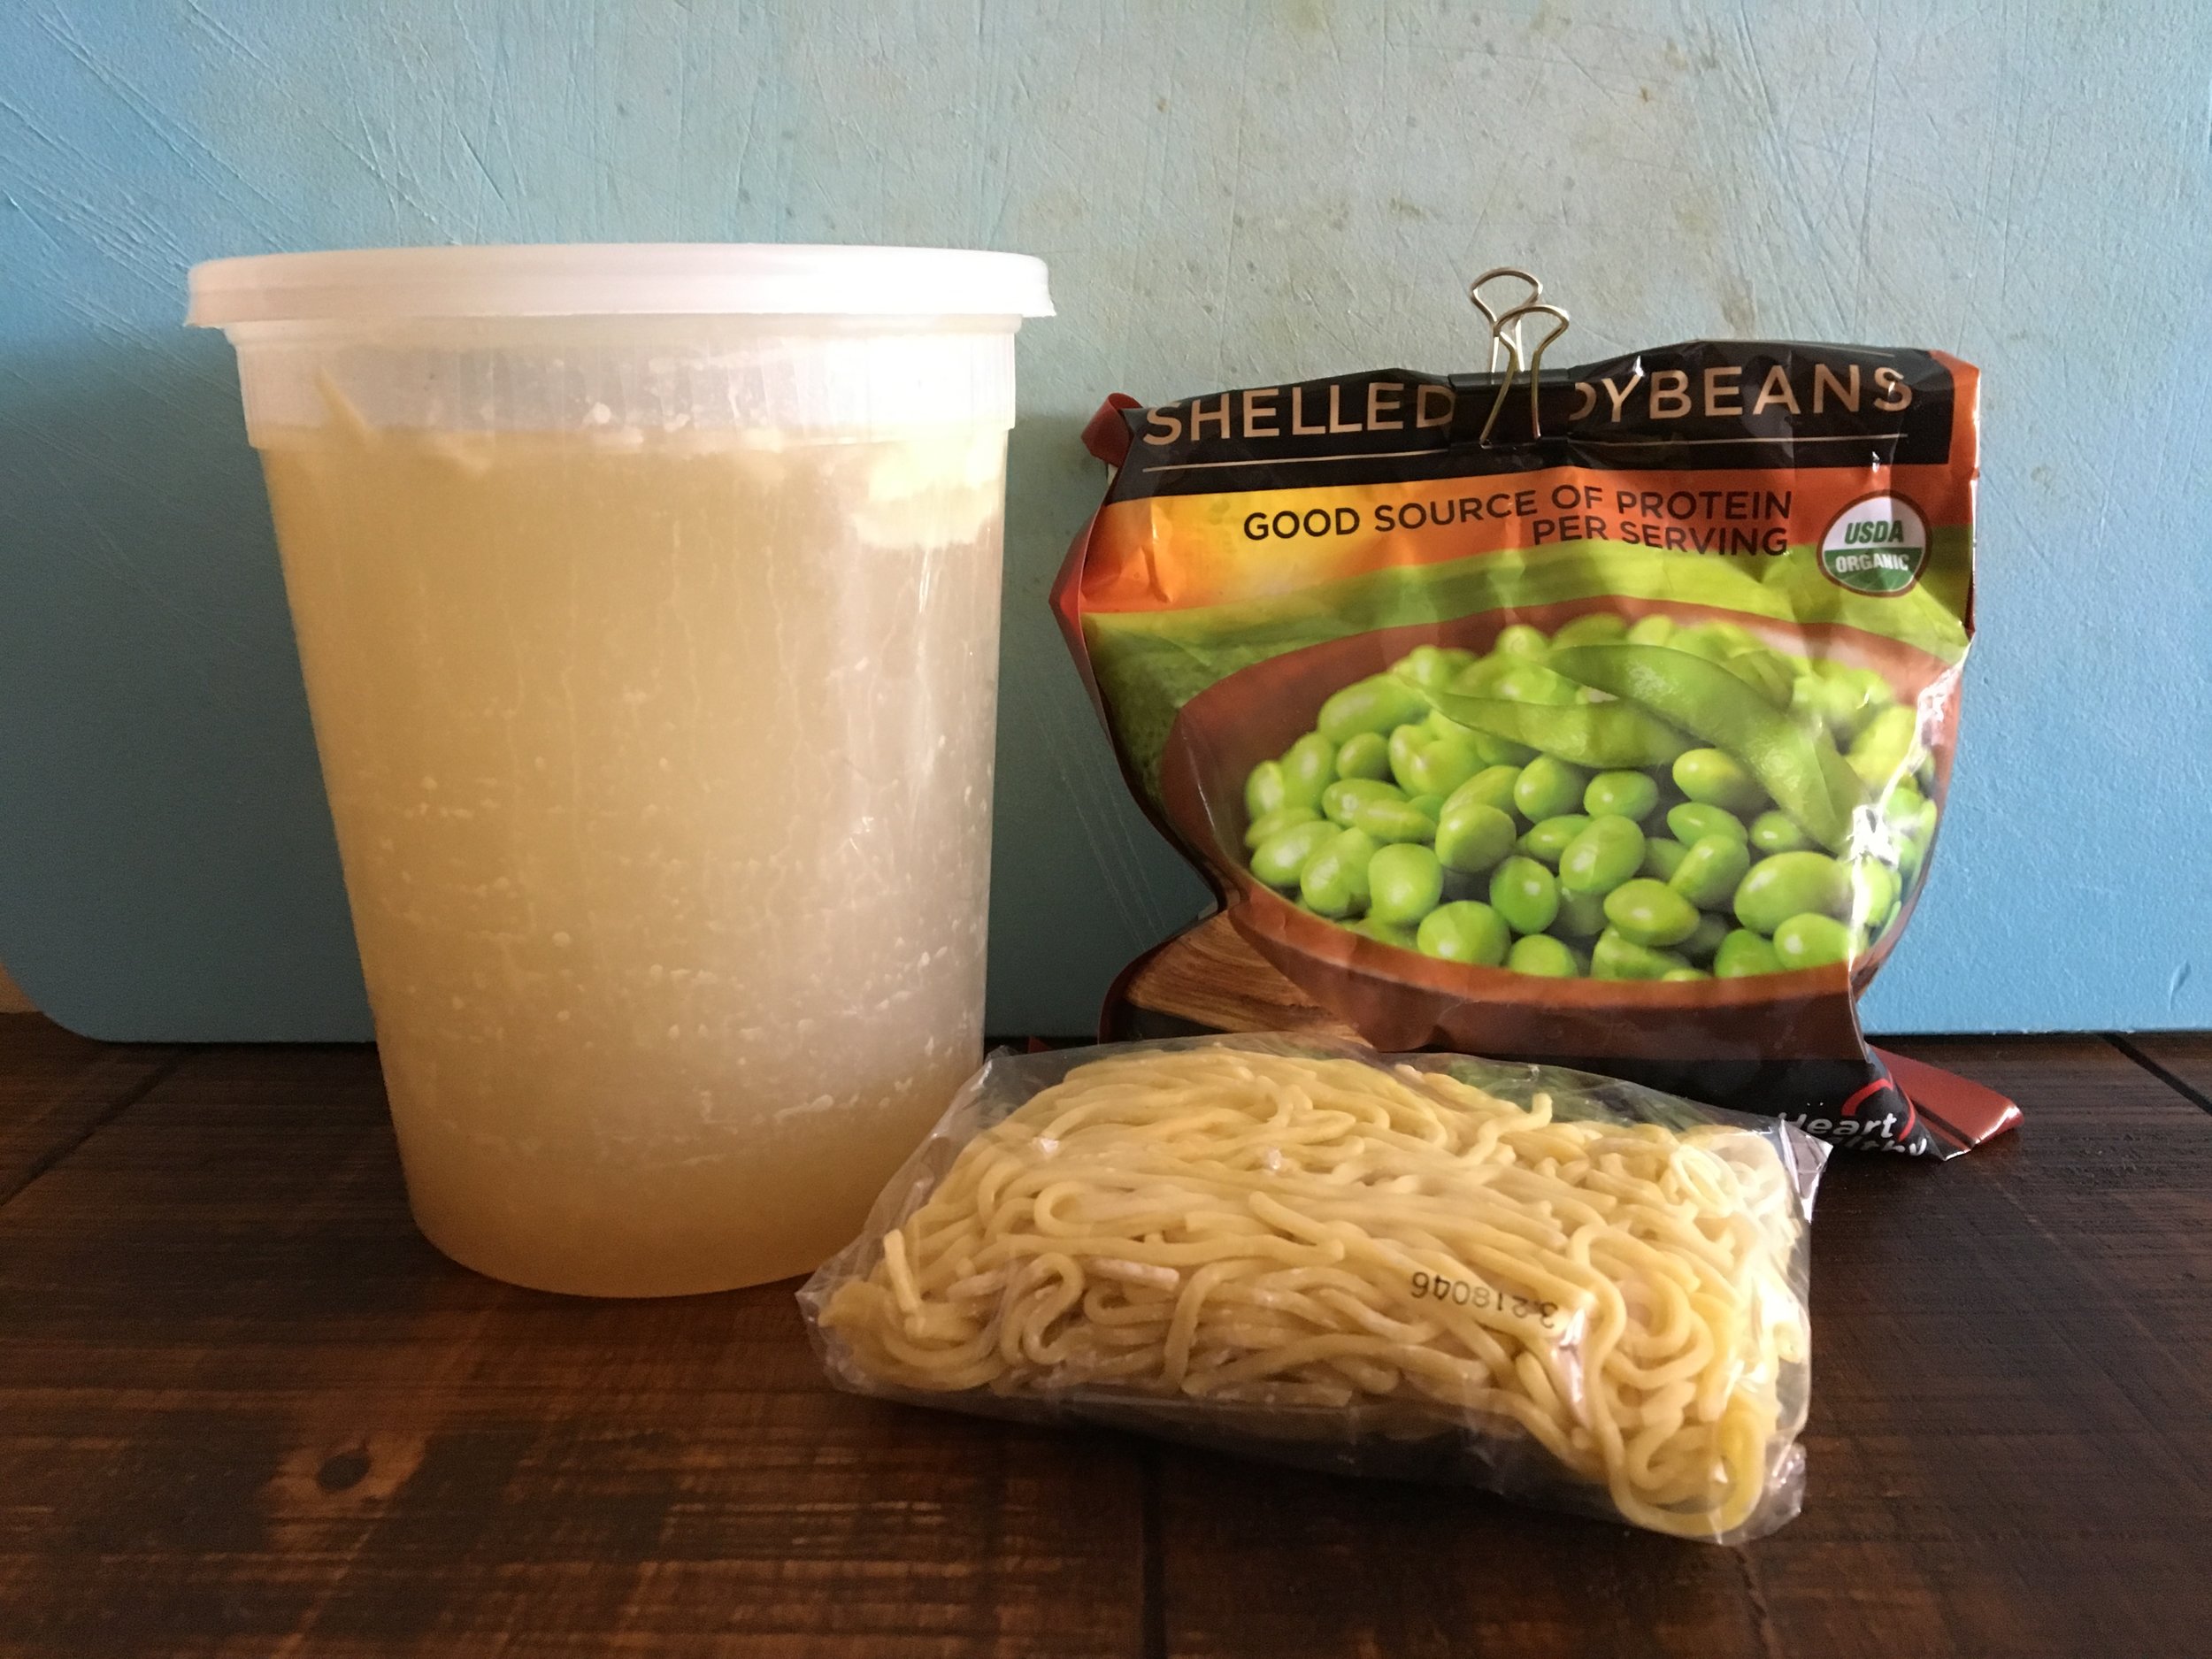
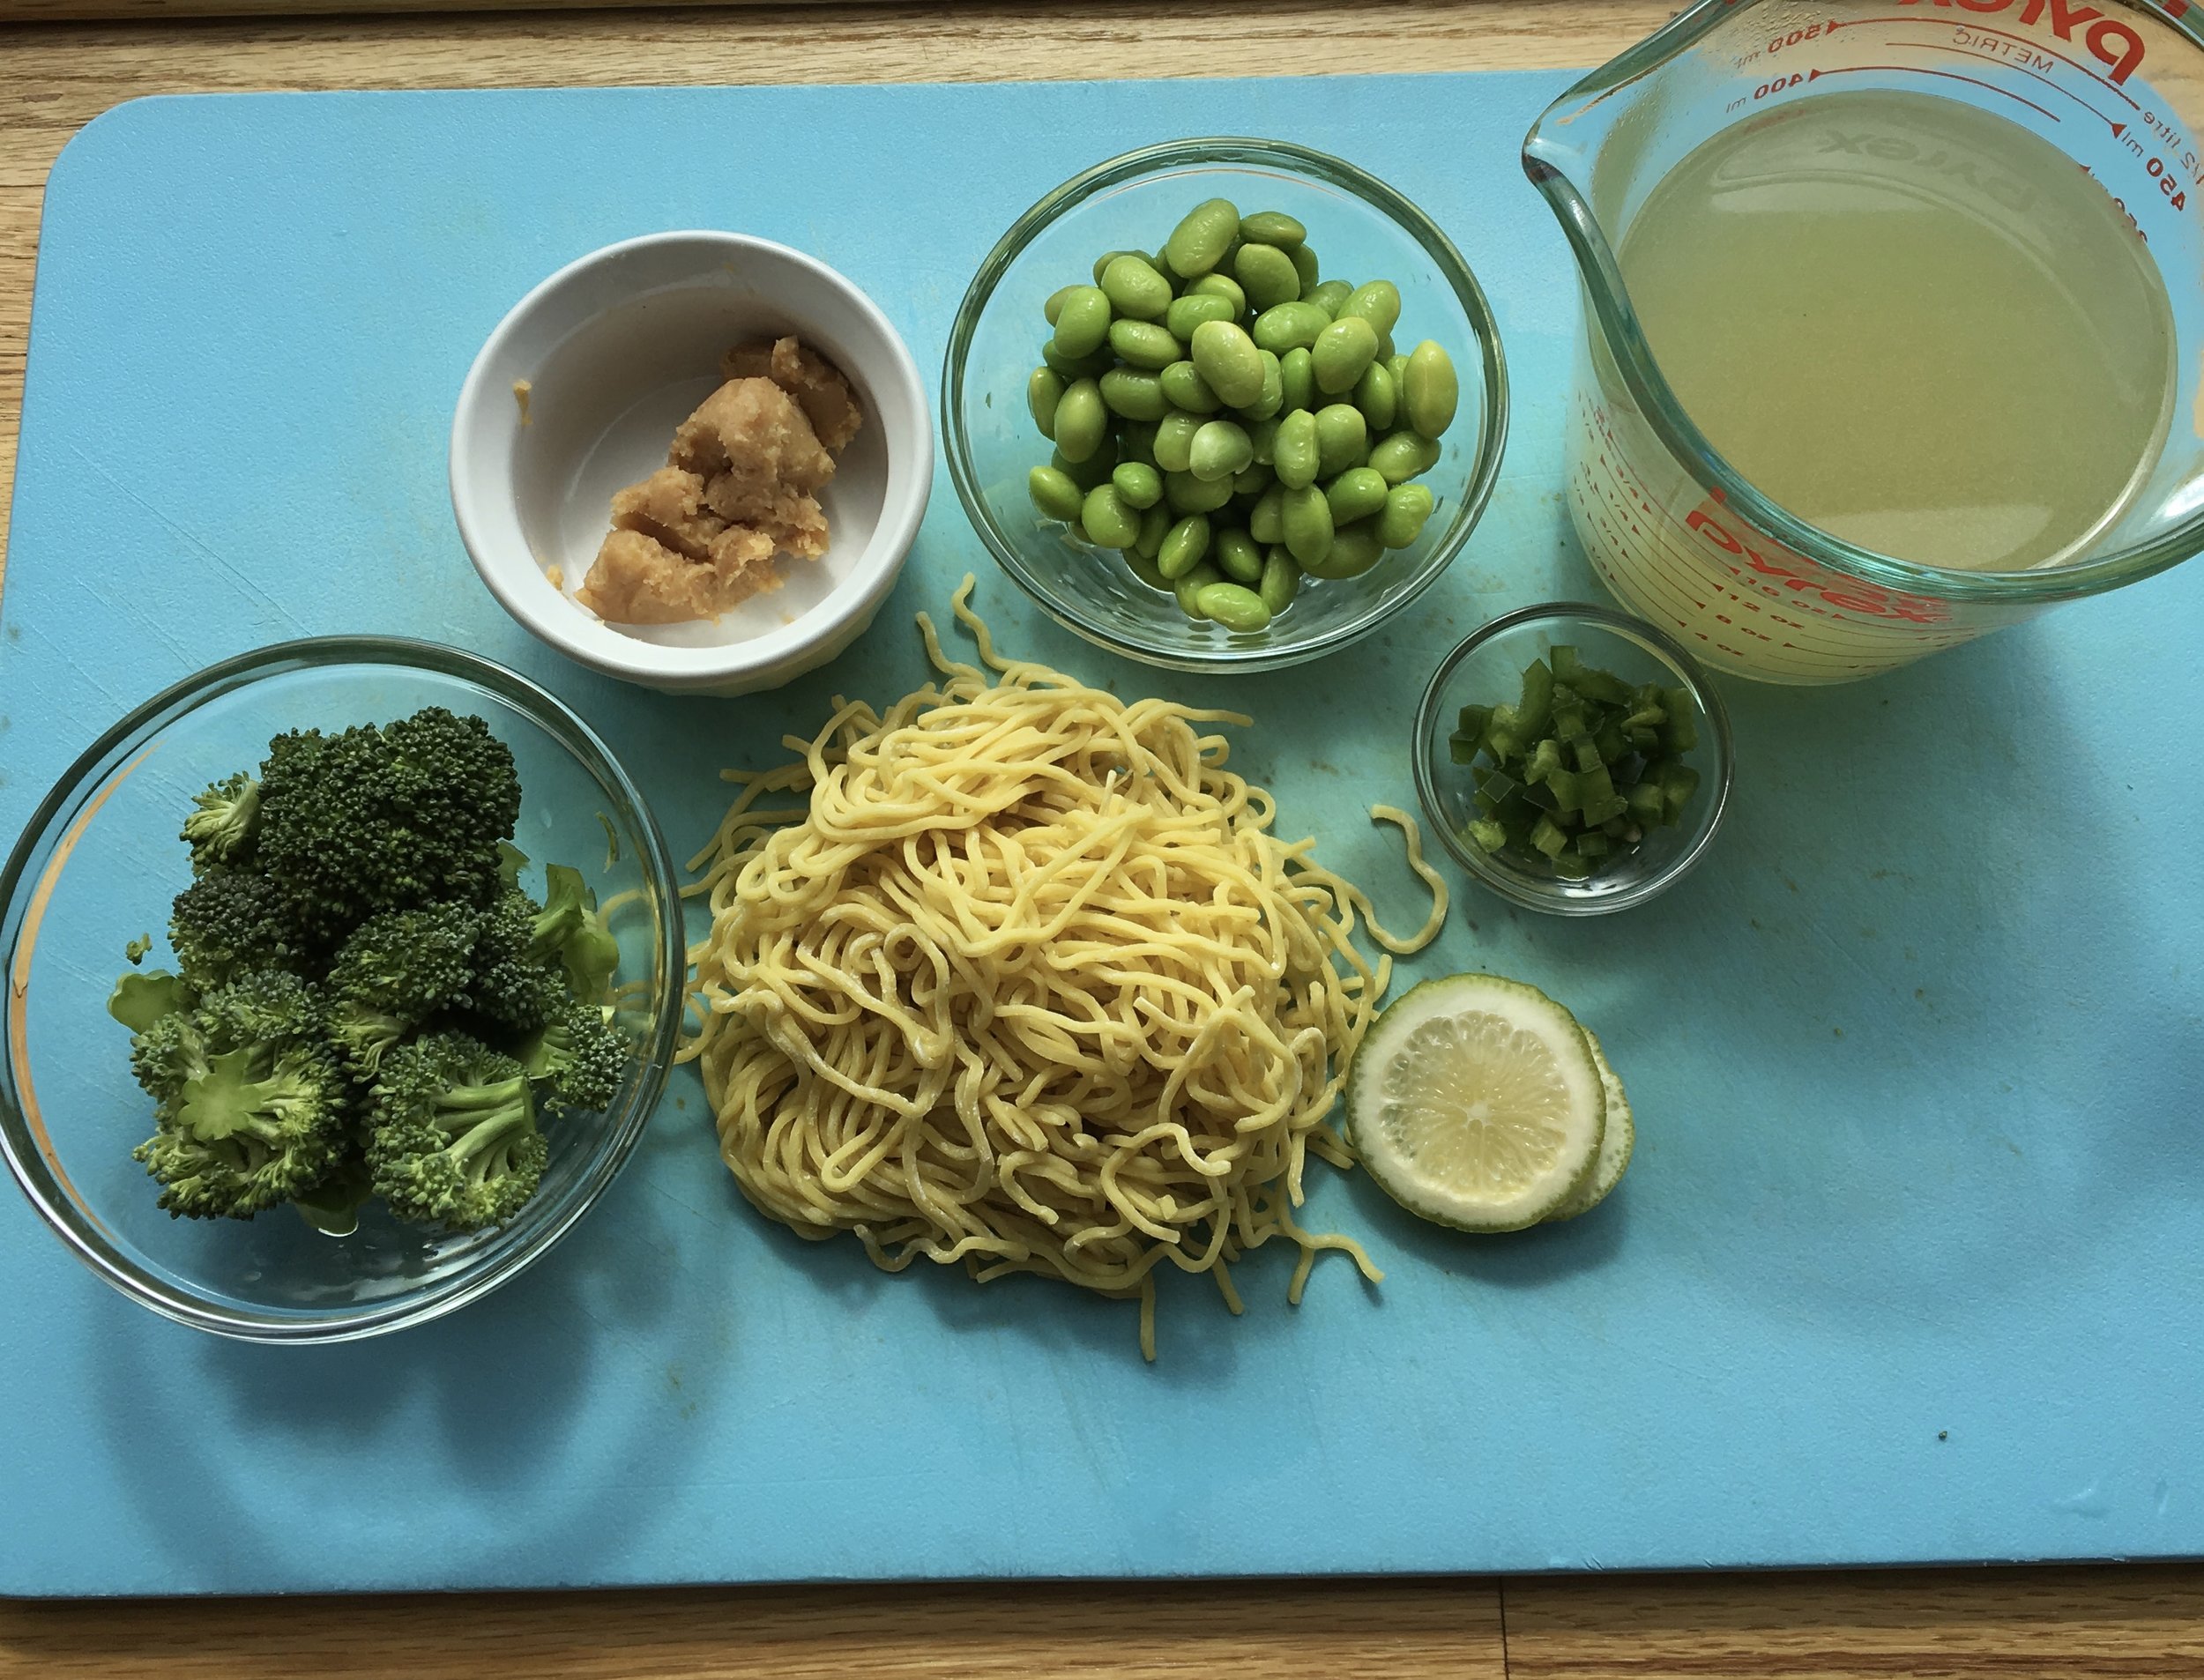
Miso Ramen Noodle Soup with Broccoli, Edamame and Jalapeno

Miso Ramen Noodle Soup with Broccoli, Edamame and Jalapeno

Every once in a while, I attempt to dig out my freezer and use up all of its contents, to save $ at the grocery store and free up space for new creations and the bounties I'm anticipating from local crops. It's my version of spring cleaning, aptly named using a term coined by my Grammie. She routinely bears gifts of clothing, fabric and housewares. When asked if she's been shopping, she says, "oh yes, shopping in my closet!" 

I've been sharing some of my recent mouth-watering creations out of goods I found stashed in my freezer, which prompted many of you to ask, how big is your freezer? How do I get that out of my freezer?

IMG_6176.JPG

So, in response...

...my freezer is pretty standard. I live in a Brooklyn apartment, after all.

...here's a list of my tips for finding ingredients and inspiration in your own freezer. Armed with these, you too can make a quick meal, prevent waste and avoid the grocery store, but you might also discover a new family favorite, test your culinary muscles and make something out of the ordinary.

  1. Organize it. Occasionally, take everything out of the freezer and sort it, consolidate similar items and return them to the freezer in an organized fashion. For example, put all animal proteins in one corner, vegetables in another, and stack ready-made meals, like soups and stews together. I also use a narrow bin for lining up my purées and sauces in their liquid storage bags (I use re-purposed breast milk storage bags I have in excess).

  2. Choose wisely. Either randomly select two items, such as one protein and one vegetable to give yourself a challenge or choose two to three items you know go together well (more on that later). Better yet, have your partner, child, roommate, or sister that you're texting, choose the items for you. Set those chosen items in the fridge or out to thaw. Now you're stuck with those, Chopped style. So make it work.

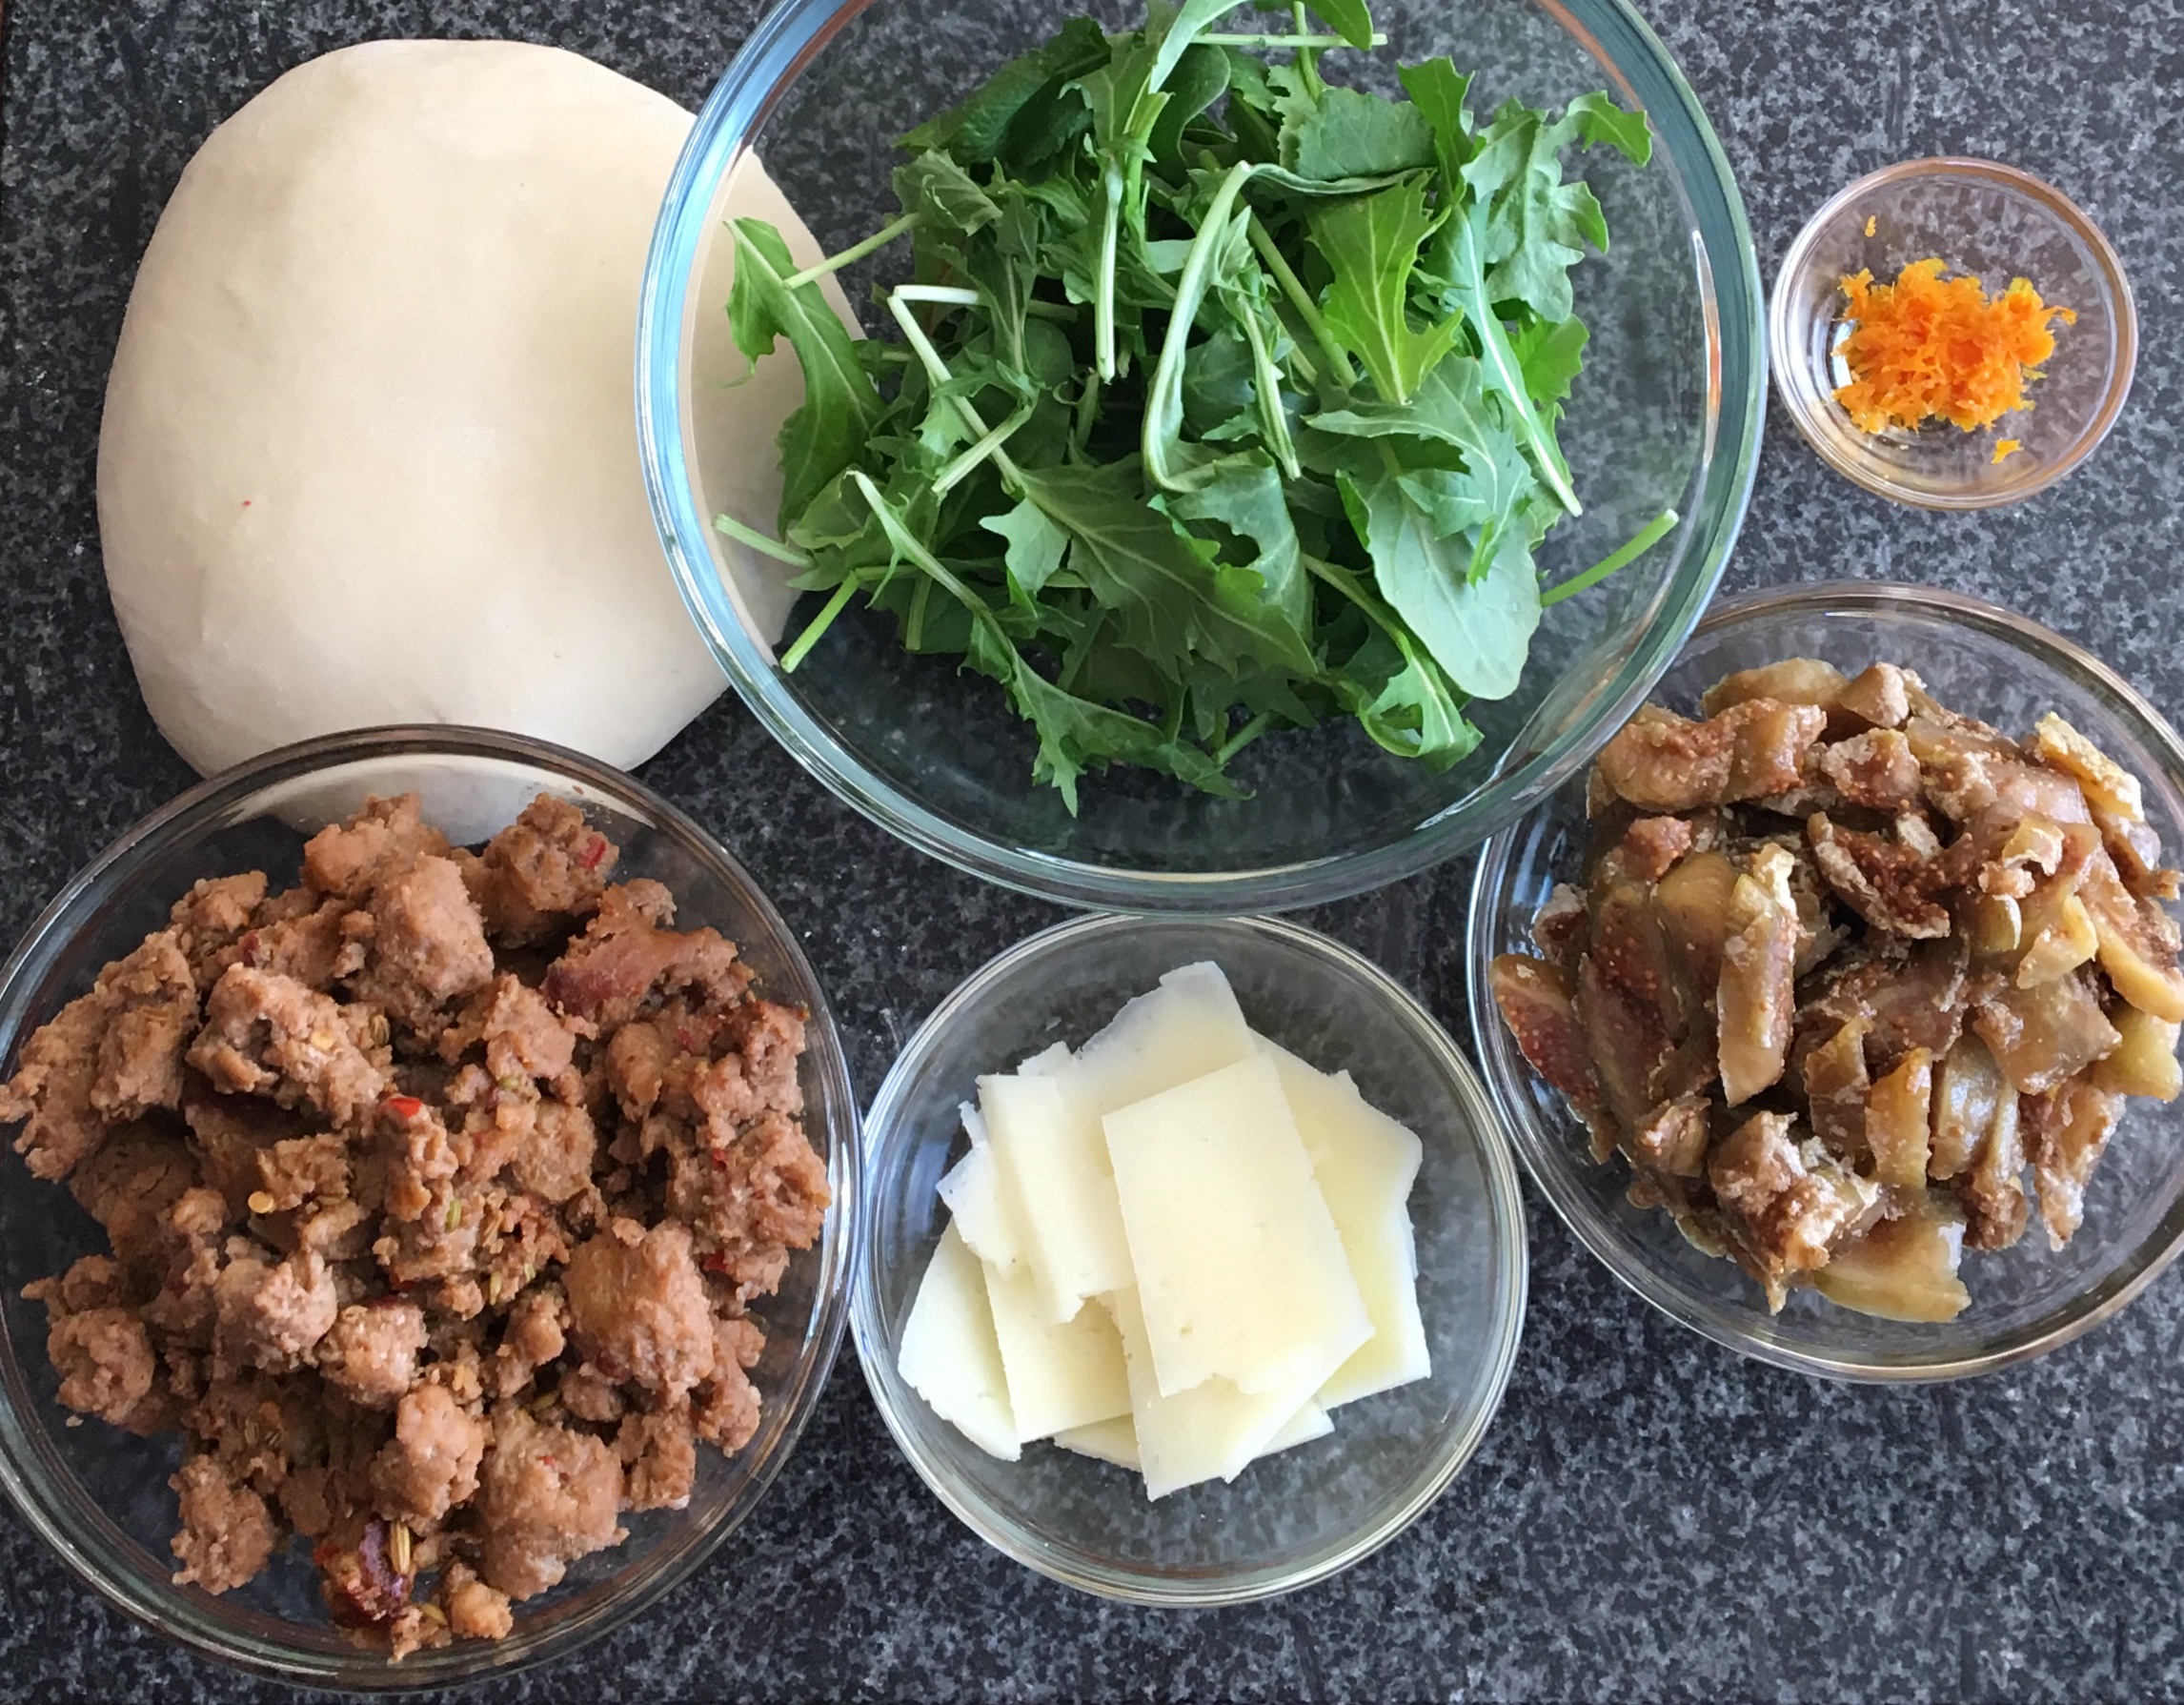
  3. Use formulas. Refer to a list of go-to recipe templates. The types of recipes I'm talking about are best described as "plug and play". Think of general recipes that have a base, a procedure you are familiar with, and a few interchangeable components. My templates include pasta dishes, soup, stew, muffins, quiche, pizza, risotto, grain bowls, pot pie, or stir fry.

  4. Brainstorm flavor combinations. Determine which ingredients and flavors go together. Did you just take peas and ground turkey from the freezer? So ask yourself, what else do I make with peas or what spices and vegetables were in that poultry dish from my favorite restaurant? Or conduct a quick internet search for recipes by ingredient. One resource I love for brainstorming flavor and ingredient combinations is the Flavor Bible. A dear friend gave me this book years ago and I still reference it weekly. Just learned that there is a Vegetarian Flavor Bible now too.

  5. Ignore measurements. It does not matter if the package is half full, or if you don't have as much sauce as you usually use. It's not an exact science. Just add more or less liquid or crunch as needed.

  6. Set a time limit. Again, Chopped style. If you limit how much time you have to either think about what you are going to make with the freezer finds or actually cook dinner or both, you will force your creative side without losing too much time.

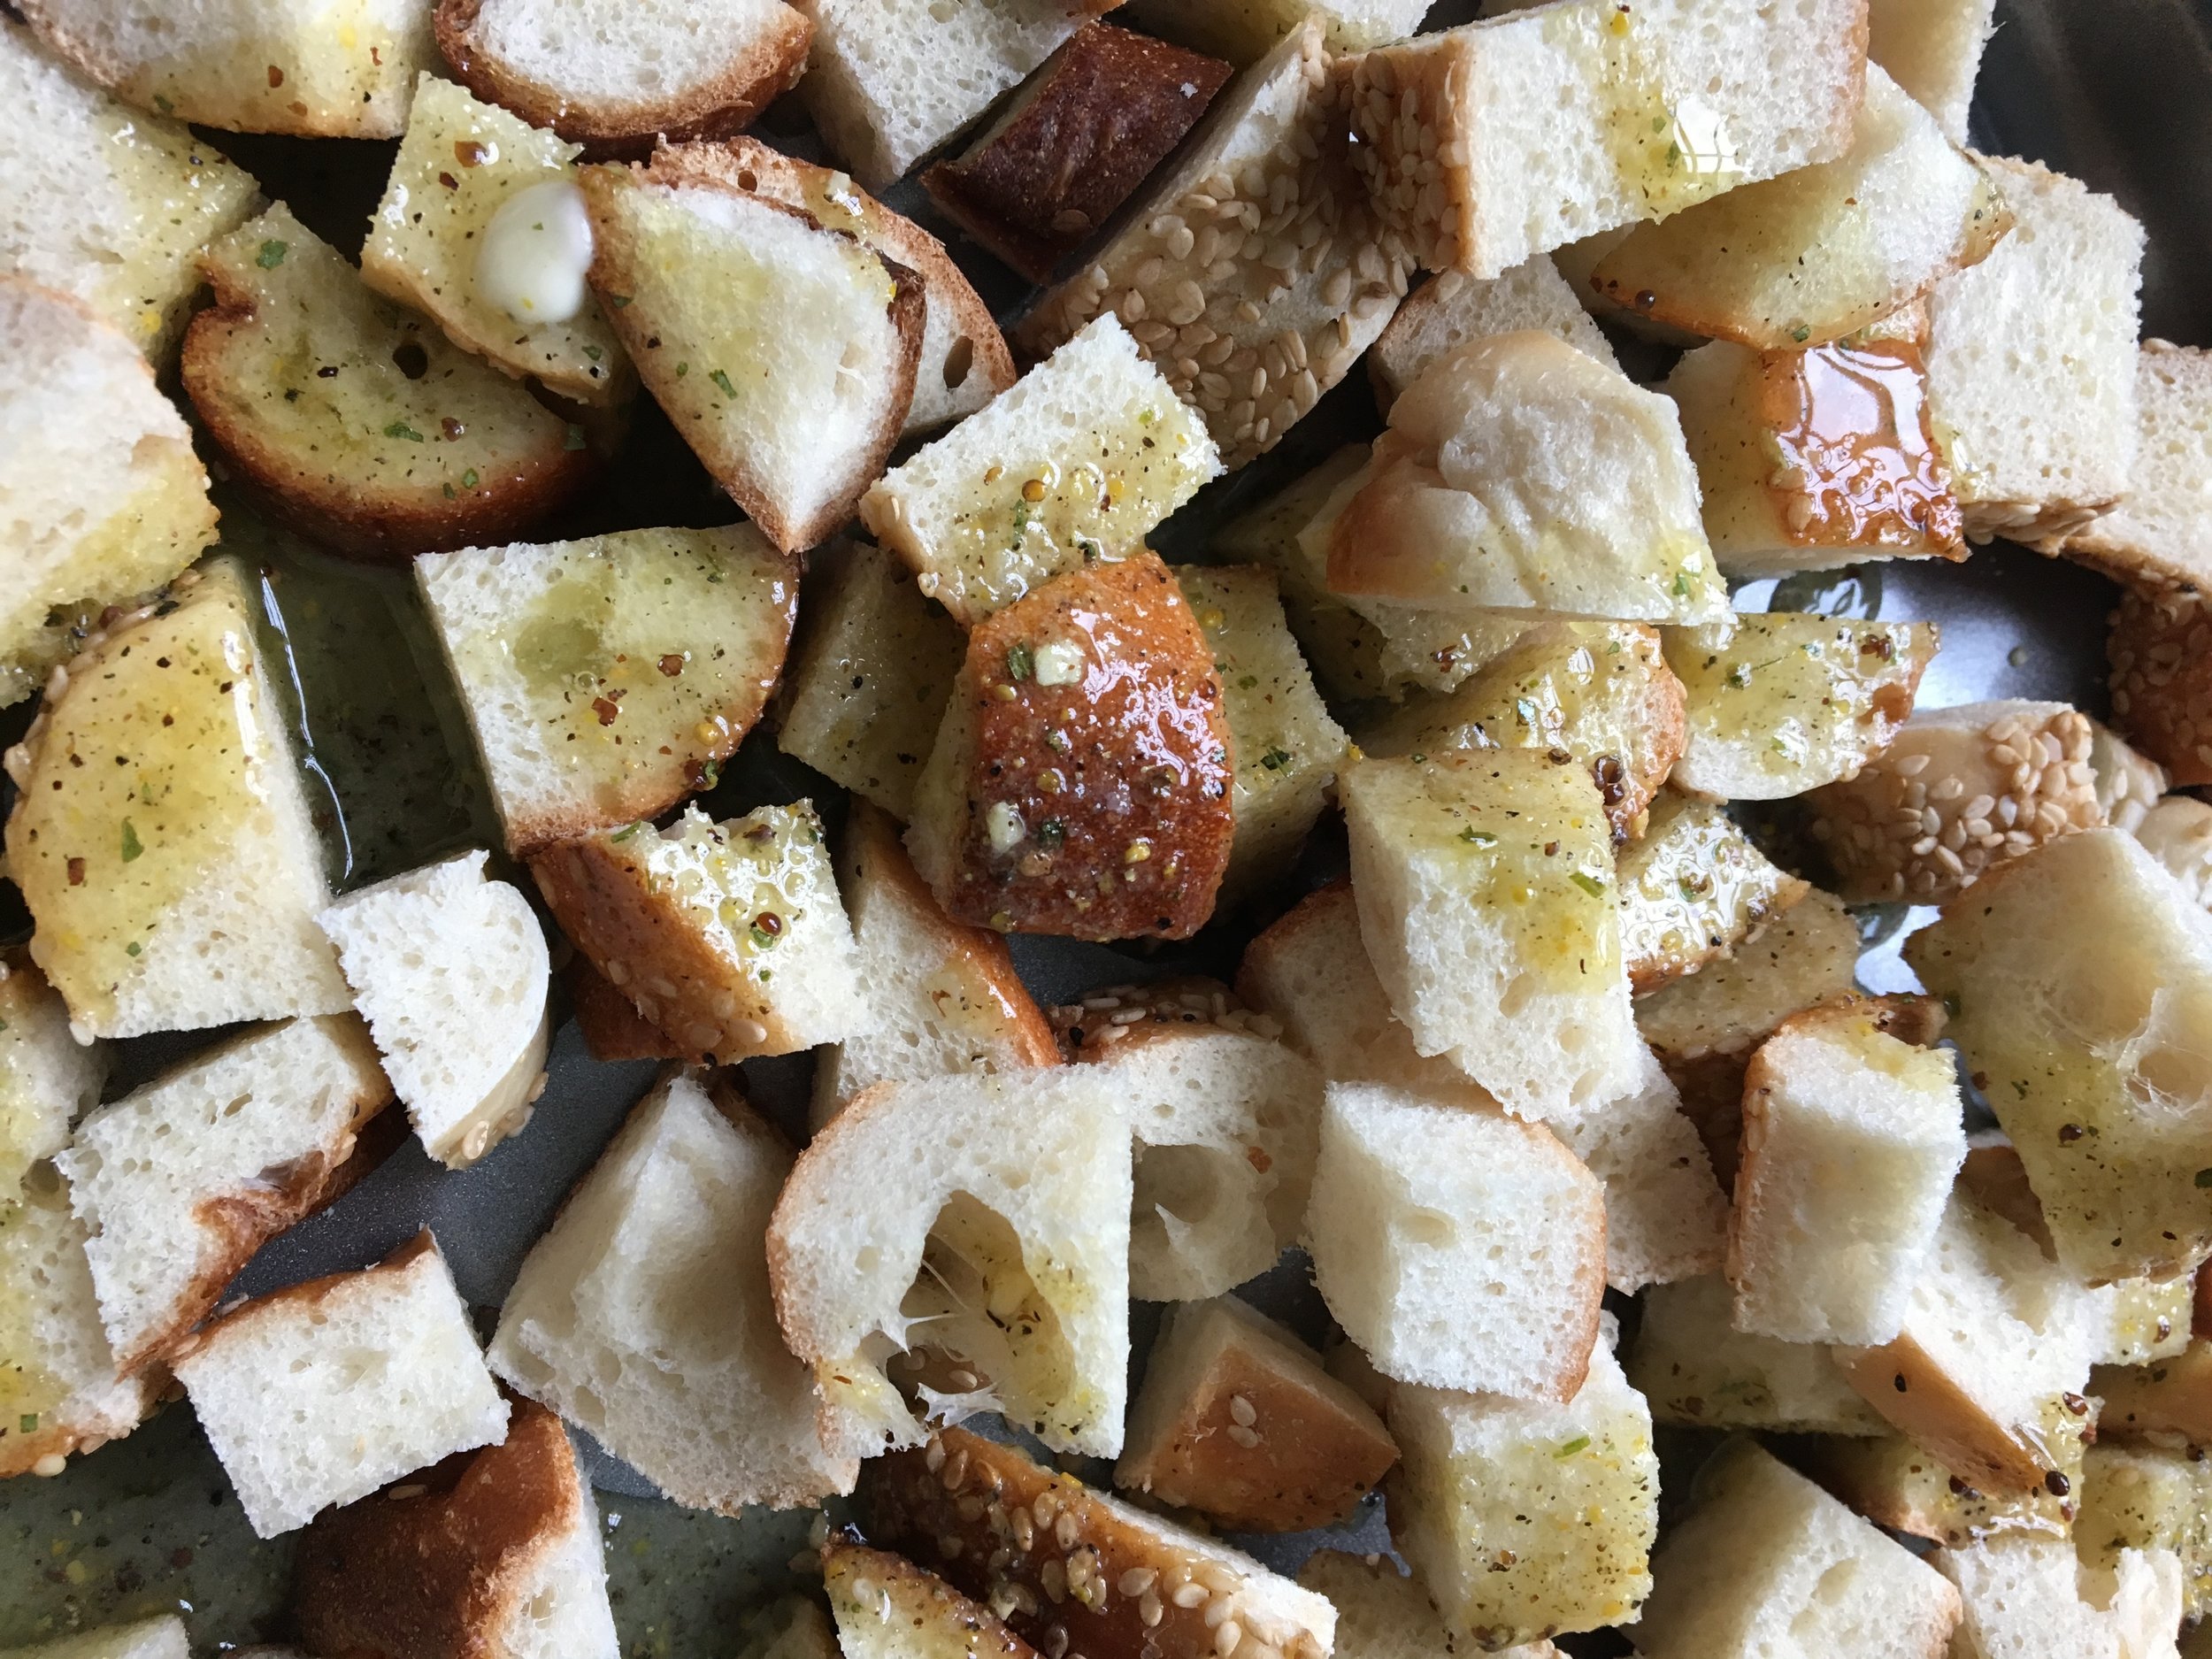
  7. Re-purpose freezer finds. Turn something you don't like into something you love or that the kids and picky eaters of the world will eat. Change the texture and overall structure of the ingredient. For example, I had a purée of steamed sweet potatoes, apples and carrots that the baby suddenly turned his nose up at (after liking it for a few months). That purée just became the star ingredient in my famous sweet potato waffles. And all the rejected old bread ends that will never qualify for a BLT or PB&J make beautiful garlicky croutons for a panzanella salad.

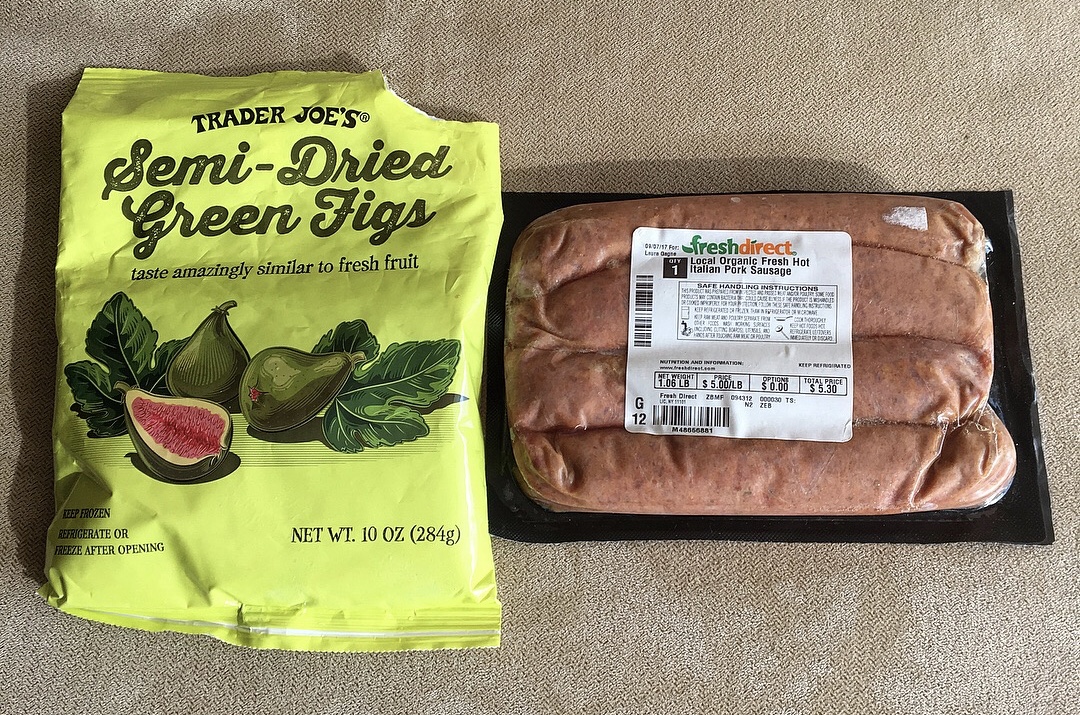
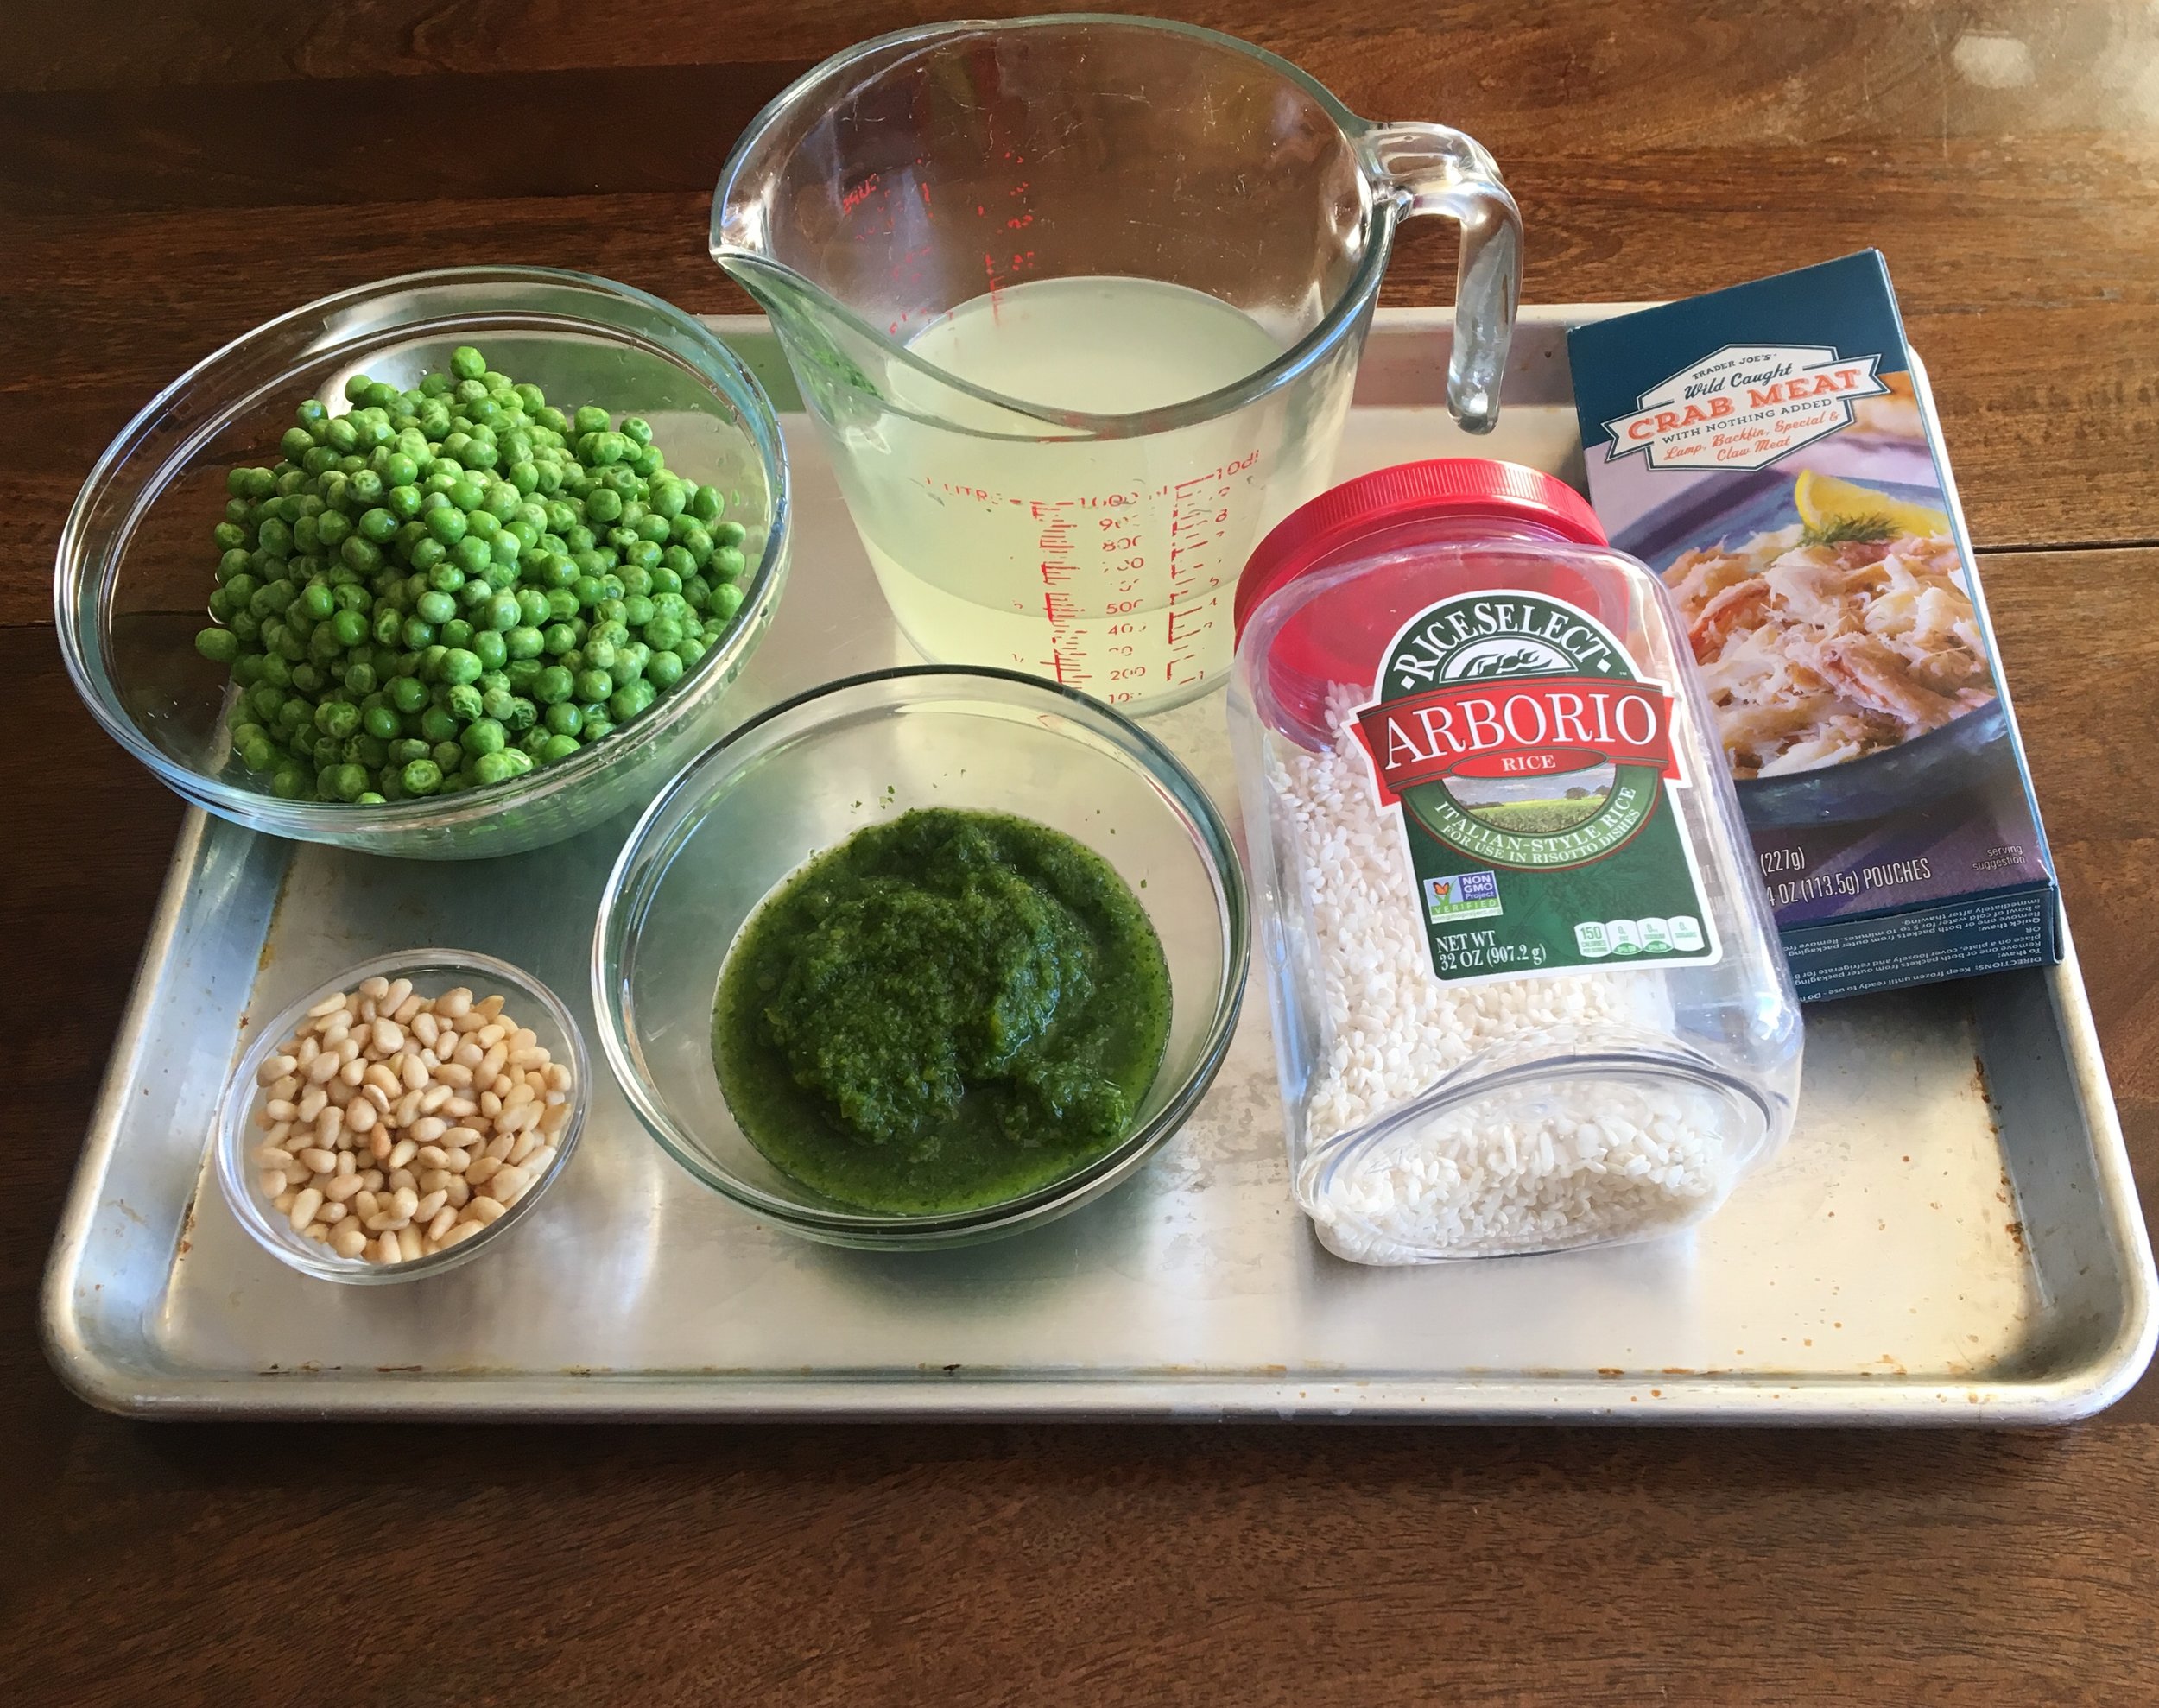
  8. Allow yourself an out. You do not have to eat your failures. If it is truly terrible, you can toss it, compost it or feed it to the dog. It's okay, you shopped in your freezer and you gave it a try. Or you might even re-purpose it to another step. We made a risotto out of crab meat, sofrito and peas. It was just okay, and there was a lot remaining, so rather than force ourselves to eat the leftovers, I thought, why not mix in some cheese, roll into balls and pan fry for arancini magic!

And many of you want to know, how do I get all of these things into my freezer to begin with? That's a topic for another day or series of posts. Stay tuned and in the meantime, see here for my chowder freezing tip.

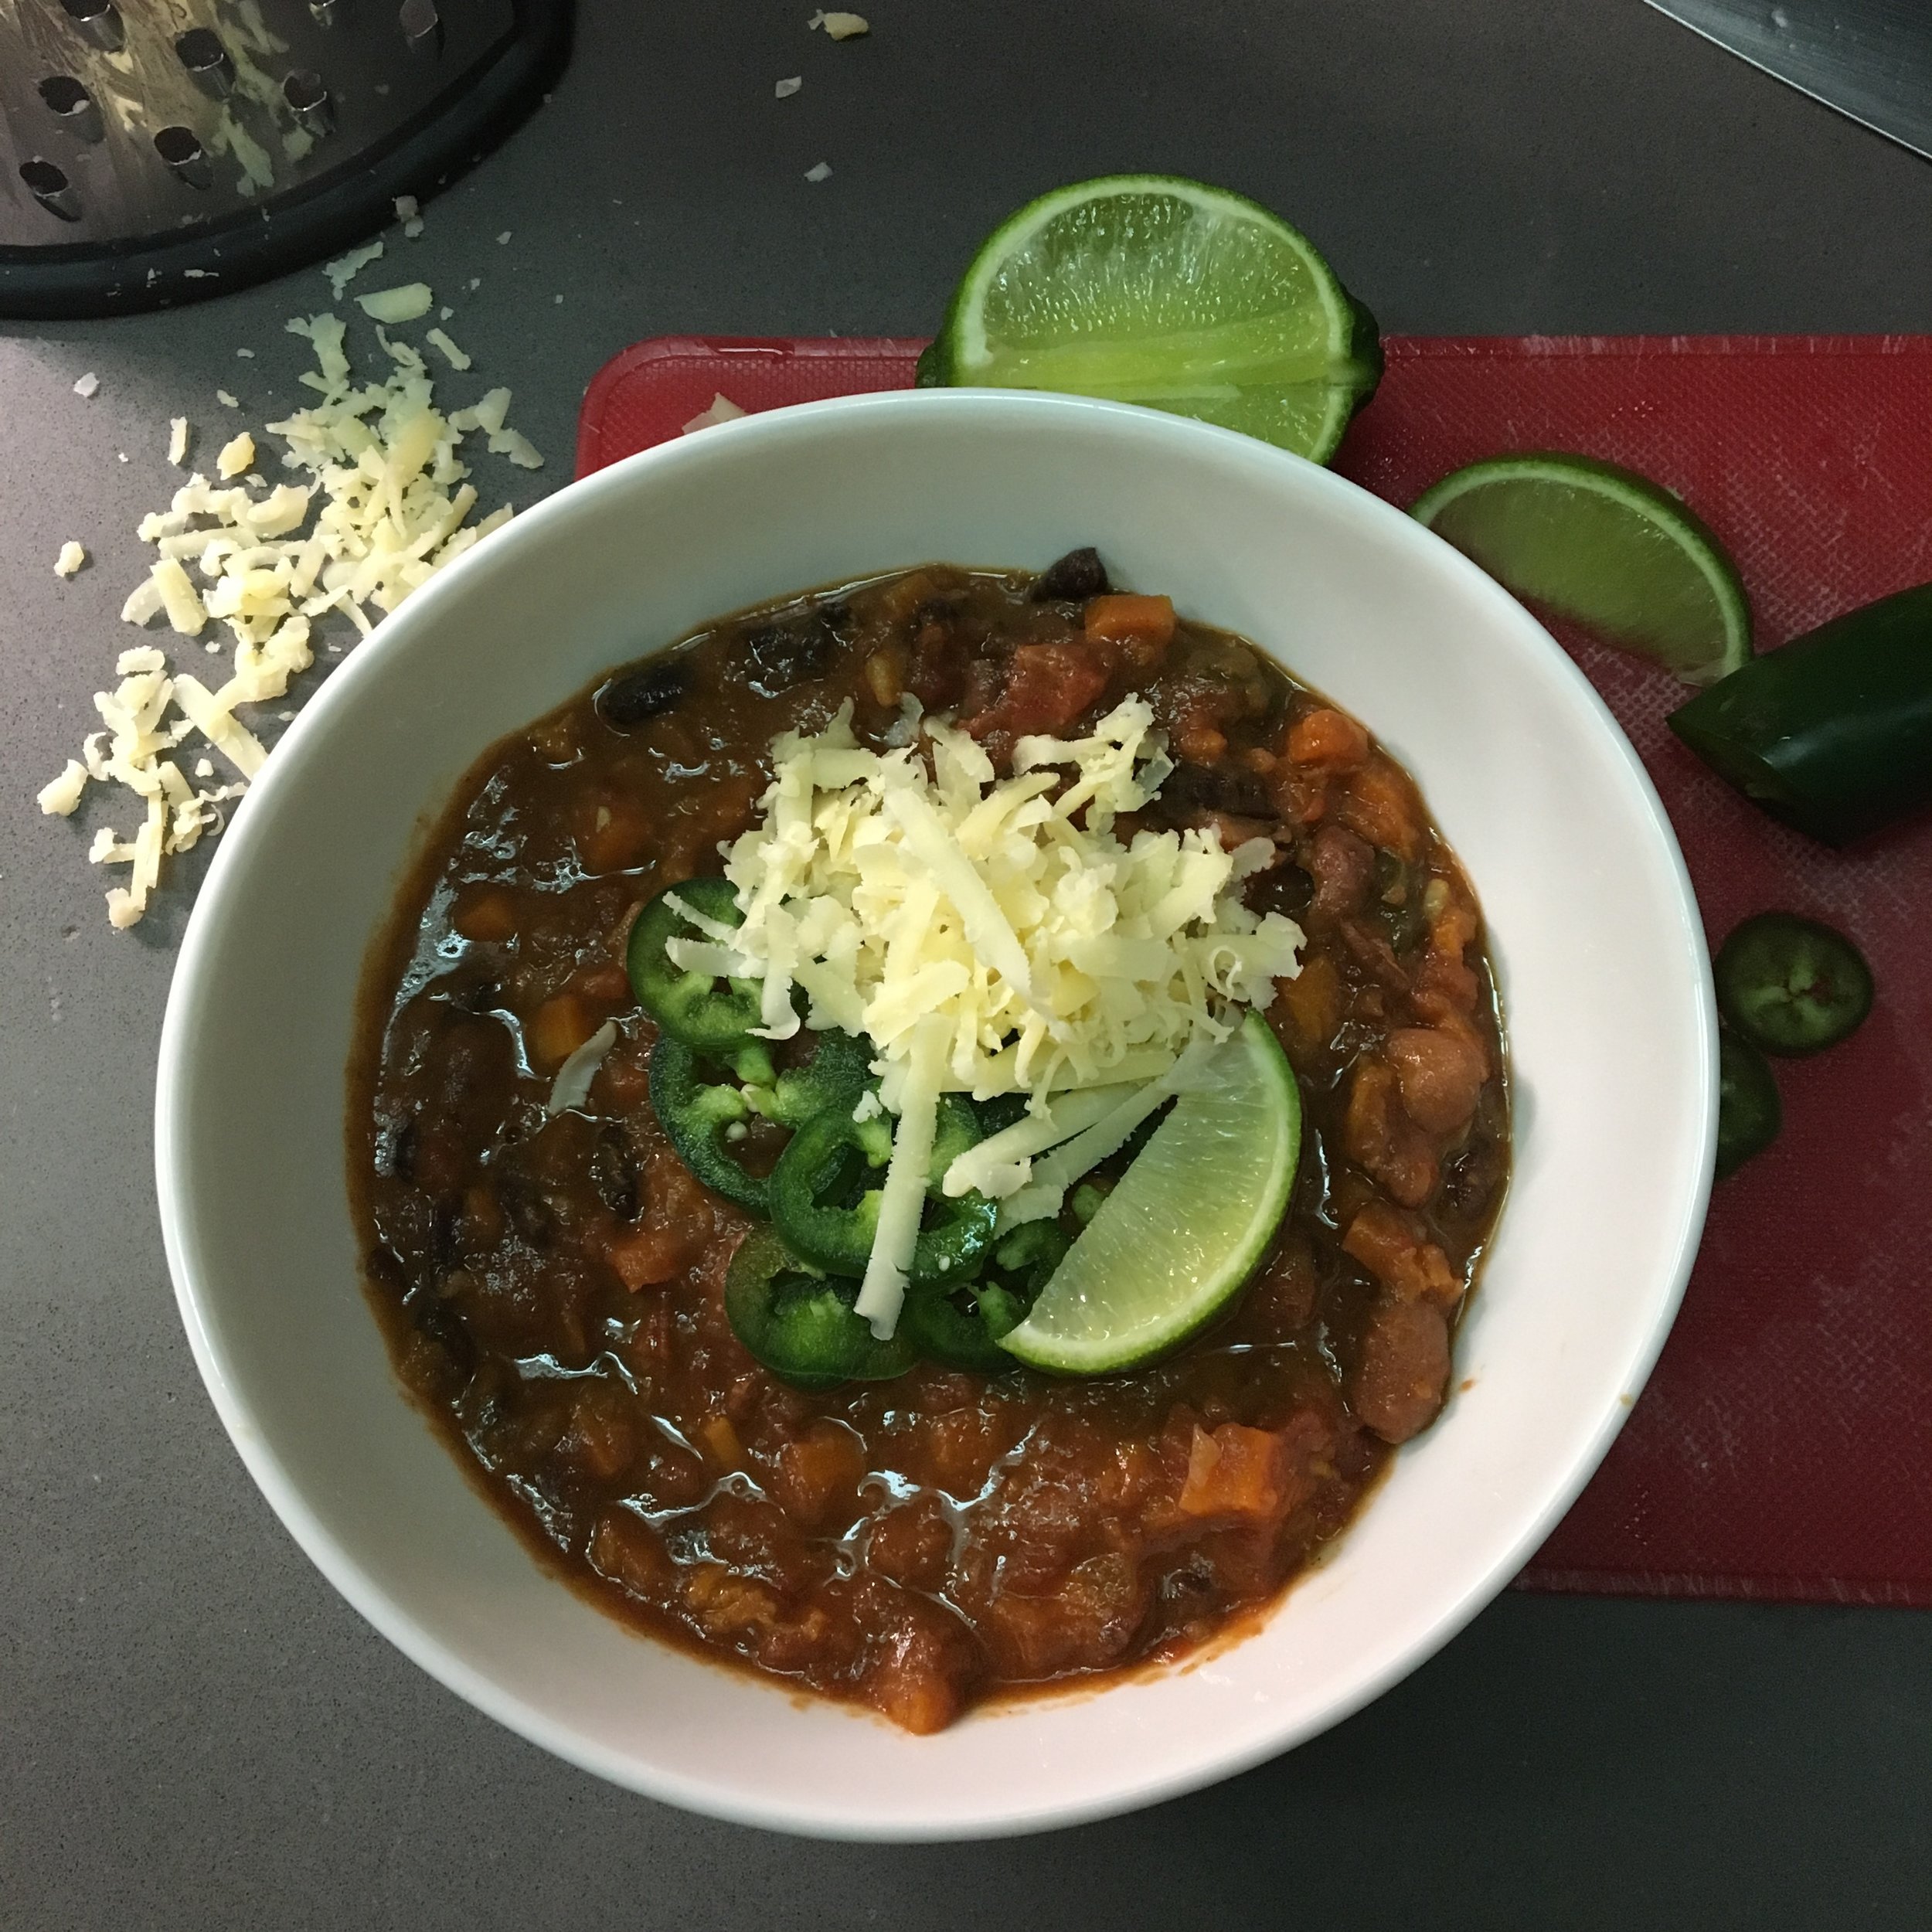
Vegan Winter Chili

In case we weren't sure, mother nature reminded us with a swift kick that it is still winter for a couple more weeks. So warm up with a batch of hearty vegan winter chili.

This vegan chili even satisfies my carnivore husband. If you use enough of the right blend of spices, and bloom those fully in oil, your meat lovers will get the same unctuous flavor they expect from traditional chili. However, I also have a trick for making both a beef chili and meatless batch at the same time. Just cook the beef in a separate skillet with spices, while making the vegan chili in a large pot. Once all vegan ingredients are added to the pot, remove a few cupfuls and add to the beef in its separate skillet. Continue cooking both over low heat until the vegetables are cooked through.

The recipe below is for my Vegan Winter Chili. In late summer I will exchange the sweet potatoes and perhaps the carrots for bell peppers of various colors, zucchini and yellow summer squash. My summer chili also utilizes very ripe fresh tomatoes instead of or in combination with canned. Now I'm anxious for August and you can expect a Vegan Summer Chili recipe from me then.

Before the recipe, here are some tips.

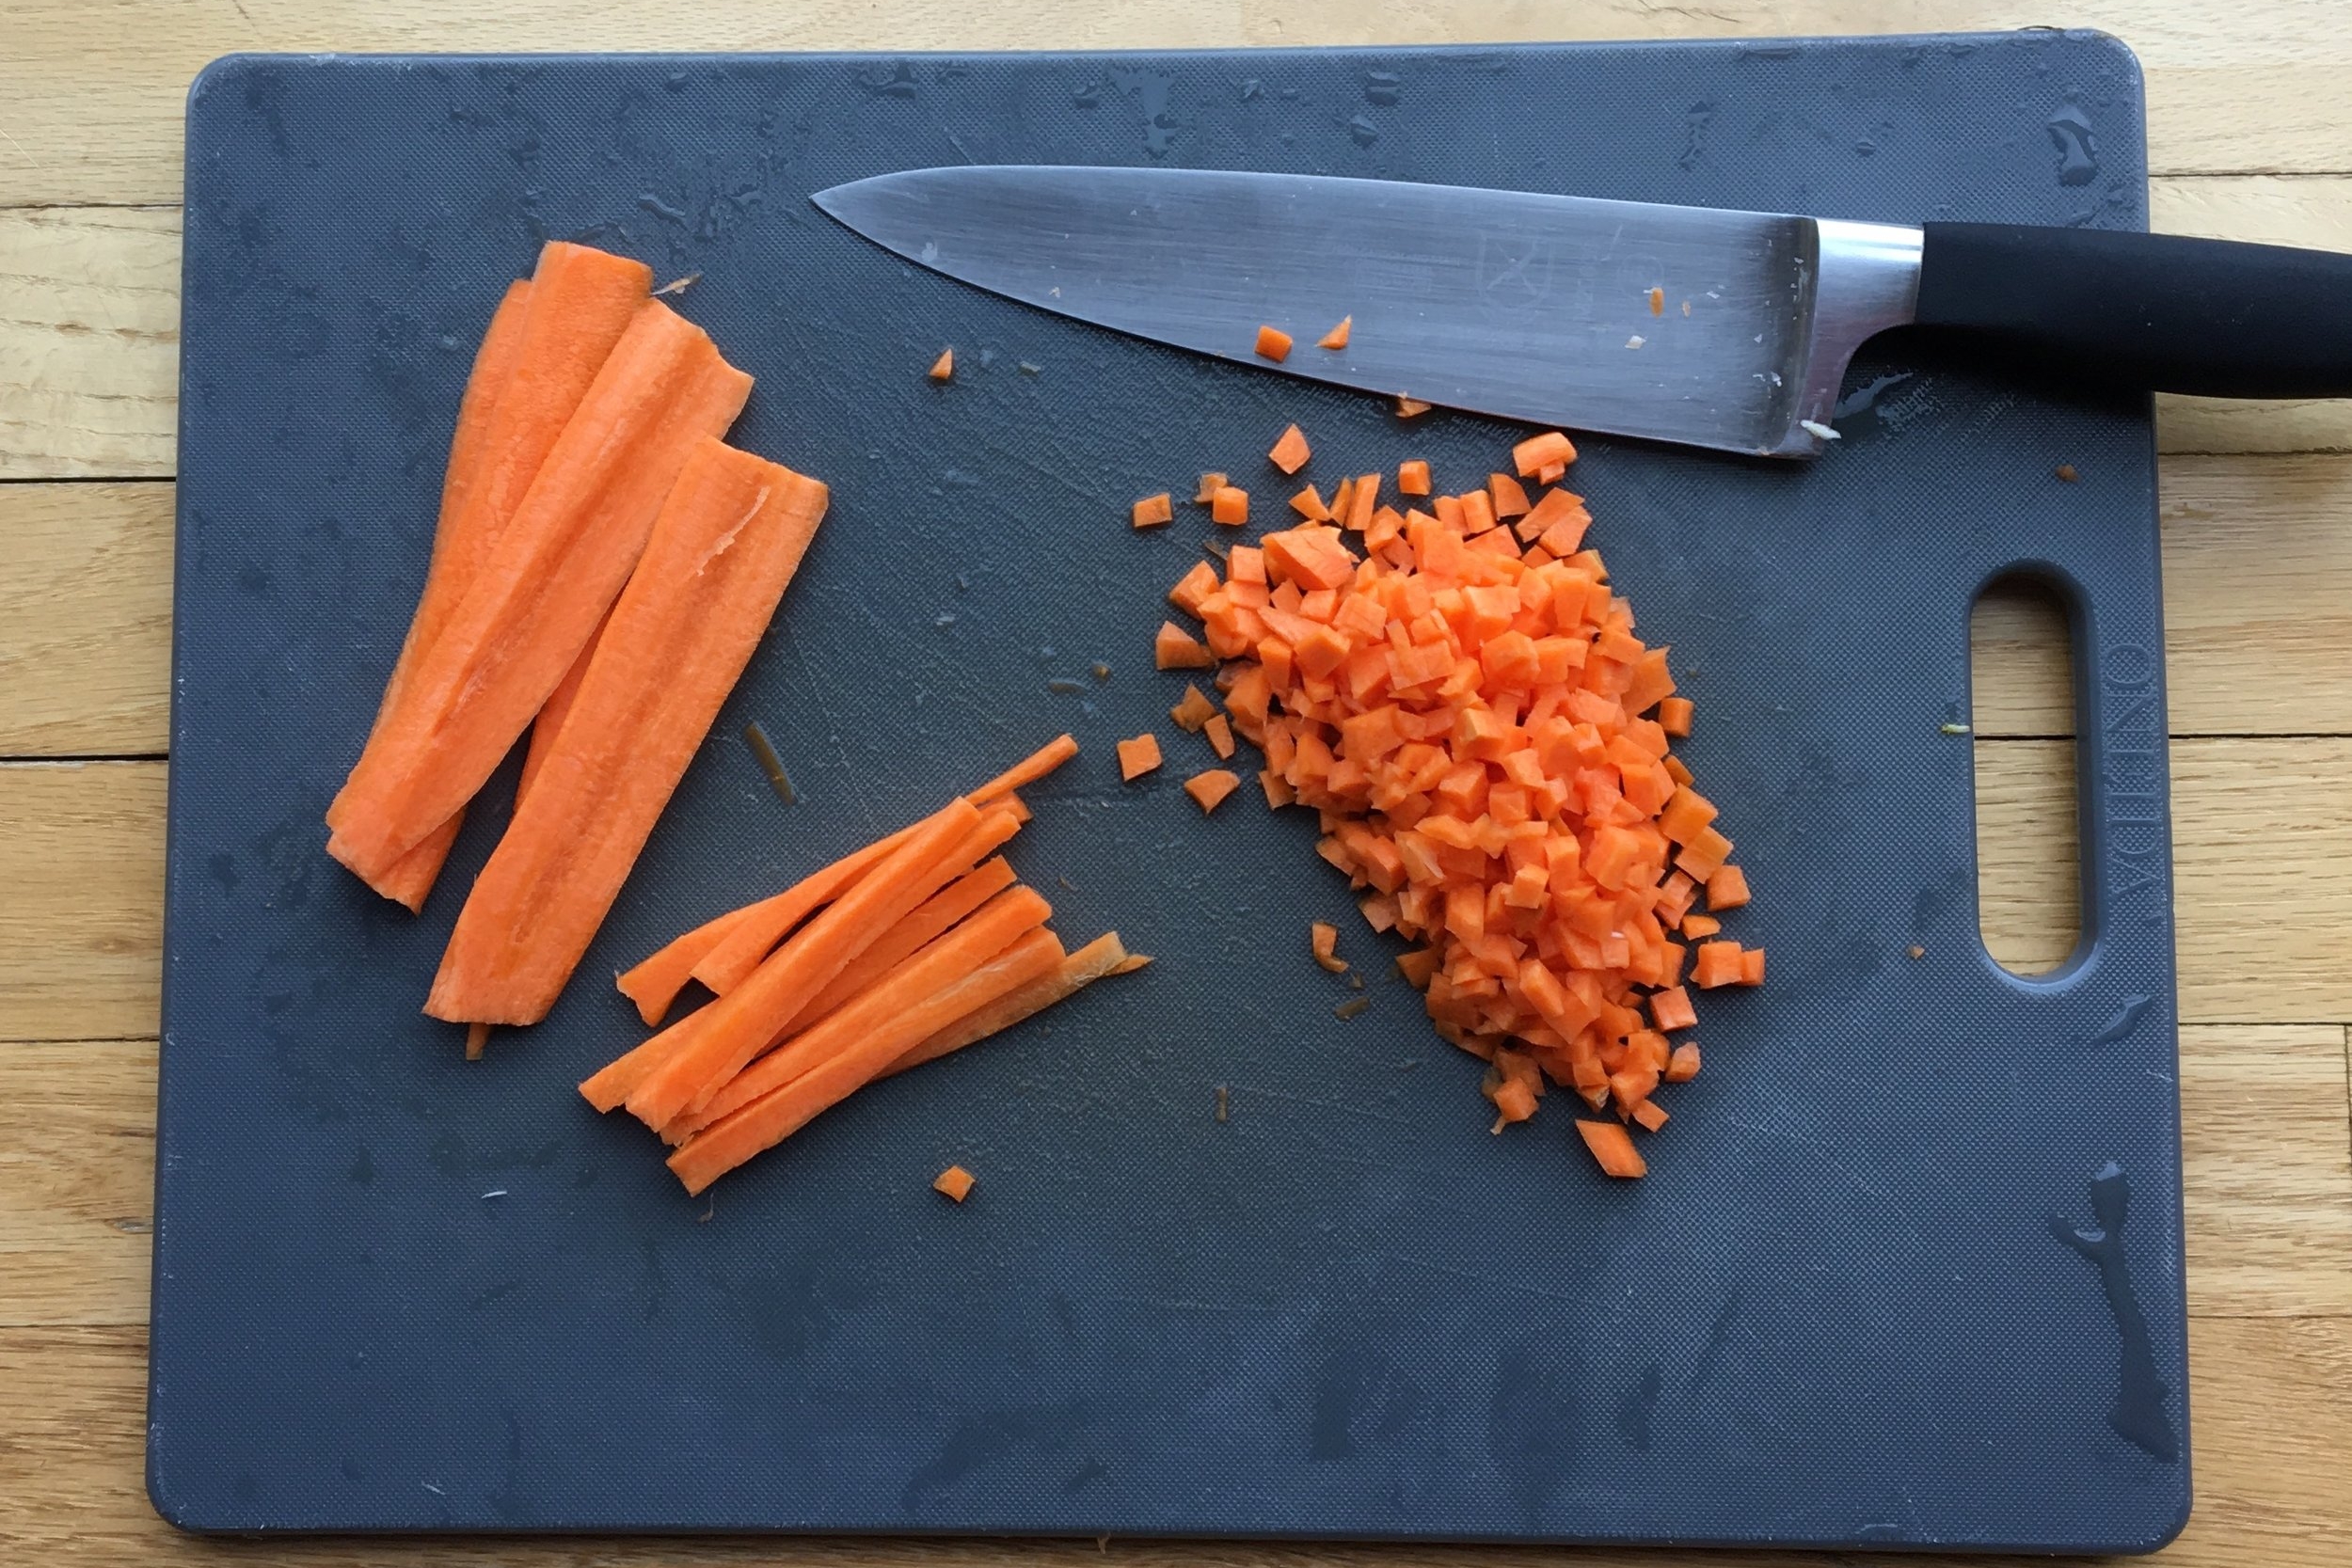
Cut vegetables into a small dice to ensure quicker cooking, even distribution in each spoonful of chili, and to make them more appealing to picky eaters.

Cut vegetables into a small dice to ensure quicker cooking, even distribution in each spoonful of chili, and to make them more appealing to picky eaters.

To cut vegetables into a small dice, first cut 1/4 inch thick planks, then strips, then cubes. (see steps from left to right above)

To cut vegetables into a small dice, first cut 1/4 inch thick planks, then strips, then cubes. (see steps from left to right above)

Sauté onions until they are soft before adding garlic, then spices, followed by other ingredients. If you add garlic or spices too soon, they may burn or you risk not cooking onion thoroughly.

Sauté onions until they are soft before adding garlic, then spices, followed by other ingredients. If you add garlic or spices too soon, they may burn or you risk not cooking onion thoroughly.

"Bloom" or sauté spices in oil first to awaken their flavor compounds and infuse flavor throughout the chili through the cooking oil.

"Bloom" or sauté spices in oil first to awaken their flavor compounds and infuse flavor throughout the chili through the cooking oil.

What you need:

Note: In this recipe post, I have not provided a photo of all of the ingredients. I even hesitate to give you an ingredients list for this and other stews and soups because the quantities and specific ingredients listed below are merely suggestions. Add more of the ingredients you love, less of those you just want a taste of and add as much liquid to get the consistency you desire. Personally, I add a lot more heat than most, but this recipe as written is at a moderate heat level.

Yield: Makes about 10 cups, or 6-8 servings

The combinations and amounts of ingredients are up to you. Add other vegetables you have on hand, swap out for different varieties of beans, amp up the heat with more jalapeños or spicier pepper varieties, or tone it down. Reduce liquid for thicker …

The combinations and amounts of ingredients are up to you. Add other vegetables you have on hand, swap out for different varieties of beans, amp up the heat with more jalapeños or spicier pepper varieties, or tone it down. Reduce liquid for thicker chili.

  • 2 tablespoons extra virgin olive oil

  • 1 large red onion, diced

  • sea salt or kosher salt

  • 3-5 cloves garlic, minced

  • 1 tablespoon chili powder

  • 1 tablespoon ground cumin

  • 1 teaspoon garlic powder

  • 1 teaspoon ground chipotle chili flakes

  • ~5 cups home-cooked or canned, drained and rinsed, beans. My favorite is a combination of black beans and cranberry or pinto beans.

  • 1 28oz can diced tomatoes, liquid included

  • 2 large carrots, small dice

  • 1-2 cups water

  • 1 medium sweet potato, small dice

  • 1-2 jalapeños, sliced, optional

What you do:

  1. Heat a large sauce pot over medium heat. Add oil.

  2. When the oil is shimmering, add the onion and a pinch of salt.

  3. Once the onion has softened, add the garlic and a pinch of salt and cook, stirring often for about 1 minute, careful not to burn.

  4. Add the spices and a little more oil if pot is dry. Stir into a paste and cook for 30 - 60 seconds.

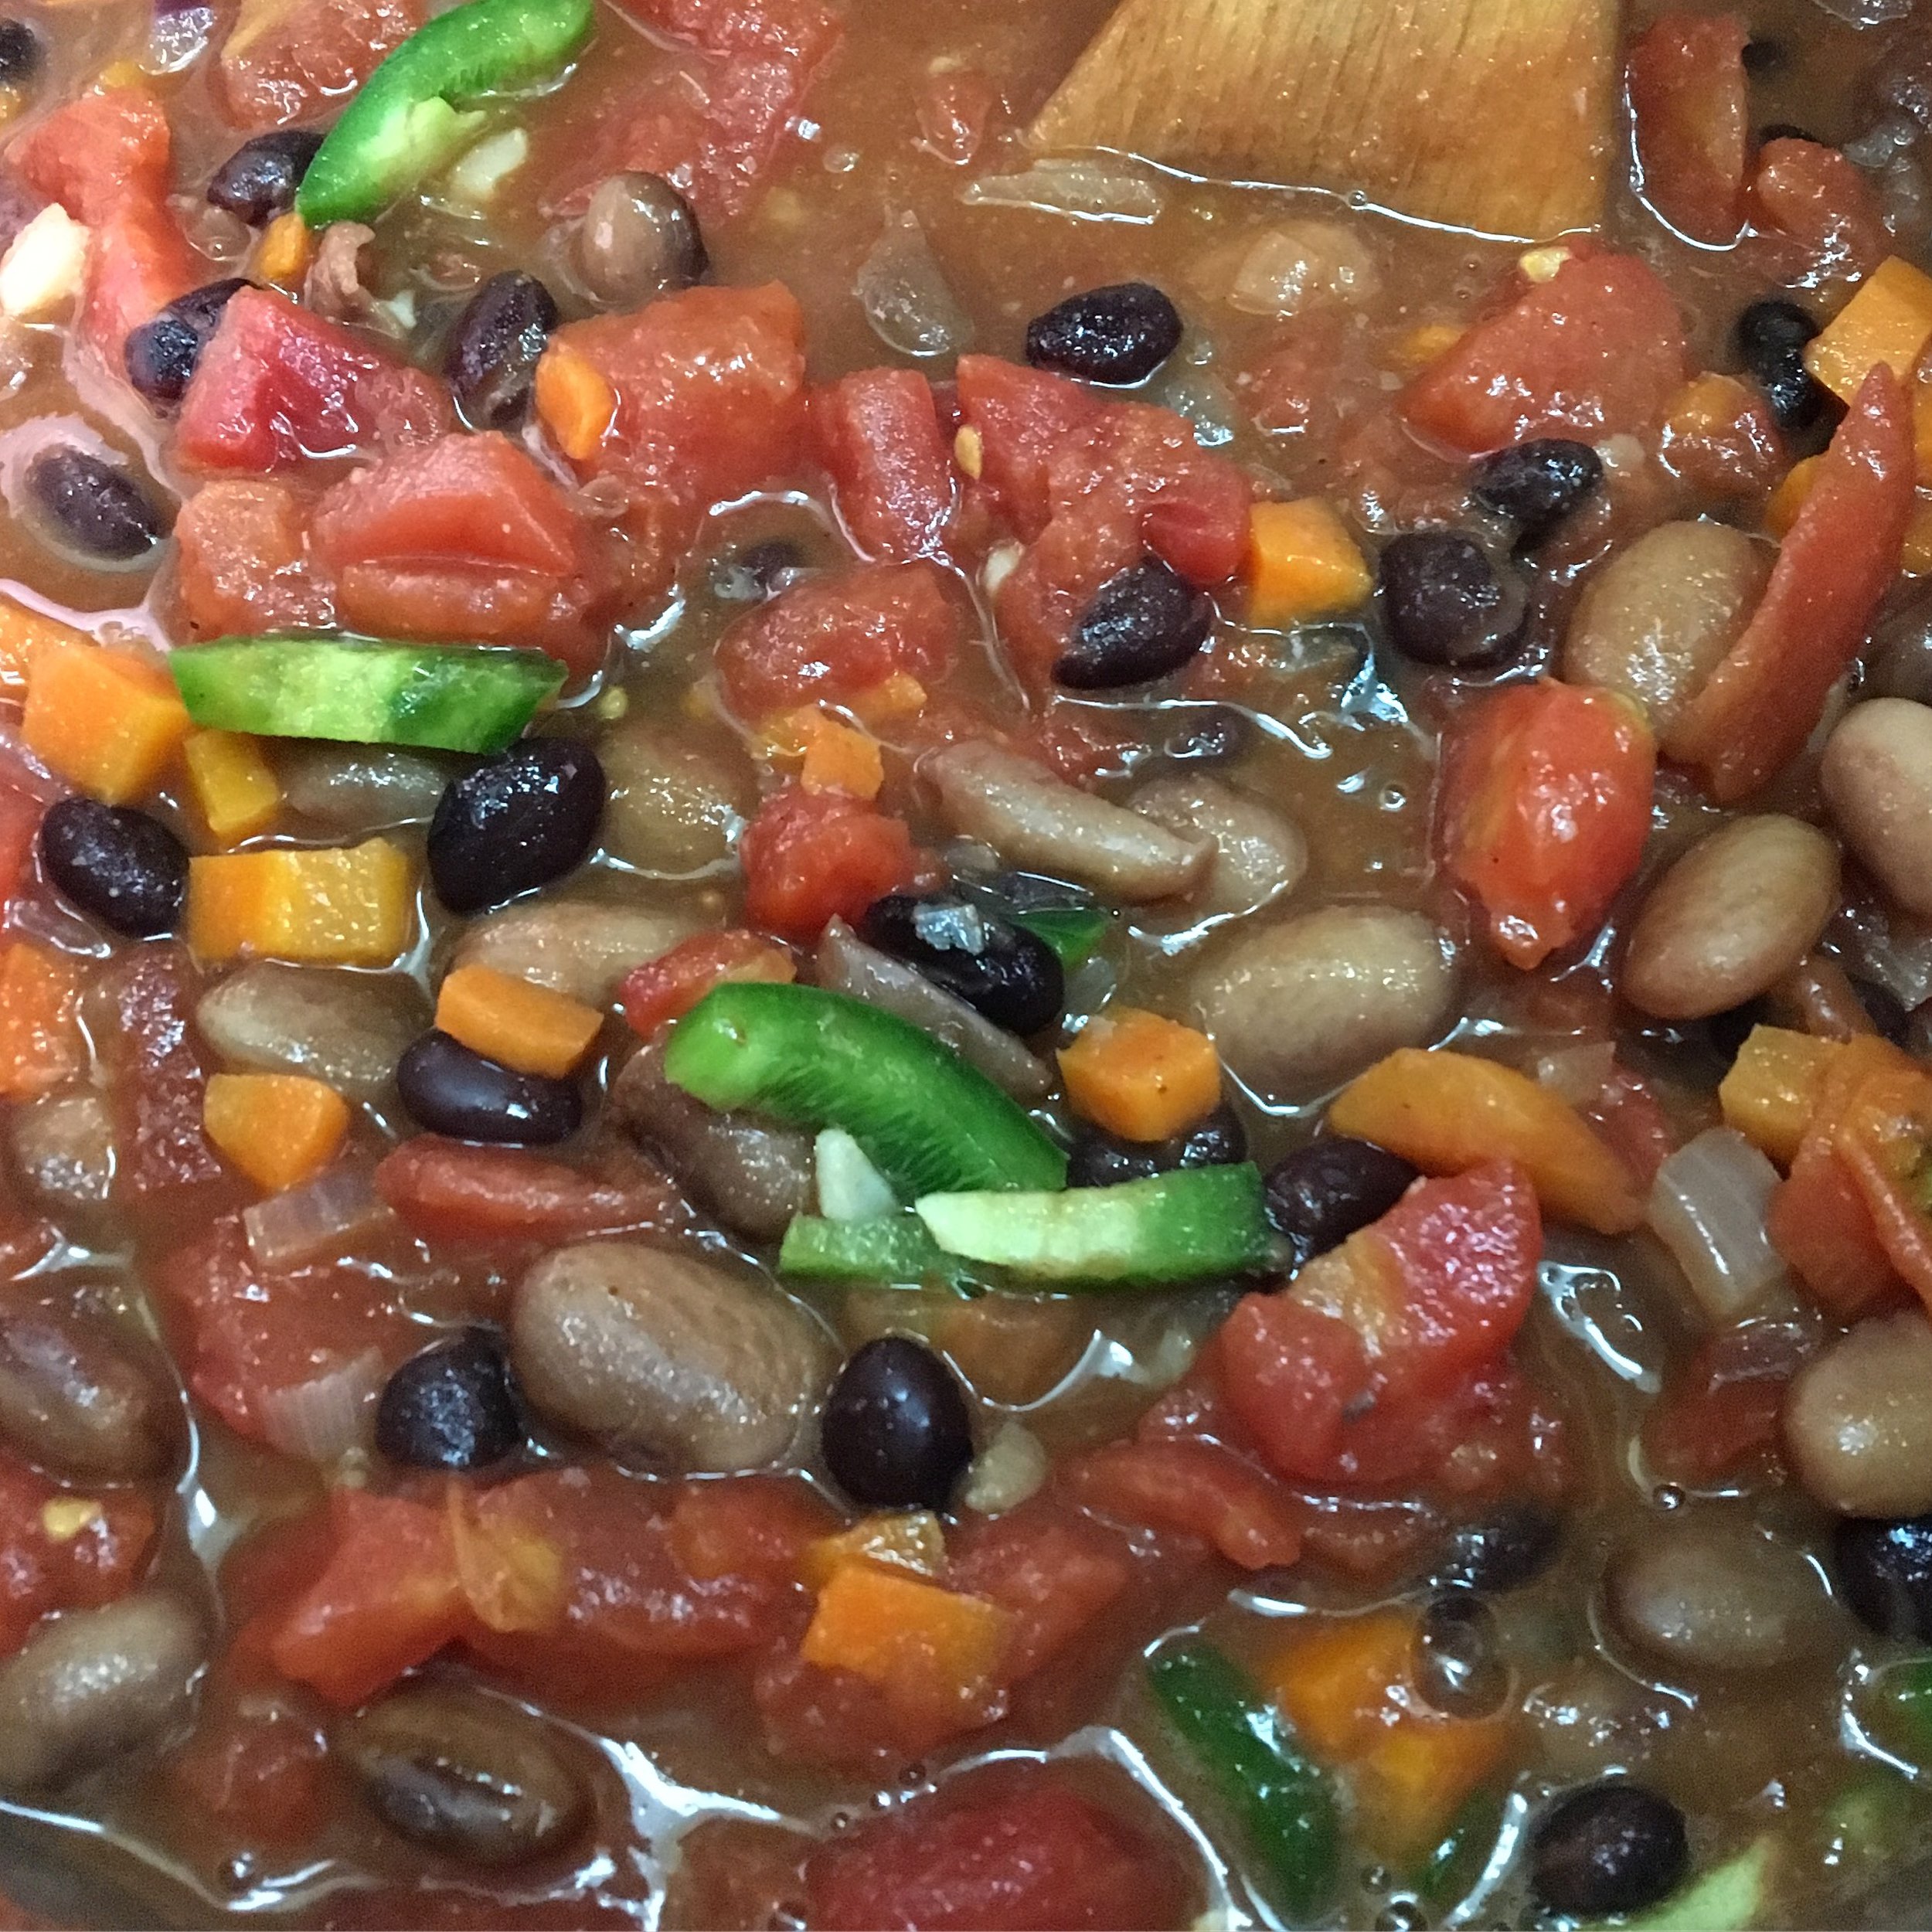
  5. Add the beans, tomatoes, carrots and ~1 cup of water. I usually rinse the tomato can and use this water to get all of the tomato into the chili. I learned that trick from my mom, who I've watched make Italian tomato sauce for nearly 4 decades now.

  6. Once the carrots are partially cooked (about 15 minutes), add the sweet potatoes and jalapeños, if using. Add water if needed. Cook on medium low, until carrots and sweet potatoes are tender, (about 1 hour) partially covered. You can simmer on lowest setting for an additional 2-3 hours to further reduce and develop flavors. If you need to continue simmering when chili is already fully reduced, keep on lowest setting and cover with a tight fitting lid. You can also add more water at this point if needed.

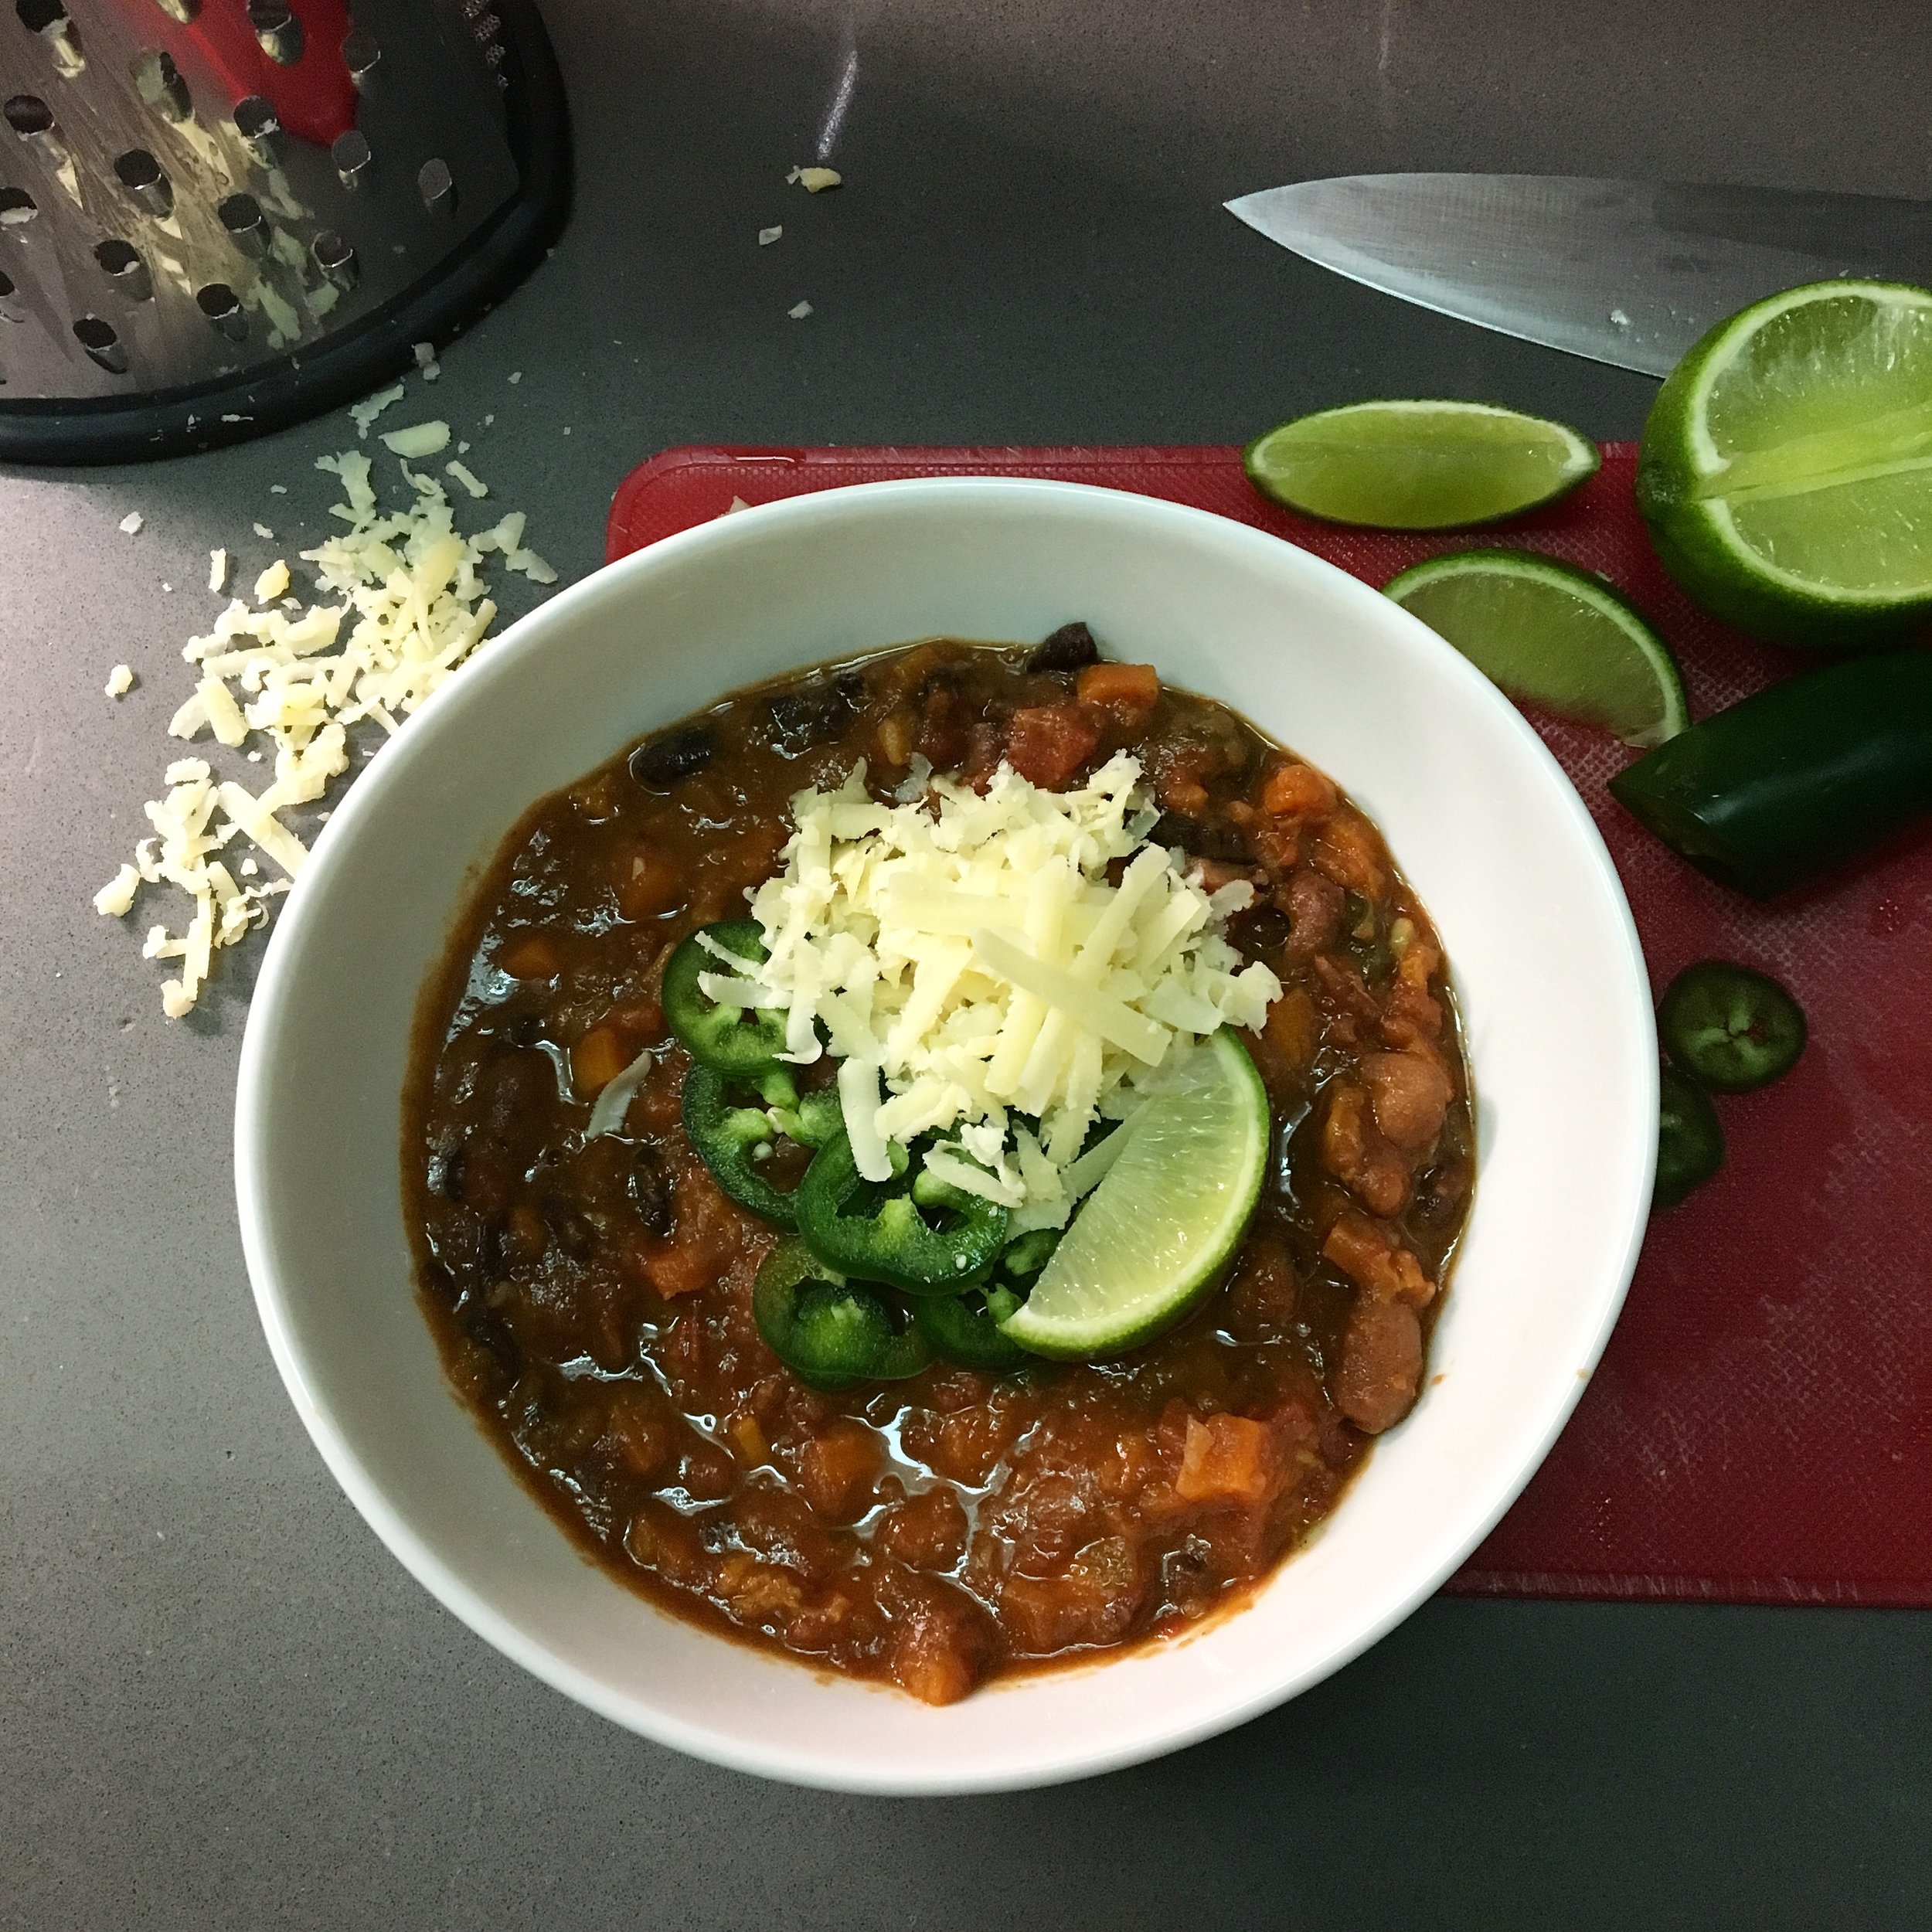
To serve, top with additional slices of fresh jalapeño, cilantro leaves, lime wedges, and sliced avocado. You can set up a bar with various toppings for eaters to add, including tortilla chips, chopped red onion, cheese and yogurt/sour cream. Everyo…

To serve, top with additional slices of fresh jalapeño, cilantro leaves, lime wedges, and sliced avocado. You can set up a bar with various toppings for eaters to add, including tortilla chips, chopped red onion, cheese and yogurt/sour cream. Everyone likes to enjoy chili their own way!

Lemon Ricotta Blueberry Pancakes

IMG_7792.JPG

Our family honors Pancake Saturday. My older son has even created a song and dance to celebrate it. With a little extra time on the weekends to prepare and enjoy breakfast, and because we're all in need of a sweet treat at the end of the week, pancakes are perfect. This is also a great dish for kid kitchen assistants. My little helper measures ingredients, cracks eggs, and mixes, while repeating the mantra "we never over mix the batter." Don't over mix your pancake batter.

fullsizeoutput_1214.jpeg
IMG_5251.JPG

To save yourself even a little bit of time and a lot of mess when making weekly pancakes, mix your dry ingredients (flours, sugar, baking powder, baking soda, salt) in a large batch and store in the pantry. If you are like me and use multiple flours (I like a blend of whole wheat all purpose, white AP and cornmeal for most of my pancakes), this will allow you to just take one canister out of the pantry instead of 3 or 4! Now you have absolutely no reason to buy that packaged stuff. PLEASE don't buy that packaged stuff anymore.

We make a variety of pancakes but a favorite go to for their classic Italian origin and to help fatten up our skinny baby is Lemon Ricotta. While visiting my sister last week, I was inspired to make these after cleaning out her fridge and finding a pound of ricotta cheese and fresh local Florida blueberries. In return, she documented the finished stack you see above. It's nice to have a professional photographer for a sister.

These lemon ricotta pancakes are fluffy and creamy all at once. I adapted the recipe from a few sources, but mostly from Cooking Classy.

Makes ~8 6-inch pancakes

What You Need:

  • 1 1/2 cups flour (I like a blend of 1 cup white AP and 1/2 cup whole wheat AP flour)

  • 3 tablespoons sugar

  • 1 tablespoon baking powder

  • 1/4 teaspoon baking soda

  • 1/4 teaspoon fine sea salt

  • 2 tablespoons unsalted butter, plus more for brushing the pan

  • 3 eggs, room temperature

  • 3/4 cup whole milk

  • 1 cup ricotta

  • zest and juice of 1 large lemon

  • 1 pint fresh blueberries, rinse and drained

What you do:

1. Whisk together the flours, sugar, baking powder, baking soda, salt. Or if you have premixed your dry ingredients, measure out 1 3/4 cups dry ingredients and add to a large bowl.

2. Melt the butter. [tip: if you’ll be using a skillet to bake the pancakes, heat the skillet and melt butter in there to save yourself a dish to wash and to grease the pan).

3. In a medium bowl, whisk together the melted butter, eggs, ricotta, lemon zest and lemon juice. It may curdle a little bit, but that is okay. You also do not need to break up all pieces of ricotta. It's nice to bite into that creaminess in the pancakes.

4. Make a well in the dry ingredients and pour in the wet ingredients. Stir a few times with a spatula just to combine. Do not over mix. Fold in the milk and blueberries just until combined.

5. Reheat the skillet over medium high heat. Brush with more butter if needed. Drop 1/3 cup of batter onto the hot pan and top with additional blueberries if desired. Flip after 2-3 minutes or when you see bubbles on top and edges are lightly browned. Cook another 2-3 minutes.
IMG_5303.JPG